Glare - Digital art.

¡Hola a todos! ¡¡¡esperamos que estén bien!!!
En esta ocasión el equipo de Valthy les presenta su decimo dibujo digital titulado Glare que traducido del latín al español significa Mirada penetrante o Destello esto debido a que aunque es una mujer hermosa, su mirada es lo que más nos atrapa.
Por otra parte, este retrato continua sumando experiencias y nos mantiene super emocionados con el aprendizaje constante, en este post decidimos hacer un paso a paso más especifico de la construcción de esta obra.
Hello everyone! hope you are well!!!!!
On this occasion the Valthy team presents its tenth digital drawing entitled Glare which translated from Latin to English means Penetrating gaze or Sparkle because although she is a beautiful woman, her gaze is what catches us the most.
On the other hand, this portrait continues to add experiences and keeps us super excited with constant learning, in this post we decided to make a more specific step by step of the construction of this work.
- Computadora I5 / Computadora I5
- Tableta Huion H6400P / Tableta Huion H6400P
- Programa Adobe Photoshop 2019 / Software Adobe Photoshop 2019
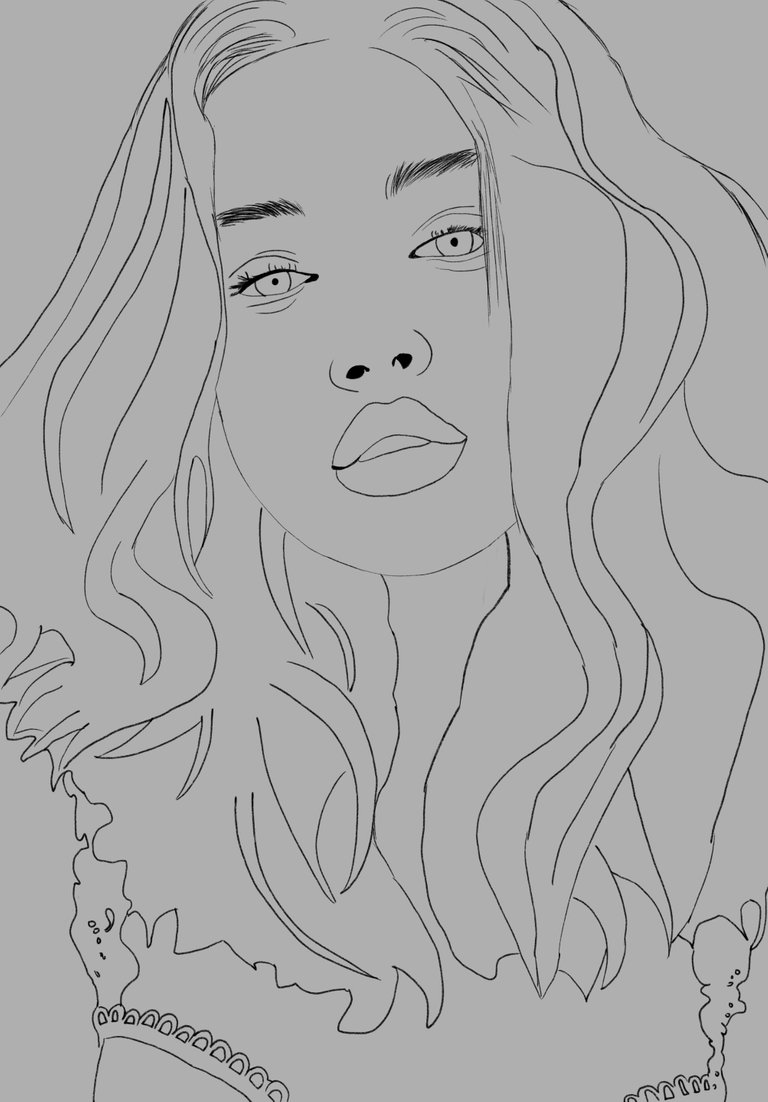
1er paso: Comenzamos colocando un fondo gris para no cansar la vista.
1st step: We start by placing a gray background so as not to tire the eye.

2do paso: El boceto, que refleja la idea que tenemos después de tener líneas comprensibles.
2nd step: The sketch, which reflects the idea we have after having comprehensible lines.
3er paso: Se colocó el color base para la piel.
3rd step: The base color for the skin was applied.
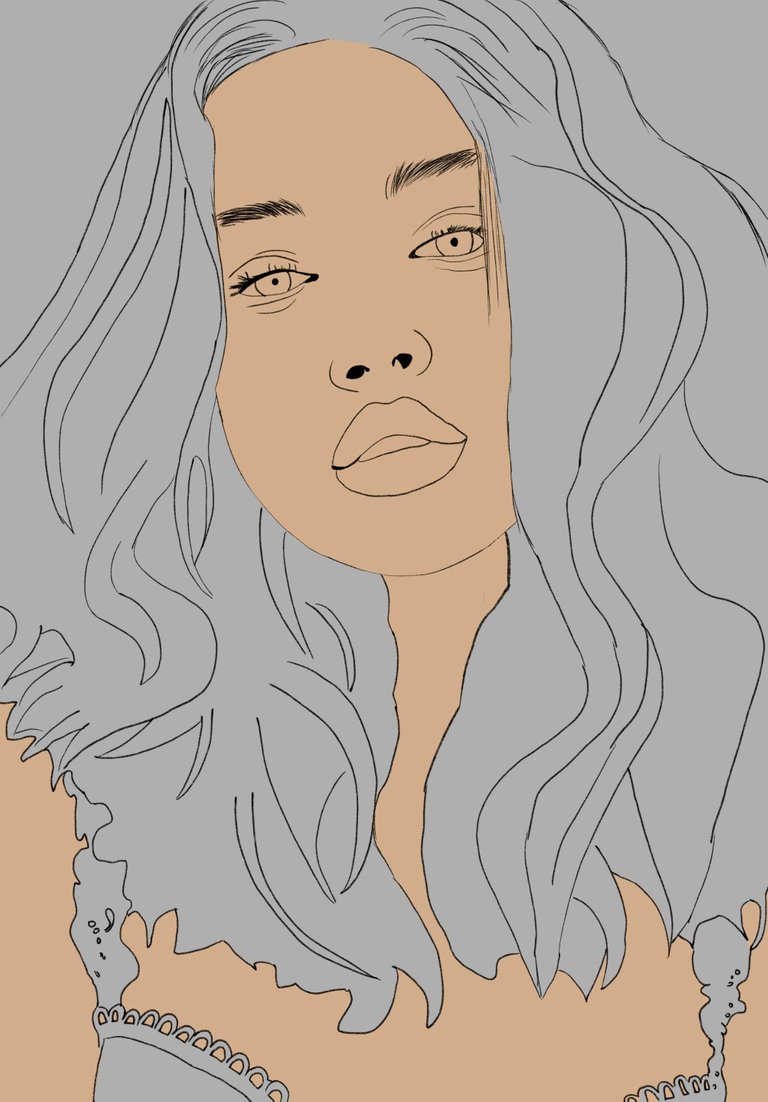
4to paso: Se colocó el color base al cabello.
4th step: The base color was applied to the hair.
5to paso: Se colocó el color base de los ojos.
5th step: The base color of the eyes was placed.

6to paso: Se colocó un color base para el iris de ambos ojos.
6th step: A base color was placed for the iris of both eyes.
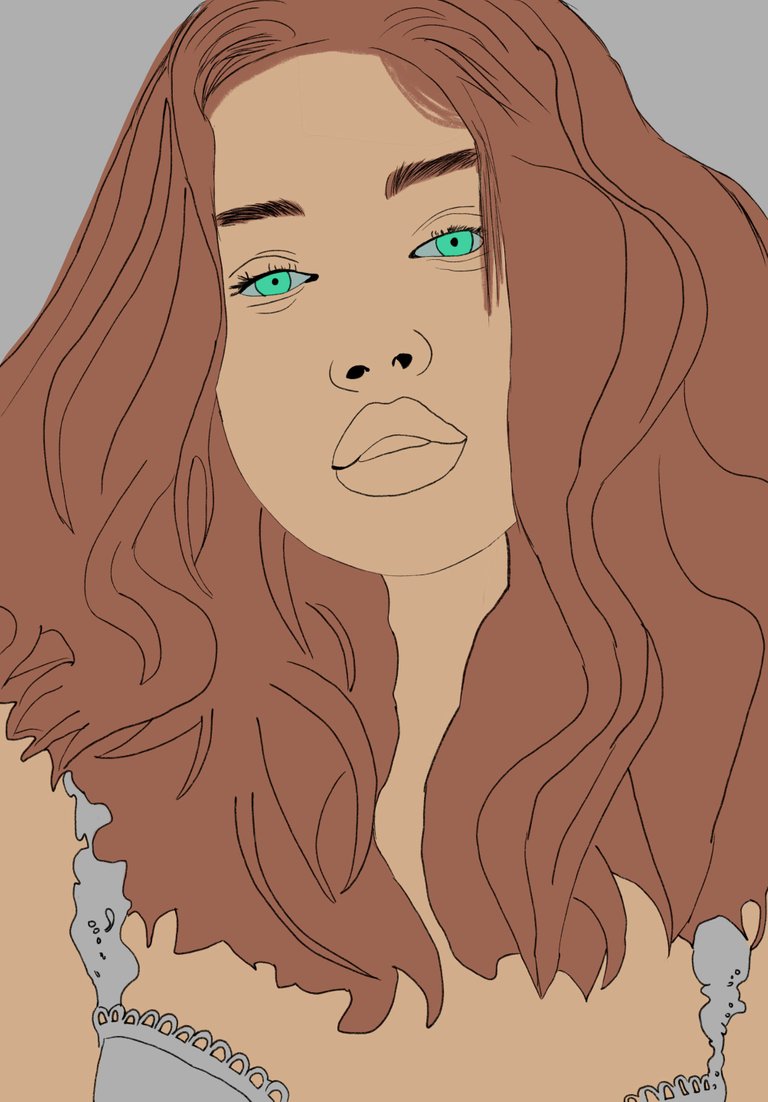
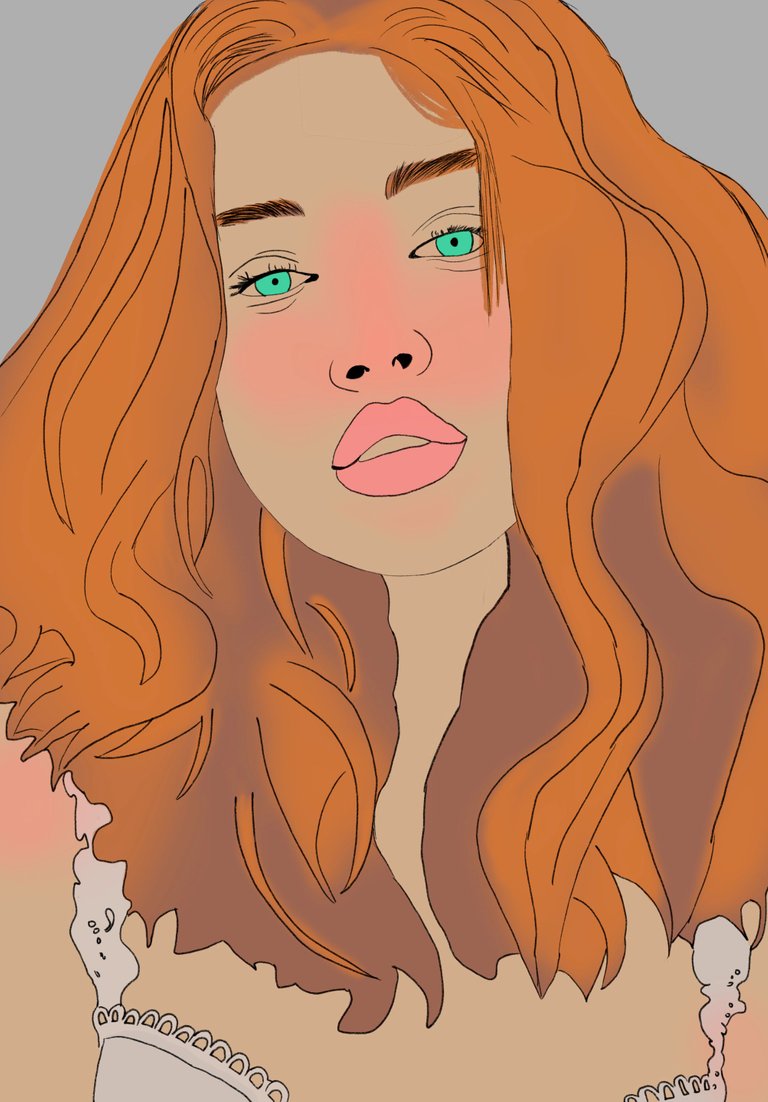
7to paso: Se colocó el color base para los labios.
7th step: The base color for the lips was applied.
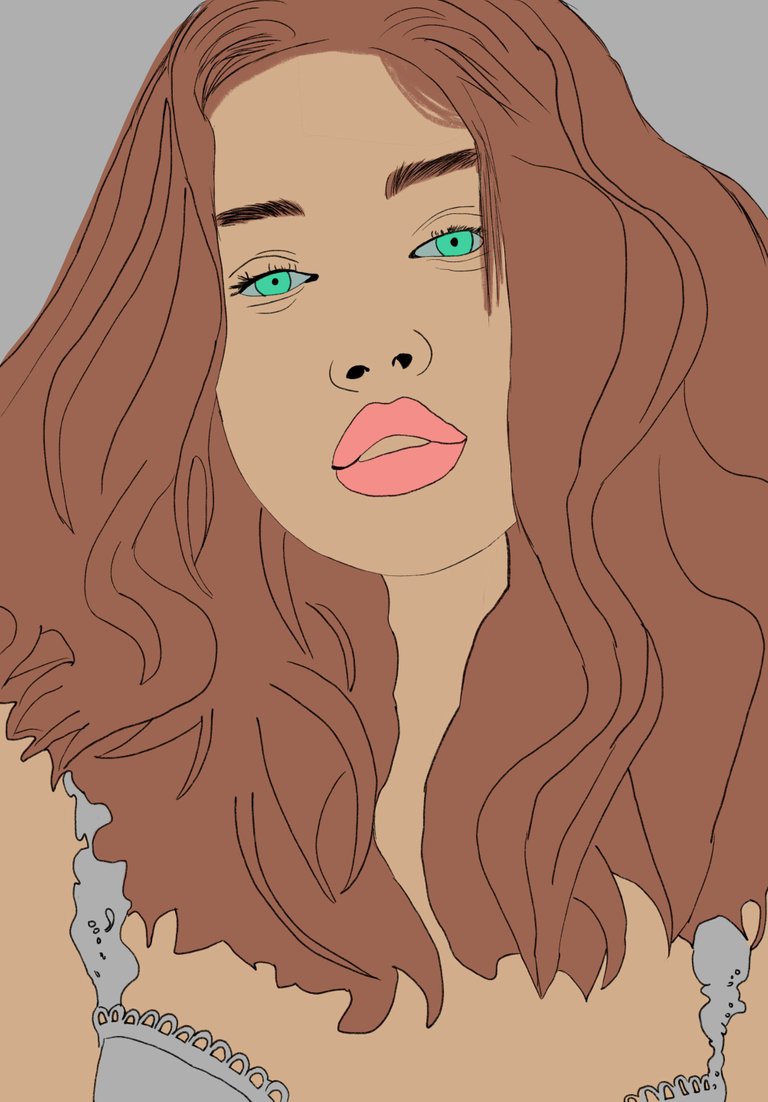
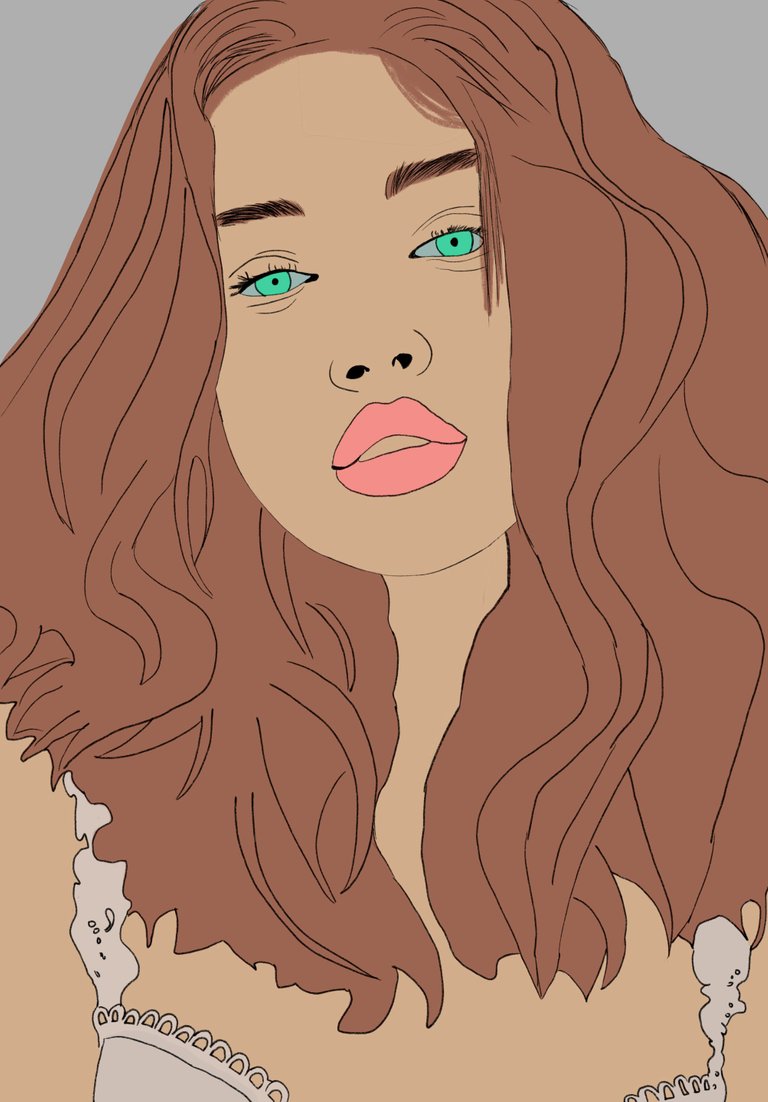
8vo paso: Se colocó un color base para la ropa de la protagonista, en este caso un color rosa pálido.
8th step: A base color was used for the main character's clothes, in this case a pale pink color.
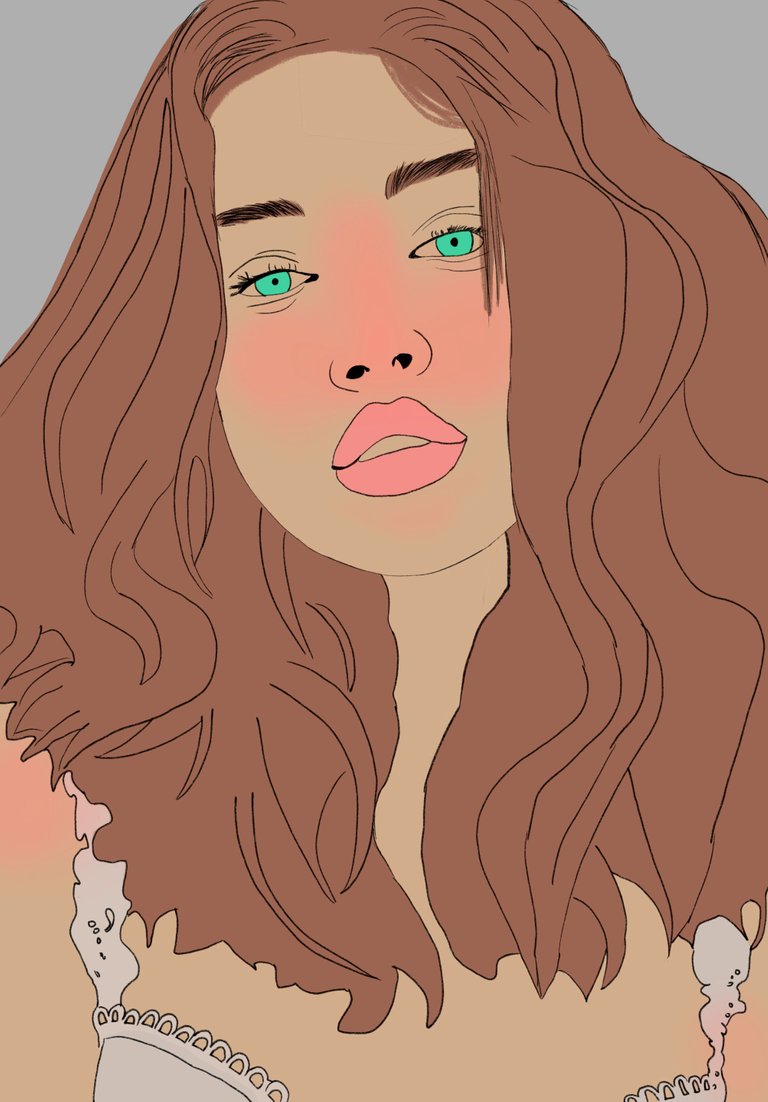
9no paso: Se colocó una capa de rubor en el rostro para ir cambiando y trabajando la piel.
9th step: A layer of blush was placed on the face to keep changing and working the skin.
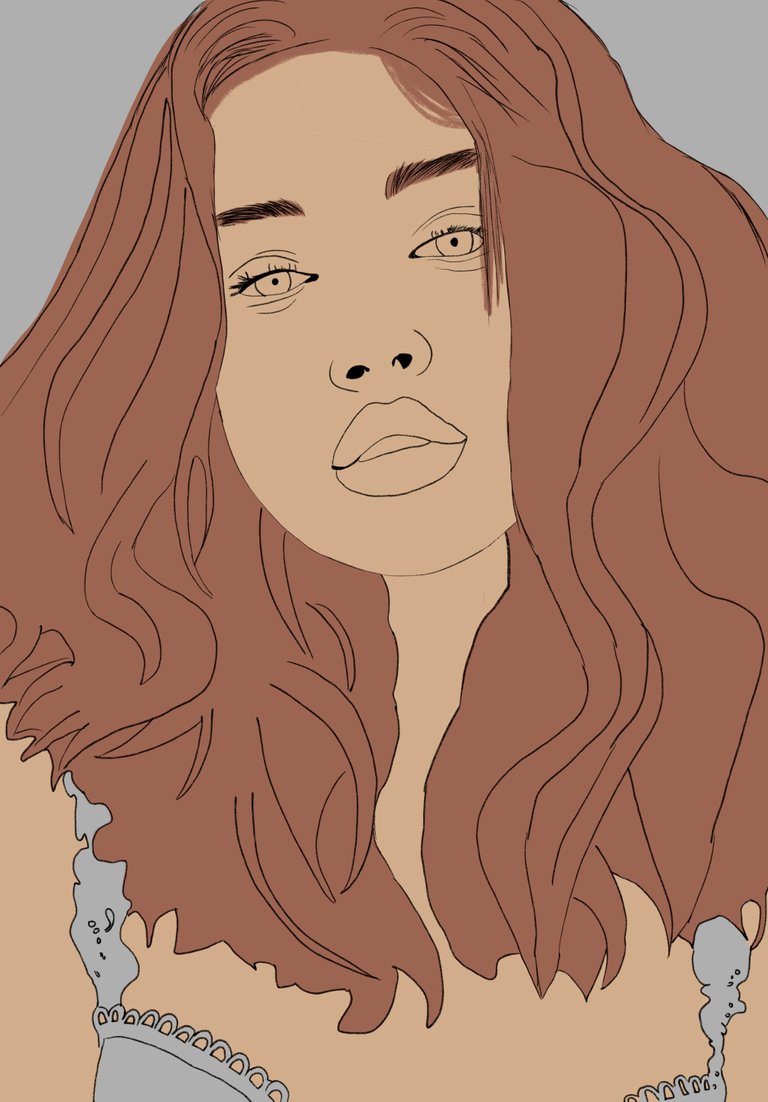
10mo paso: Se aclararon partes del cabello para trabajar los diferentes tonos del cabello y darle la forma final.
10th step: Parts of the hair were lightened to work the different hair tones and give the final shape.
11vo paso: Se coloca el color base del maquillaje de los parpados.
11th step: The base color of the eyelid make-up is applied.
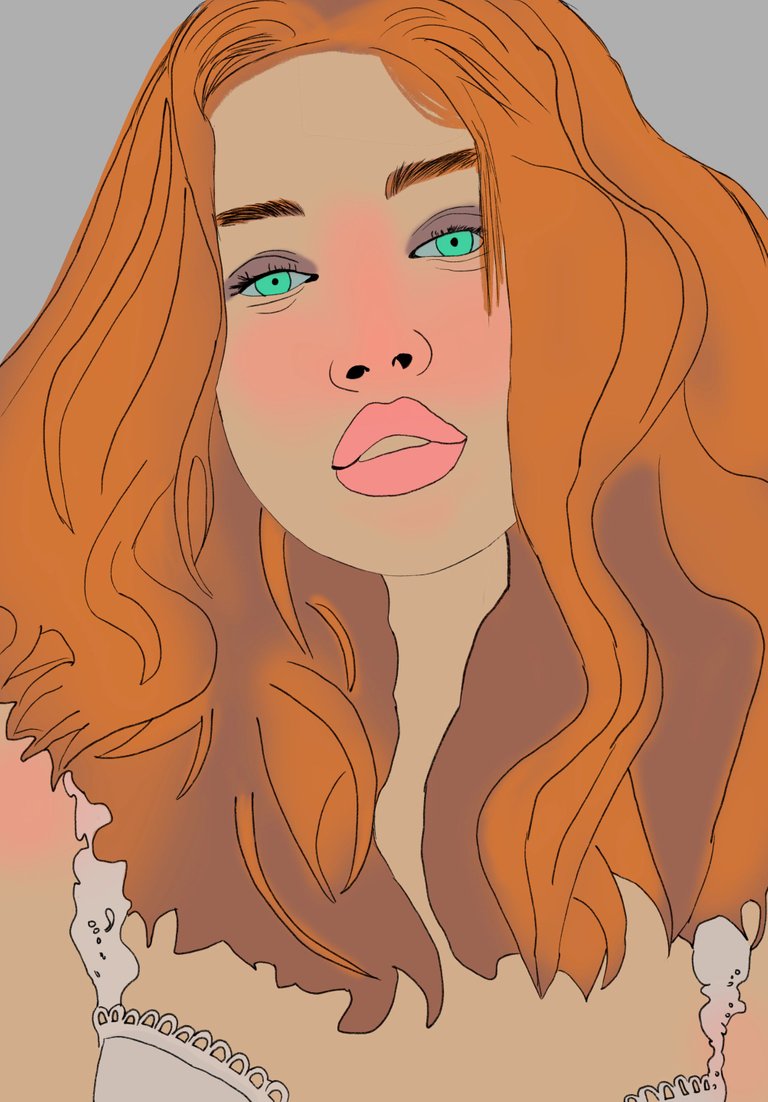
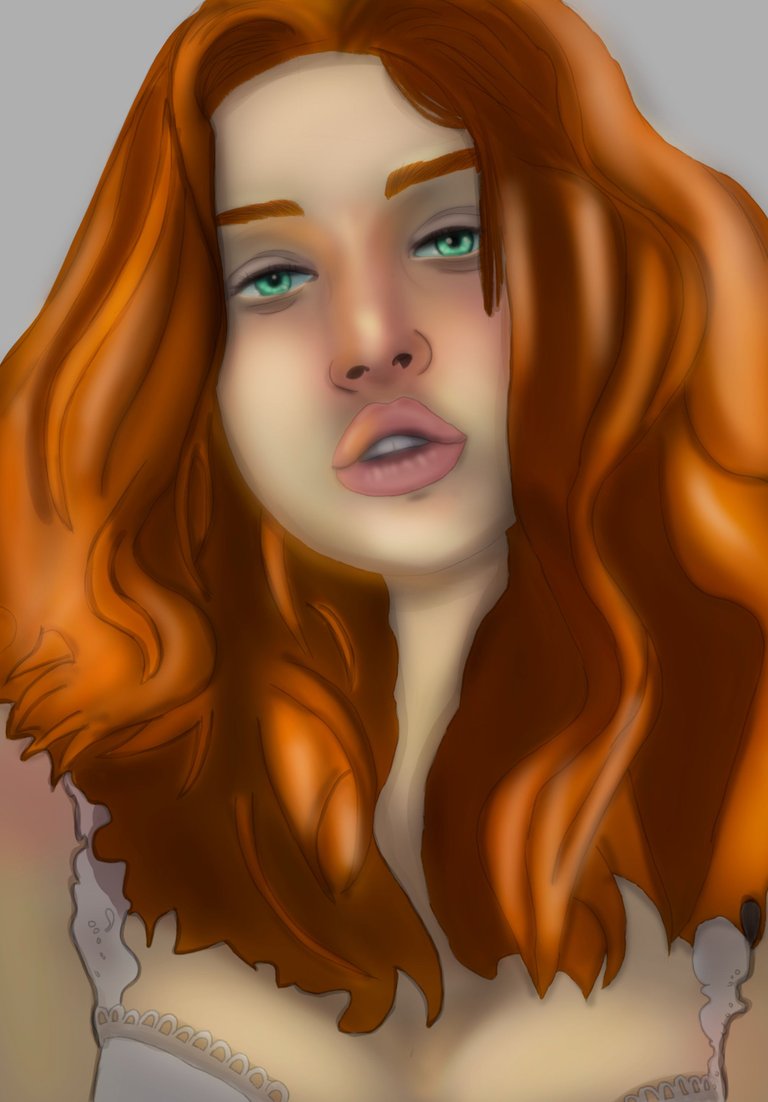
12vo paso: Se colocan las sombras en las distintas áreas del retraro.
12th step: The shadows are placed in the different areas of the portrait.
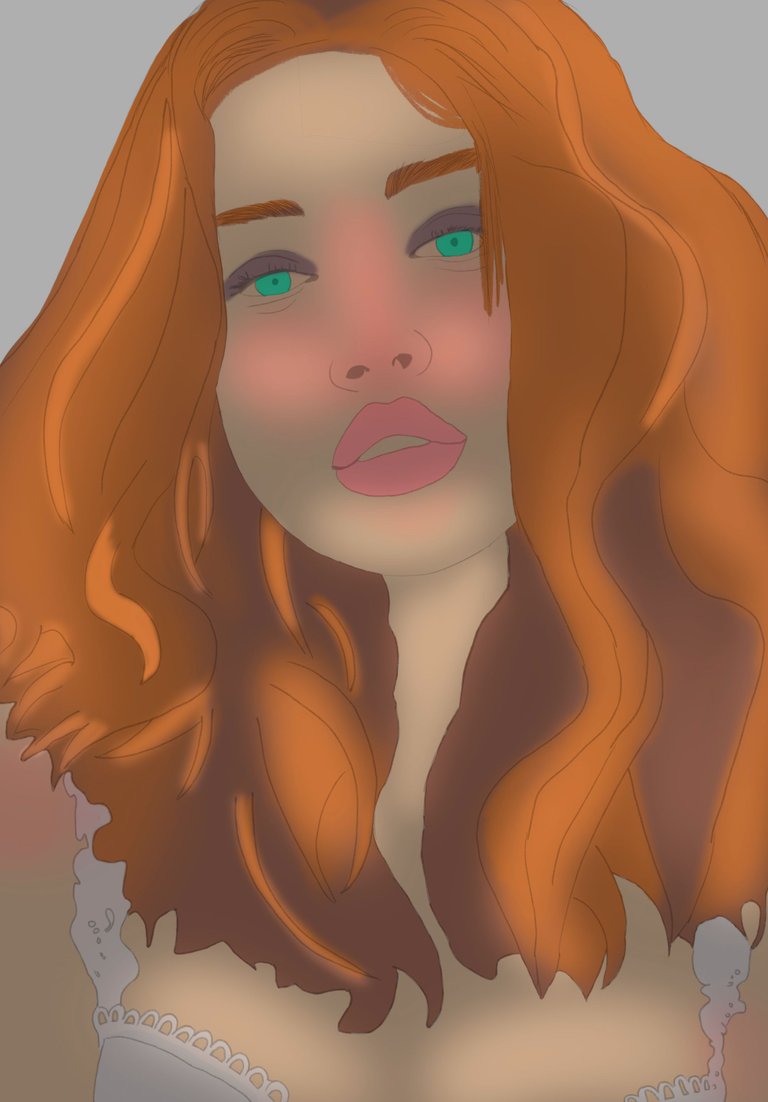
13vo paso: En este paso se aplicó otra capa para las sombras proyectadas en las distintas áreas del retrato, haciendo que estas dieran más formas al dibujo.
13th step: In this step another layer was applied for the shadows cast in the different areas of the portrait, making them give more shapes to the drawing.
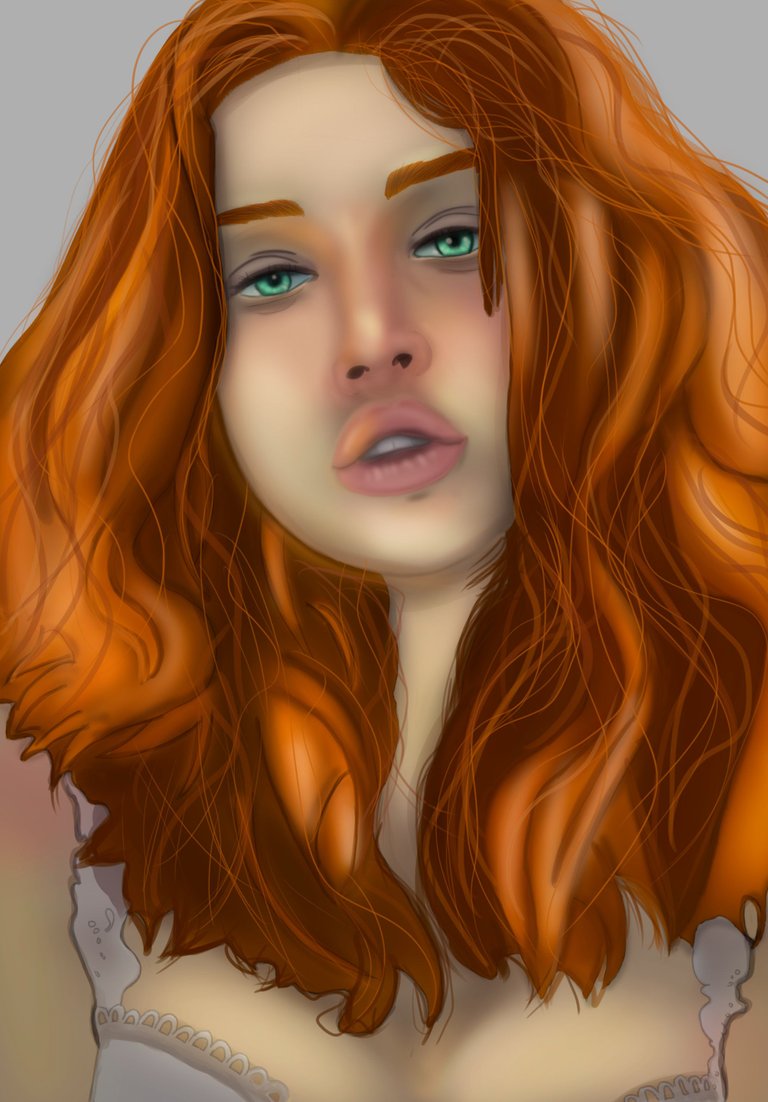
14vo paso: Se comenzó a detallar las luces del cabello y demás partes.
14th step: The hair highlights and other parts began to be detailed.
15vo paso: Se dio más detalle en el cabello agregando más hebras.
15th step: More detail was given to the hair by adding more strands.
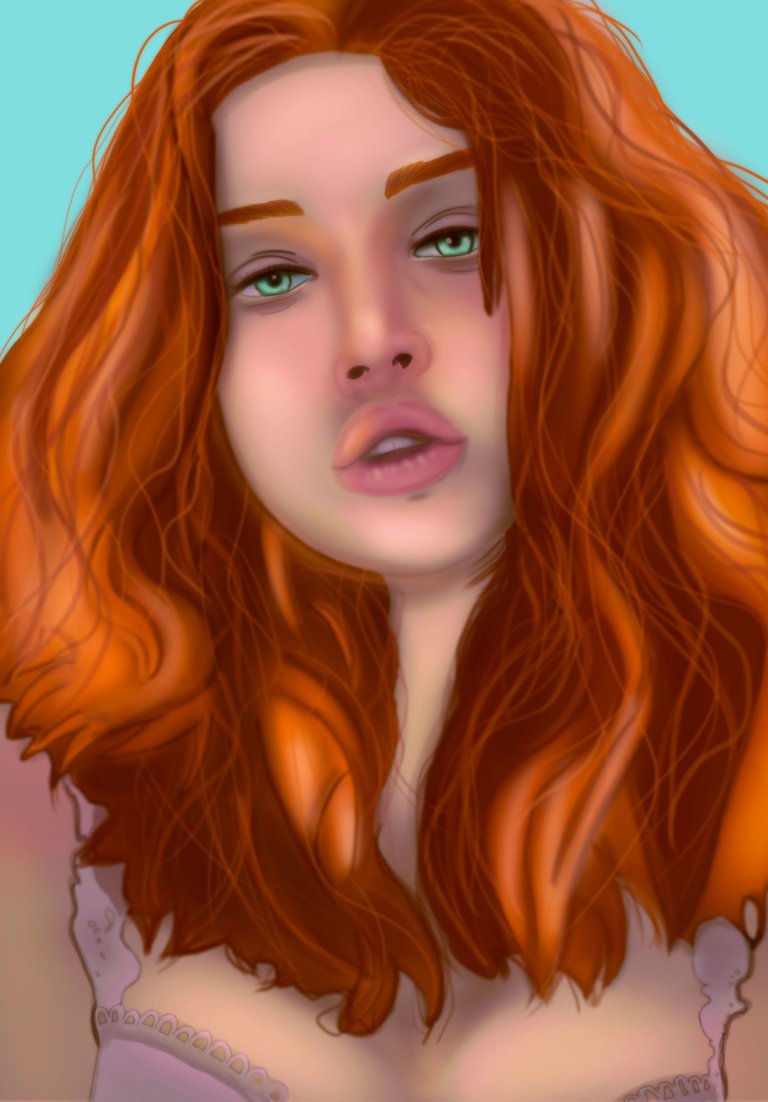
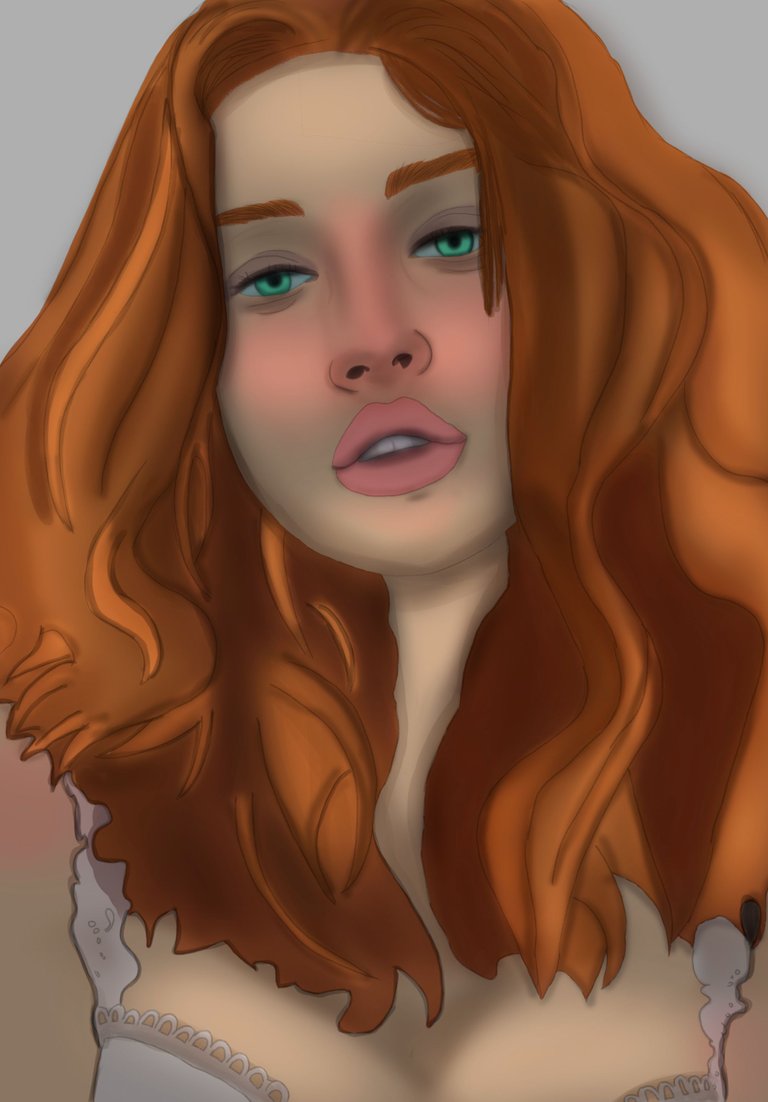
16vo paso: Para el penúltimo paso se coloco un fondo unicolor turquesa, y para la piel se hizo una corrección selectiva que ocasiona el cambio de color a un tono más rosa y suave.
16th step: For the penultimate step a turquoise unicolor background was placed, and for the skin a selective correction was made that causes the color to change to a more pink and soft tone.
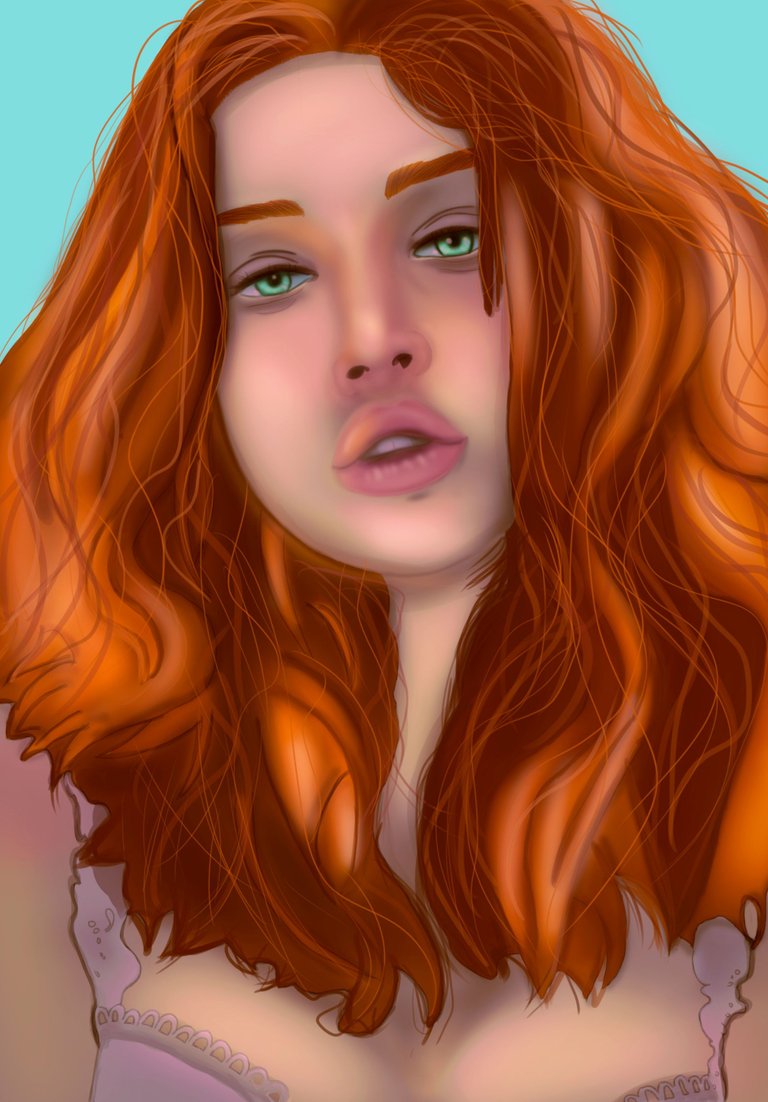
17vo paso: Para finalizar se agrego un efecto gaussiano en el cabello para quitar la dureza de las hebras.
17th step: Finally, a Gaussian effect was added to the hair to remove the hardness of the strands.
Este fue todo el proceso del decimo dibujo, disfrutamos mucho el proceso y quedamos muy satisfechos con el resultado sobre todo por que hemos visto como vamos evolucionando en pequeños pasos, esperamos les guste, si están interesados en compartir alguna imagen que quisieran que hiciéramos solo avísenos en los comentarios, igualmente las opiniones para mejorar las valoramos mucho.
This was the whole process of the ninth drawing, we really enjoyed the process and were very satisfied with the result especially because we have seen how we are evolving in small steps, we hope you like it, if you are interested in sharing any image you would like us to do just let us know in the comments. We also value your opinions for improvement.

Tiempo empleado: 2 días.
Time employed: 2 days.
¡Muchas gracias por visitar y apoyar nuestro contenido!
Thank you very much for visiting and supporting our content!
Our mother tongue is not English, for the translation I use the Deelp translator.
- Las imágenes aquí publicadas son de mi propiedad, lo cual implica que es contenido original.
- La referencia utilizada, en esta ocasión se tomo de https://www.pinterest.es y el video en formato gif se realizó con la aplicación de https://www.canva.com en versión gratuita.
- Los banners de bienvenida y despedida son de mi creación.
- Todo lo antes mencionado es contenido original y exclusivo de esta cuenta.
- Si necesita hacer uso de algún trabajo de mi propiedad, por favor comuníquese conmigo. Su uso indebido y sin consentimiento se considera plagio en todas las comunidades de Hive.blog. Si quieren saber más de nuestro trabajo nos pueden seguir en:
- The images published here are my property, which implies that they are original content.
- The reference used in this occasion was taken from https://www.pinterest.es and the video in gif format was made with the free version of https://www.canva.com.
- The welcome and farewell banners are my creation.
- All the above mentioned is original and exclusive content of this account.
- If you need to make use of any work of my property, please contact me. Misuse without consent is considered plagiarism in all Hive.blog communities. If you want to know more about our work you can follow us at:


Buena combinación de colores... Hermoso el resultado final. Éxito equipo @valthy, saludos.
!discovery 25
Muchas gracias por visitarnos y deseos bueno!
This post was shared and voted inside the discord by the curators team of discovery-it
Join our community! hive-193212
Discovery-it is also a Witness, vote for us here
Delegate to us for passive income. Check our 80% fee-back Program
Your content has been voted as a part of Encouragement program. Keep up the good work!
Use Ecency daily to boost your growth on platform!
Support Ecency
Vote for new Proposal
Delegate HP and earn more
Excelente diseño amiga, sin duda su mirada es muy penetrante y hermosa.
Muchas gracias @mayi04 con el fin de mejorar cada día mas y que ustedes puedan apreciar la belleza del arte
Thank you for sharing this amazing post on HIVE!
Your content got selected by our fellow curator @stevenson7 & you just received a little thank you via an upvote from our non-profit curation initiative!
You will be featured in one of our recurring curation compilations and on our pinterest boards! Both are aiming to offer you a stage to widen your audience within and outside of the DIY scene of hive.
Join the official DIYHub community on HIVE and show us more of your amazing work and feel free to connect with us and other DIYers via our discord server: https://discord.gg/mY5uCfQ !
If you want to support our goal to motivate other DIY/art/music/homesteading/... creators just delegate to us and earn 100% of your curation rewards!
Stay creative & hive on!
thank you very much for appreciating our work, very much appreciated