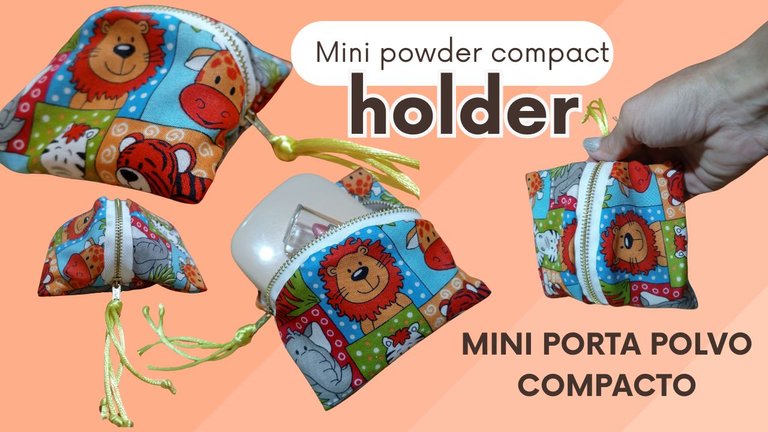
Mini powder compact holder / Mini porta polvo compacto (Esp/Emg)


[Esp]
¡Hola mi gente bonita amante de las manualidades!
Estoy explorando nuevas formas de hacer mini bolsitos, quizá para más adelante animarme hace runos más grandes, sin embargo, son iguales de útiles, de me ocurrió hacer un pequeño bolsito par aguardar mi polvo compacto y un labial, ya que mi cartera es muy pequeña y apenas caben algunas cositas, no se si les pasa que a veces meten la mano en la cartera buscando algo y el maquillaje salta por todas partes y se dañan, en cambio si los tienes guardados en una bolsita, están ordenados y protegidos.
He visto mujeres que para buscar algo en su cartera parece un agujero negro sin fin, sacan y sacan cosas y no encuentran lo que buscan ¡Jajaja! Eso pasa por no tener bolsitos dónde guardar cositas específicas.
Hoy te presento una idea, espero sea de tu agrado.
! [English version]
Hello my beautiful people who love crafts!
I'm exploring new ways to make mini bags, maybe later on I will make bigger ones, however, they are just as useful, it occurred to me to make a small bag to hold my compact powder and lipstick, since my purse is very small and barely fit some little things, I don't know if it happens to you that sometimes you put your hand in your purse looking for something and the makeup jumps everywhere and gets damaged, instead if you have them stored in a bag, they are tidy and protected.
I have seen women who look for something in their purse like an endless black hole, they take things out and take things out and can't find what they are looking for, hahaha! That happens because they don't have bags where to keep specific things.
Today I present you an idea, I hope you like it.

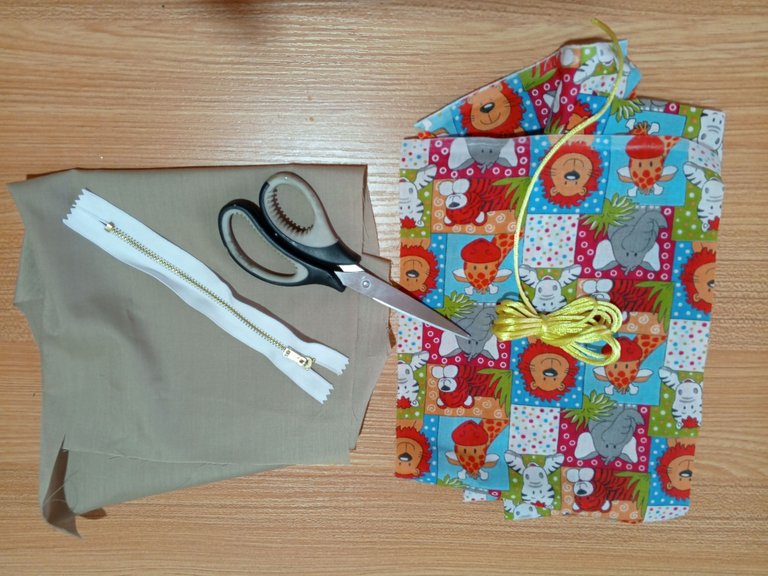
Materiales / materials
| Spanish | English |
|---|---|
| Maquina de coser | Sewing machine |
| Tijera, aguja, hilo | Scissors, needle, thread |
| Tela unicolor y estampada | Unicolor and printed fabric |
| Cierre | Zipper |
Paso a paso / Step by Step
Step 1️⃣/ Paso 1️⃣
 |  | |
 |  |
[Esp]
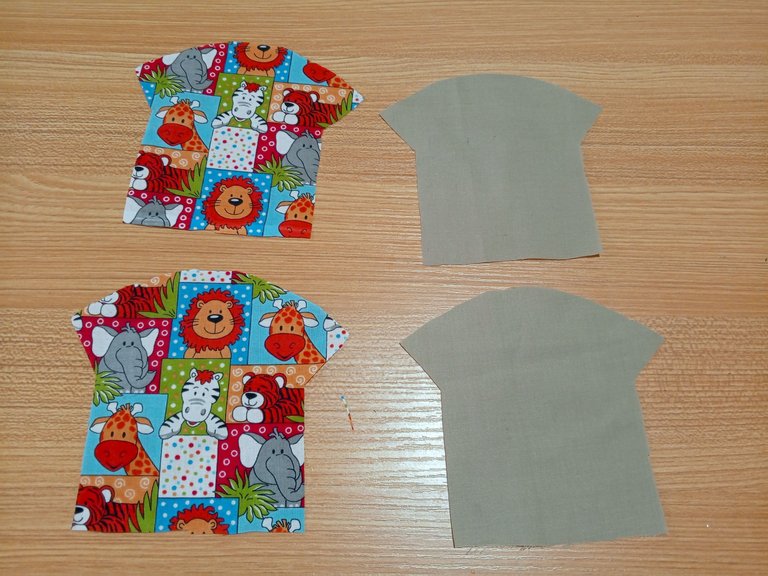
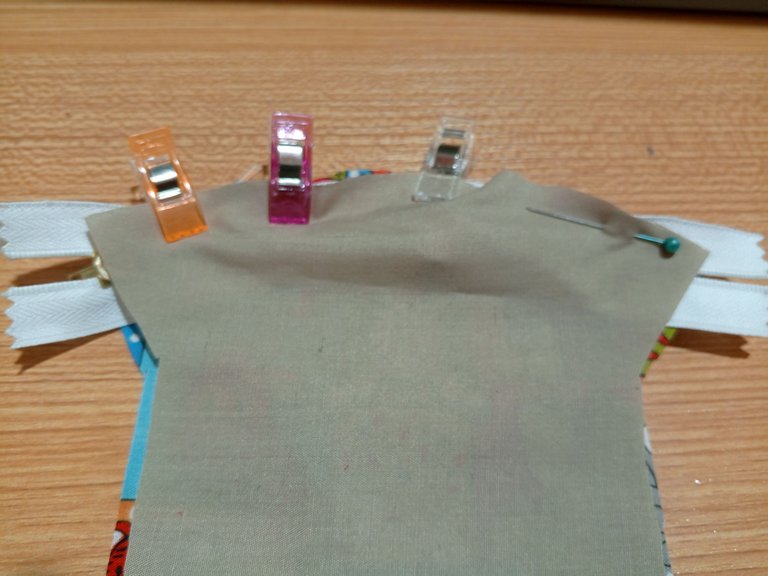
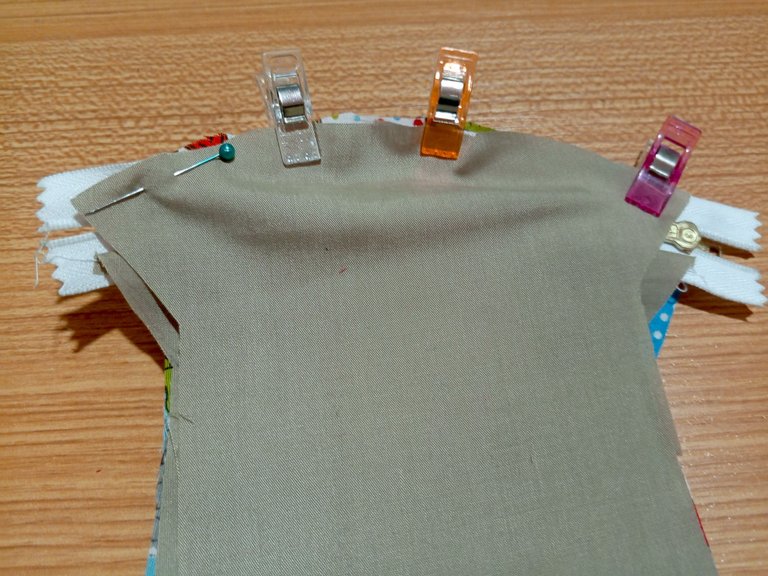
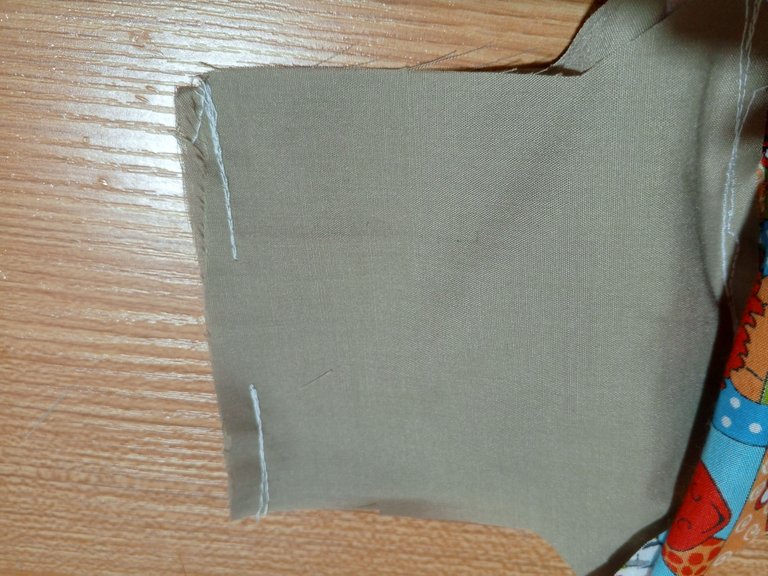
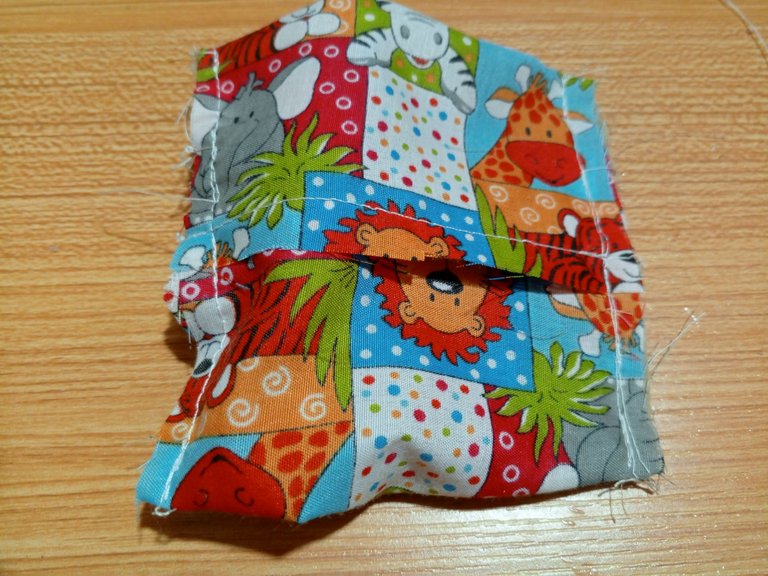
En la primera foto puedes ver cómo es el patrón, debes cortar cuatro piezas iguales, dos de la tela estampada y dos para el forro. La parte curva sugiero que la hagas del tamaño del cierre o cremallera.
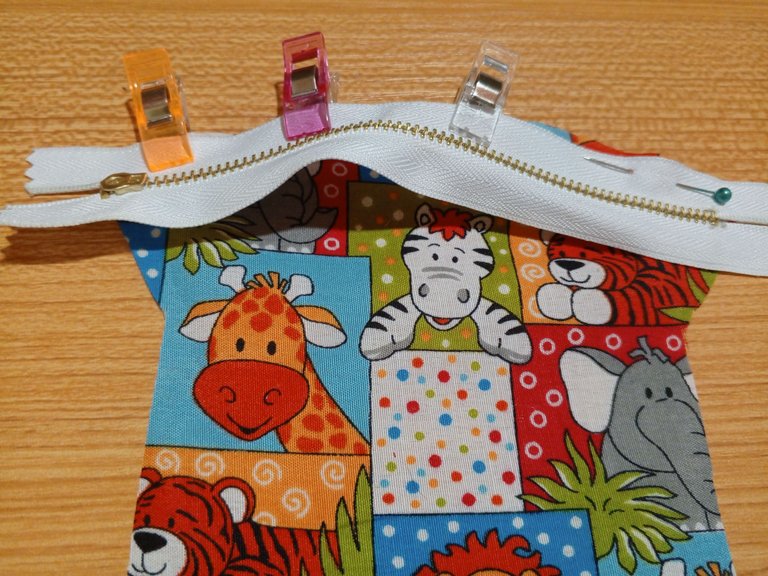
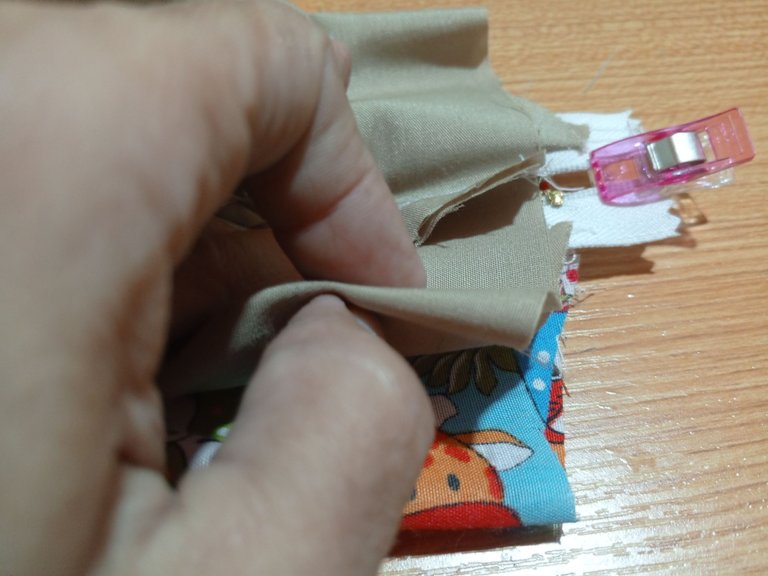
Para que no te confundas sugiero llevar cada paso con pinzas o alfileres. Coloca el cierre y la tela estampada cara con cara, bordea el cierre. Ahora coloca el forro y cose una recta.
voltea y abre el cierre.
! [English version]
In the first picture you can see how the pattern looks like, you must cut four equal pieces, two of the printed fabric and two for the lining. The curved part I suggest you make it the size of the zipper.
So that you don't get confused I suggest you carry each step with clips or pins. Place the zipper and the printed fabric face to face, border the zipper. Now place the lining and sew a straight stitch.
Turn over and open the zipper.
Step 2️⃣/ paso 2️⃣
 |  | |
 |  |
[Esp]
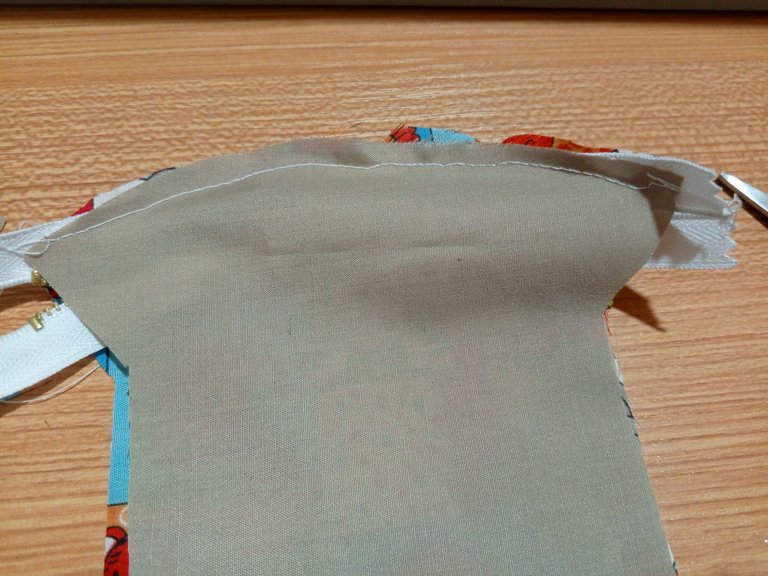
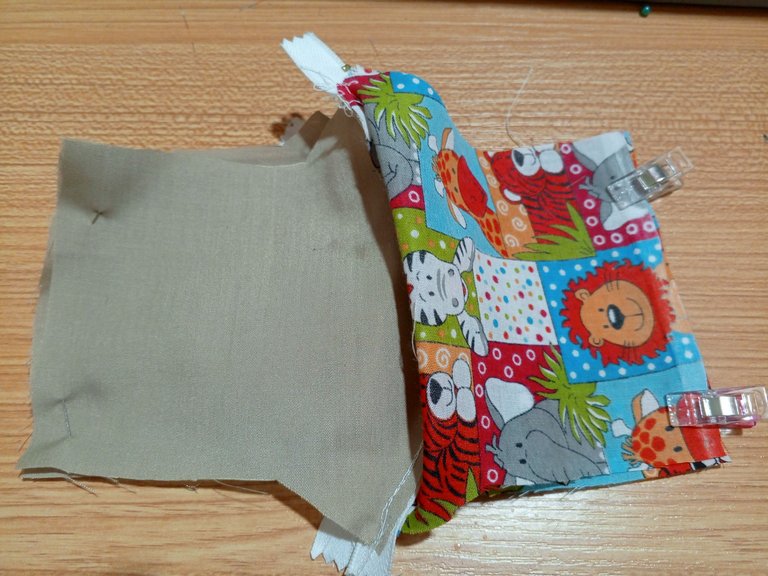
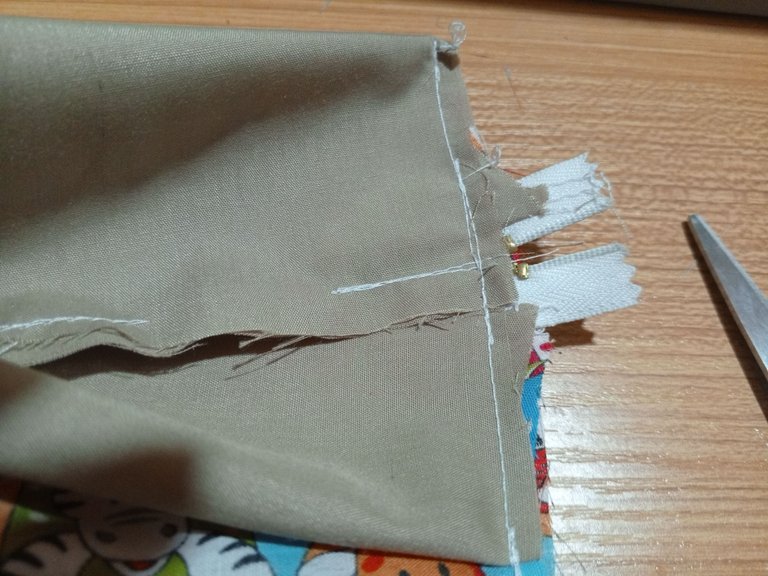
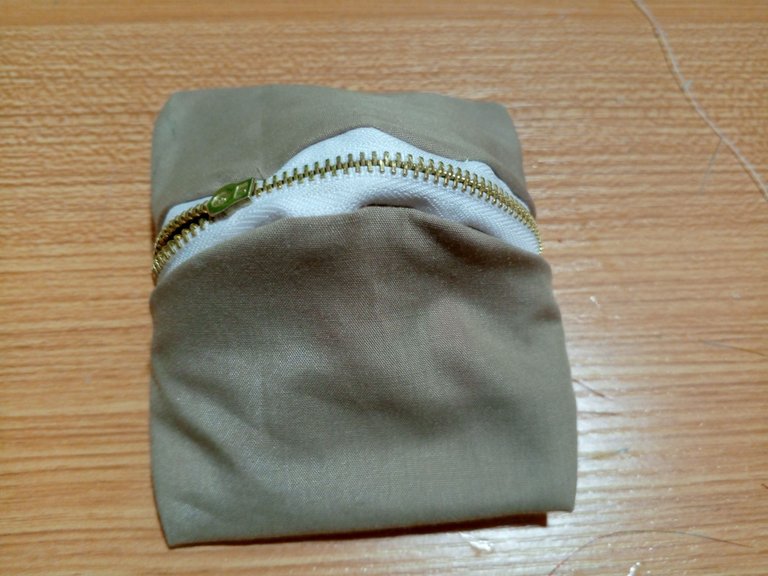
Siguiendo el paso anterior, coloca la tela estampada cara a cara, al derecho del cierre. Luego, del otro lado del cierre colocas el cierre.
Cose una recta uniendo las piezas y voltea quedando como la imagen 4 y 5.
! [English version]
Following the previous step, place the printed fabric face to face, on the right side of the zipper. Then, on the other side of the zipper, place the zipper.
Sew a straight stitch joining the pieces and turn it over as shown in image 4 and 5.
Step 3️⃣/ paso 3️⃣
 |  | |
 |  |
[Esp]
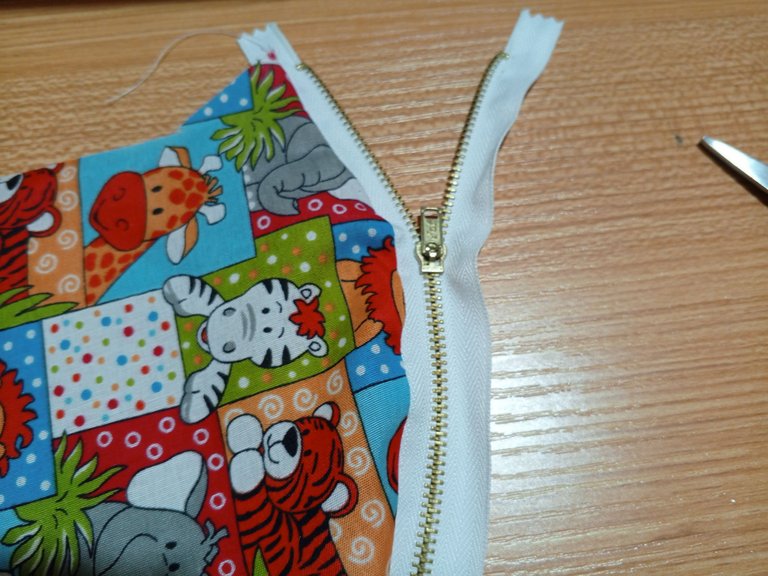
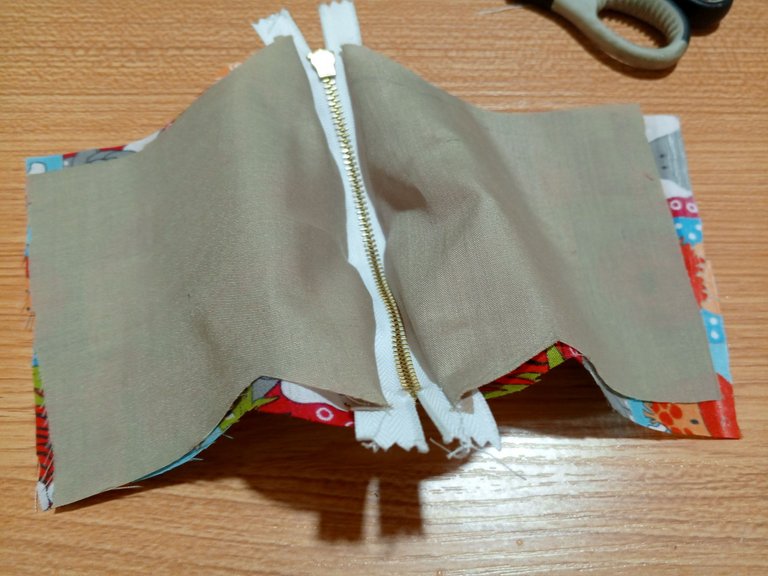
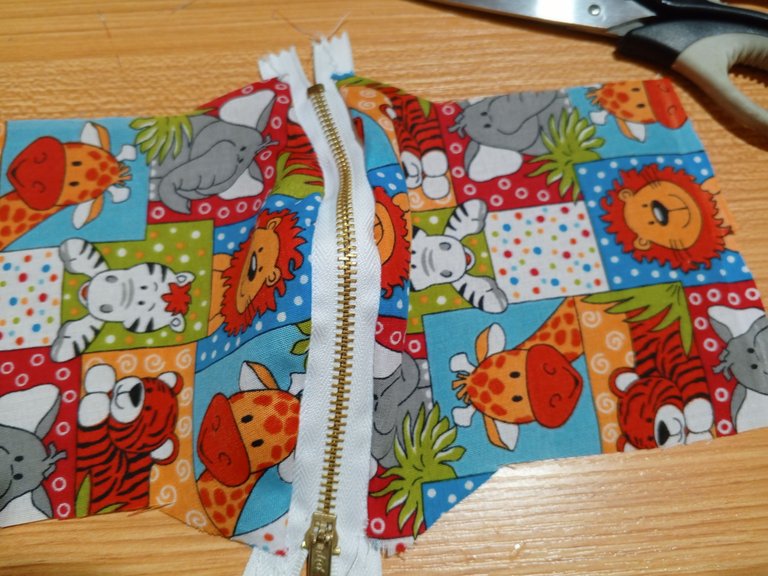
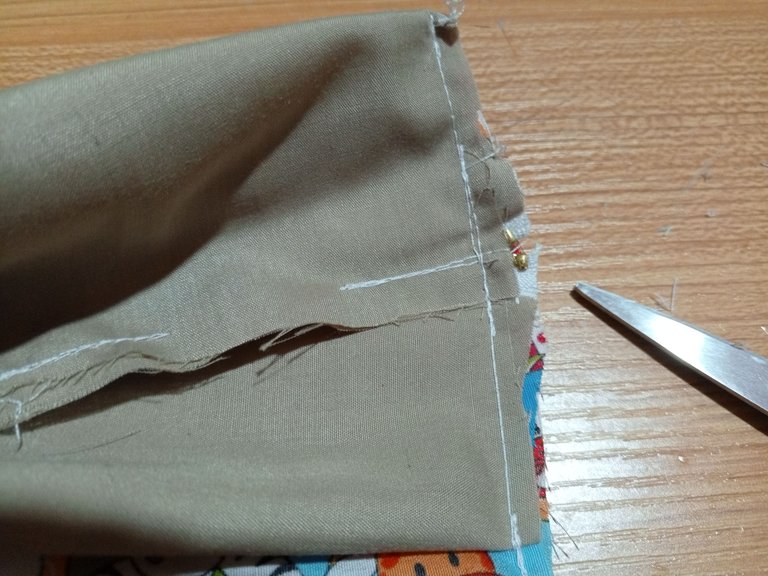
Toma cada pieza de tela, cada quien con cada cual, en la tela estampada cose una recta al final, en la tela del forro, cose una recta dejando una abertura en el centro para poder voltear.
Dobla la tela por el corte y coloca cada costura frente al cierre, esto debes hacerlo con ambas piezas, una por delante del cierre, la otra la colocas por detrás, lo cual debes coserlas al mismo tiempo y repetir ese procedimiento del otro lado, recorta las puntas de cierre excedentes.
! [English version]
Take each piece of fabric, each one with each other, on the printed fabric sew a straight seam at the end, on the lining fabric, sew a straight seam leaving an opening in the center to be able to turn over.
Fold the fabric by the cut and place each seam in front of the zipper, this should be done with both pieces, one in front of the zipper, the other one in the back, which should be sewn at the same time and repeat this procedure on the other side, trim the excess zipper ends.
Step 4️⃣/ paso 4️⃣
 |  |  |
 |  |  |
[Esp]
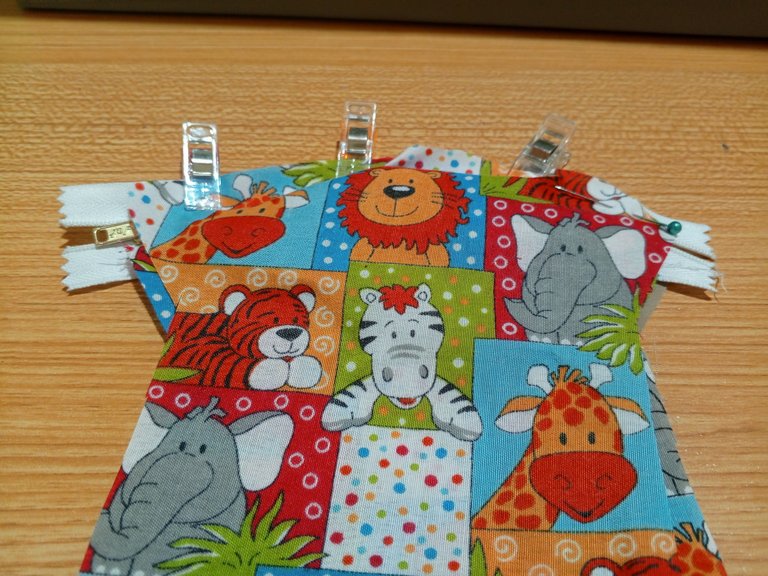
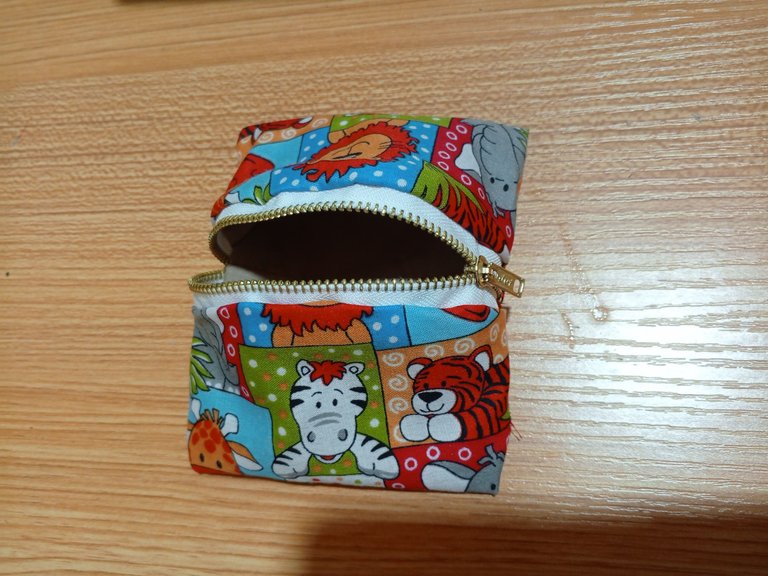
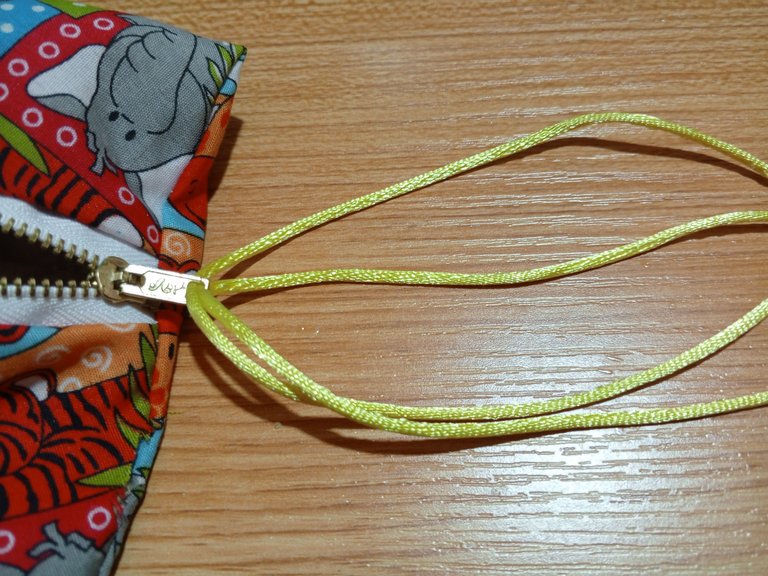
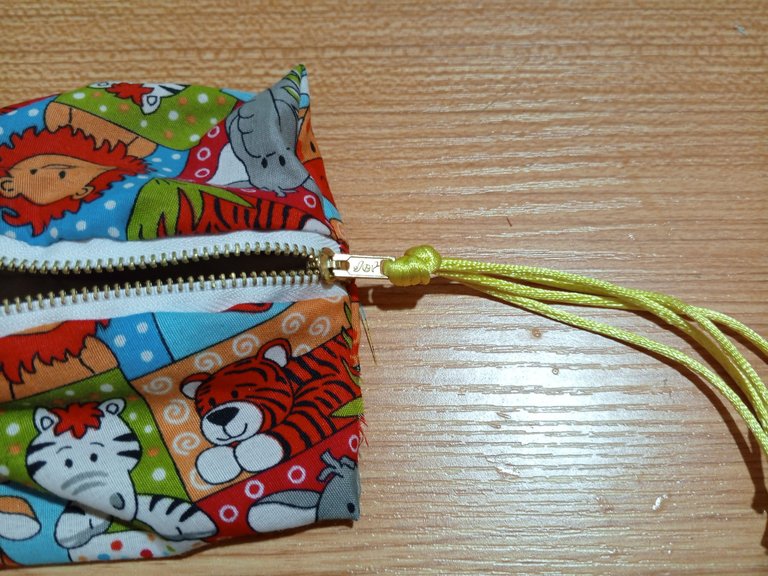
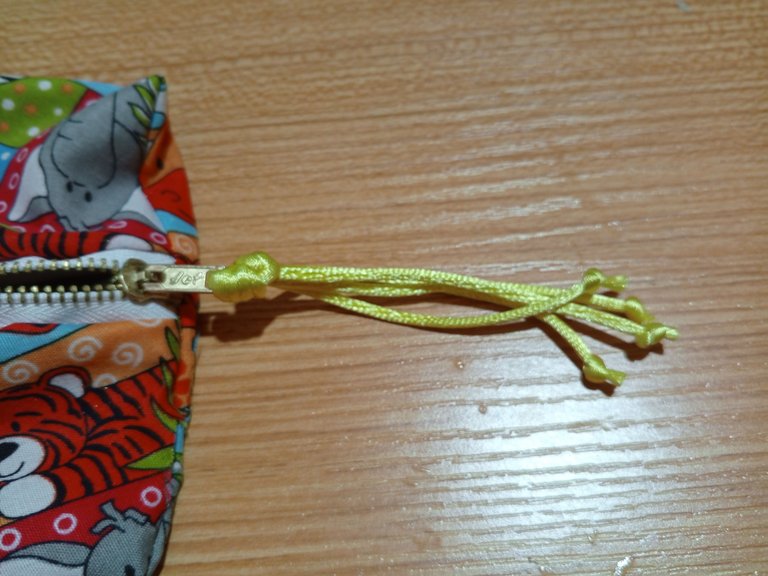
Voltea el bolsito por la abertura que dejaste de la costura del forro. abre el cierre y vuelve a voltear hacia a dentro.
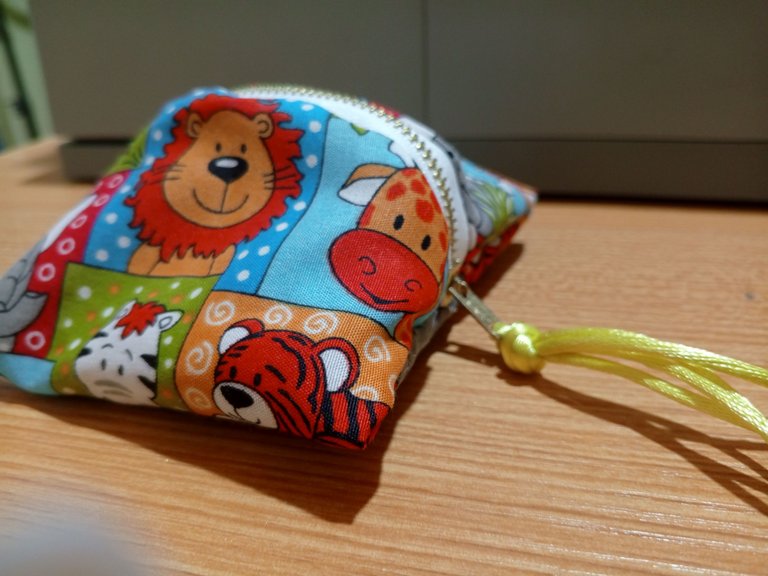
Coloqué unos cordones en la punta del cierre como decoración, puedes decorarlo a tu gusto, esto también permitirá abrirlo con mejor seguridad..
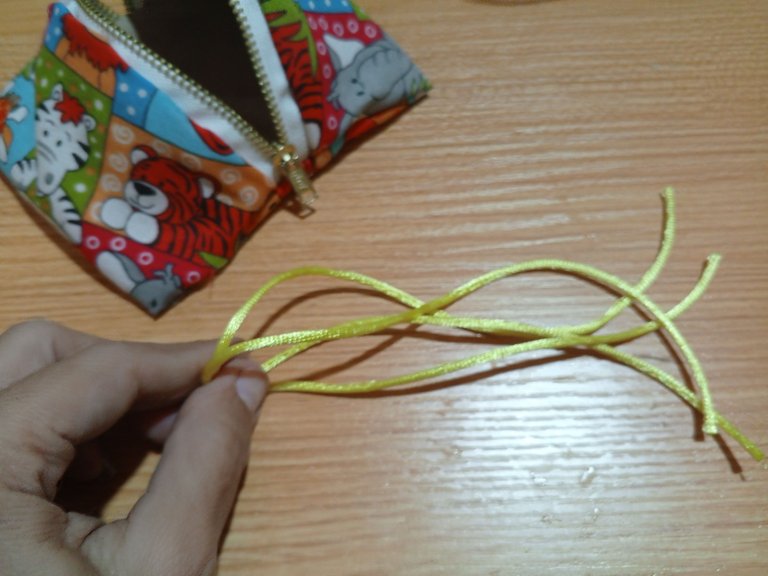
En las puntas de cada cordón hice un nudito para evitar que se deshilache. con ello terminamos el proyecto.
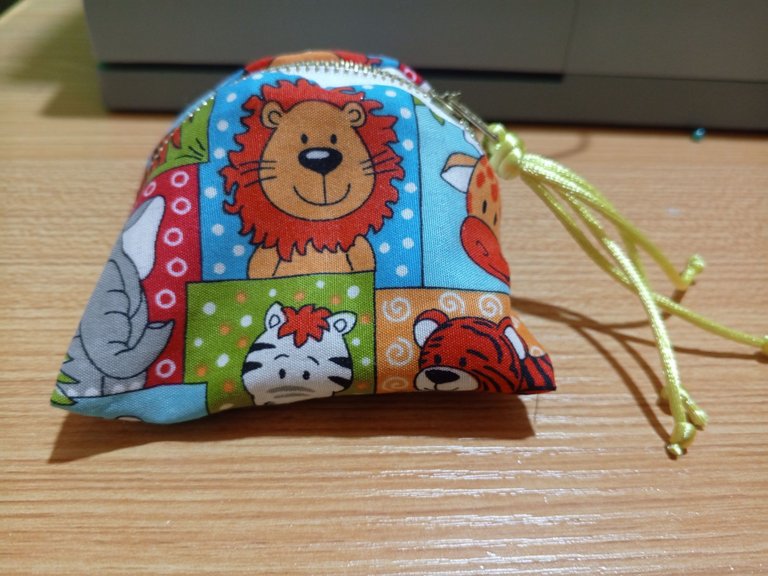
Amé este bolsito es muy funcional, yo estoy usando telas de reciclaje, pero me encantaría usar telas mas bonitas como para la venta.
Nos vemos en mi siguiente publicación.
! [English version]
Turn the bag over through the opening you left in the lining seam, open the zipper and turn it inside out again.
I placed some cords at the end of the zipper as decoration, you can decorate it as you like, this will also allow to open it with better security...
I tied a knot at the end of each cord to prevent fraying.
I love this bag is very functional, I am using recycled fabrics, but I would love to use nicer fabrics for sale.
See you in my next post.

Créditos / Credits
 |  |


👇Support the Hive DIY community as a witness 👇


Amazing work done by you.. 👍🏻
Hermoso trabajo y muy práctica tu presentación. No sólo puede usarse en cartera pequeñas, sino también en carreteras grandes y se puede adjuntar por la parte interna con algún broche o cinta y así encontrarlo con mayor facilidad.
Gracias por compartir este proyecto con todos @equipodelta
Fabuloso!!
Mana, qué lindo!!! Este es un accesorio muy útil y necesario para resguardar el maquillaje. Saludos amiga 🌺🌺😃😃😁😃
The mini bags are also useful for carrying smaller items and accessories. This is good.
jaja me ha pasado de querer encontrar algo en un bolso y tener que sacar todo para poder encontrarlo, esto mas que nada cuando estudiaba 😂 era un poco estresante pero bueno, hoy dia ya no llevo casi nada y no me pasa, pero si a muchas personas les ocurre lo que mencionas, asi que este bolsito sera muy practico para encontrar las cositas mas pequeñas que mas facil se pierden jaja 🦉 el estampado es muy tierno ❤️
Hello @equipodelta
You do everything you do well, I like these mini bags for your cosmetics, especially the print of the fabric, the bag is very beautiful
Your creativity is amazing. You made a beautiful pocket out of colorful clothes. And there's a chain in that pocket too. This is possible only if there is a noble thinking power. @equipodelta
Although I don't usually carry many things and I don't have a purse, I find the idea of keeping everything organized quite interesting. I've seen those kinds of people who, when they search for something inside a purse, are able to pull out even a household appliance from inside.
Es un práctico y divertida porta polvo compacto, sin duda la cremallera le da un gran estilo, me encanto.
Que bien, el polvo compacto y el rubor tienen la propiedad de que se abren o se parten y dejan restos en el bolso, buena idea!
¡Hermoso trabajo, te felicito @equipodelta!
A mí me hace falta un bolsito de esos para organizar mis cosas porque soy de las que saca y saca y no encuentro nada jjj , parece que traigo la mochila de Dora la exploradora, traigo de todo allí dentro.
Amiga, me encanto este nuevo modelo se ve tan ideal para cuando solo necesitas llevar lo necesario y mantenerlos protegidos dentro de tu cartera.
https://twitter.com/hivediy47901/status/1783750070707310599
Que lindo! @nanialeal tenemos solución para el problemita
Si lo necesito @danigada18
Que hermoso te quedo!💜 y es genial y muy util para guardar algo tan fragil como el polvo compacto!
Congratulations, your post has been curated by @dsc-r2cornell. You can use the tag #R2cornell. Also, find us on Discord
Felicitaciones, su publicación ha sido votada por @ dsc-r2cornell. Puedes usar el tag #R2cornell. También, nos puedes encontrar en Discord
Cualquier aditamento extra que amortigüe el maquillaje en la cartera siempre será una bendición, uno sabe cuántos compactos y rubores se han roto por un mal movimiento o un olvido. ¡Muy bien explicado bella! -me provoca hacer una tanda de bolsitos asi solo por gusto, super relajante el proceso- 💜 💜 💜