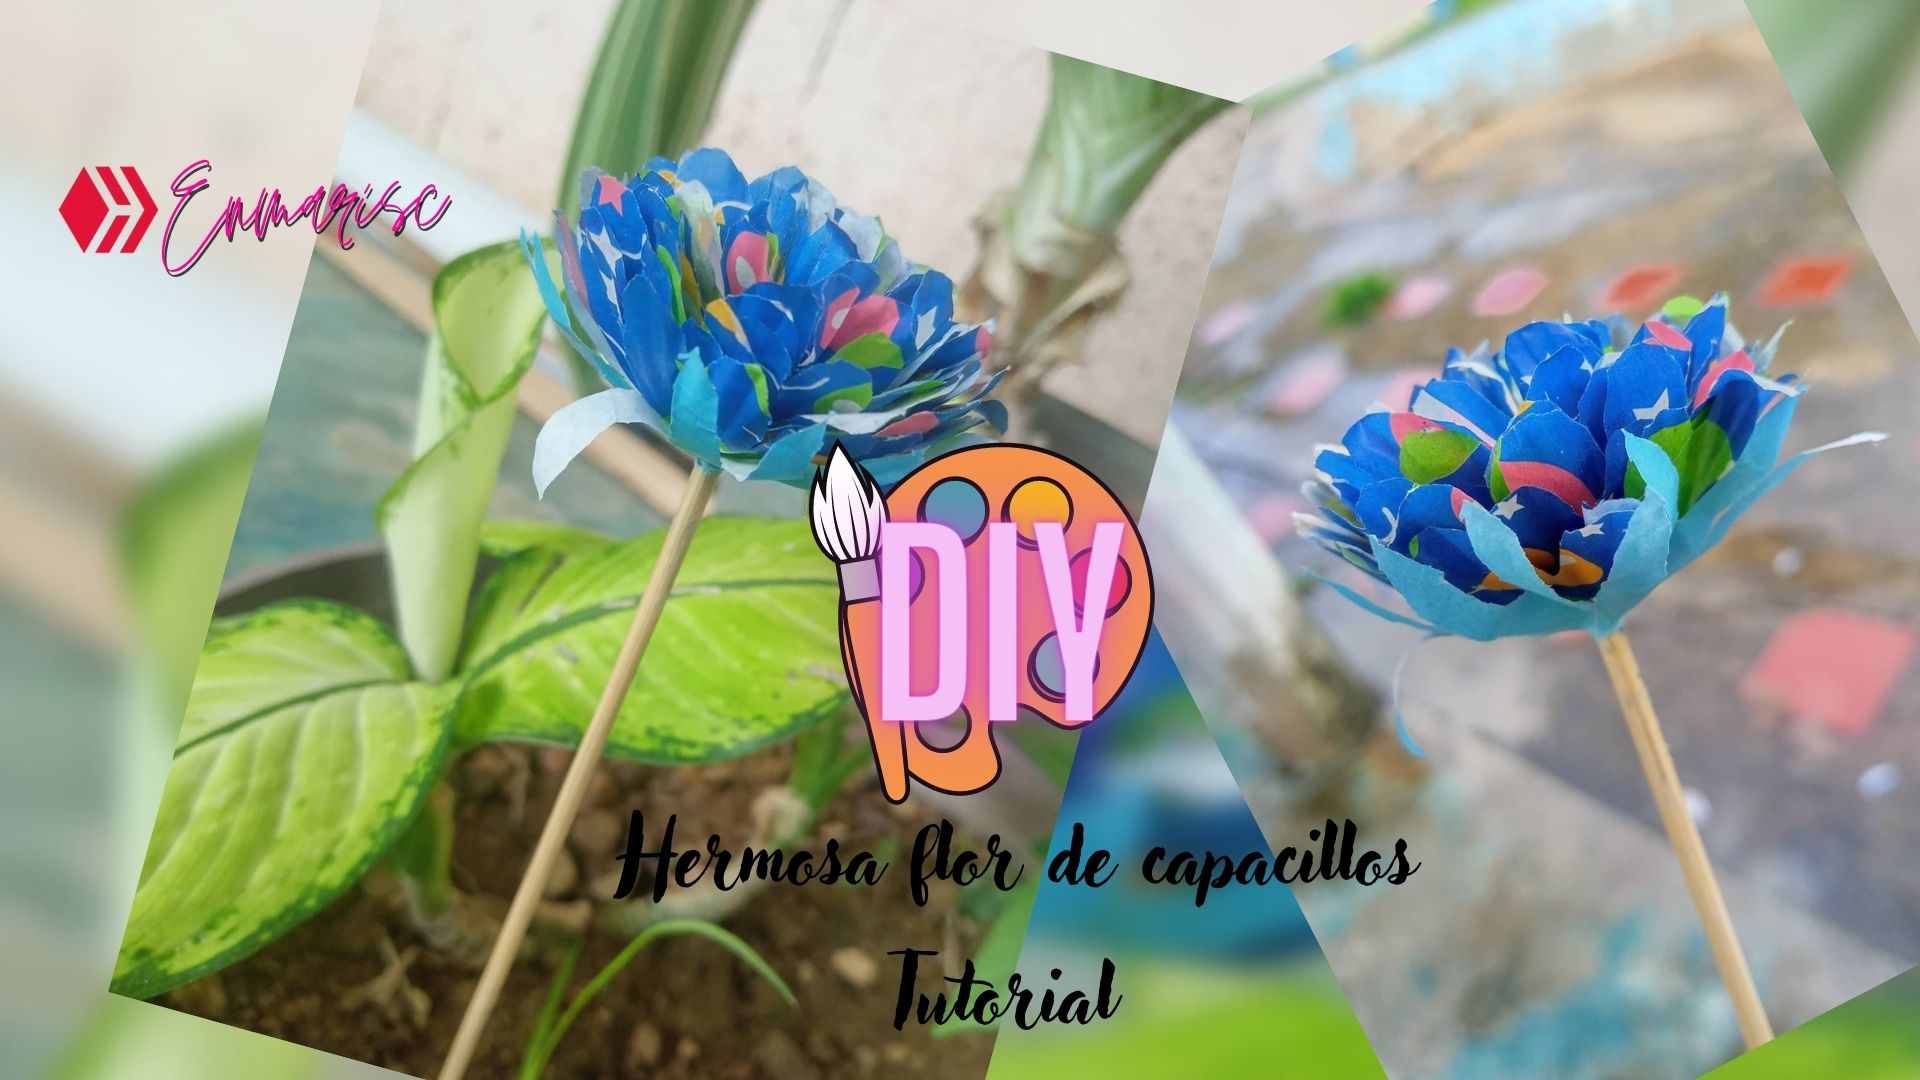
[DIY] Cómo hacer unas fáciles y hermosas flores con capacillos de Cupcakes [ES/EN]
♥
¿Nunca habían notado la cantidad de material reciclado que tenemos en casa?, que probablemente no sea reciclado, la mejor definición sería casi nuevo porque no lo usamos.
Pues algo similar ocurre ahora, estaba muy tranquila revisando cosas que había en el refrigerador y noté un paquete de capacillos de cupcakes nuevos, quizás lo compré para alguna ocasión especial que nunca se dio y por ende quedaron en el refri abandonados.
Pero es momento de poner la mente a brillar!!
Encontré una fantástica idea con ideas en cinco minutos de una preciosa flor con ruedas de papel, claro que con capacillos los pétalos quedan aún mejor. Aclaro que la idea no se me ocurrió a mi (upss), porque quizás ya la hayan visto en otro lugar.
Pero sin embargo y por si acaso no la conocían, se las muestro hoy ♥
Have you ever noticed how much recycled material we have at home, which is probably not recycled, the best definition would be almost new because we don't use it.
Well, something similar happens now, I was very calmly going through things in the refrigerator and I noticed a package of new cupcake layers, maybe I bought them for a special occasion that never happened and therefore they were left in the fridge abandoned.
But it's time to put my mind to shine!
I found a fantastic idea with ideas in five minutes of a beautiful flower with paper wheels, of course with layers the petals look even better. I must clarify that I didn't come up with the idea myself (upss), because you may have already seen it somewhere else.
But nevertheless, and just in case you didn't know it, I show it to you today. ♥
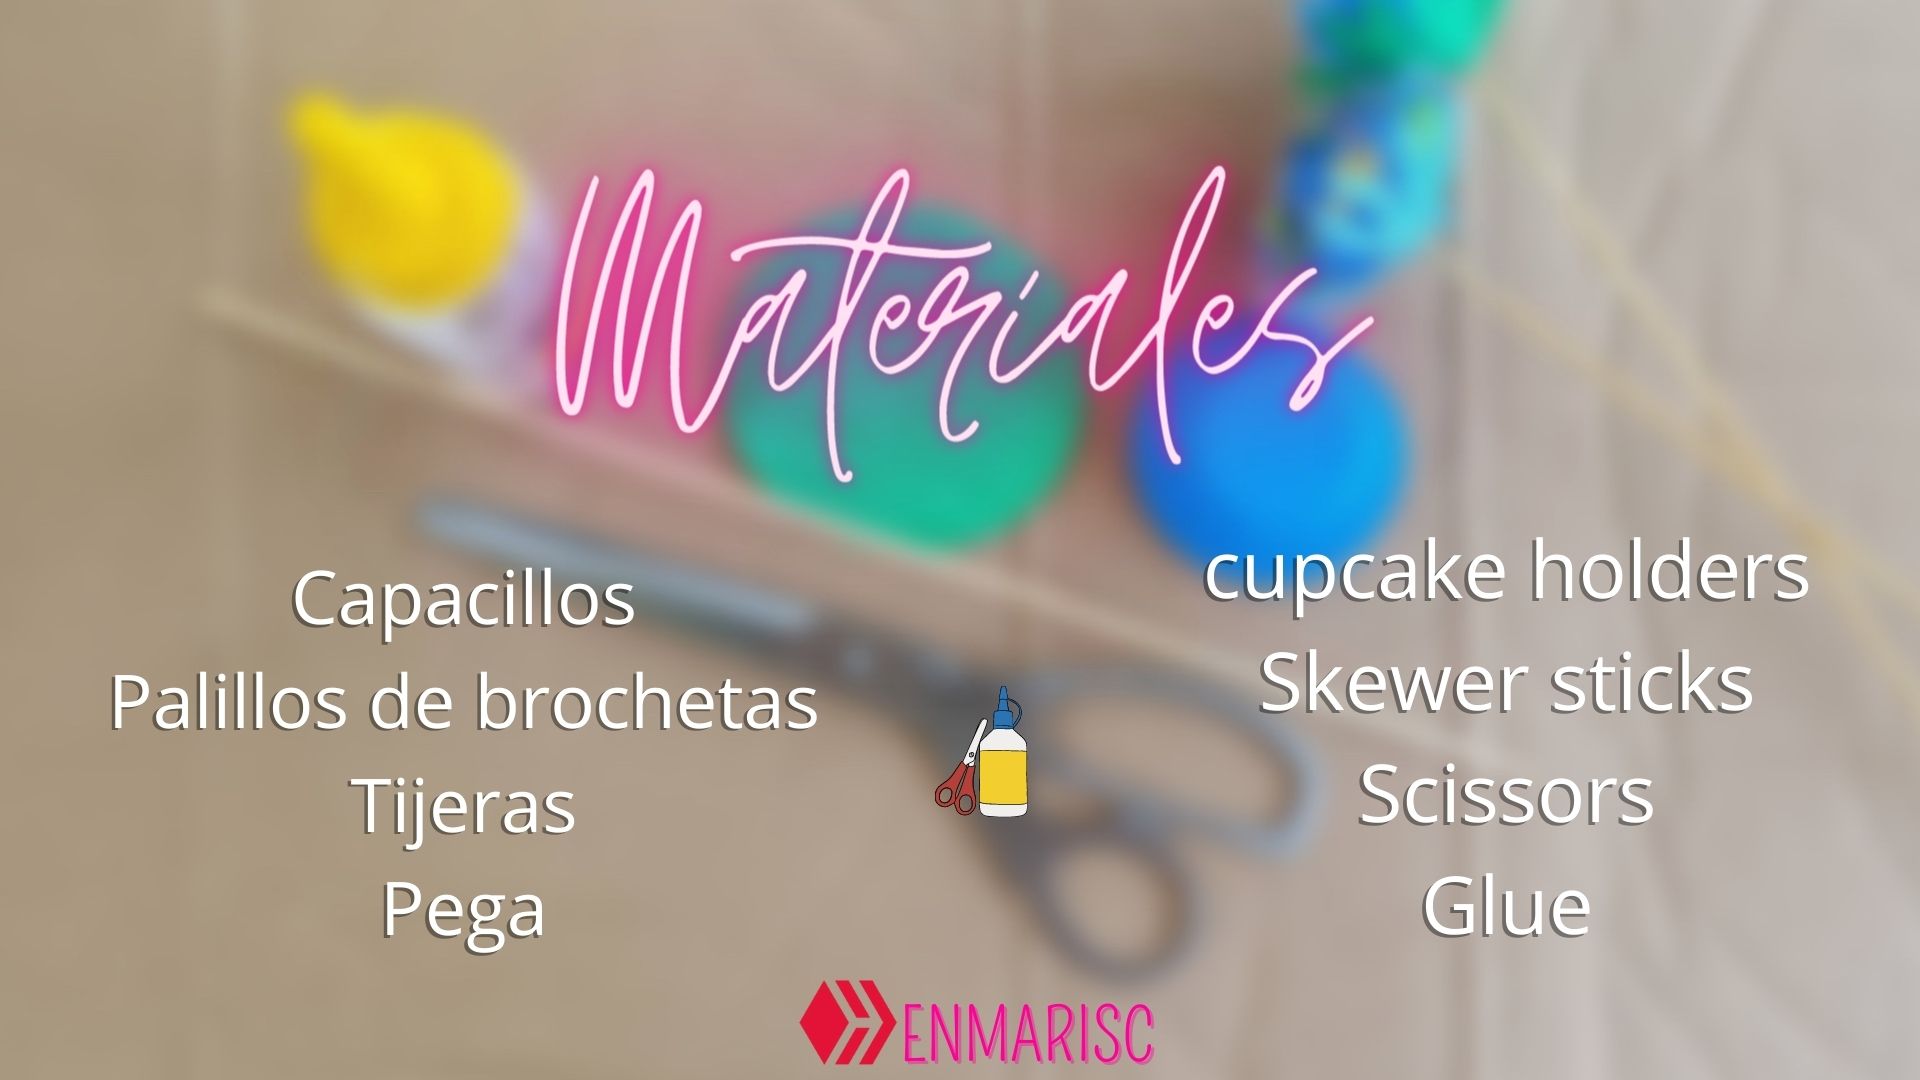

Cómo pueden ver son solo tres materiales que son los que necesitamos para elaborar éstas hermosas flores.
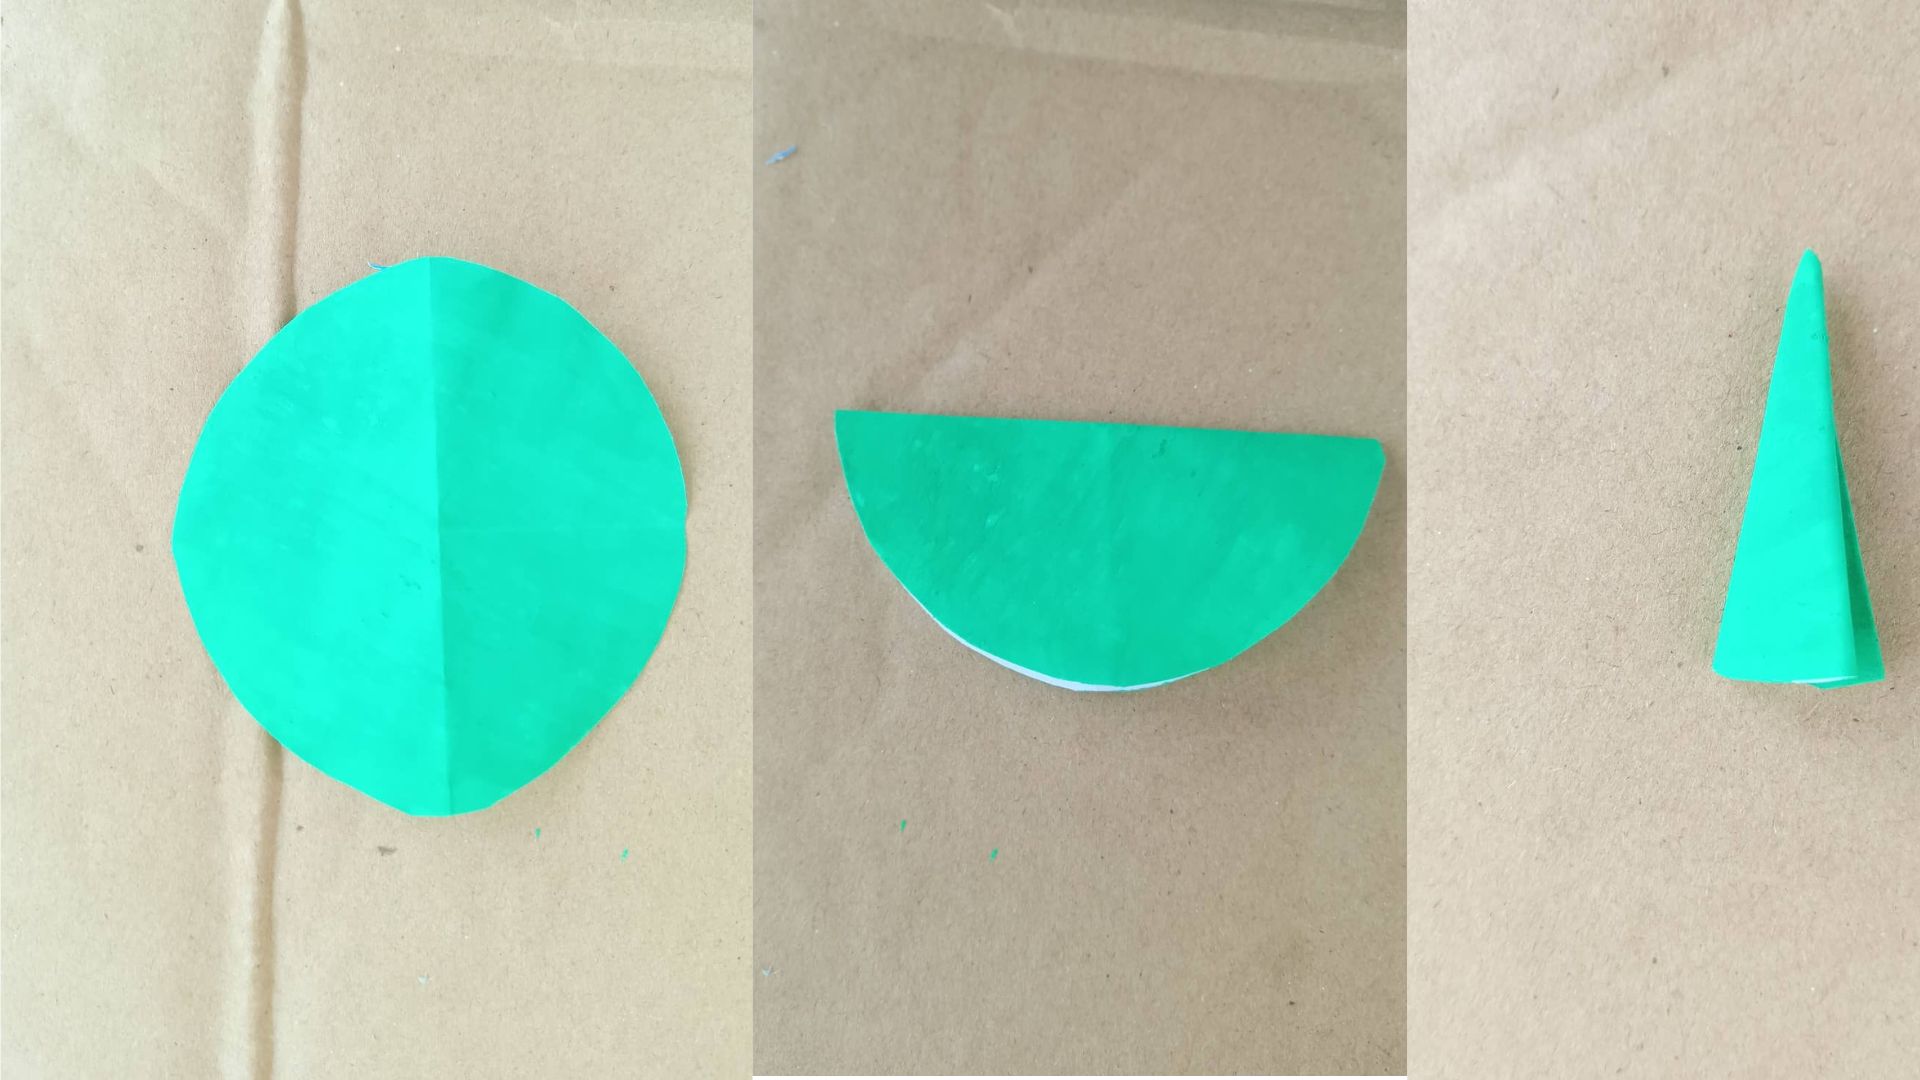
De hecho tuve que hacerme de uso de una ruedita de papel que pinté de color verde porque no tenía capacillos verdes sólo azules, pero queda igual de bonita y su grosor le da la similitud de unas verdaderas hojas. ♥
Vamos a los pasos.
As you can see there are only three materials that we need to make these beautiful flowers.
In fact I had to use a paper wheel that I painted green because I didn't have green layers, only blue, but it looks just as pretty and its thickness gives it the similarity of real leaves. ♥
Let's go to the steps.

Lo principal es darle forma de pétalos a los capacillos, para ello necesitamos doblar los capacillos por la mitad, y luego hacerle tres dobles más para que quede bien pequeño, con ayuda de las tijeras recortamos los lados dándole forma de pétalos. Al abrir el capacillo nuevamente veremos como el resultado es impresionante.
Lo mismo lo haremos con el circulo (o capacillo) verde.
The main thing is to give petal shape to the layers, for this we need to fold the layers in half, and then make three more doubles so that it is very small, with the help of scissors we cut the sides giving it petal shape. When we open the layer again we will see how the result is impressive.
We will do the same with the green circle (or layer).
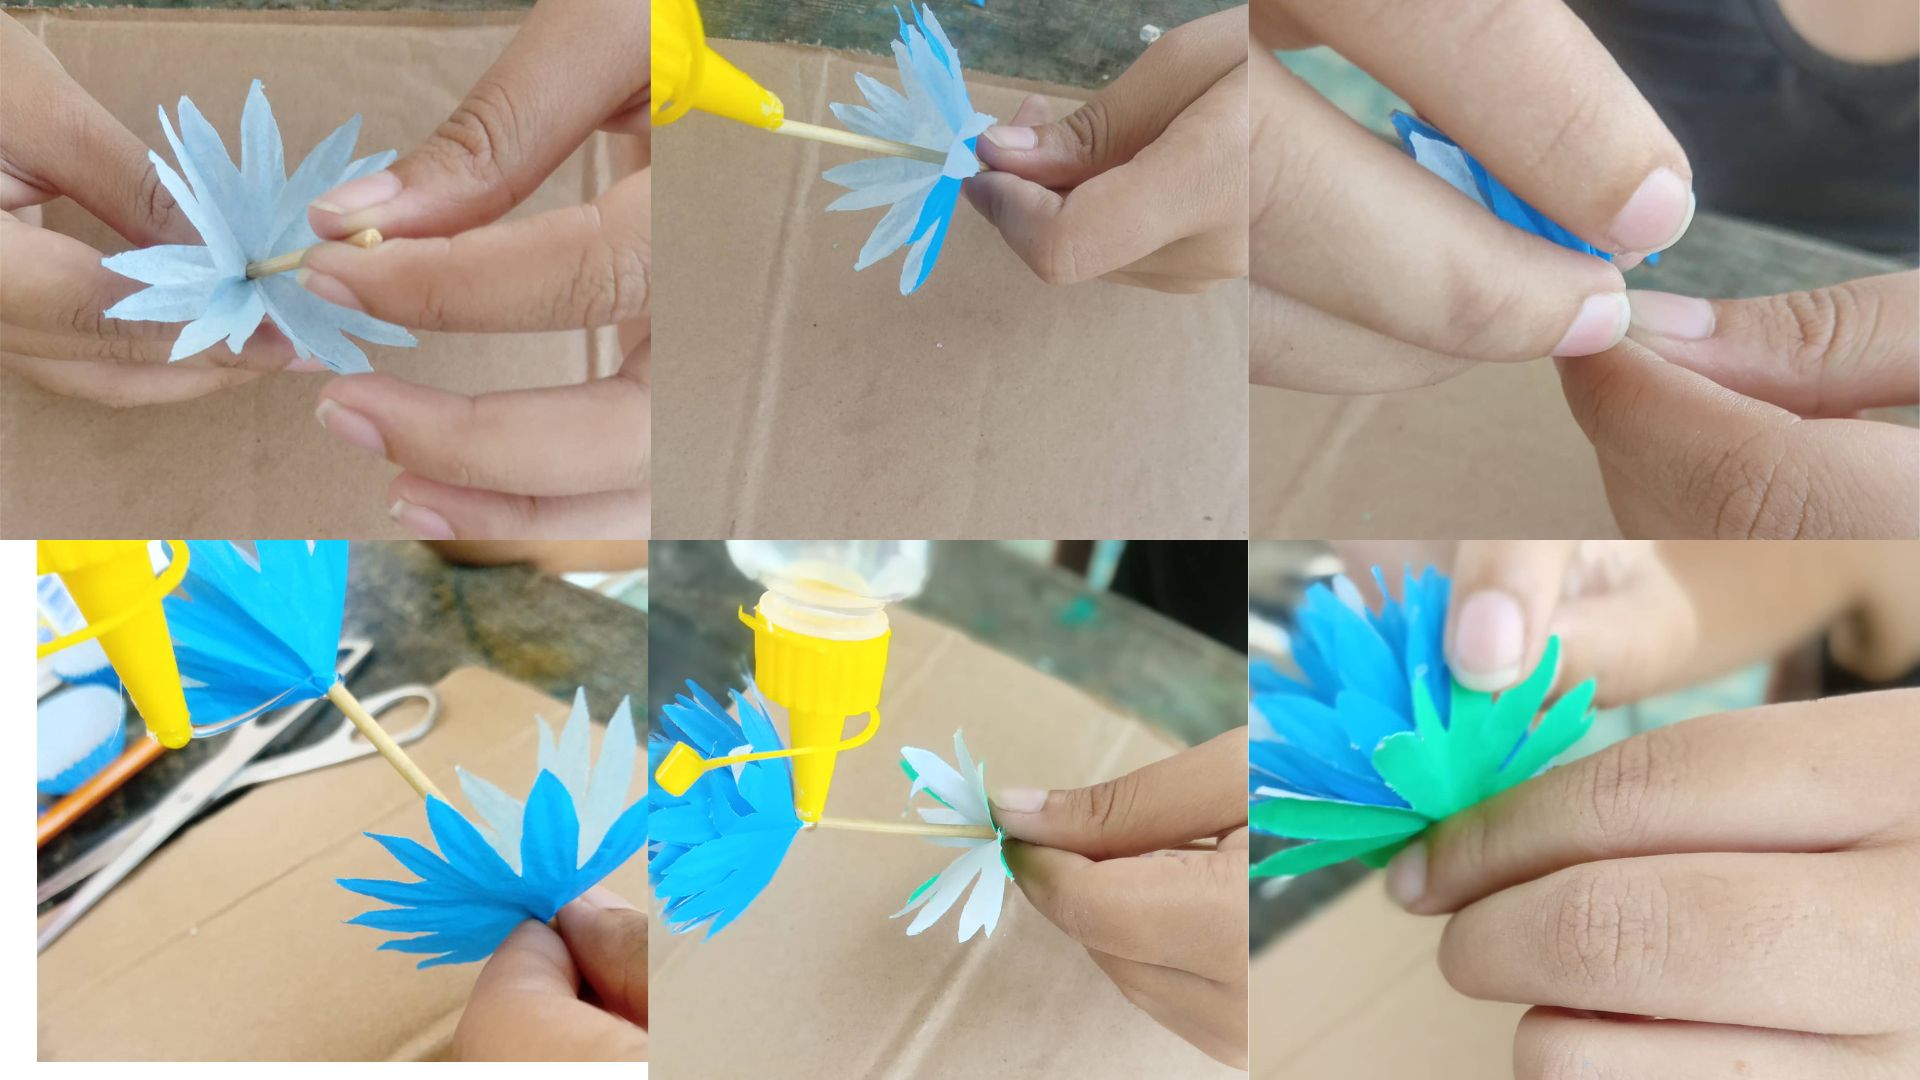
¿Que sigue?, lo siguiente que haremos será lo más divertido, pero hay que tener cuidado porque podríamos hacer un desastre. Introducimos un palillo de brochetas por el medio de uno de los capacillos, con mucho cuidado de no romper el capacillo, luego antes de llegar al comienzo del palillo le colocamos pega y al llevar el capacillo hasta arriba hacemos un poco de presión para que quede pegada.
Ojo, solo debemos pegar un poco no demasiado, es solo para que queden fijos los pétalos. Así haríamos con todos los pétalos y al final las hojas verdes, con mucho cuidado y paciencia. ♥
The next thing we will do will be the most fun, but we must be careful because we could make a mess. We introduce a skewer stick in the middle of one of the layers, being very careful not to break the layer, then before reaching the beginning of the stick we put glue and when we bring the layer to the top we make a little pressure so that it sticks.
Warning, we should only glue a little bit, not too much, it is just to fix the petals. So we would do with all the petals and finally the green leaves, with great care and patience. ♥
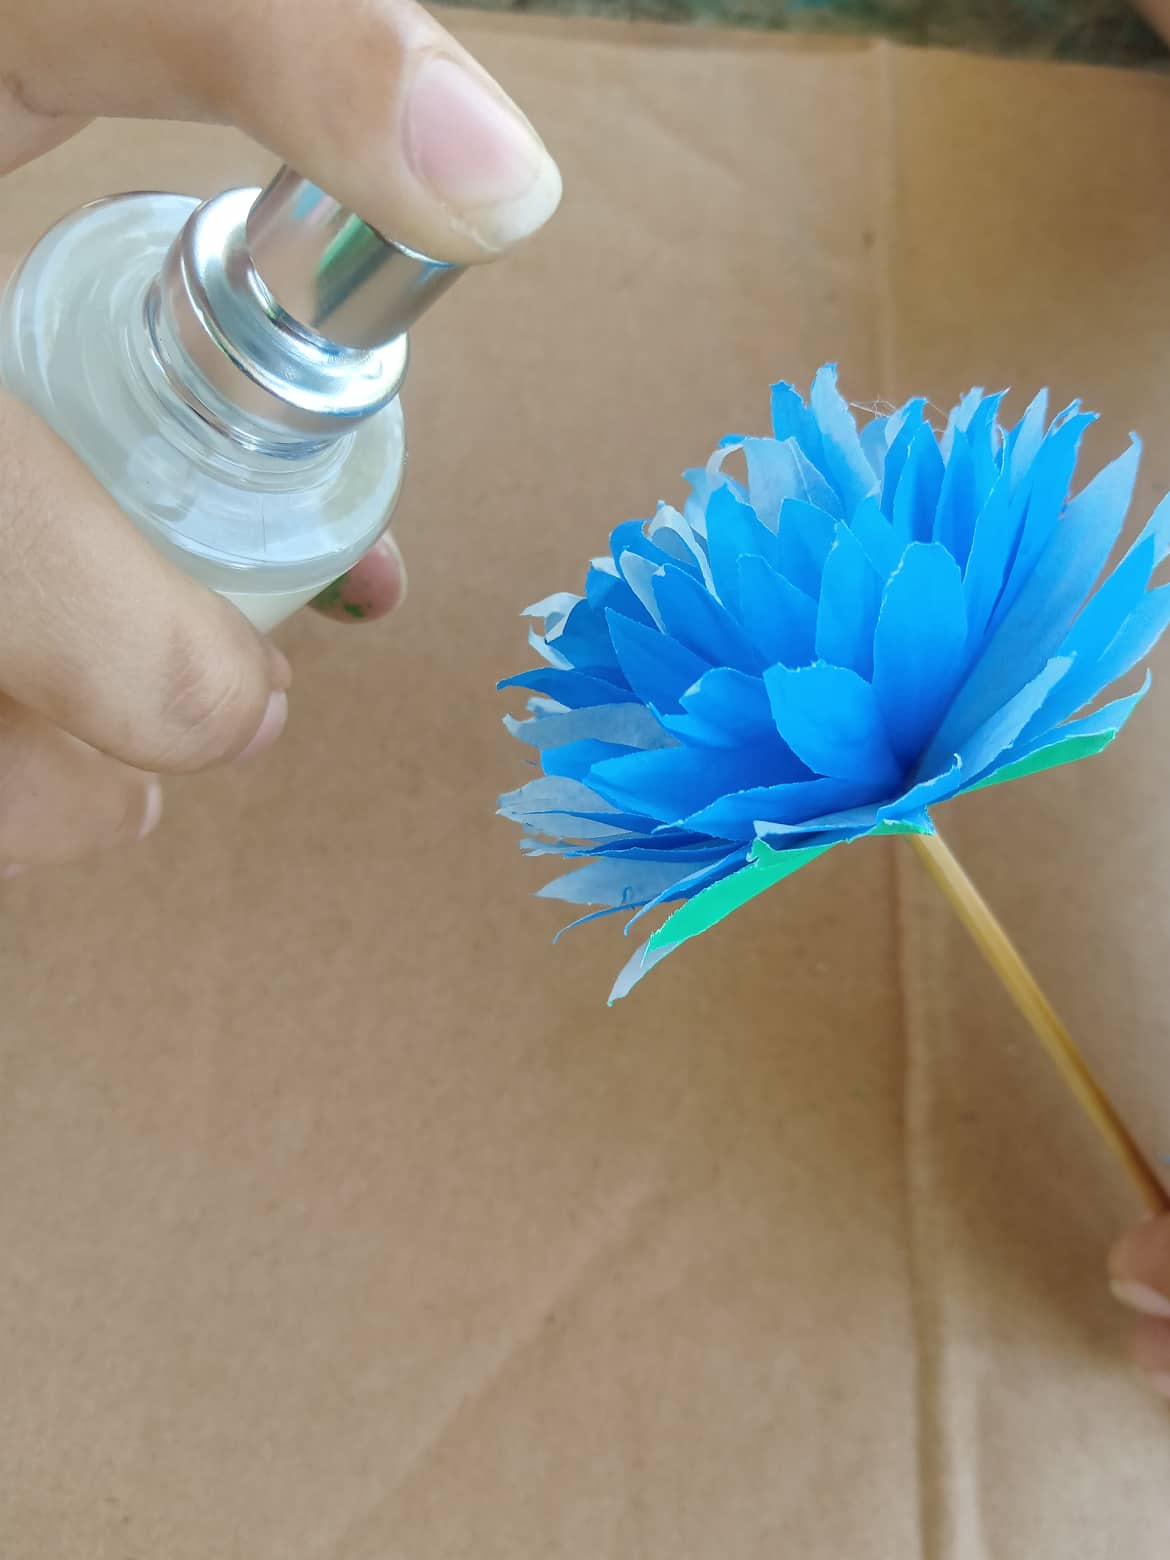
Ya tenemos todo finalizado, pero quería añadir una maravillosa idea!!. ♥
Agregué un poco de fragancia a las flores, les aseguro que donde las coloquen (si tiene una corriente de aire) llenará el lugar de un refrescante aroma!! ♥
We already have everything finalized, but I wanted to add a wonderful idea!!!. ♥
I added a little fragrance to the flowers, I assure you that wherever you place them (if you have a draft) it will fill the place with a refreshing scent!!!! ♥
Listos para ver el resultado? / Ready to see the result?
Seguros? / Are you sure?
Bueno ahí les va!! / Well here goes!

¿Acaso no es preciosa? / Isn't she beautiful?

Muy original tu idea amiga.
!discovery 25
This post was shared and voted inside the discord by the curators team of discovery-it
Join our community! hive-193212
Discovery-it is also a Witness, vote for us here
Delegate to us for passive income. Check our 80% fee-back Program
Your content has been voted as a part of Encouragement program. Keep up the good work!
Use Ecency daily to boost your growth on platform!
Support Ecency
Vote for new Proposal
Delegate HP and earn more
Congratulations @enmarisc! You have completed the following achievement on the Hive blockchain and have been rewarded with new badge(s):
Your next target is to reach 400 upvotes.
You can view your badges on your board and compare yourself to others in the Ranking
If you no longer want to receive notifications, reply to this comment with the word
STOPCheck out the last post from @hivebuzz:
Support the HiveBuzz project. Vote for our proposal!
Dear @enmarisc, we need your help!
The Hivebuzz proposal already got important support from the community. However, it lost its funding a few days ago and only needs a few more HP to get funded again.
May we ask you to support it so our team can continue its work this year?
You can do it on Peakd, ecency, Hive.blog or using HiveSigner.
https://peakd.com/me/proposals/199
Your support would be really appreciated.
Thank you!