☀️ My First time Making PowerPoint Separator [ESP/ENG] ☀
Hola amigos de #HiveDiy, espero se encuentre bien en este maravilloso día. En esta ocasión vengo muy emocionada para presentarles mi publicación ya que para realizar algunos de mis post he recurrido a terceras personas para poder colocar los separadores porque no se realizarlos, bueno no sabía, tengo tres días practicando en PowerPoint para realizar mis propios separadores y me pude dar cuenta que no es tan complicado como yo me lo imagine todo este tiempo, solo hay que tener un poco de imaginación y saber cómo quieres realizar tus separadores, cuando tengas la idea clara en tu mente comienzas a buscar las imágenes necesarias para realizar tu obra de arte.
Para mi es gratificante poder observar tantos lindos separadores que utilizan las personas en sus publicaciones, me quedo embelesada solo mirando y mirando lo lindo que les quedan, así que como ya les comenté me propuse realizar mis propios separadores, me tomo tiempo saber que los podía realizar en PowerPoint, hasta que un día navegando por la web me topé con un tutorial en donde explicaban los pasos para hacer separadores y me dije vaya esto es lo que yo estaba deseando hace tiempo.
Claro, apenas comienzo a descubrir algunas de las funciones de PowerPoint, aunque lo he usado por algún para realizar mis trabajos cuando estudie en la universidad y para editar algunas fotos todavía me falta mucho por descubrir en este maravilloso programa. Es muy sencillo, es genial para principiantes como yo que estamos apenas iniciando en este maravilloso mundo de crear de arte digital.
A continuación,les muestro el paso a paso de mi primer separador, les enseño como lo hice, vamos!!

PASO A PASO
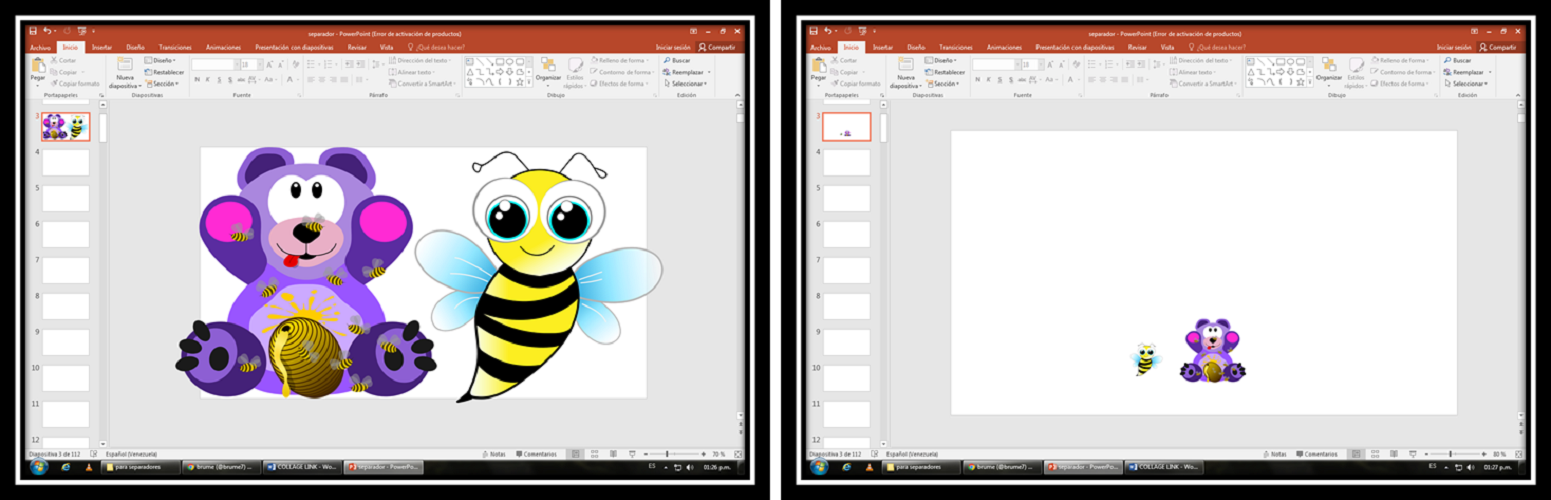
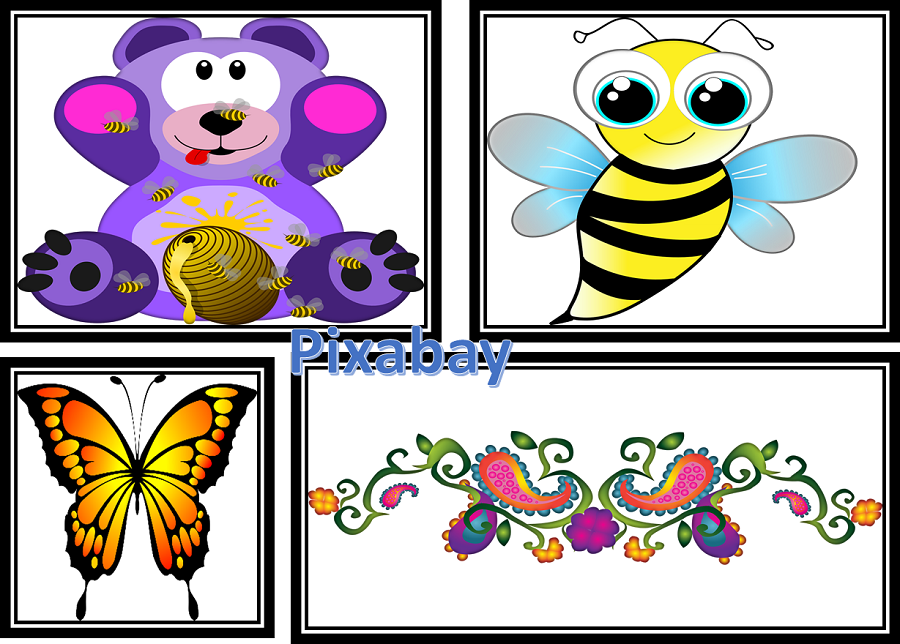
El primer paso fue abrir el programa d PowerPoint y pegar las fotos que había seleccionado previamente desde Pixabay, como las imágenes son muy grandes hay que reducirlas bastante de tamaño, yo reduje la abeja más que el oso ya que la colocare a los lados de la imagen del lindo osito
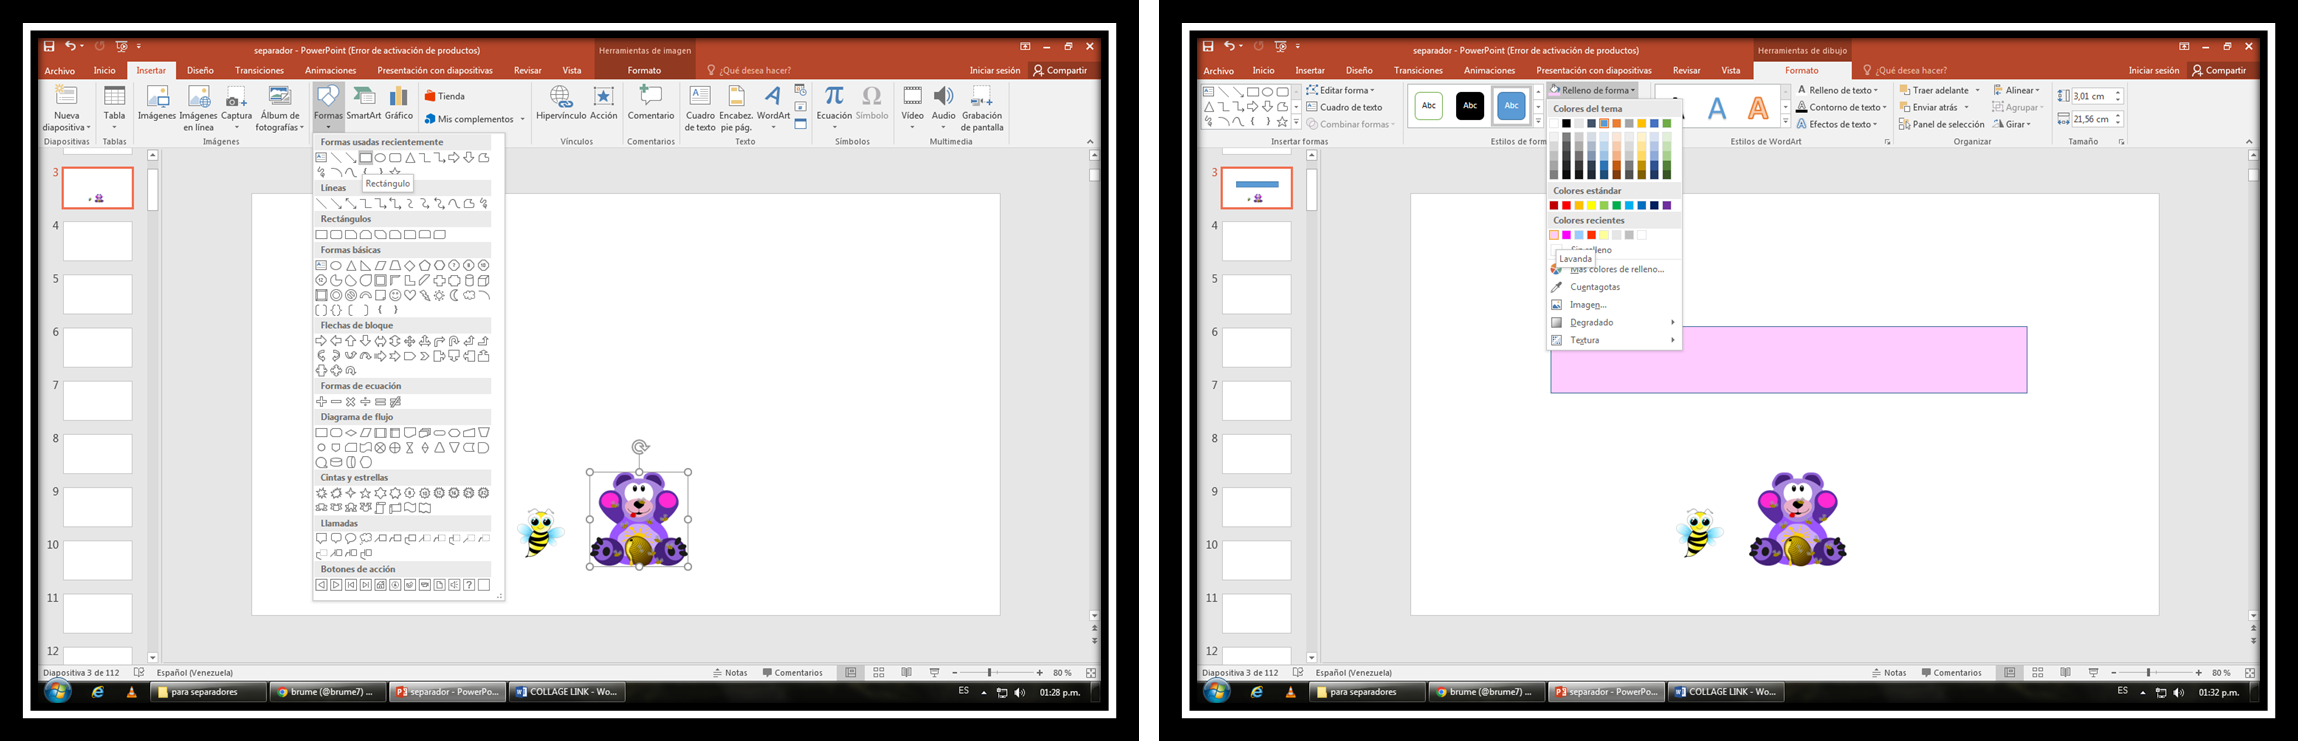
Doy clic a la imagen del oso o a cualquiera de las dos imágenes para que me dirija a "Formato", luego estando en "Formato" doy clic donde dice "Insertar" despues de esto hago clic donde dice "Formas" y selecciono un rectángulo.
Cliqueo donde dice "Relleno de Forma" y selecciono el color de mi preferencia en este caso decidí elegir un color rosado muy cloro
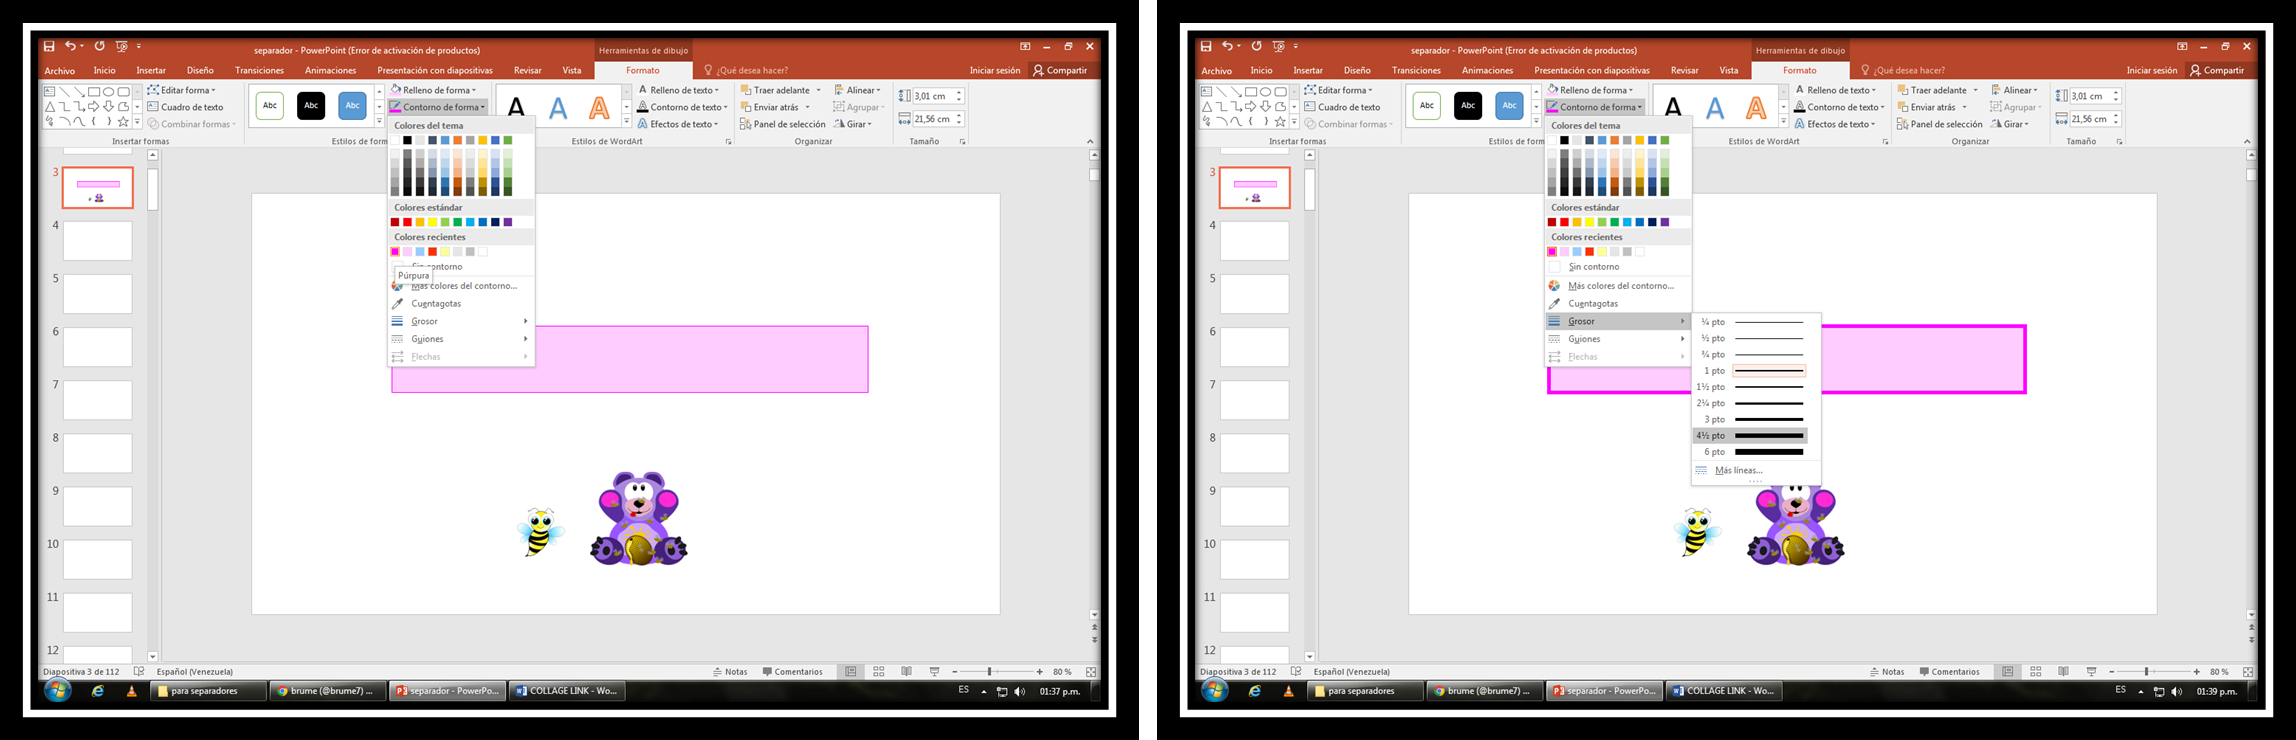
Cuando se despliega la pestaña de "Contorno de Forma" se encuentra la opción "Grosor”, allí se muestran varios tipos de líneas unas más gruesas y otras más delgadas, yo seleccione 4 1/2pto porque quero que el grosor de la línea del rectángulo sea pronunciada y se visualice mejor.
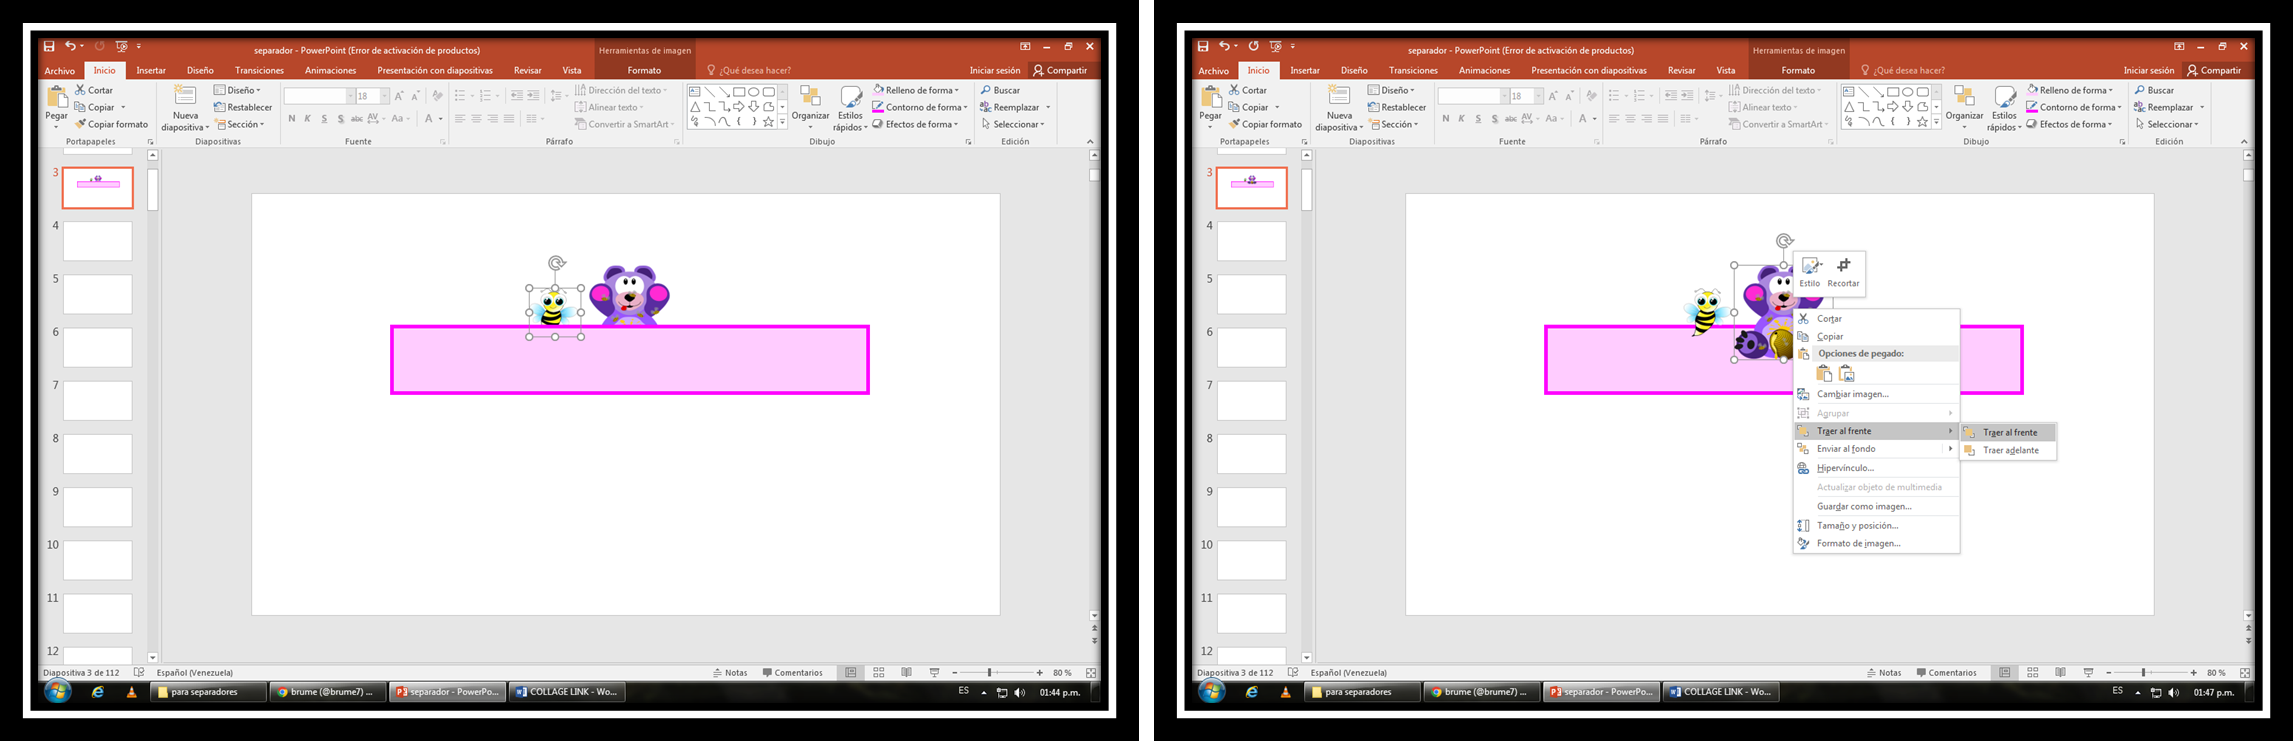
La imagen del oso y de la abeja quedan detrás del rectángulo, pero yo no quiero que estén detrás, sino adelante, así que doy clic derecho para enviarlas al hacia adelante dando clic donde dice "Traer al Frente"
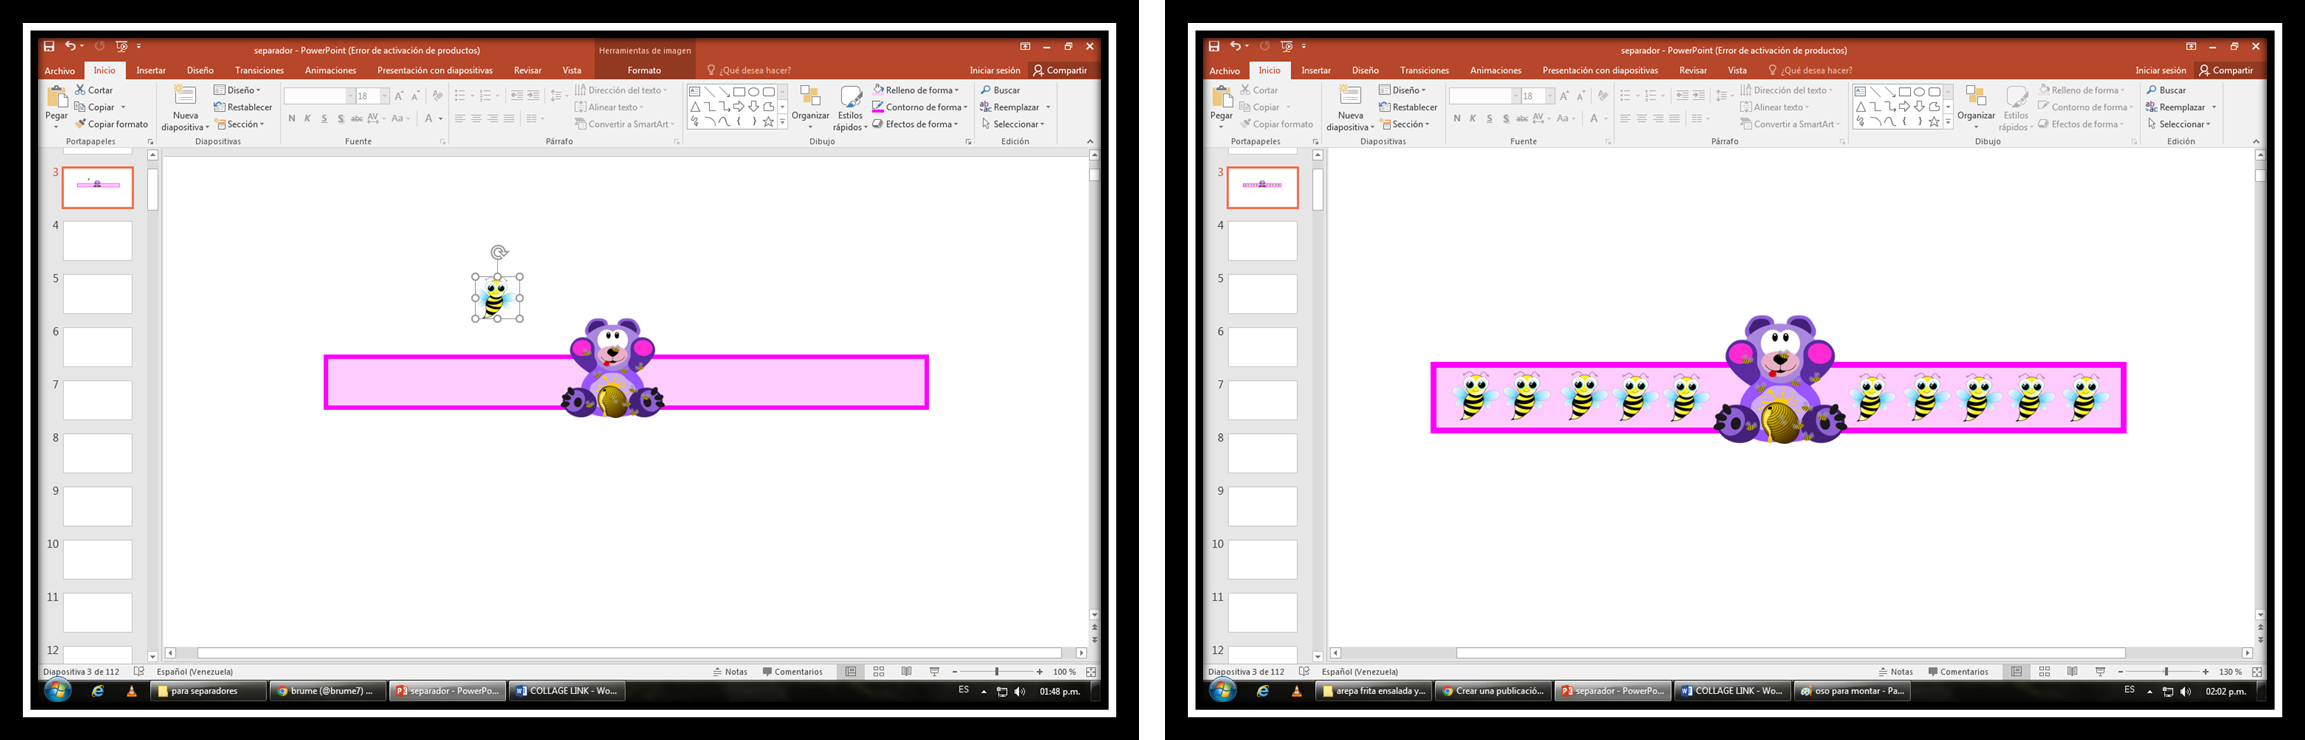
Ahora casi finalizando,coloco la imagen del oso en el centro del rectangulo y coloco cinco abejas en el lado derecho del oso y cinco en el lado izquierdo,como me sobro espacio en el rectangulo lo reduje para no colocar mas abejas en el.
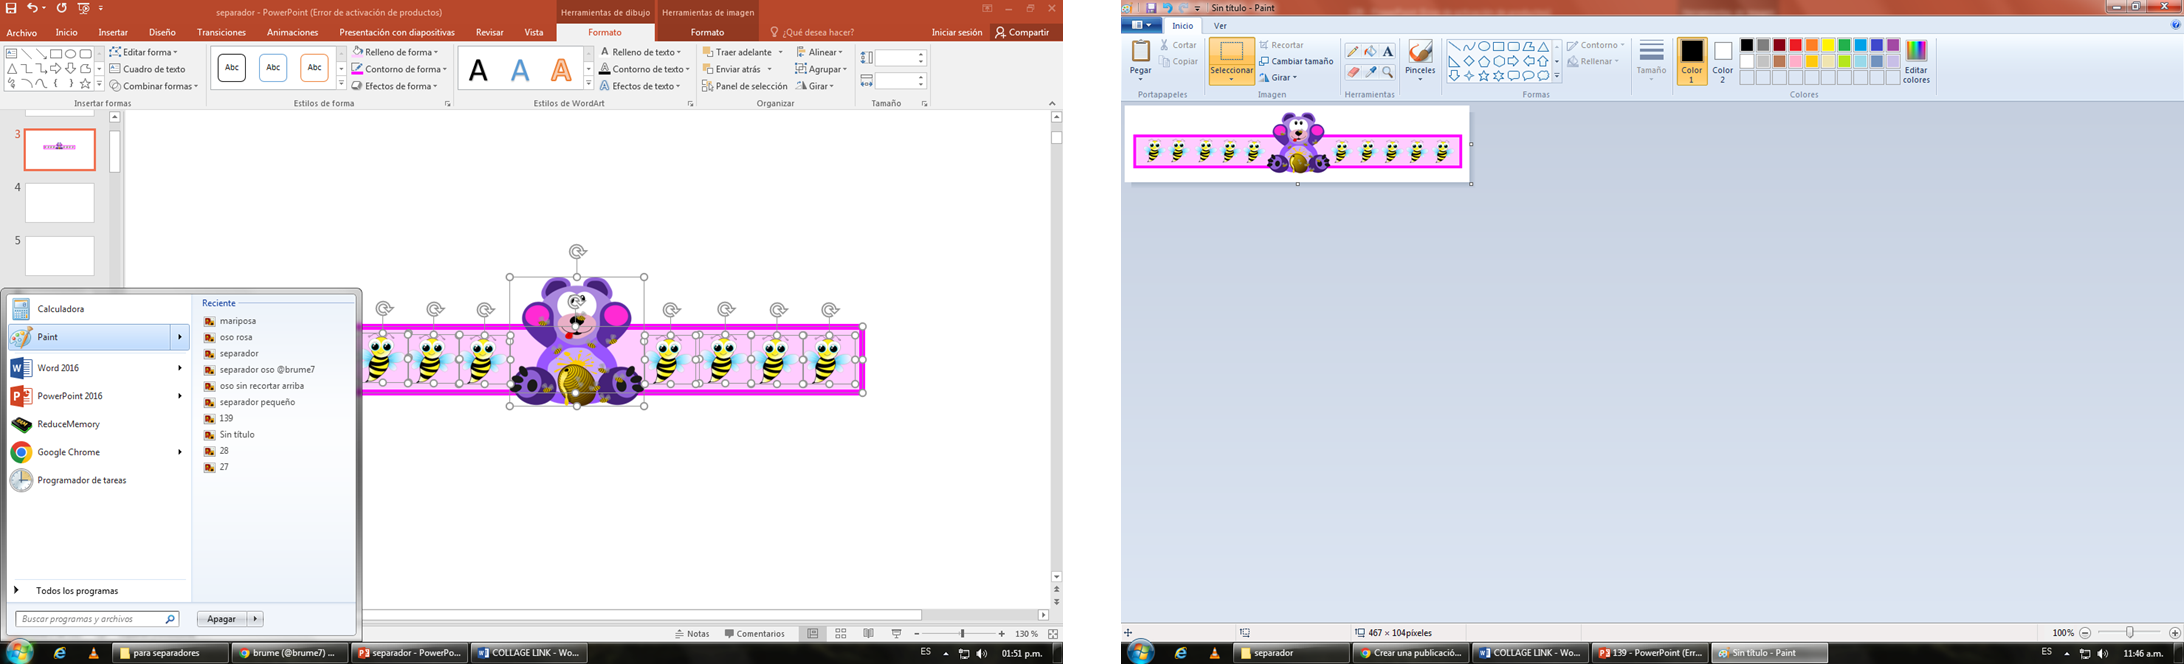
Después que el separador está finalizado selecciono toda la imagen y me dirijo a "Paint”, luego recorto la imagen y por último la guardo en "Descargas" para ser utilizado cuando la necesite. Allí mismo en descargas abrí una nueva carpeta para colocar mis nuevos separadores.
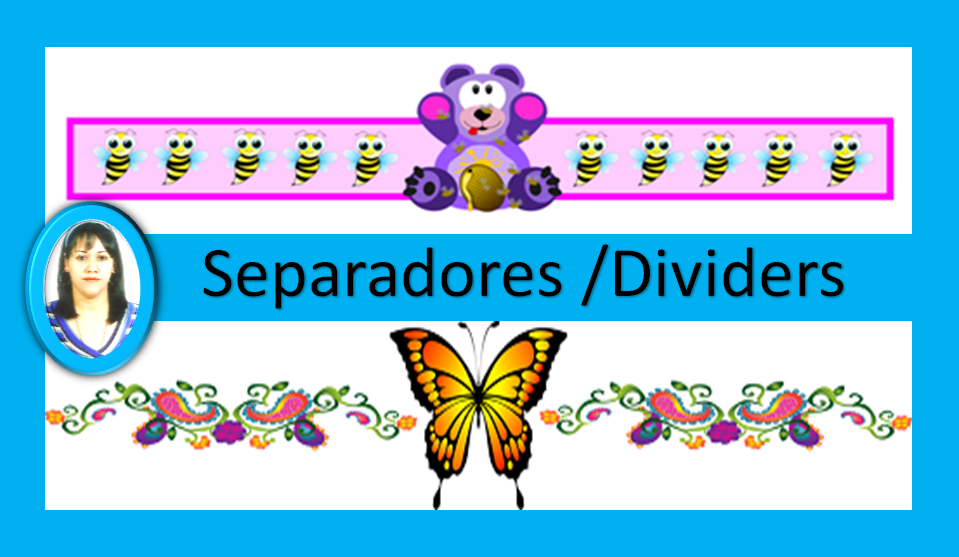
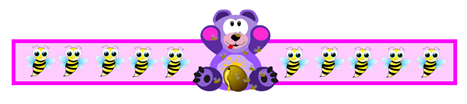
RESULTADO FINAL DEL PROCESO
Me siento bien contenta con este nuevo aprendizaje, para algunos no será algo nuevo, pero para mí es algo que me llena y satisface ya que no sabía ni tenía idea alguna de cómo se realizaban los separadores, espero continuar aprendiendo y puliéndome para realizar separadores más elaborados. Este es un gran logro para mí.
El separador de la mariposa que utilice en mi publicación lo realice ayer, es menos complejo que el del oso. Par realizarlo solo copié las imágenes y las reduje de tamaño, coloque la mariposa en el centro y a los lados coloque las flores, luego me dirijo a Paint y realizo el mismo procedimiento que con el separador del oso.
Las imagines utilizadas son de dominio público y estas son sus fuentes:
Edite las fotos utilizando PowerPoint
English
Hello friends of #HiveDiy, I hope you are well in this wonderful day. This time I come very excited to present you my publication because to make some of my post I have resorted to third parties to be able to place the separators because I do not know how to make them, well I did not know, I have three days practicing in PowerPoint to make my own separators and I could realize that it is not as complicated as I imagined all this time, you just have to have a little imagination and know how you want to make your separators, when you have the idea clear in your mind you start looking for the necessary images to make your work of art.
For me it is gratifying to be able to observe so many beautiful dividers that people use in their publications, I get enraptured just looking and looking at how nice they look, so as I told you I decided to make my own dividers, it took me time to know that I could make them in PowerPoint, until one day surfing the web I came across a tutorial where they explained the steps to make dividers and I said to myself wow this is what I was wishing for a long time.
Of course, I am just starting to discover some of the functions of PowerPoint, although I have used it for some time to do my work when I studied at the university and to edit some photos I still have a lot to discover in this wonderful program. It is very simple, it is great for beginners like me who are just starting in this wonderful world of creating digital art.
Next, I show you the step by step of my first separator, I show you how I did it, come on!
STEP BY STEP
The first step was to open the PowerPoint program and paste the photos that I had previously selected from Pixabay, as the images are very large they have to be reduced in size, I reduced the bee more than the bear as I will place it on the sides of the image of the cute teddy bear.
I click on the bear image or either of the two images so that it directs me to "Format", then being in "Format" I click where it says "Insert" after that I click where it says "Shapes" and select a rectangle.
I click where it says "Shape Fill" and select the color of my preference in this case I decided to choose a very light pink color.
When the "Shape Contour" tab is displayed you will find the option "Thickness", there are several types of lines, some thicker and some thinner, I selected 4 1/2pt because I want the thickness of the rectangle line to be pronounced and better visualized.
The image of the bear and the bee are behind the rectangle, but I don't want them to be behind, but in front, so I right click to send them to the front by clicking where it says "Bring to Front".
Now almost finishing,I place the bear image in the center of the rectangle and place five bees on the right side of the bear and five on the left side,as I had space left over in the rectangle I reduced it to not place more bees in it.
After the separator is finished I select the whole image and go to "Paint", then crop the image and finally save it in "Downloads" to be used when I need it. Right there in downloads I opened a new folder to place my new separators.
FINAL RESULT OF THE PROCESS
I feel very happy with this new learning, for some it will not be something new, but for me it is something that fills me and satisfies me since I did not know nor had any idea of how the separators were made, I hope to continue learning and polishing myself to make more elaborate separators. This is a great achievement for me.
The butterfly separator I used in my publication was made yesterday, it is less complex than the bear one. To make it I just copied the images and reduced them in size, placed the butterfly in the center and on the sides I placed the flowers, then I went to Paint and did the same procedure as with the bear separator.
The images used are public domain and these are their sources:
Brume esto está genial, es un programa que todos tenemos en la pc, gracias por enseñarnos cómo hacerlo, esta a nuestro alcance. Los separadores llenan de vida nuestro blog y ayudan a ordenarlo y que se vea bonito.
Es un programa que todos tenemos en casa y yo sin darme cuenta de eso, pero ya lo descubrí, así que a seguir practicando. Gracias por tu comentario eso me anima a continuar.
Que bien que esta aprendiendo a usar sus propios separadores.
Tampoco sabía cómo hacerlo en Power point, pero vi un tutorial como este y lo pude elaborar.
Te quedaron muy bonito. También hay una opción en la que le puedes quitar el fondo blanco y se luce todavía mejor.
La buscas en la opción de formato.
Saludos y bendiciones @brume7.
Hola @leidimarc, más tarde realizo un separador y busco en la opción de Formato lo que me dices para quitar el fondo blanco.
Gracias por detenerte en mi post
Que buen tutorial, hecho desde esa herramienta que todos tenemos al alcance. Te quedó muy bonito.
Hola @yusma21, es excelente poder utilizar esta herramienta para realizar separadores y pensar que la he utilizado tantas veces, pero con otro fin.
Gracias por la visita.
Maravilloso, a mi también me gustan los separadores. ese de la mariposa te quedo bellisimo, felicidades y gracias por el tips.
Hola @karelysk89, me divertí mucho haciendo estos separadores. Si, el de mariposa quedo muy lindo y los que faltan.
Gracias por comentar, lo aprecio
La felicito porque se animó a hacer sus separadores con herramientas que todos tenemos en nuestro equipo y es genial que nos haya mostrado el paso a paso. El siguiente paso es aprender a guardar en PNG, eso sumará mayor calidad a sus separadores. Saluditos ✌️😁
!discovery 25
Hola @gaboamc2393, al finalizar mi separador hice lo que tú dices de guardarlo en PNG, pero al guardarlo no vi la diferencia y pensé que lo había hecho mal, así que lo borre jajaja..Práctica y más práctica. Lo volveré a intentar.
Gracias por comentar, lo aprecio
This post was shared and voted inside the discord by the curators team of discovery-it
Join our community! hive-193212
Discovery-it is also a Witness, vote for us here
Delegate to us for passive income. Check our 80% fee-back Program
Thank you for your support
Your content has been voted as a part of Encouragement program. Keep up the good work!
Use Ecency daily to boost your growth on platform!
Support Ecency
Vote for new Proposal
Delegate HP and earn more
Thank you for your support
Hola mi linda, quedó muy hermosos, gracias por explicar el paso a paso bien detallado, intentaré hacer uno.
Hola @crisvera,intentalo no te arrepentiras, de seguro te quedara hermoso
¡Felicidades! Esta publicación obtuvo upvote y fue compartido por @la-colmena, un proyecto de Curación Manual para la comunidad hispana de Hive que cuenta con el respaldo de @curie.
Si te gusta el trabajo que hacemos, te invitamos a darle tu voto a este comentario y a votar como testigo por Curie.
Si quieres saber más sobre nuestro proyecto, acompáñanos en Discord: La Colmena.
Gracias por el apoyo,lo aprecio
Gracias por compartir, bueno saberlo, muy bien explicado, voy a ponerlo en práctica amiga @brume7
@dlizara,que bueno te te gusta,ponlo en practica y luego me cuentas
chévere, te aviso
:)