Rebuilding My Travel Trailer, part 3
Hello, and welcome to my page!
I finally remembered that I was writing this series, and decided to get back to writing another entry for the series. With all the stuff that's been going on over the past few months, and the onset of my winter depression, I guess I just spaced it out...
The last post that I wrote for this series was posted on November 2, 2020. If you'd like to read that post, here's the link to it.
https://peakd.com/trailer-repair/@amberyooper/rebuilding-my-travel-trailer-part-2
As I said at the end of my last post about the trailer, after I got done working on the roof supports on the back of the trailer, I decided to finish the floor in the back instead of working on the roof supports in the front.
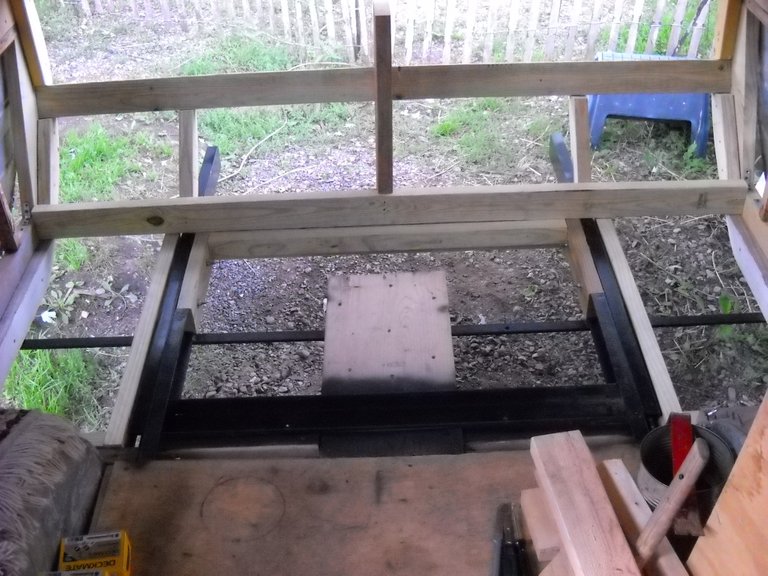
When I rebuilt the back end of the trailer in 2019, I had torn out the floor as well as the back wall, and I had lengthened the rear end of the frame to better support the back end of the trailer. This picture from then shows the open floor with the modified frame.
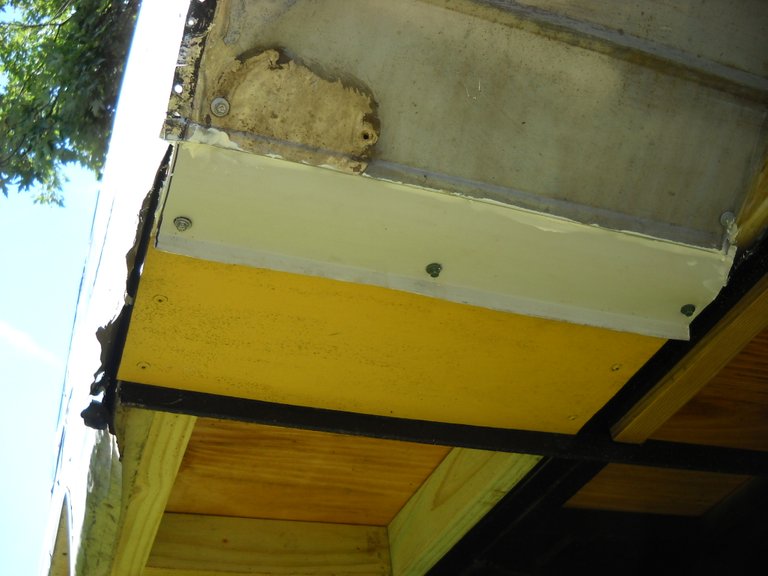
At some point during the work, I cut another piece of plywood for the floor for the back end of the trailer. I had to put in some wood framing in the back to fasten the floor plywood down to. Most of the framing was outside of the added frame rails. In this picture, I was in the process of covering the underside of the framing.
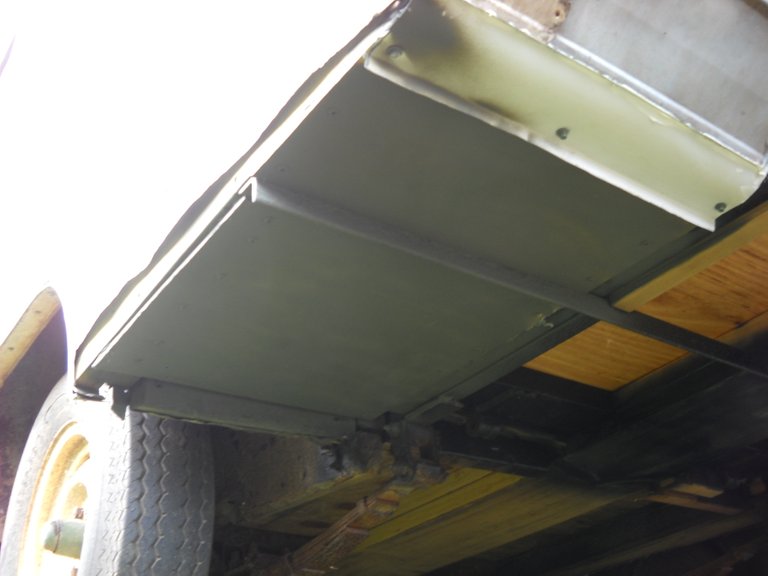
This picture shows the result of the rest of the work to cover the bottom of the trailer floor behind the wheels. This work was done in the fall of 2019.
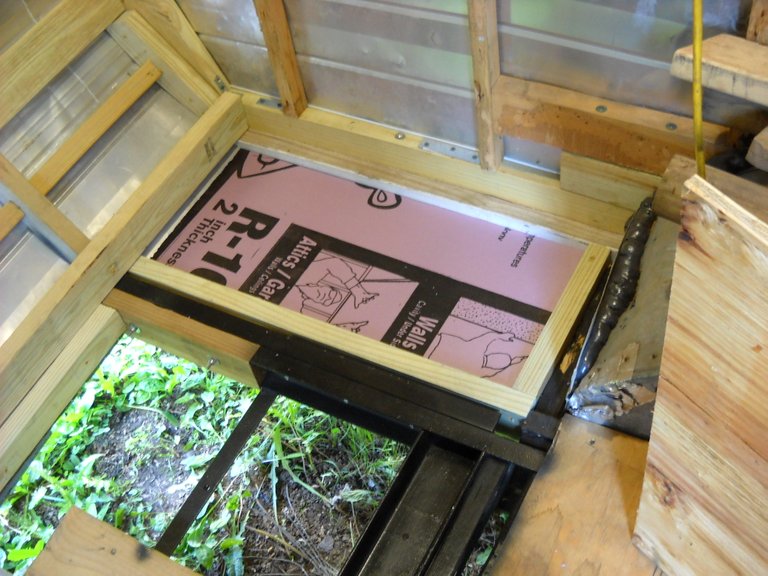
When I decided to get back to working on the floor of the trailer, my main goal was to insulate those spaces that I had framed in. I wanted to do that before I screwed down the plywood floor from inside the trailer. There wasn't really too much work to be done for that, I mostly just had to cut foamboard insulation pieces to fit into the spaces under the floor behind the wheel wells.
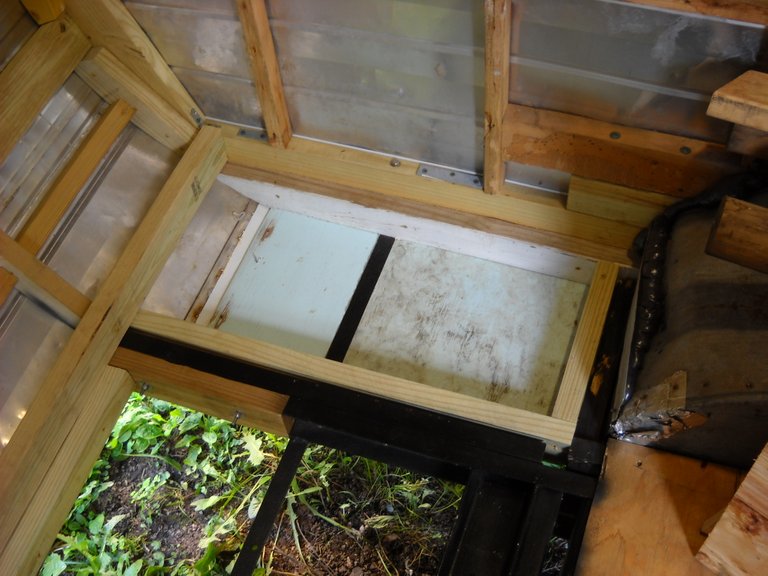
I didn't have any large pieces of foam board, so I made do with what I had, cutting and fitting pieces to fill the space.
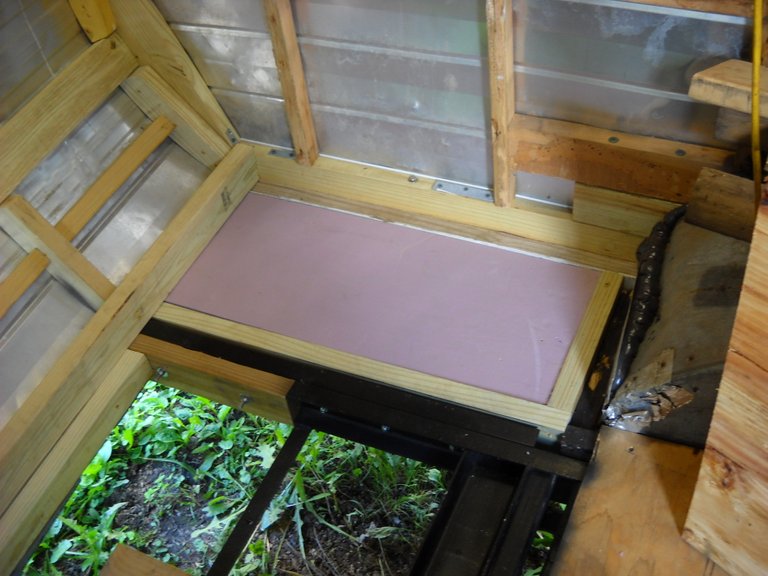
This is the other side, after I finished it.
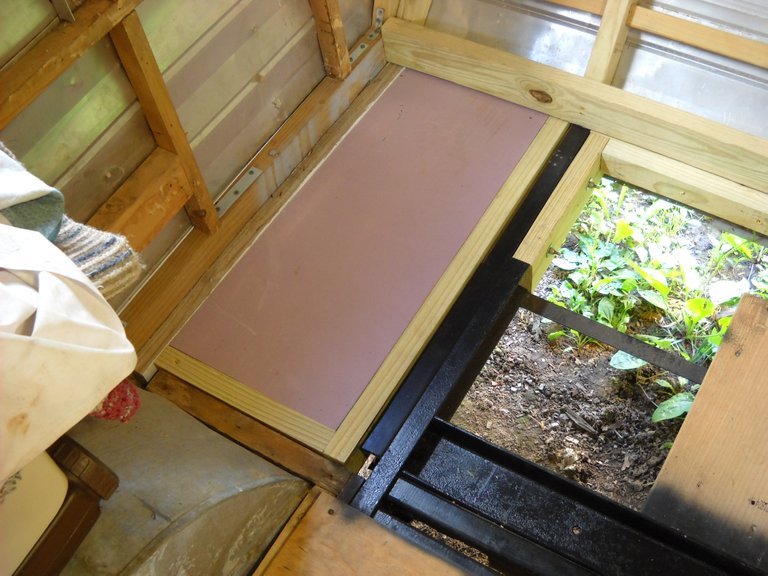
After getting those spaces filled, I put the plywood down on the floor and moved onto the front of the trailer. I haven't quite figured out how I'm going to insulate the center area of the floor in the back yet. There's not much of anything back there to hold the insulation in if I were to put it in the space. I probably will have to enclose the bottom of the middle section before I can insulate that area.
Insulating the area under the rest of the floor of the trailer may be a bit more of a project than I care to take on at this point because I would have to pull out the rest of the plywood floor to do it.
That's all I have for this part of the project. In my next post in this series, I'll talk about starting to rebuild the front of the trailer. There was more water damage up front than I had originally thought there was, so I ended up with another big project.
Thanks for stopping by to check out this post!
I hope you found it interesting!

!discovery 25
This post was shared and voted inside the discord by the curators team of discovery-it
Join our community! hive-193212
Discovery-it is also a Witness, vote for us here
Delegate to us for passive income. Check our 80% fee-back Program