Color correction of photos in Photoshop using the third-party plugin Topaz ReStyle (part 3)
Hi friends!
It's my finally part of story about the plugin TopazReStyle options in Photoshop.
Today we'll look at a group of settings associated with the correction of the temperature balance and the levels of white and black points.
This group is located in the same place, on the right pane - scroll it even lower (or simply collapse the section called "Color Style", and the lower panel with additional settings will become visible)
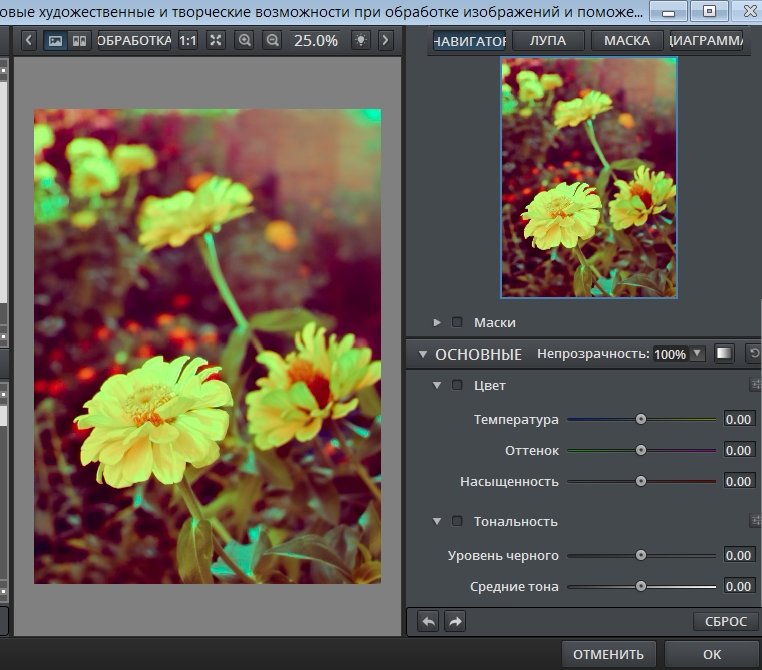
Top three points: Color
Temperature
Shade
Saturation
Lower points: Tonality
Black level
Mid tones
White level
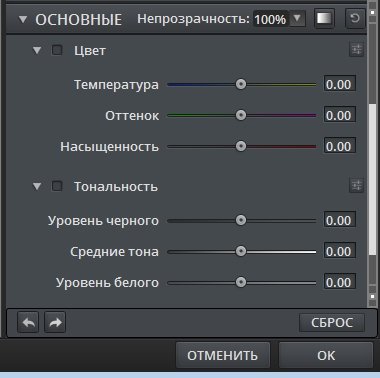
Here we can influence the entire color gamut of the picture as a whole, as well as influence the light and shade and the elaboration of details.
For this section, we can also apply masks.
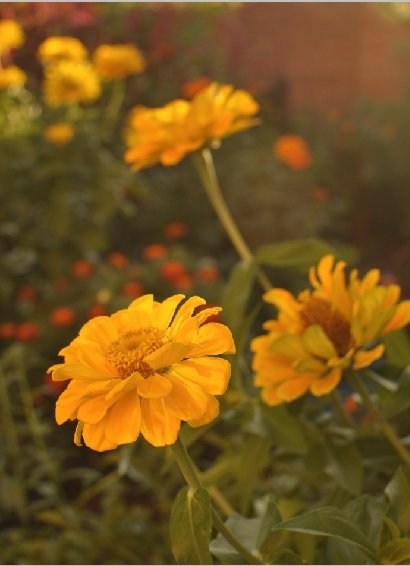
At example, choose a photo
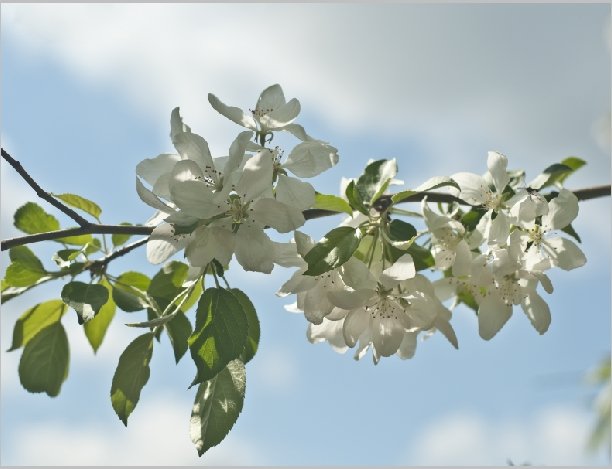
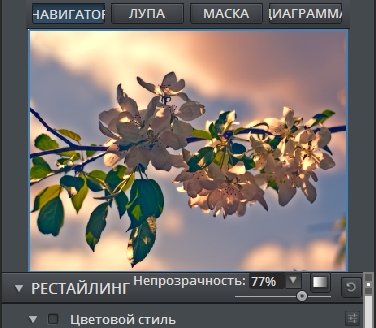
Open it in ReStyle and select a preset "Heavenly Glaze" from "Fashion Verdict" collection
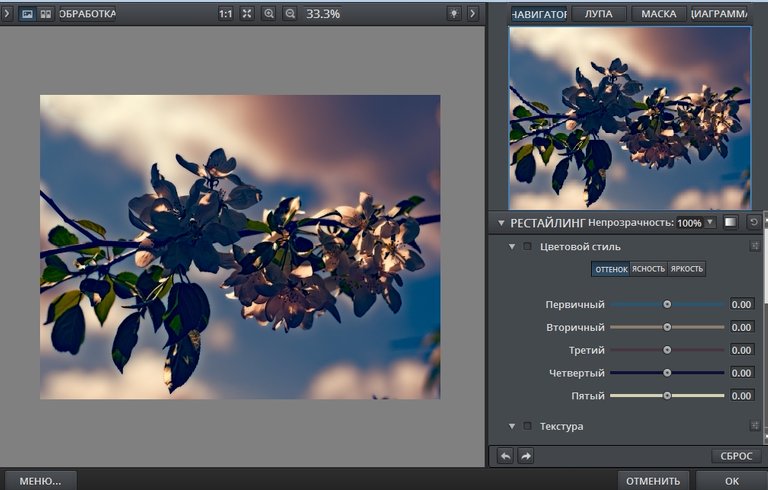
And here reduce an opacity of correction option
What about mask...
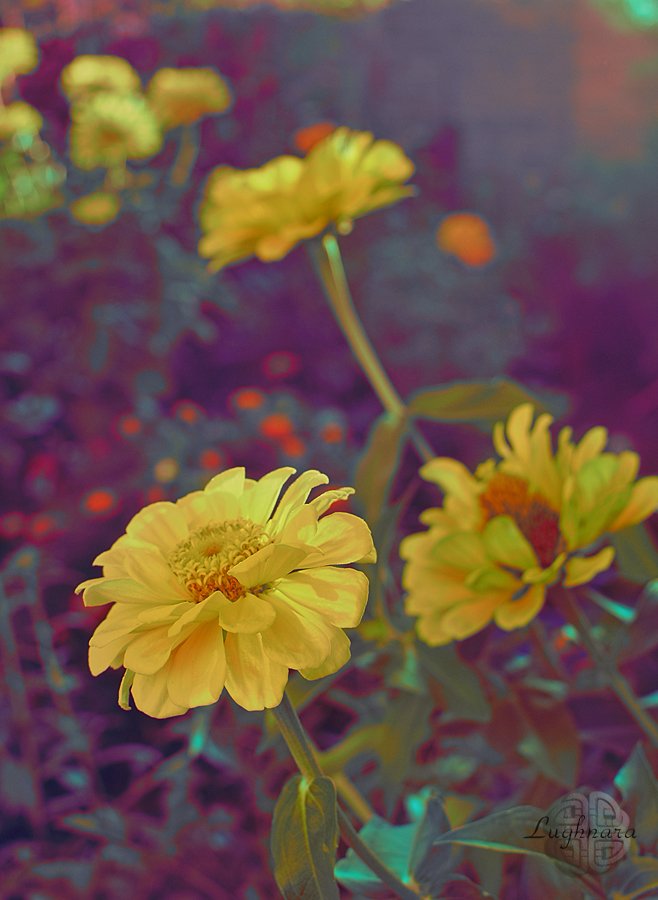
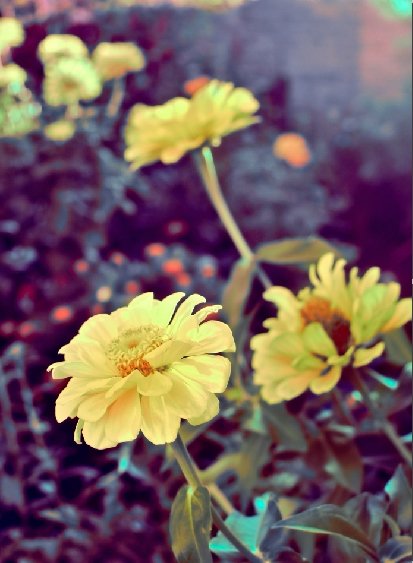
Choose a shot with a pronounced warm color temperature
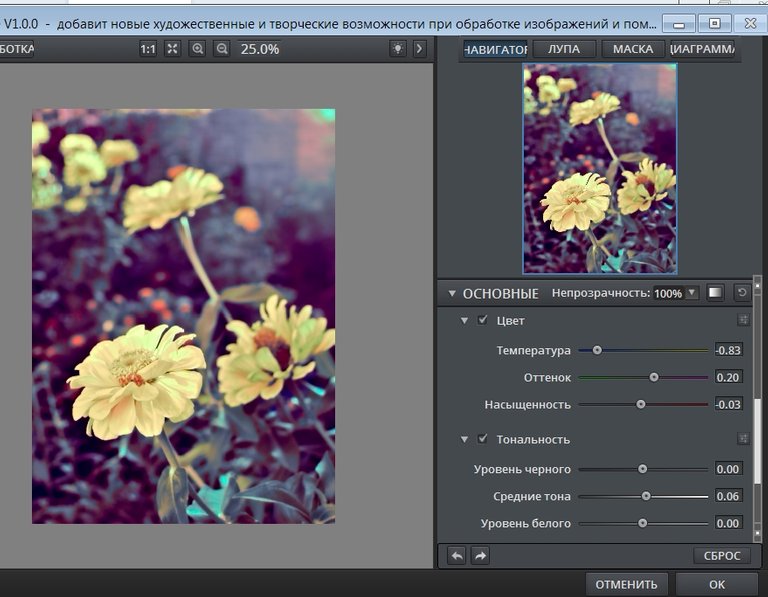
And select a preset "Pearl of the sea" from "Underwater world" collections.
I want to make more cold light and reduce a saturation
Then I open a section of mask and make an option for mask brush
Feather
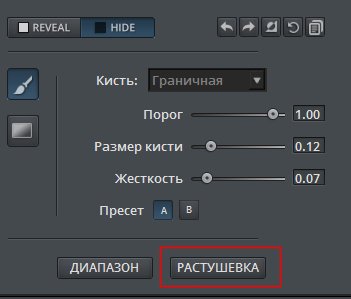
The first point means blurring the mask area, the second - the clarity of the border, the third - the contrast of the mask and the rest of the photo, the fourth - strengthening the masked area.
We can make a correction a mask during the masking process.
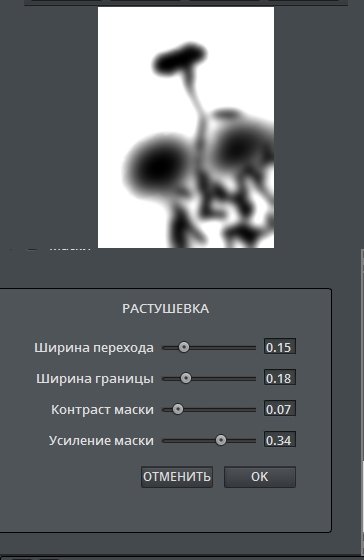
This is how it looked!
If we apply a correctionoption to duplicate layer, we can get another nice variation.
At example, Color blend mode and 80% opacity
Many thanks for your visit, read and upvote!
Have a nice and creative day!
Regards
Yay! 🤗
Your content has been boosted with Ecency Points, by @daring-celt.
Use Ecency daily to boost your growth on platform!
Support Ecency
Vote for Proposal
Delegate HP and earn more