EL SEÑOR COSTURERO THE SEWING LORD
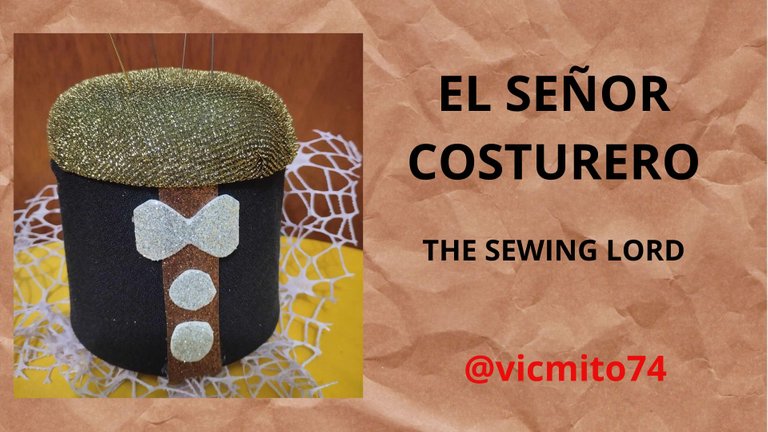
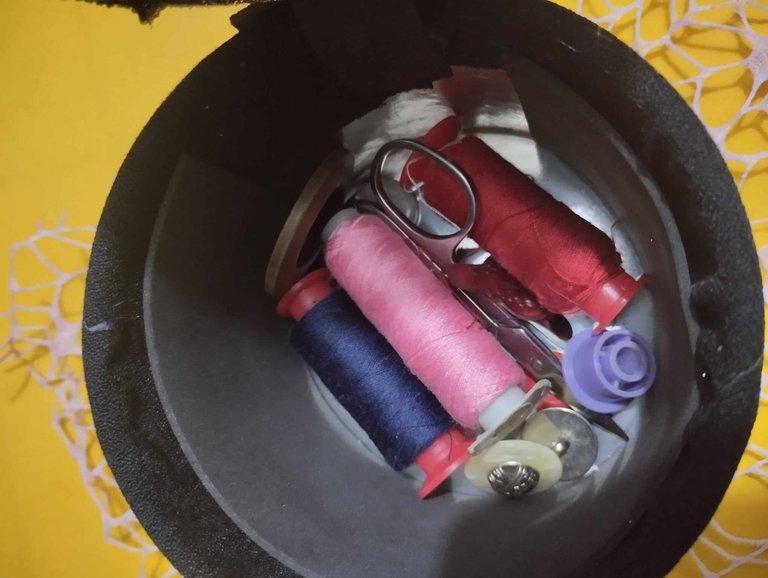
Hello friends of @DIYHub, I hope you are enjoying your weekend, today while I was cleaning my workplace, I noticed that my sewing kit was very old and broken, and I said I can't keep keeping my needles and threads here, there were fewer and fewer left and when I swept the place, the needles and buttons were on the floor, so I stopped my [contest] project for a moment (https://peakd.com/hive-189641/@diyhub/diyhub-contest-bees- in-collaboration-with-skatehive) of the month for this community and I said, no, I have to make a new sewing box, then I remembered that my daughter had this little can of lollipops (by the way, one of the best Venezuelan sweets after Toronto) and I stole it hahahahaha, all before I got back from work. The truth is that when it arrived, it was already lined in black so that I wouldn't be found out hahahahaha - no lie, I told her I had taken it - and well, she liked it and she told me that it looked like a Señor Costurero, hence the name of this little project . I briefly share how quickly and easily it was prepared, I hope you like it.
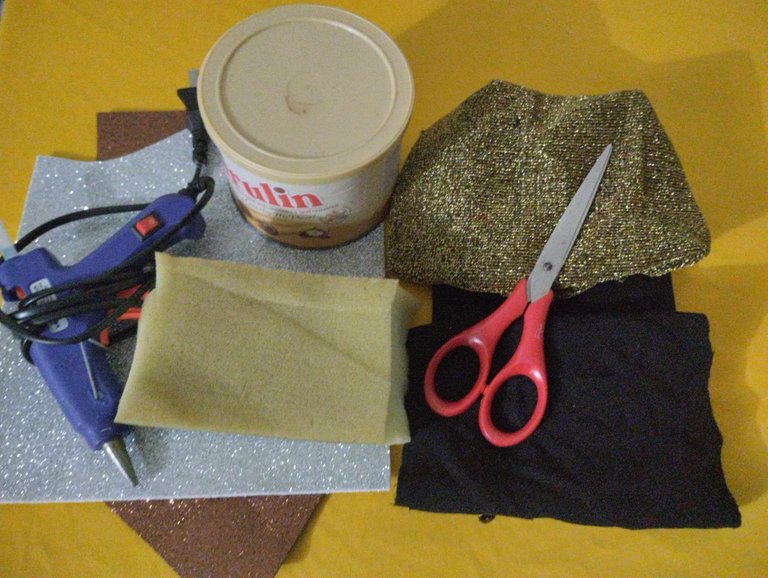
MATERIALES / MATERIALS
Los materiales utilizados son: Una lata de pirulin con tapa.
Telas de color negro y dorado.
Esponja.
Foami normal y escarchado.
Pistola para silicon de barra.
Tijeras.
The materials used are: A can of lollipop with a lid.
Black and gold fabrics.
Sponge.
Normal and frosty foami.
Gun for bar silicone.
Scissors.
PASO A PASO / STEP BY STEP
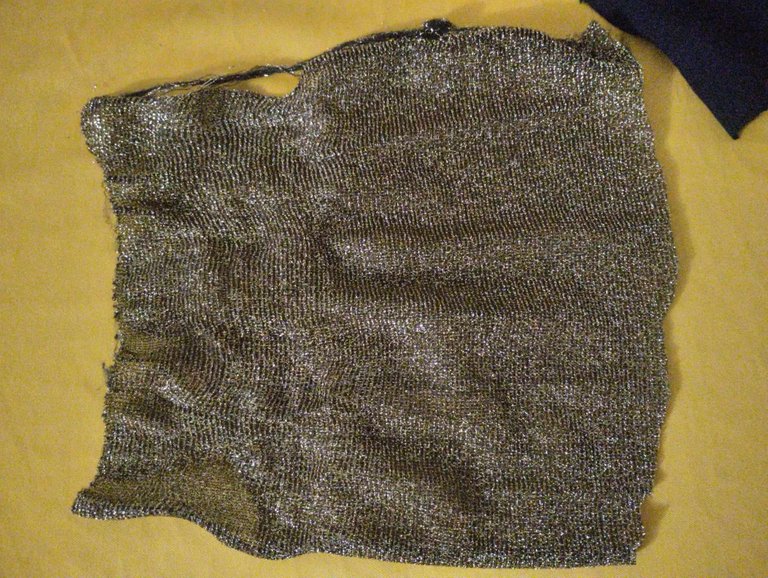
1- Tomamos las telas y de la negra cortamos una tira de 15cm de ancho por 40 cm de largo para forrar la lata, y de la tela dorada cortamos un trozo de 18 cm x 24 para forrar la tapa.
1- We take the fabrics and from the black we cut a strip of 15 cm wide by 40 cm long to cover the can, and from the golden fabric we cut a piece of 18 cm x 24 cm to cover the lid.

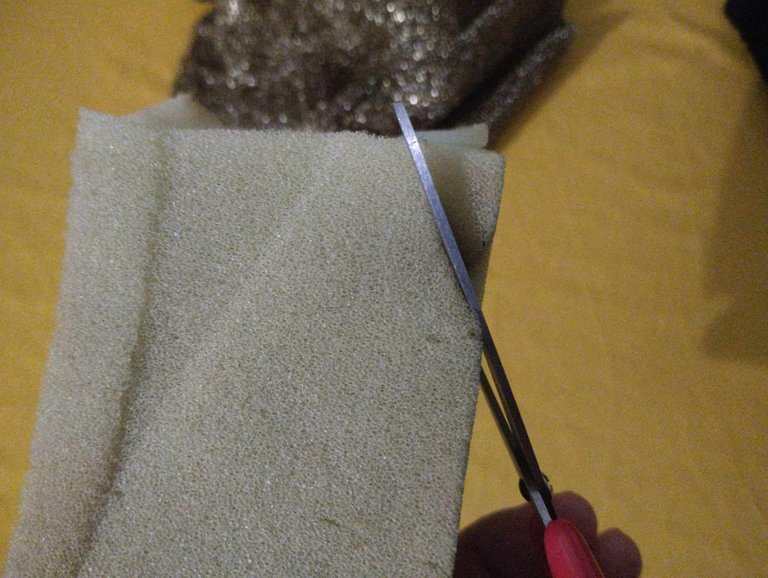
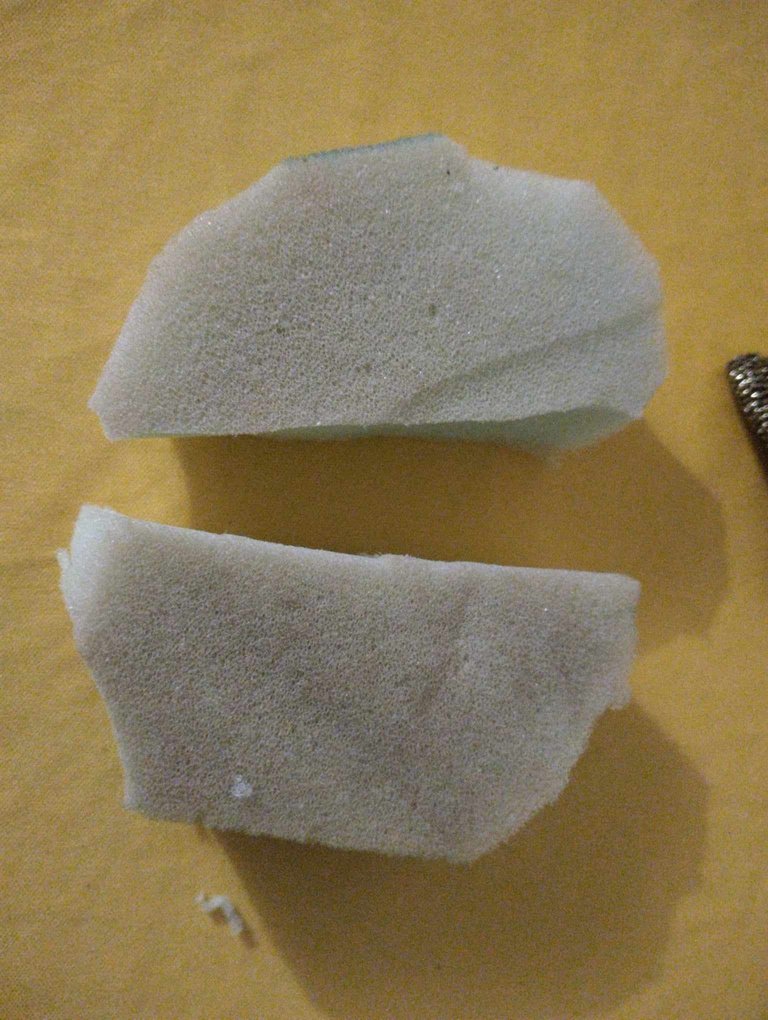
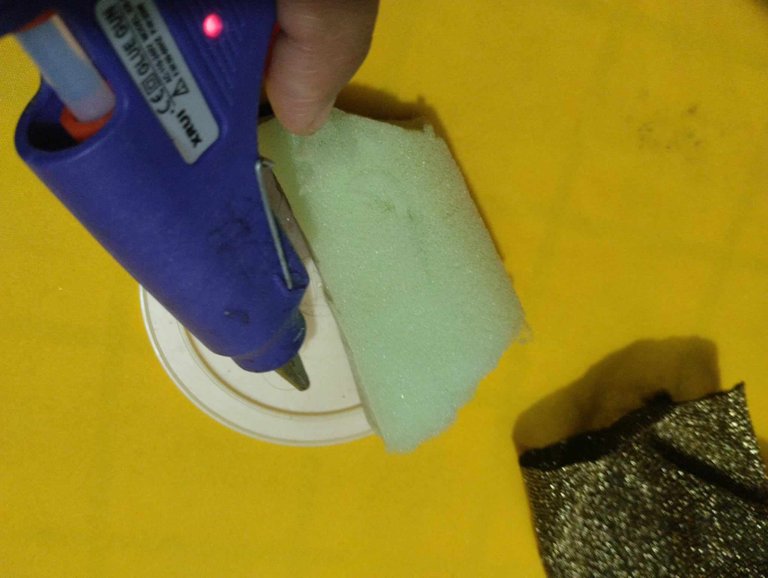
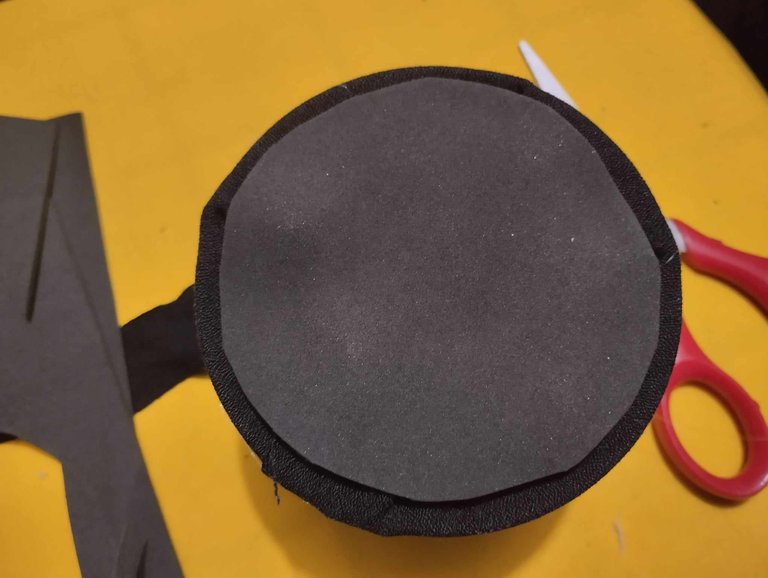
2- Con la esponja, cortamos a la mitad porque era muy gruesa, con las tijeras cortamos al borde de las puntas hasta dar forma de media luna; una vez lista la esponja, con la pistola de silicón, procedemos a pegar las piezas de esponja en la tapa.
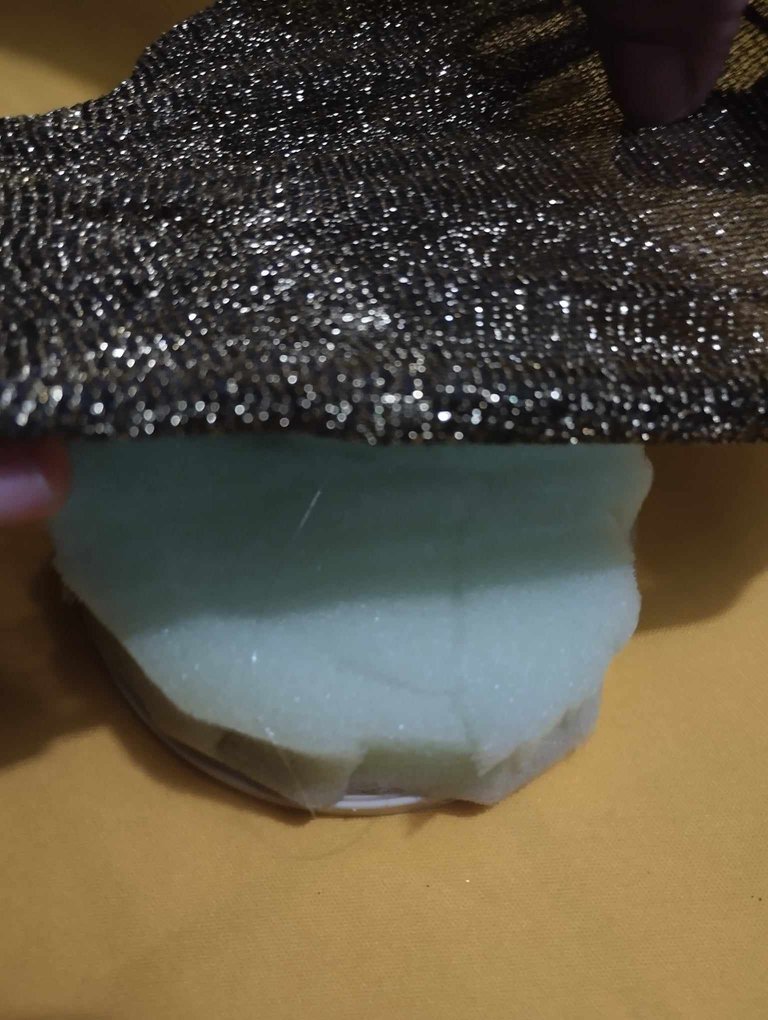
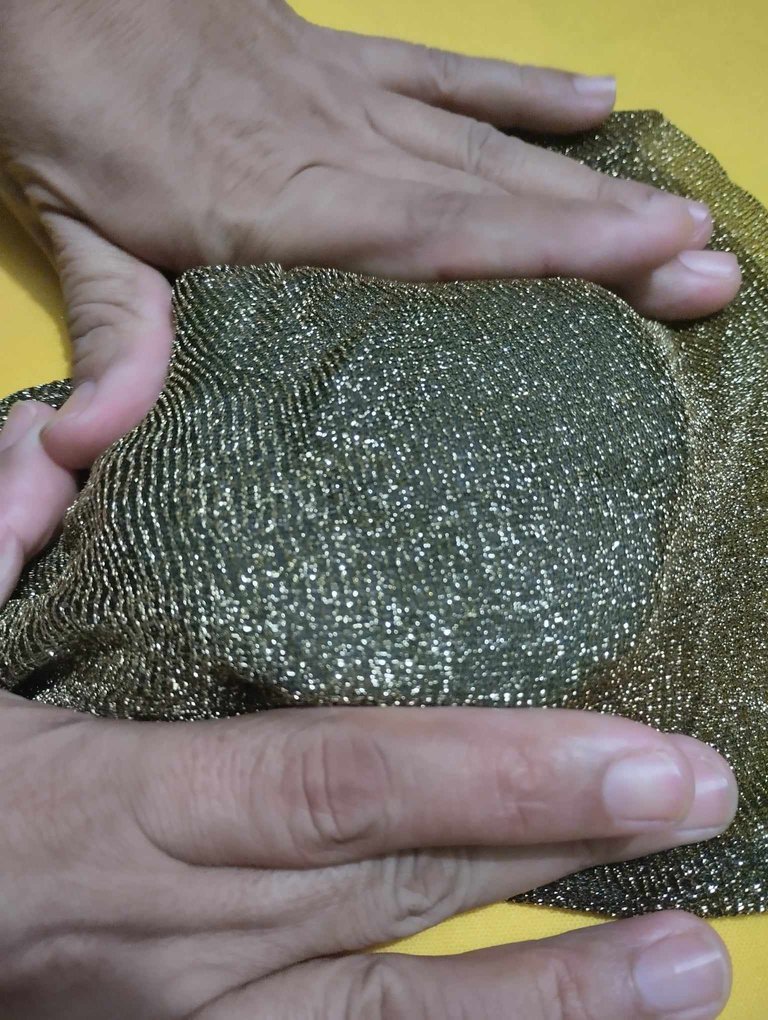
Seguidamente, forramos la tapa con la tela dorada, ajustando y pegando con la pistola como se ve en las imágenes. Para culminar este paso, con el foami negro, hacemos un circulo y pegamos para un mejor acabado.
2- With the sponge, we cut in half because it was very thick, with the scissors we cut the edge of the tips until we form a crescent; Once the sponge is ready, with the silicone gun, we proceed to glue the pieces of sponge on the lid. Next, we line the lid with the golden fabric, adjusting and gluing with the gun as seen in the images. To finish this step, with the black foam, we make a circle and glue for a better finish.
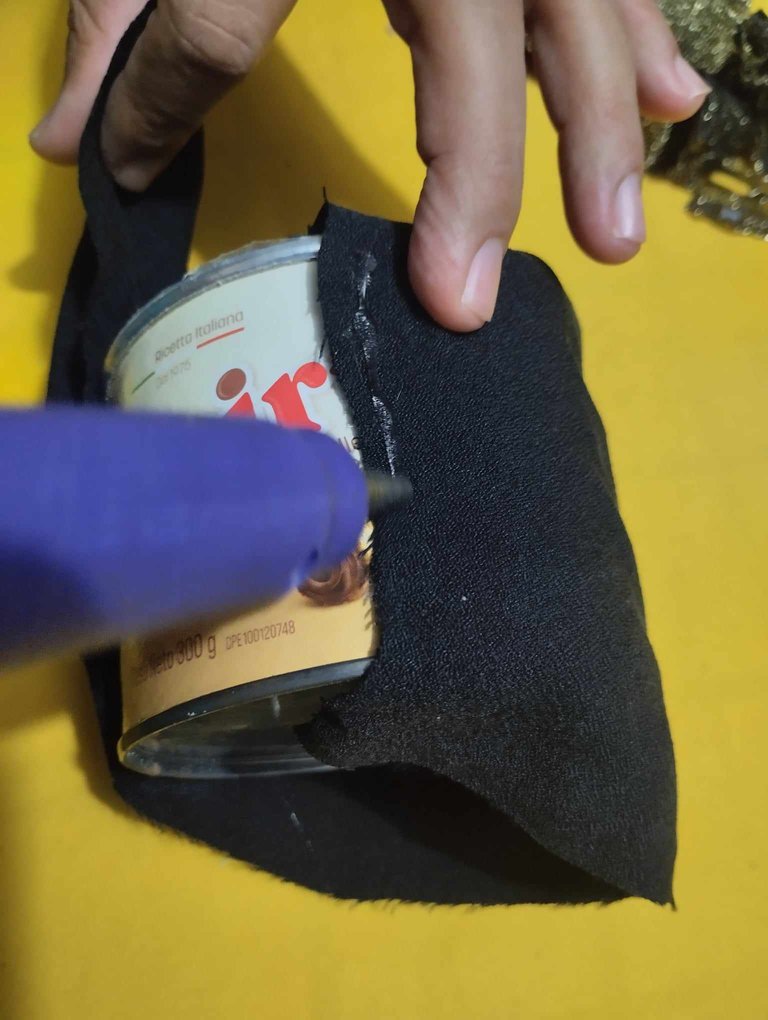
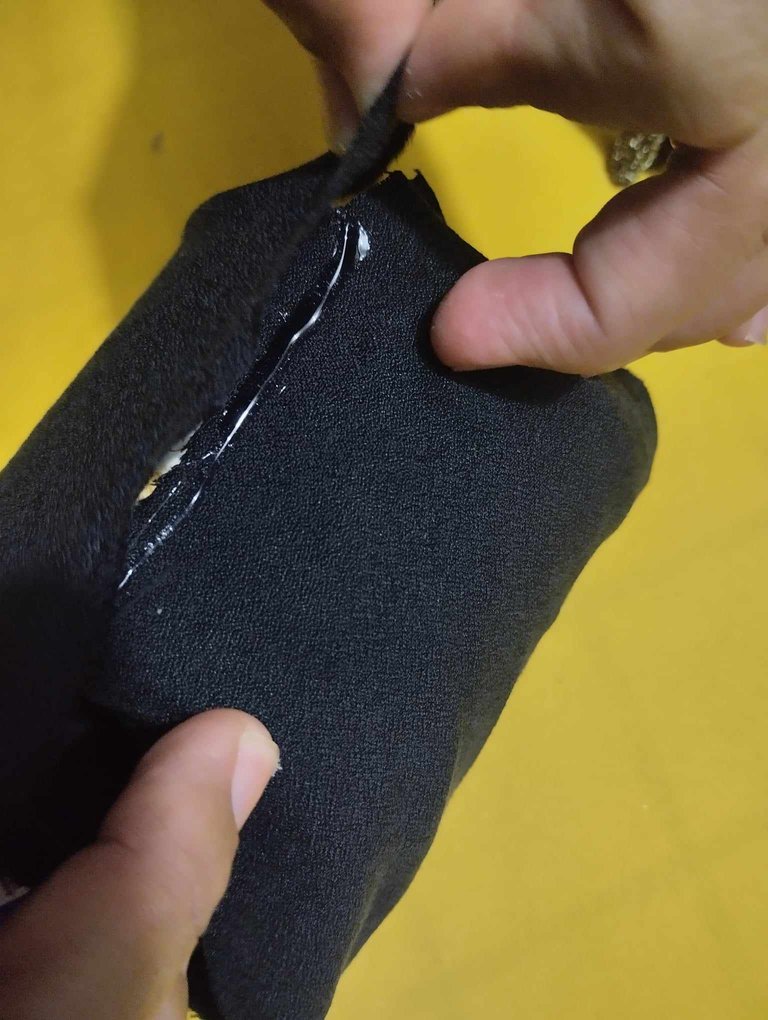
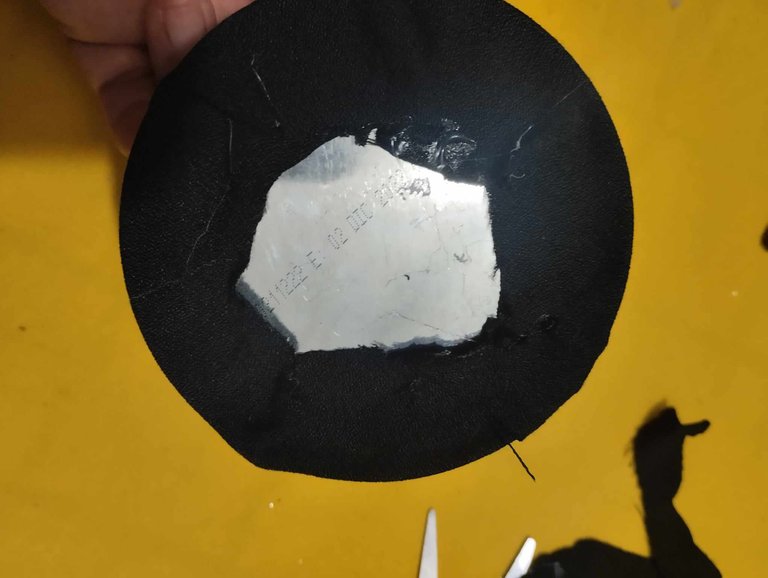
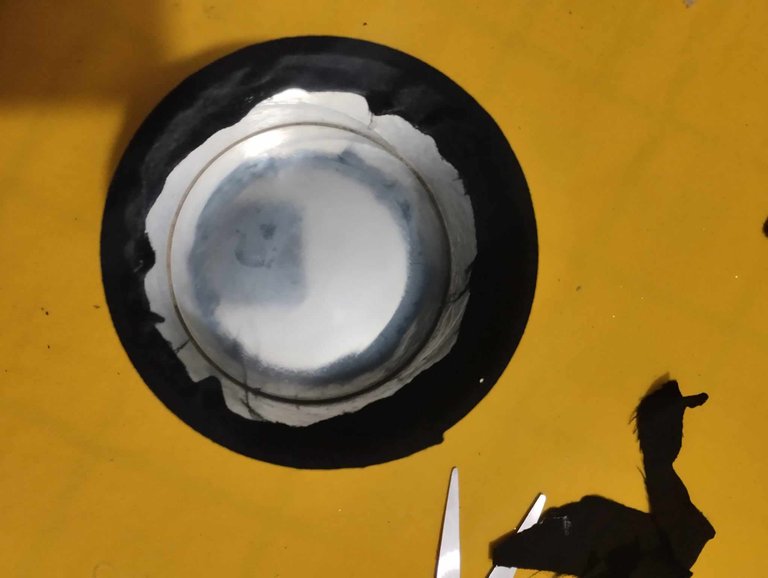
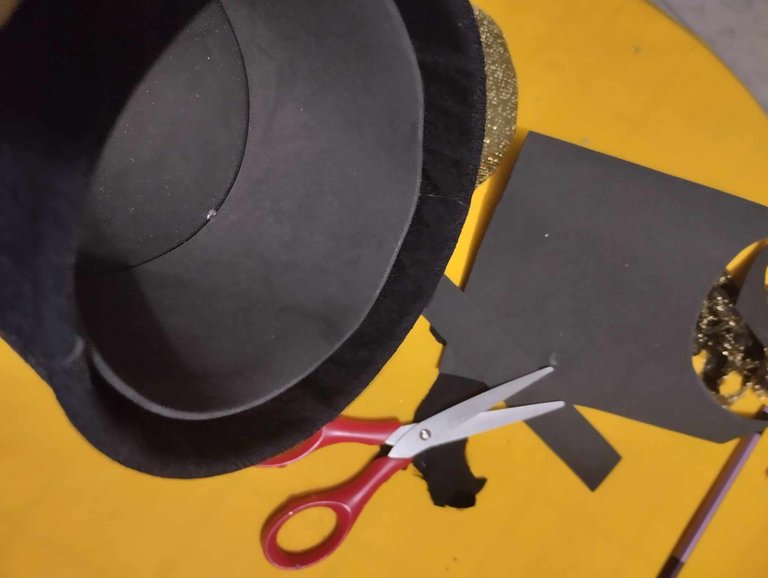
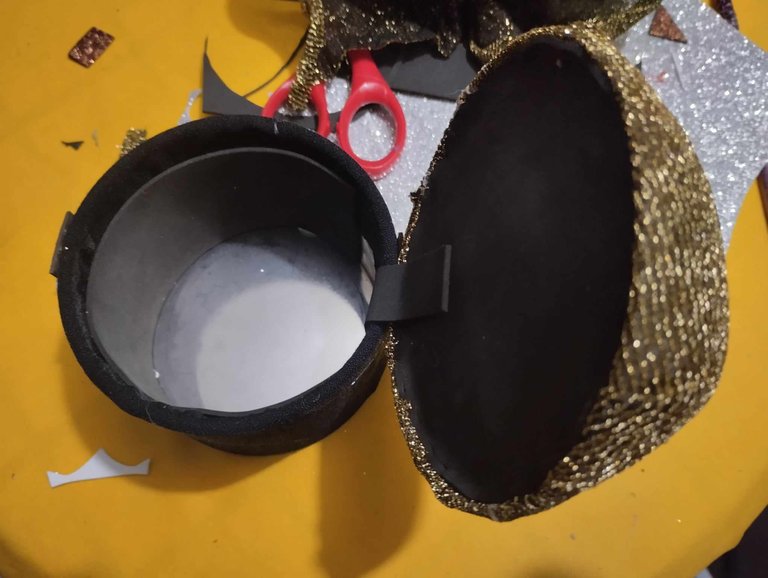
3- Una vez terminada la tapa del Señor Costurero, procedemos a forrar la lata con la tela negra, pegando con un poco de silicón caliente y ajustado la tela sobrante hacia dentro de la lata y por la parte de abajo con el silicón caliente. De igual manera cortamos una tira de foami y forramos la parte de adentro de la lata, así como también la parte de abajo para un mejor acabado.
3- Once the cover of the Señor Costurero is finished, we proceed to line the can with the black fabric, gluing with a little hot silicone and adjusting the excess fabric to the inside of the can and on the bottom part with the hot silicone. In the same way we cut a strip of foami and lined the inside of the can, as well as the bottom part for a better finish.
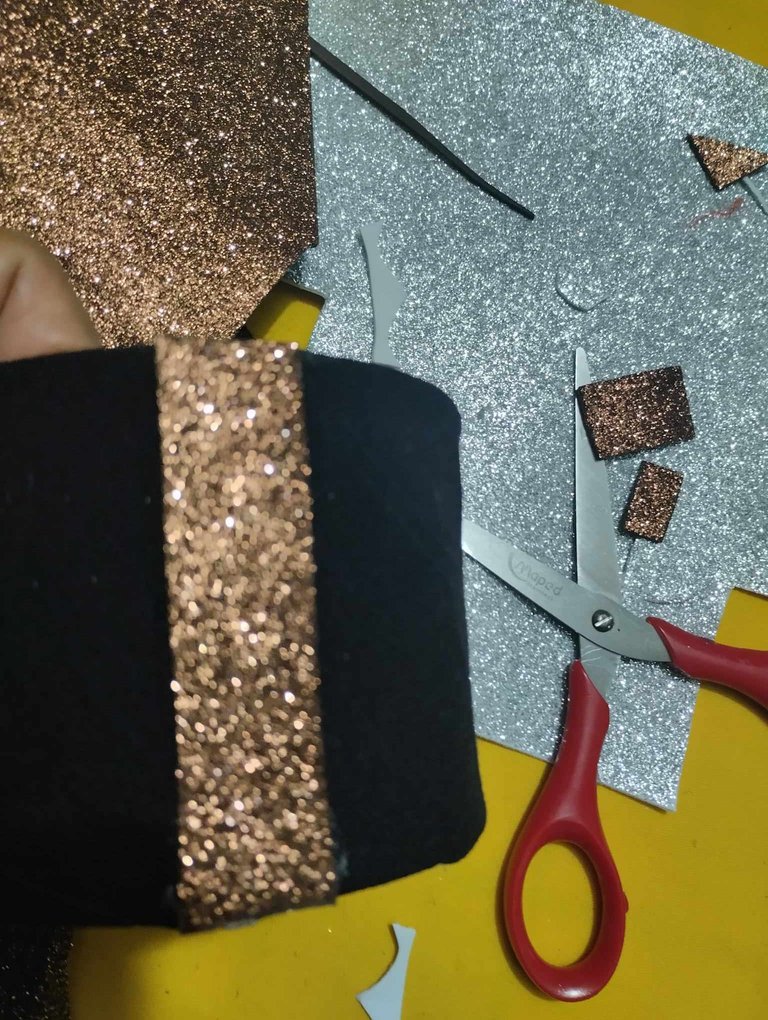
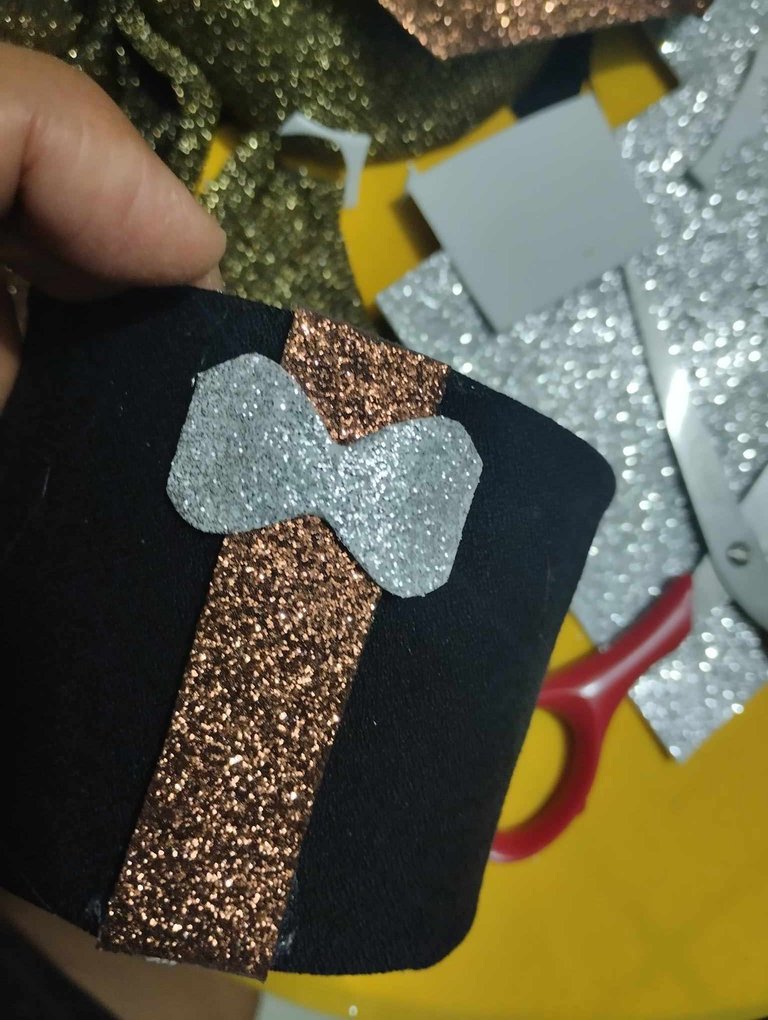
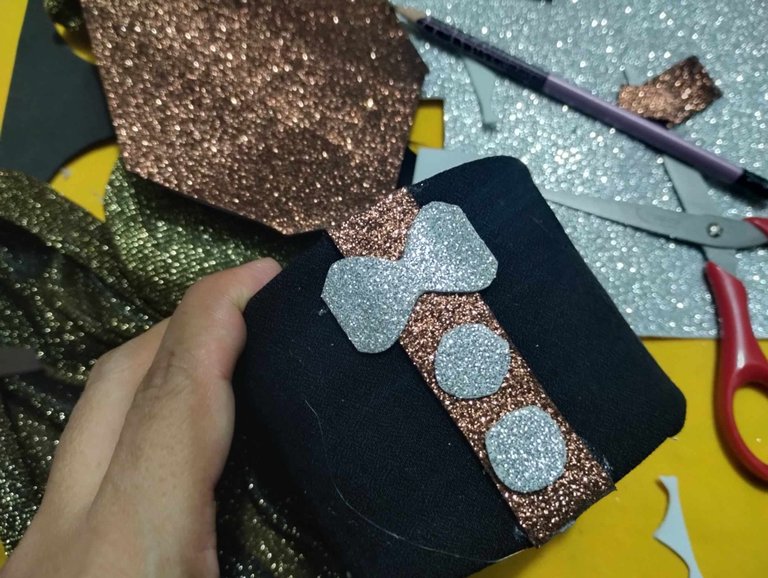
4- Para culminar, con el foami escarchado plateado, hacemos un lazo, y botones. Con el foami marrón escarchado hacemos una tira que pegamos a la lata para luego colocar el lazo y botones, que le darán la forma de traje a nuestro costurero. Por ultimo cortamos una tira de foami, la cual pegaremos a la tapa y a la base para unir las dos piezas y así quedo nuestro SEÑOR COSTURERO. Gracias por su atención, los separadores son de pixabay, las imágenes de mi autoría; use traductor deepl y edite con canva.
4- To finish, with the silver frosted foam, we make a bow, and buttons. With the frosty brown foami we make a strip that we glue to the can and then place the bow and buttons, which will give our sewing kit the shape of a suit. Finally, we cut a strip of foami, which we will glue to the lid and the base to join the two pieces and that is how our SEWING LORD is left. Thank you for your attention, the separators are from pixabay, the images are my own; use deepl translator and edit with canva.
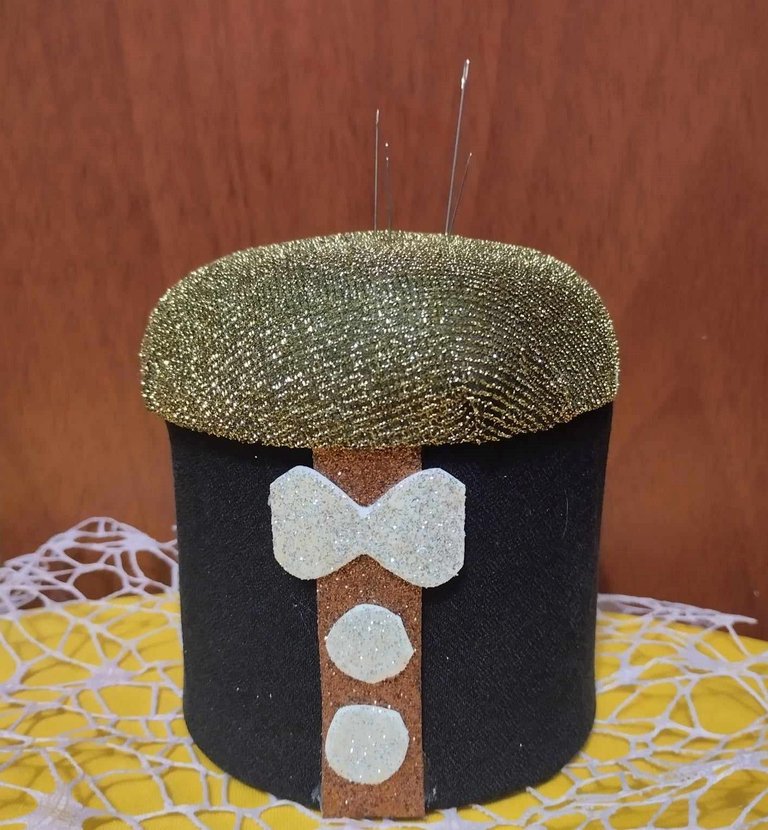
Listo el Señor Costurero, quedo muy elegante, sirve como adorno, creo que también se le pueden dar otros usos, espero les guste amigos. Ahora a seguir con mis abejitas. Nos vemos pronto!
The Señor Costurero is ready, it looks very elegant, it serves as an ornament, I think it can also be used for other uses, I hope you like it, friends. Now to continue with my bees. See you soon!
Hola @vicmito74 👋
Este señor costurero quedó muy elegante. Seguro que a tu hija no le disgustó ver esta transformación de su lata de Pirulí.
La verdad es que se ve muy práctico y bonito a la vez. ¡Ahora sí! A seguir creando tu entrada para el concurso.
Gracias amiga, si quedo bello, a mi me gustó, a ella también!Gracias por pasar por aquí!
!discovery 30
!DIY
This post was shared and voted inside the discord by the curators team of discovery-it
Join our Community and follow our Curation Trail
Discovery-it is also a Witness, vote for us here
Delegate to us for passive income. Check our 80% fee-back Program
You can query your personal balance by
!DIYSTATSRealmente si parece el Sr. Costurero, muy elegante y bien vestido, jejeje. Quedó espectacular. Ya tus agujas e hilos están bien resguardados. Me encantó. Gracias por compartir este proyecto.
Que bonito costurero!
Me encanta.
Gracias, si es todo un señor!