light eyes-Digital art.

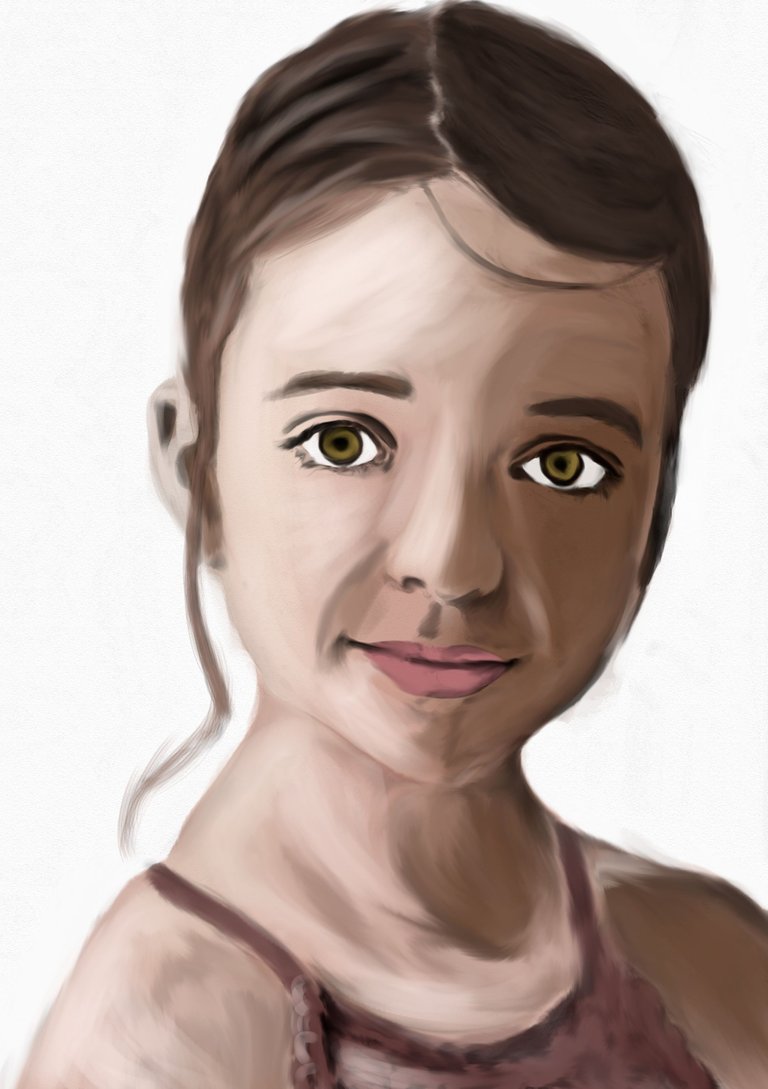
Hola a todos, en esta ocasión retratamos a una niña sumamente hermosa, de tez clara y ojos verdes, el trabajo se hizo en oleo, esta técnica definitivamente me tiene encantado.
Hello everyone, this time we portrayed an extremely beautiful girl, with light complexion and green eyes, the work was done in oil, this technique definitely has enchanted me.
- Computadora I5 / Computadora I5
- Tableta Huion H6400P / Tableta Huion H6400P
- Programa Adobe Photoshop 2019 / Software Adobe Photoshop 2019
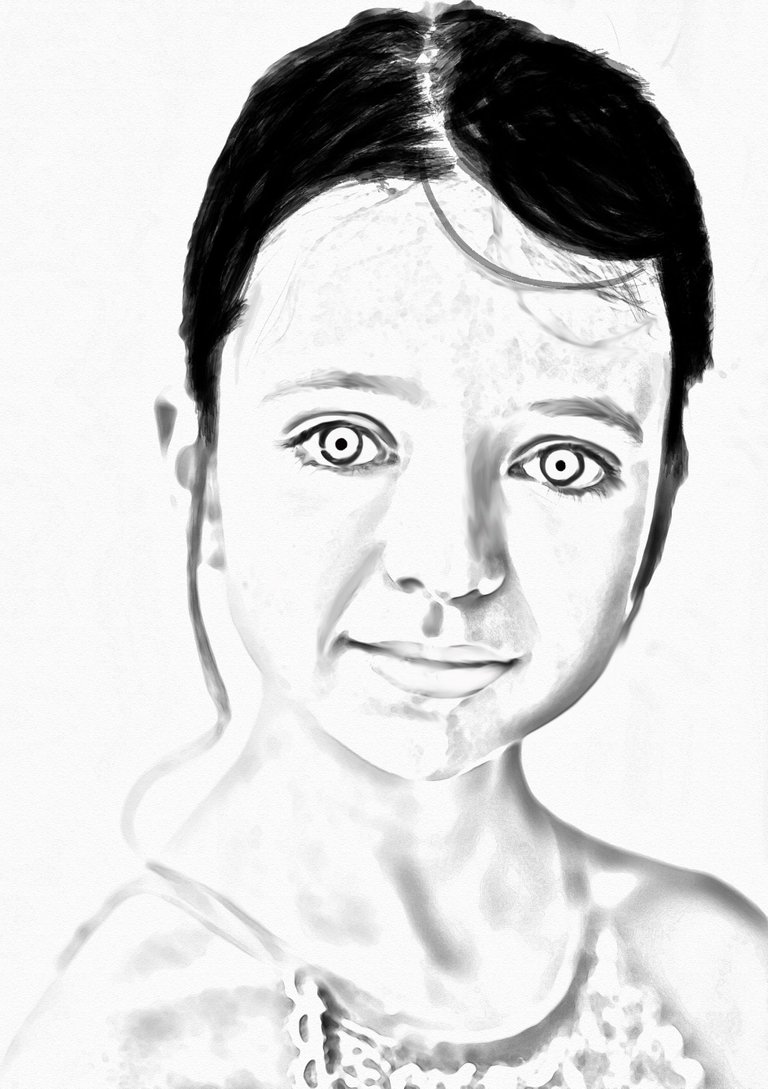
1er paso: El boceto es donde creamos la mayor parte de lo que queremos, nos aseguramos de marcar bien con un pincel difuminador en donde va la luz y la sombra, también aprovechamos de marcar las zonas en donde estarán las pecas y delineamos bien los bordes de la camisa, después de tener líneas comprensibles, pasamos al segundo paso.
1st step: The sketch is where we create most of what we want, we make sure to mark well with a blurring brush where the light and shadow goes, we also take the opportunity to mark the areas where the freckles will be and outline the edges of the shirt, after having understandable lines, we move to the second step.
2do paso: En este caso colocamos los colores bases en la piel, ojos, cabellos y camisa.
2nd step: In this case we placed the base colors on the skin, eyes, hair and shirt.
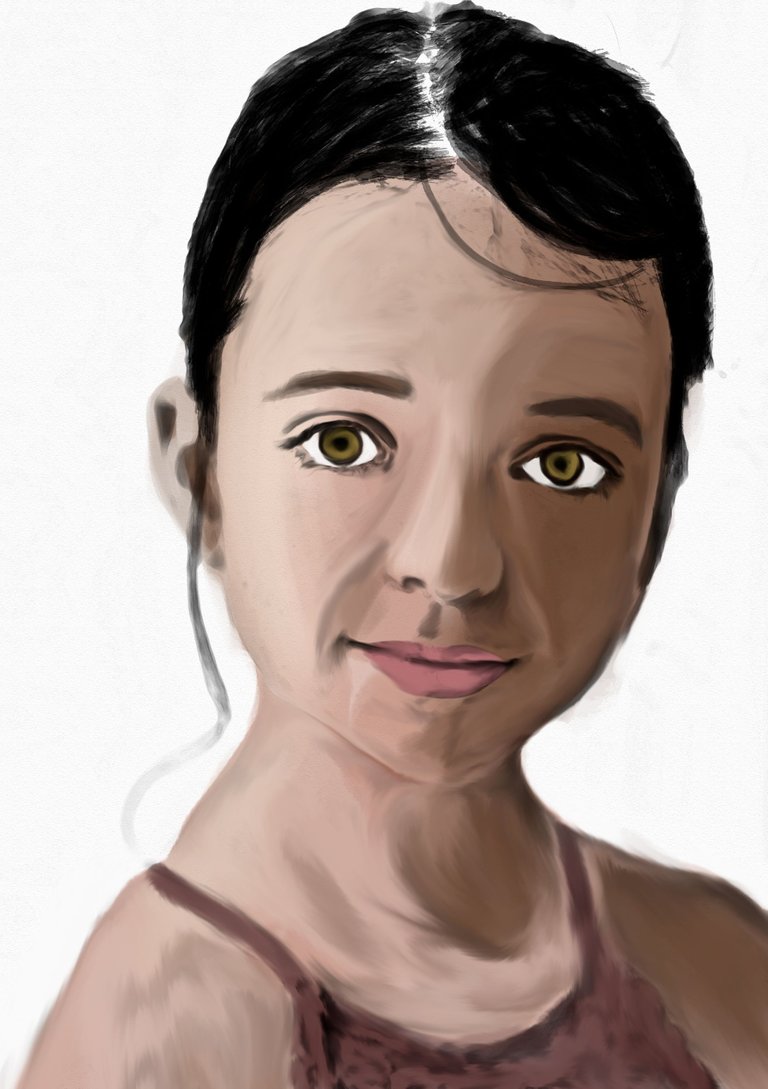
3er paso: Trabajamos el color del cabello, suavizando los colores y creando la ilusión de que hay unas partes más oscuras que otras.
3rd step: We work on the hair color, softening the colors and creating the illusion that some parts are darker than others.
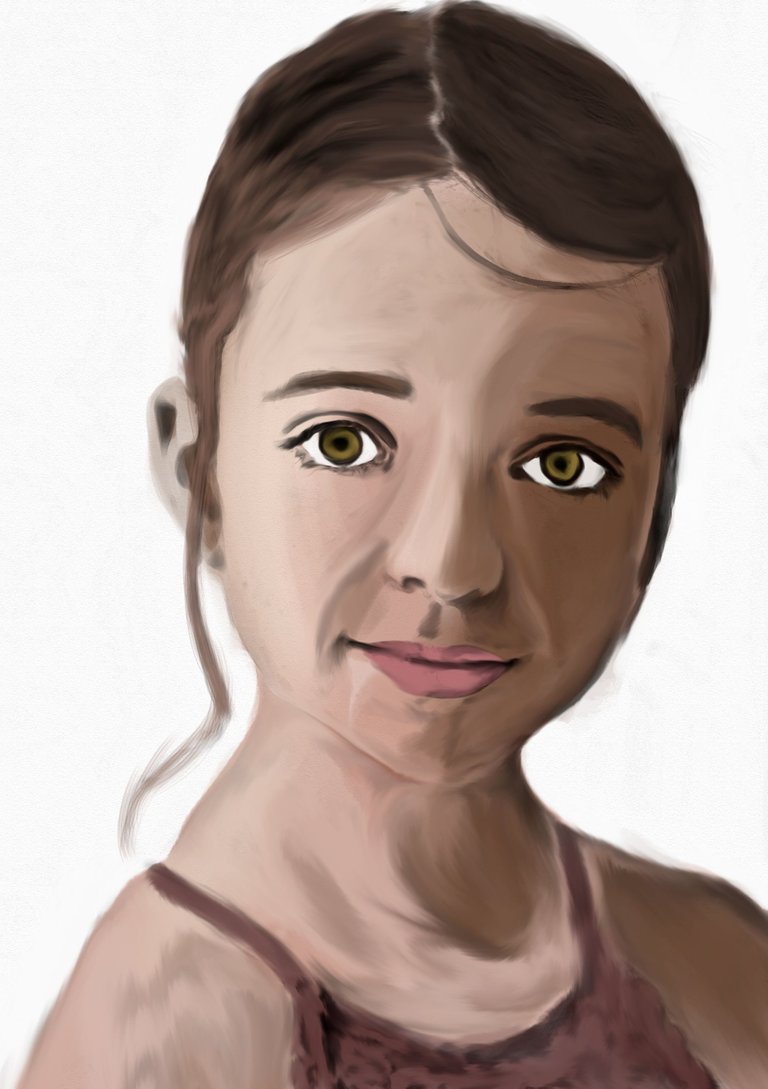
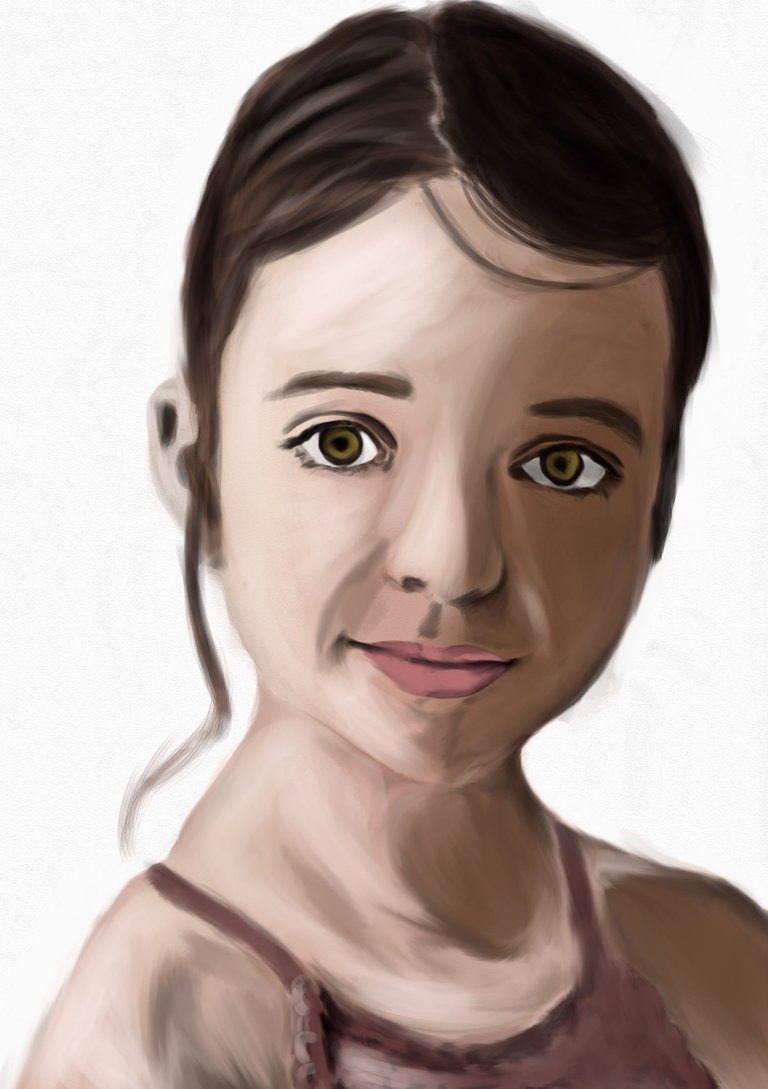
4to paso: luego se seleccionaron los tonos más claros para limitar las zonas de luz.
4th step: The lighter shades were then selected to limit the light areas.
5to paso: luego se seleccionaron los tonos más oscuros para limitar las zonas de sombra.
5th step: The darkest shades were then selected to limit the shadow areas.
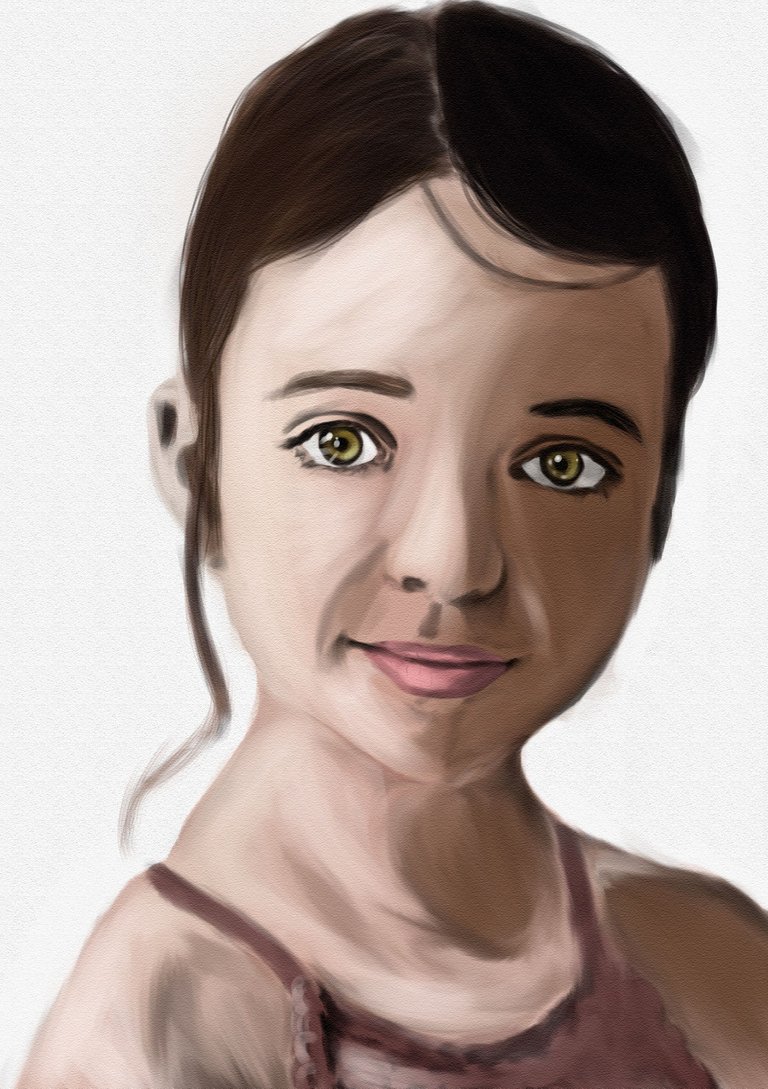
6to paso: Entramos en detalles en áreas del cabello, ojos al darle más visa, cejas y labios.
6th step: We went into detail in areas of the hair, eyes by giving more visa, eyebrows and lips.
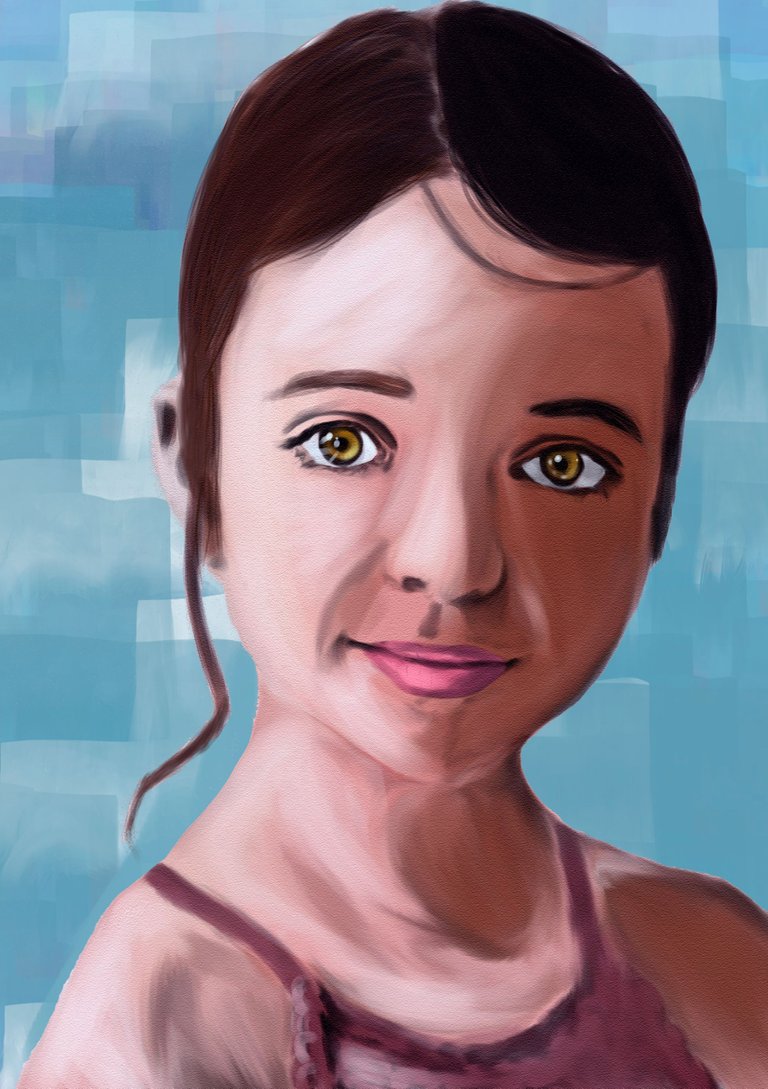
7to paso: Al terminar los detalles y tener bien difuminado los colores en la piel, aplicamos un equilibrio de color para que nuestro retrato cobre más vida y como último paso trabajamos el fondo.
7th step: Once the details are finished and the colors on the skin are well blurred, we apply a color balance to make our portrait come to life and as a last step we work on the background.
Este fue todo el proceso de nuestro dibujo, disfrutamos mucho el proceso y quedamos muy satisfechos con el resultado sobre todo por que hemos visto como vamos evolucionando en pequeños pasos, esperamos les guste, si están interesados en compartir alguna imagen que quisieran que hiciéramos solo avísenos en los comentarios, igualmente las opiniones para mejorar las valoramos mucho.
This was the whole process of the drawing n°21, we enjoyed the process a lot and we were very satisfied with the result especially because we have seen how we are evolving in small steps, we hope you like it, if you are interested in sharing any image that you would like us to do just let us know in the comments, we also value opinions to improve.
Tiempo empleado: 6 horas.
Time employed: 6 hours.
¡Muchas gracias por visitar y apoyar nuestro contenido!
Thank you very much for visiting and supporting our content!
Our mother tongue is not English, for the translation I use the Deelp translator.
- Las imágenes aquí publicadas son de mi propiedad, lo cual implica que es contenido original.
- La referencia utilizada, en esta ocasión se tomo de https://www.pexels.com/ que es un banco de imagenes gratuitas y el video en formato gif se realizó con la aplicación de https://www.canva.com en versión gratuita.
- Los banners de bienvenida y despedida son de mi creación.
- Todo lo antes mencionado es contenido original y exclusivo de esta cuenta.
- Si necesita hacer uso de algún trabajo de mi propiedad, por favor comuníquese conmigo. Su uso indebido y sin consentimiento se considera plagio en todas las comunidades de Hive.blog. Si quieren saber más de nuestro trabajo nos pueden seguir en:
- The images published here are my property, which implies that they are original content.
- The reference used on this occasion was taken from https://www.pexels.com/ which is a free image bank and the video in gif format was made with the free version of https://www.canva.com application.
- The welcome and farewell banners are my creation.
- All the above mentioned is original and exclusive content of this account.
- If you need to make use of any work of my property, please contact me. Misuse without consent is considered plagiarism in all Hive.blog communities. If you want to know more about our work you can follow us at:


Your content has been voted as a part of Encouragement program. Keep up the good work!
Use Ecency daily to boost your growth on platform!
Support Ecency
Vote for new Proposal
Delegate HP and earn more
Congratulations @valthy! You have completed the following achievement on the Hive blockchain and have been rewarded with new badge(s):
Your next target is to reach 13000 upvotes.
You can view your badges on your board and compare yourself to others in the Ranking
If you no longer want to receive notifications, reply to this comment with the word
STOPCheck out the last post from @hivebuzz:
Support the HiveBuzz project. Vote for our proposal!