Creative Sunday-Cartooning effect (Double exposure)
Good day everyone, Merry Xmas🎊🎊🎊🎄🎄 and of course a happy new year in advance.
So I am still following @ykdesign tutorials, yeah I probably should stop saying that, anyways I have made lots of progress and I am loving it... 👇👇👇
============================================================
=============================================================
Okay on this edition of #creativesunday, I decided to do a double exposure on a double exposure using my previous Art on double exposure in Photoshop, then ultimately, I add the cartoonizer(digital art) effect from Bfunky. com as photoshop was not giving me the desired effect.
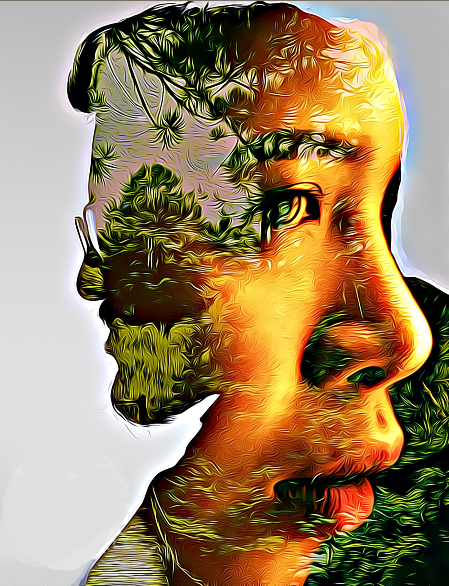
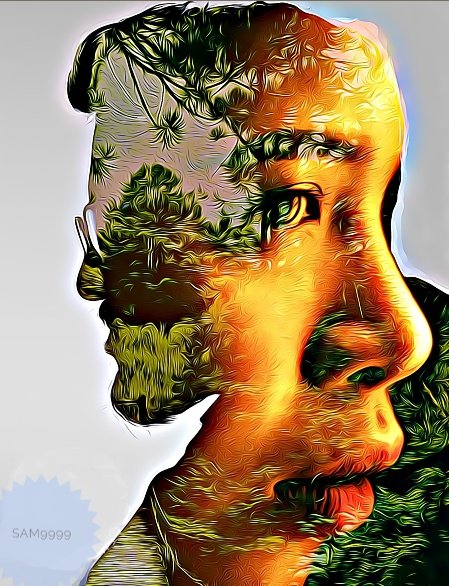
The above art is a double exposure of a woman in a forest from my previous works, then I did a double exposure of it in a man's portrait then added the cartoonizer effect. I tried initiating the cartoonizer effect in photoshop but it just didnt give what I wated so decided to use bfunky
I leave you with the processes, enjoy
============================================================
Original Images used-
First image 👆👆👆 - Gotten from my previous art work on double exposure which I published for #creativesunday 2 weeks ago Here
link: Here
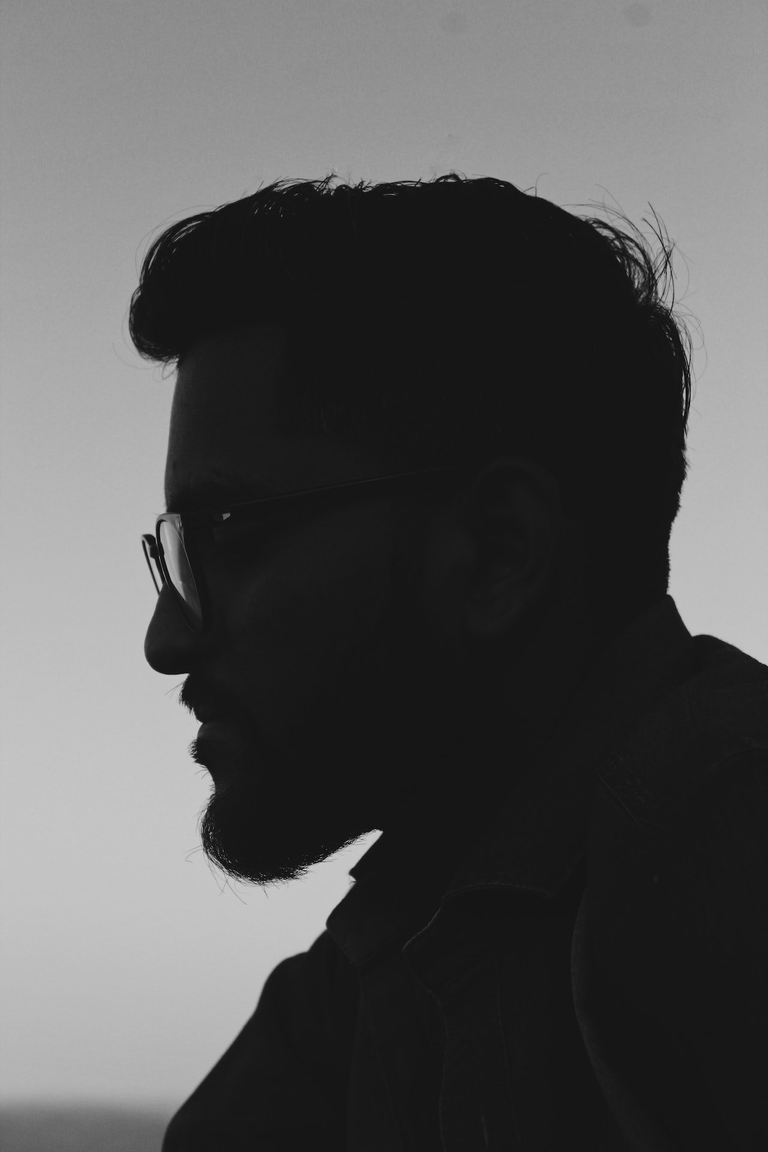
Second image: Image of a Man gotten from pexel here 👇👇👇
nothing more, nothing less, just 2 original images were used

Process of creation/Modification on photoshop.
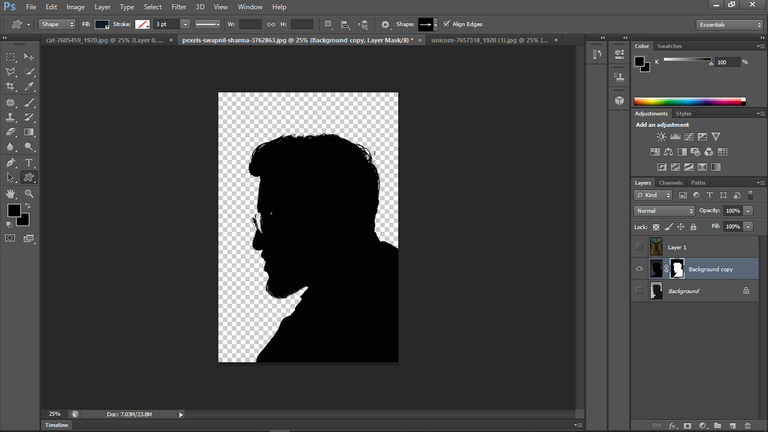
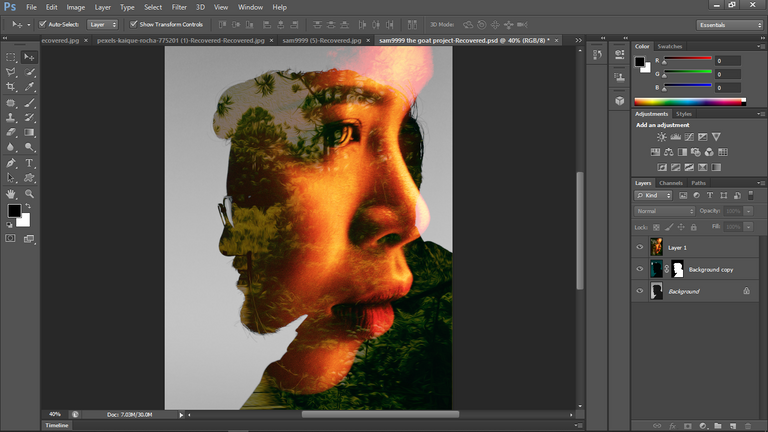
1 . Original image of Man gotten from pexel being opened in photoshop for modification, manipulation and adjustment
2 . Did some adjustment,exposure, shadow, Hue, and saturation. Ultimately, I made some lens correction by scaling under filter and then increased the Hue, color saturation and contrast . Lens correction was done under the filter menu, while saturation, Hue, contrast, shadow, exposure, and lightening was done under image adjustment. Then I did the masking which ultimtely made this transparent
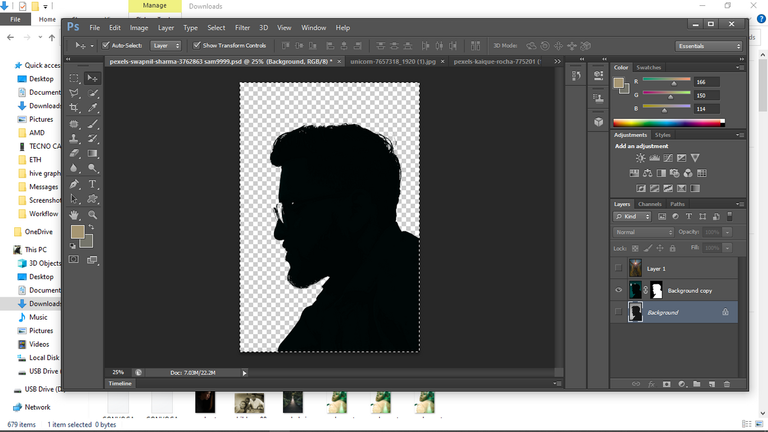
3 . Final adjustment done to the Mans image with a slight 10 degree rotation and accentuation in highlight and shadow
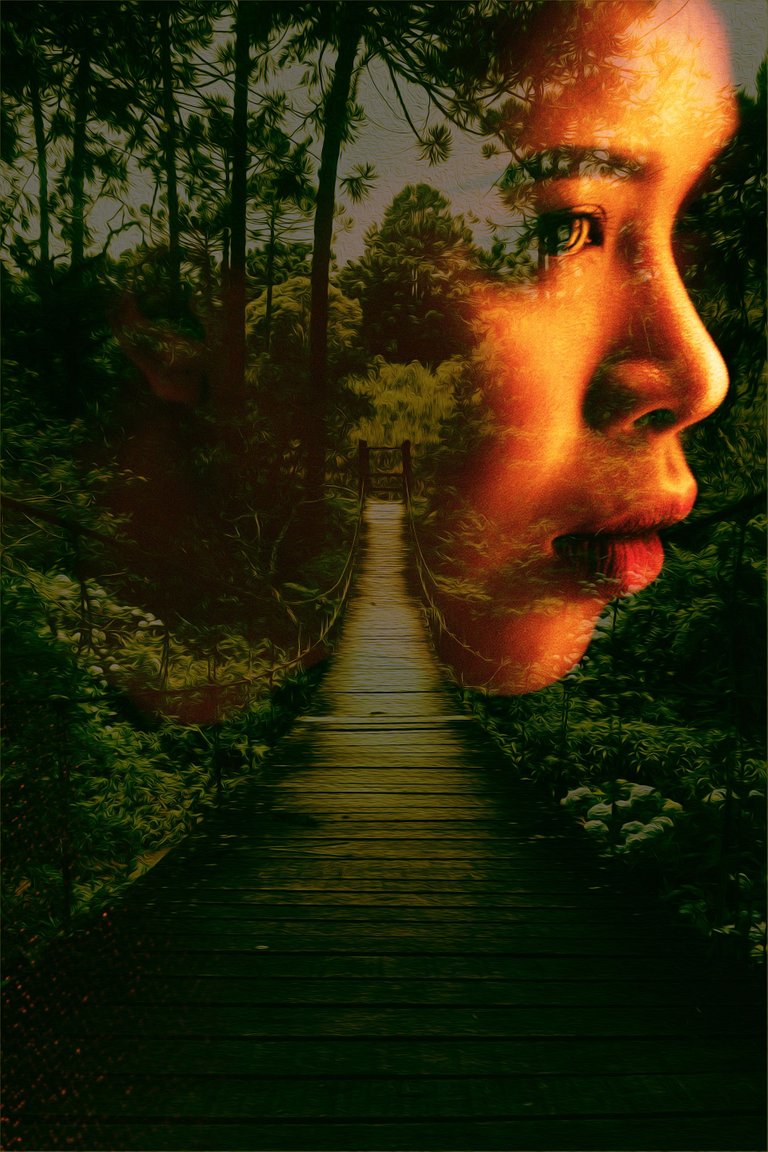
4. Opened the my initial art on double exposure in photoshop for modification
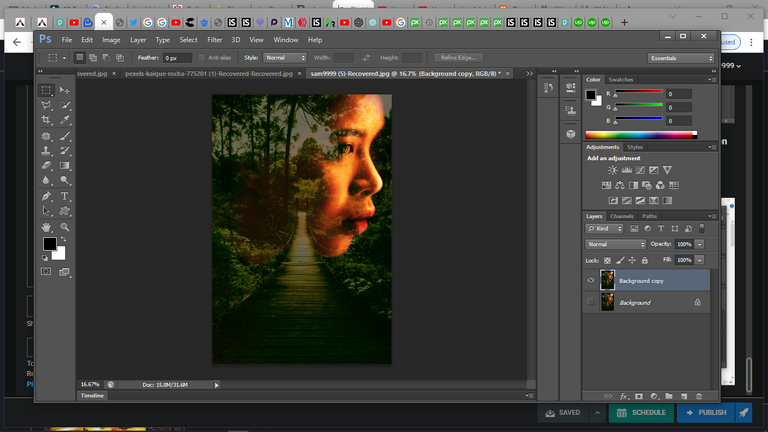
5.Adjustment and modification done to the initial double exposure image to sharpen the image and use the oil-paint effect
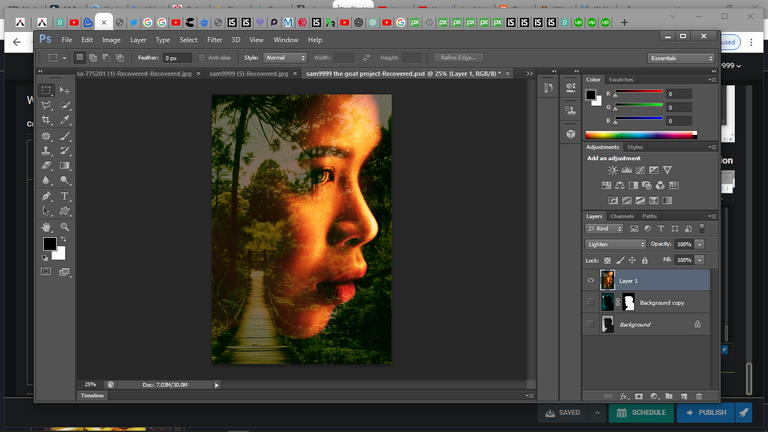
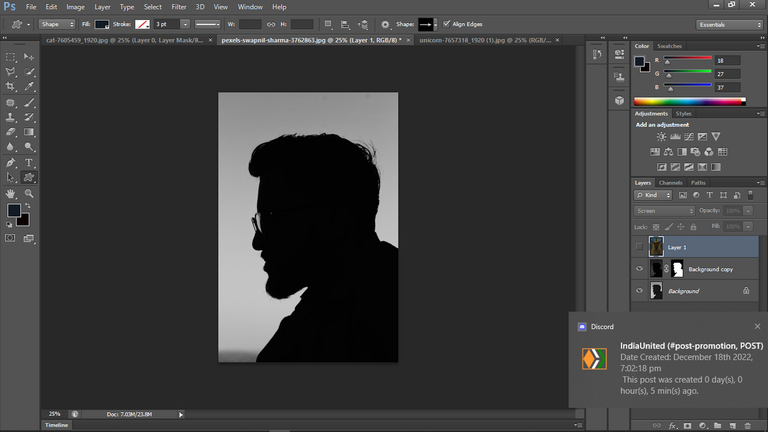
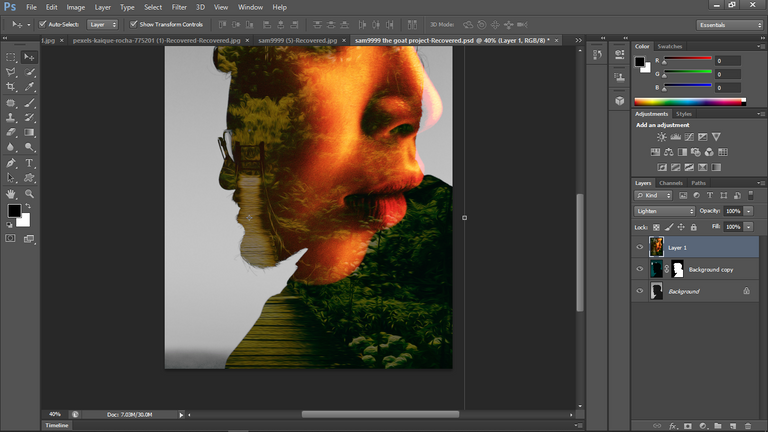
6 .Combining First and Second modified image using double exposure (lighten effect)
7 . Modification and manipulation done to the combined image using the image adjustment tab under Image Menu
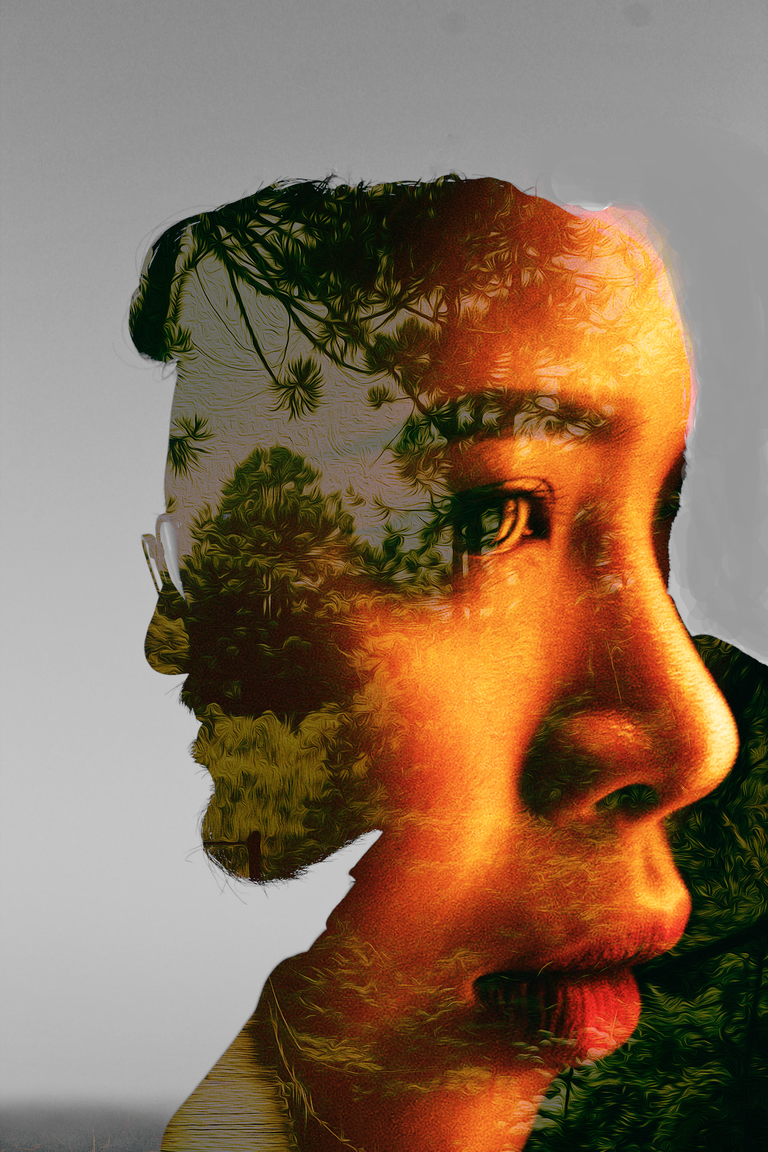
8 .Further adjustment done to the combined image using Photoshop and 3D paint
9 .Final Double Exposure with a little cleaning done in 3D paint and cartoonizer effect in Befunky.com
You can also participate in this #creative-sunday by being a verified member of @hivelearner community and posting anything you feel brings out your creativity Much appreciation to all @hivelearner both members and everyone that keep it running
Thanks for viewing, Sayonara🖐 😀
See you in the Next #creative-sunday
I'm not an expert in photo editing but I kinda like the image before the step 9..The double exposure part, I think it kinda ruined it a bit. But good job as always.
@prayzz
Thank you so much for this feedback, it's priceless.
Most people don't tell you how they really feel about the art you have created,most times they just tell you "wow cool, this is good".