Making progress on our walls | Eco-build update
Hello community, we continue with the saga of our little eco-build which, small as it may be, has been a great challenge of patience and perseverance. We're finally done with the roof and working on the wall structures. Though we thought we had plenty of materials, we ran out pretty quick and had to slow down our progress to stock up on more.
@fenngen and @choli 's father installed in the work area.
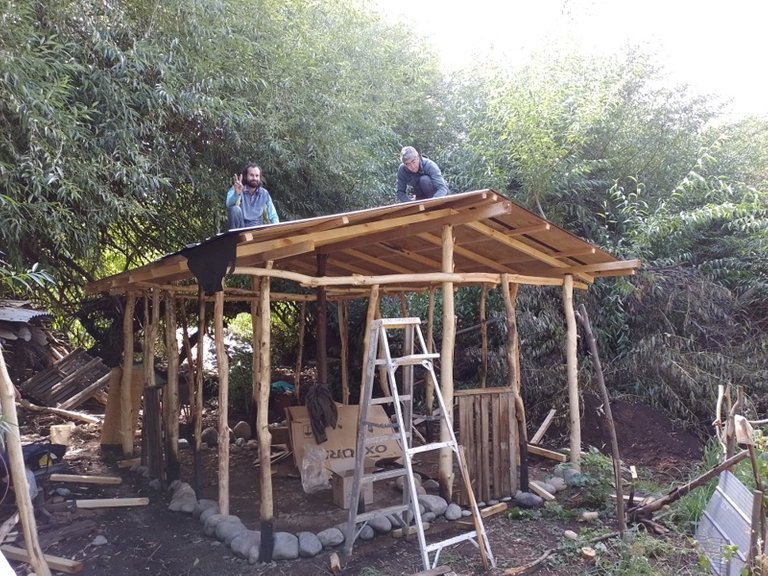
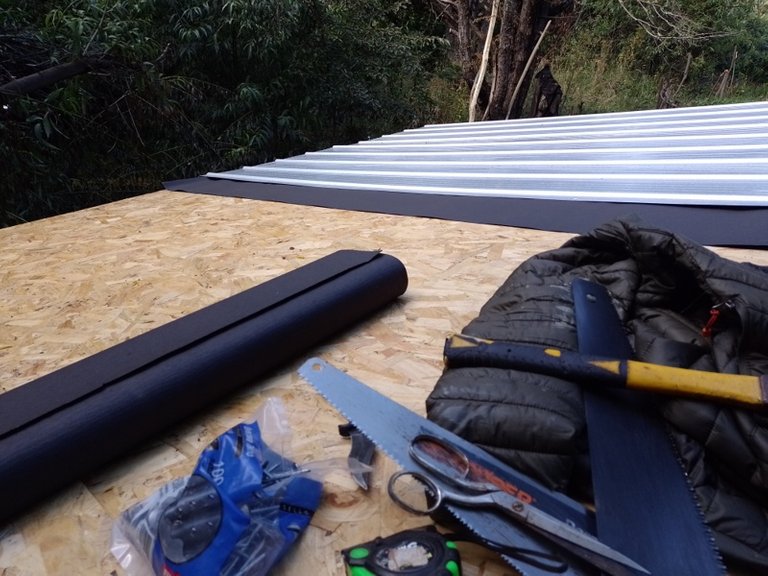
In a previous post you can see the first advances of the roof. Already with the OSB installed, we decided to put felt paper as a water insulator, it is waterproof and also helps against strong winds. It was placed across the whole roof, along with the zinc plates.
@choli showing her approval of how the installment looks so far 🤭
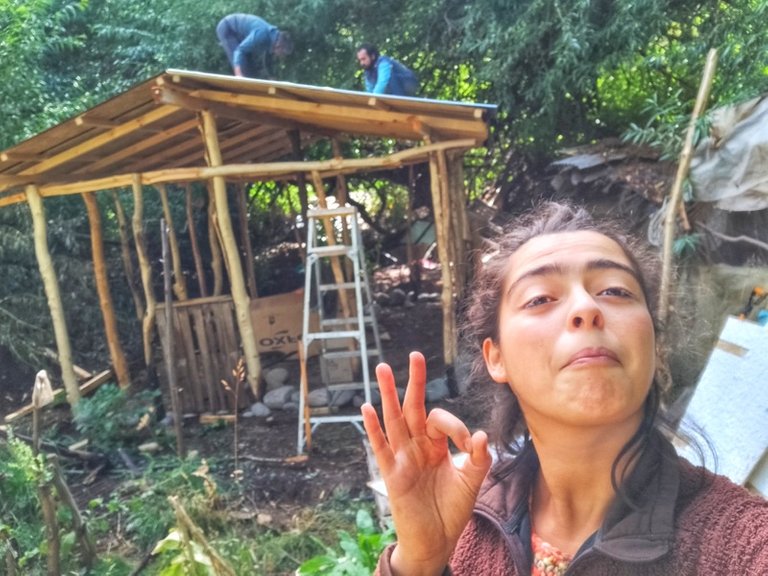
While we installed the roof it started raining on us so we were able to know immediately that it had been properly installed since no water came through.
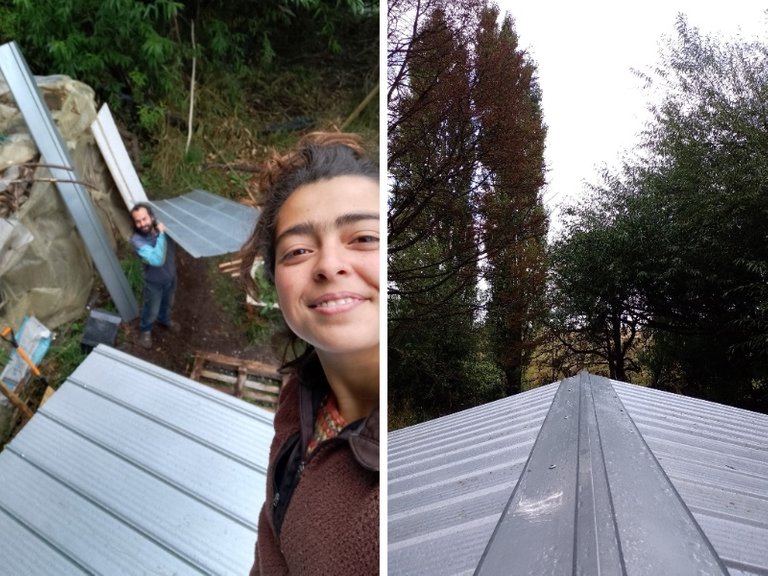
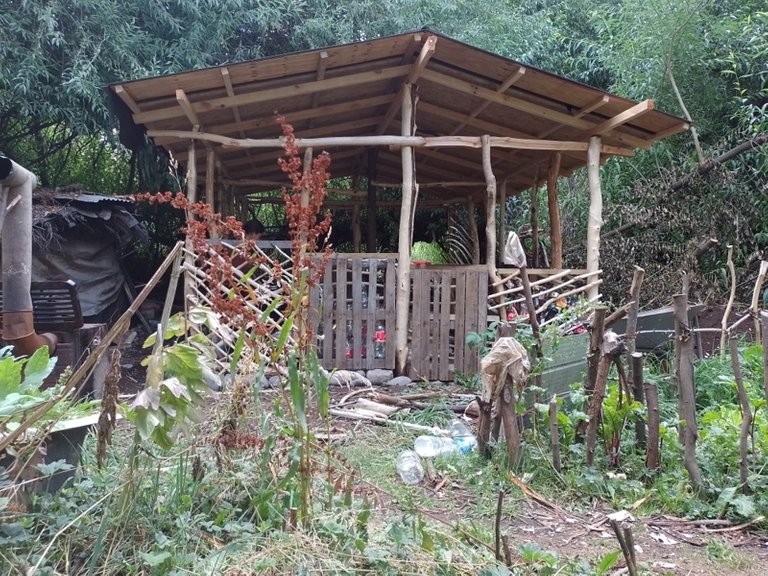
Roof installed, already sheltered from the rains that are already in this area.
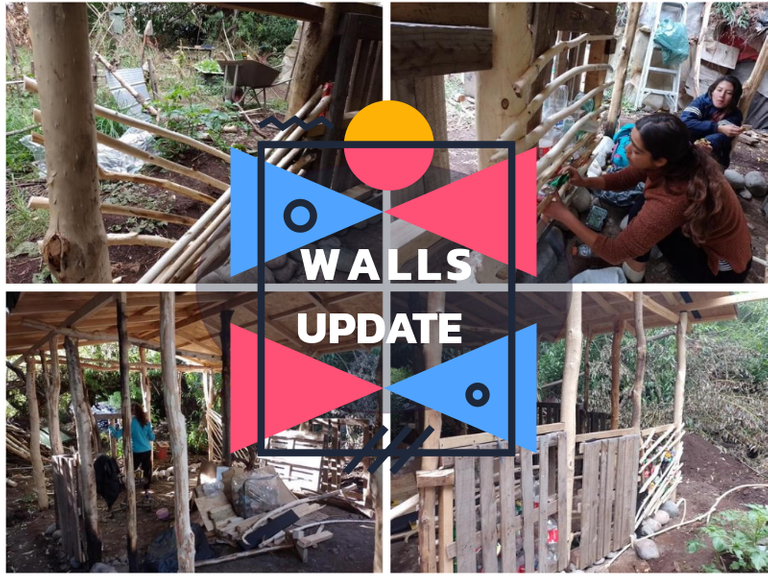
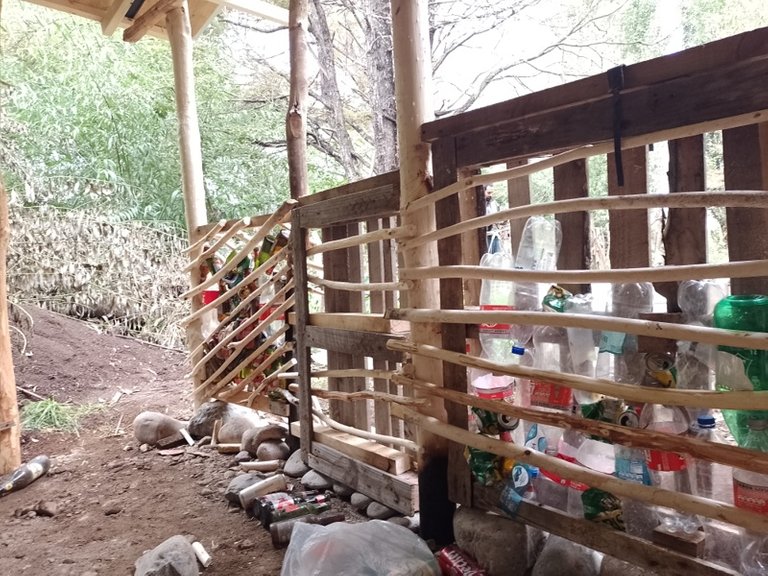
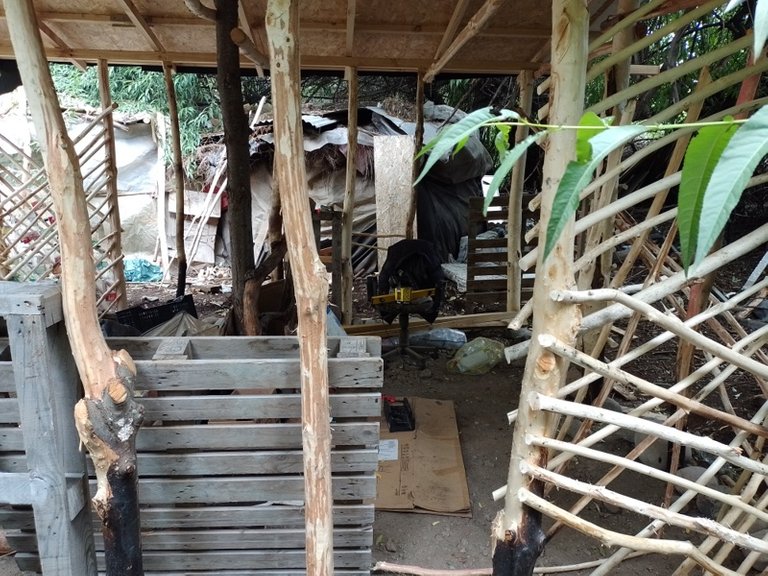
Now we start with our walls. So far we have two techniques used: diagonal quinchas for the corner walls, pallets and horizontal sticks for the middle walls. Both are being filled with plastic bottles, glass and also beer cans.
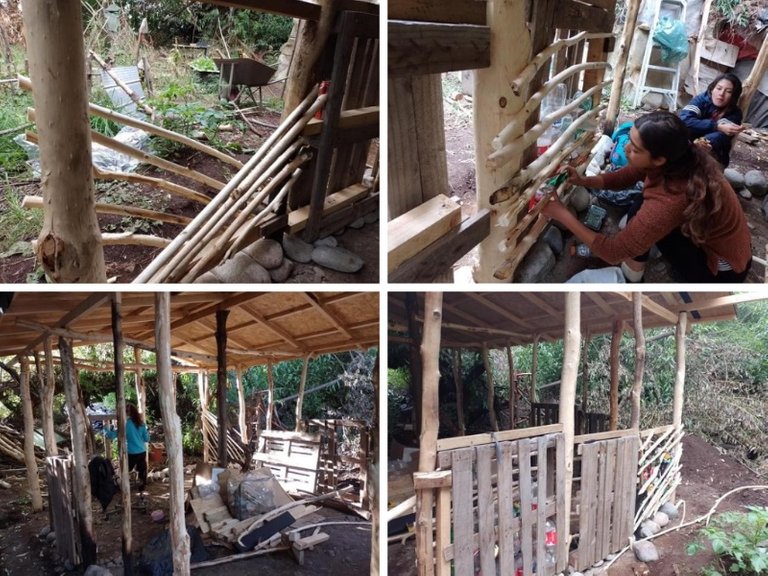
This is where we realized that a lot of space is saved, but that a large amount of bottles must be used, so we had to ask for help from the community of the city where we are: Coyhaique. Many people are collecting to recycle, and right now, for some unknown reason, they have removed the eco-spots to where you can drop off recycle material. So it was something to ask for on facebook and many people already have their bottles saved for us.
We had the visit of our friend Meli that day who also helped us out.
This is where we get the most sunlight so the upper part of the walls will have a lot of glass and hopefully windows if we can recycle some that fit the space.
A look from outside of how that wall is coming along.
We're thinking we might wrap the structure with some plastic and set up a stove inside so that we don't go too cold since temperatures are dropping quickly. If this works we could even bring a tent and start staying here to be more connected with the process. We can begin mixing the mud and start covering inside out.
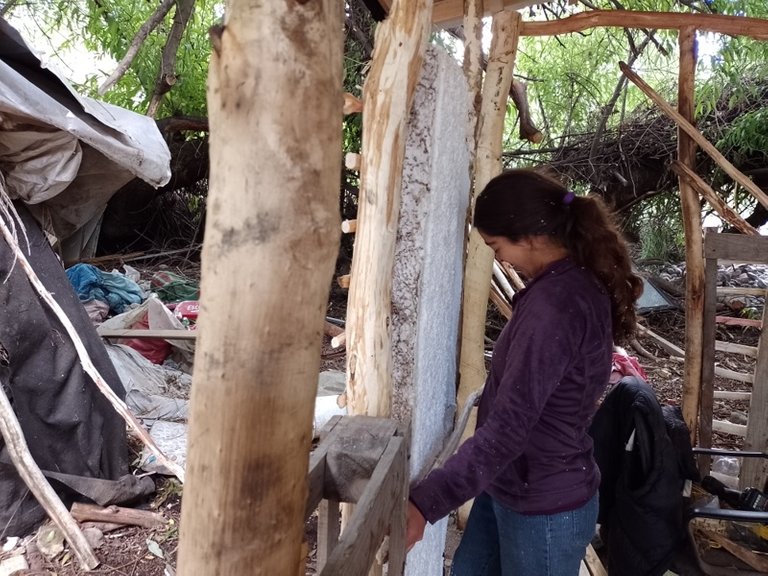
We also recycled some boards with glued penvit that will offer insulation:
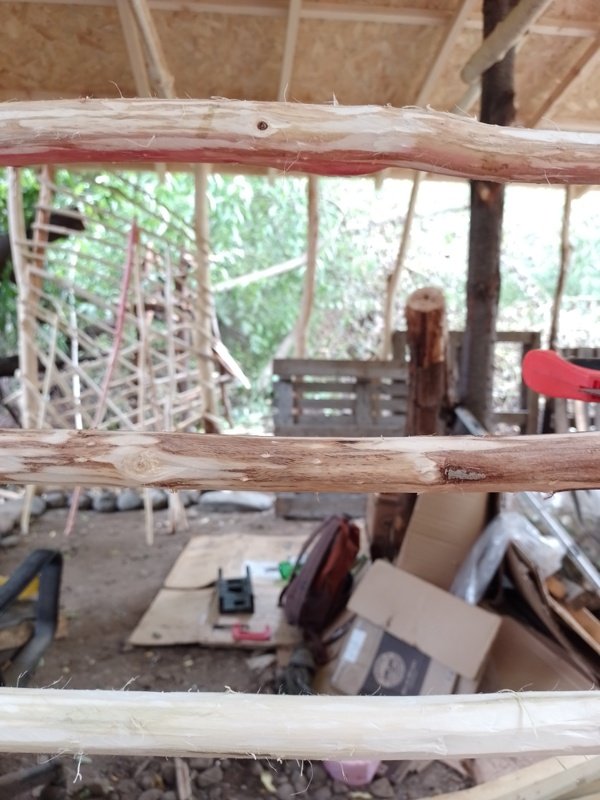
At this point, we went back to looking for willow sticks, cutting them, and stripping off the bark. It is a slow job, so we will look for an opportunity to recycle wood cuttings. We hope things go well for us, otherwise we will continue cutting on these sides.
Another wall, the same mess, which increases with the days haha 😂, we'll give ourselves some time to organize soon... yeah, sometime soon.
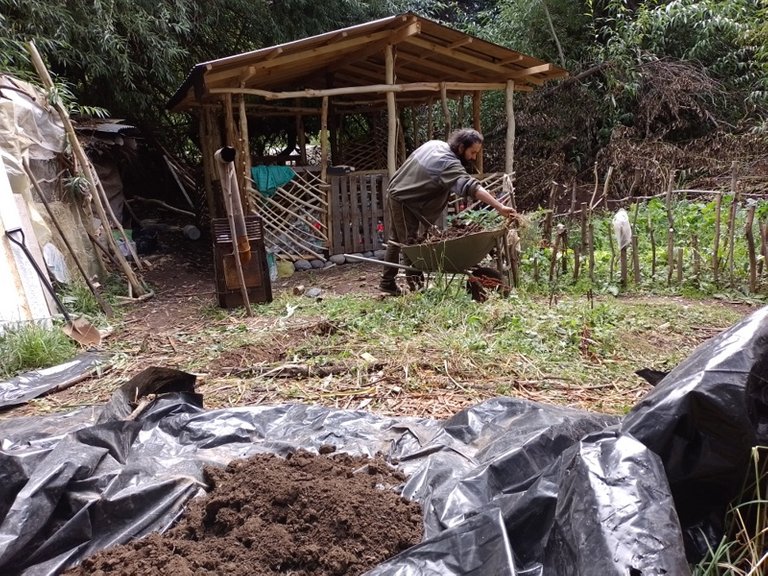
To alternate the jobs we've also begin planning out the place where we will be mixing the mud with sand and straw. Once we have all the wall structures we will begin this task which might be long but it is also very fun and rewarding.
That's all for this update Hivers, hope you like what you see and get something from it. If you have any questions/tips/suggestions please let us know in the comments. Till next time!
This is really nice and a work well-done to appreciate, the rain would have disturbed like you said but due to the nice roofing you guys did in time stopped the water from entering nice job and keep up the good work.
Thanks, grateful for your support!
Wow! Hehe I am amazed and also impressed! Love your work and your Hard Work is beginning to pay off. I glad you were able to install the roof perfectly with help of rain. At least there will no correction on the roof.
Congratulations guys! Kudos!
Thanks for your kind words and support 🙌
This is really nice and this must have cost a lot of bottle for you to get
Thanks! Yup, lots of bottles and still more needed
Ohh I see
It's going! And I love that approval face. I didn't know one had to put plastic under the roof. I've been thinking about building an A-frame cabin, so learning a lot from your build.
It's not a must but it will help with whatever moisture could slip under the main roof cover. Look forward to seeing the build of your cabin and glad you're taking something from our process!
I really like what I am seeing because you choose to persevere in the work you are doing. I believe in no time, everything would be done perfectly and it will surely be a good place. Keep working 👍👍
Thanks, hope your words come true!
This is good progress!
I'm sure that having some kind of heater inside the structure would make it more comfortable to work there.
Thanks! We're still looking for our heater, anytime now...
Your content has been voted as a part of Encouragement program. Keep up the good work!
Use Ecency daily to boost your growth on platform!
Support Ecency
Vote for new Proposal
Delegate HP and earn more
It looks lovely, I wish you the best of luck with your project!