How to change a VE Commodore Wagon Boot Release
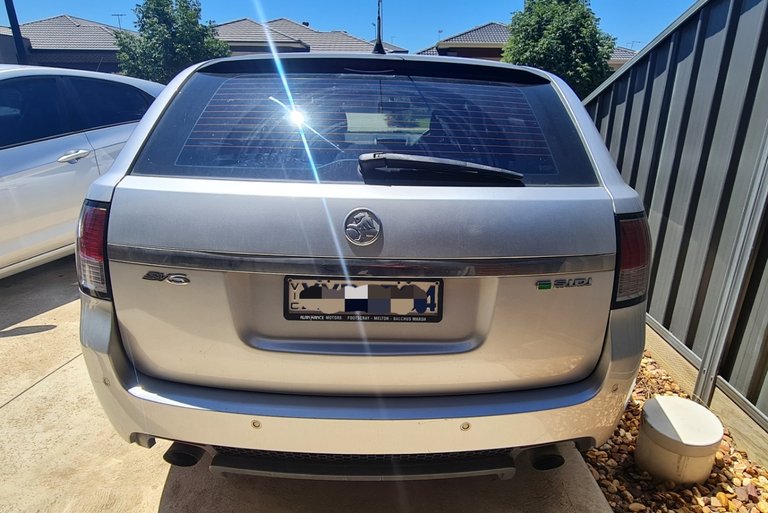
My VE Holden Commodore SV6 Sports Wagon recently came into a spot of bother as the boot release malfunctioned and hasn't worked for some time. In the 2010 models they removed the option to be able to unlock the boot from the glove compartment and the only access I've been able to have is if I open it with a flat head screw driver from within the boot. This isn't practical if I'm using it for shopping or to carry things around as access is not easy.
I rang around a few mechanics and I received quotes of $650+ noting that there were long waits due to COVID and delays on parts. Not wanting to spend that much or wait any longer I decided to do it myself. I went on e-bay and found the component I needed for $150 and it arrived today.
Opening the boot
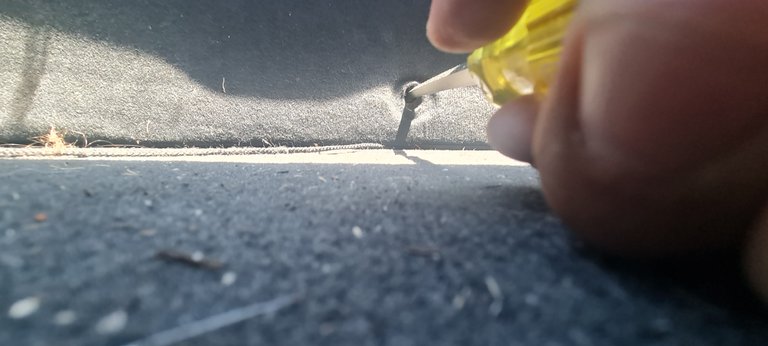
For this you will need a large flat head screw driver once you have one lower your back seats, climb into the boot and remove the plastic cap that's centre in your boot door. Once removed insert the flat head screw driver and rotate anti clockwise you should hear a click and a pop and slightly push and the boot should open.
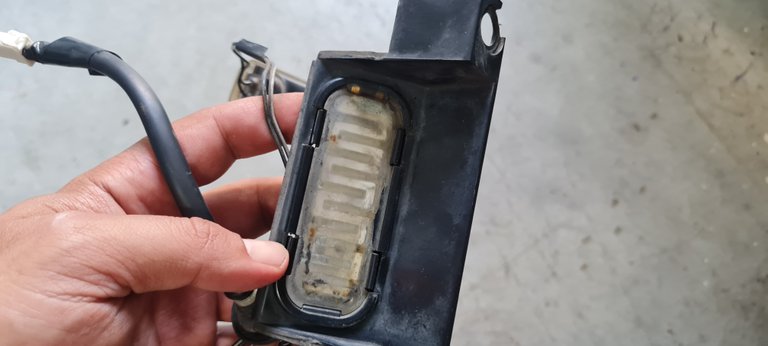
Extent of the Damage
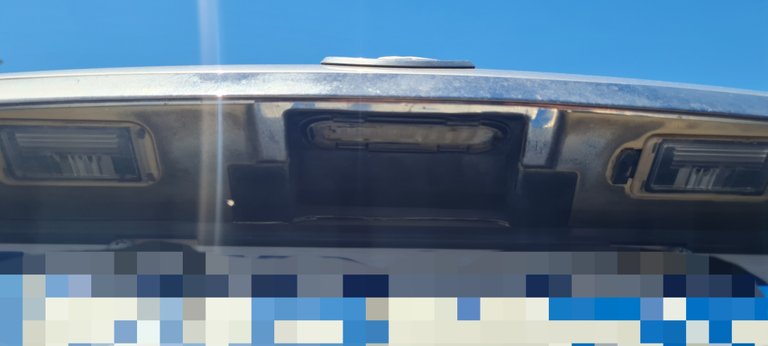
As you can see the rubber that lines the sensor has been completely eroded and water damage has gotten inside the boot release. Hopefully we haven't had a fuse blown but it's looking like it requires total replacement.

The original manufacturer no longer makes these boot release so I had to opt for an aftermarket manufacturer which in my opinion is a lot better. The sensor is replaced by a button and there is a seperate attachment that enables you to just replace the boot release as the original also included number plate lights.
Now that we're open we're going to need to take off the door trimming which is a lot easier than a car door. You'll need a Torx drill bit to undo these screws either side of the latch. The rest of the trim is held together with plastic clips. Just pull down once you've undone the Torx screws and your good to go.
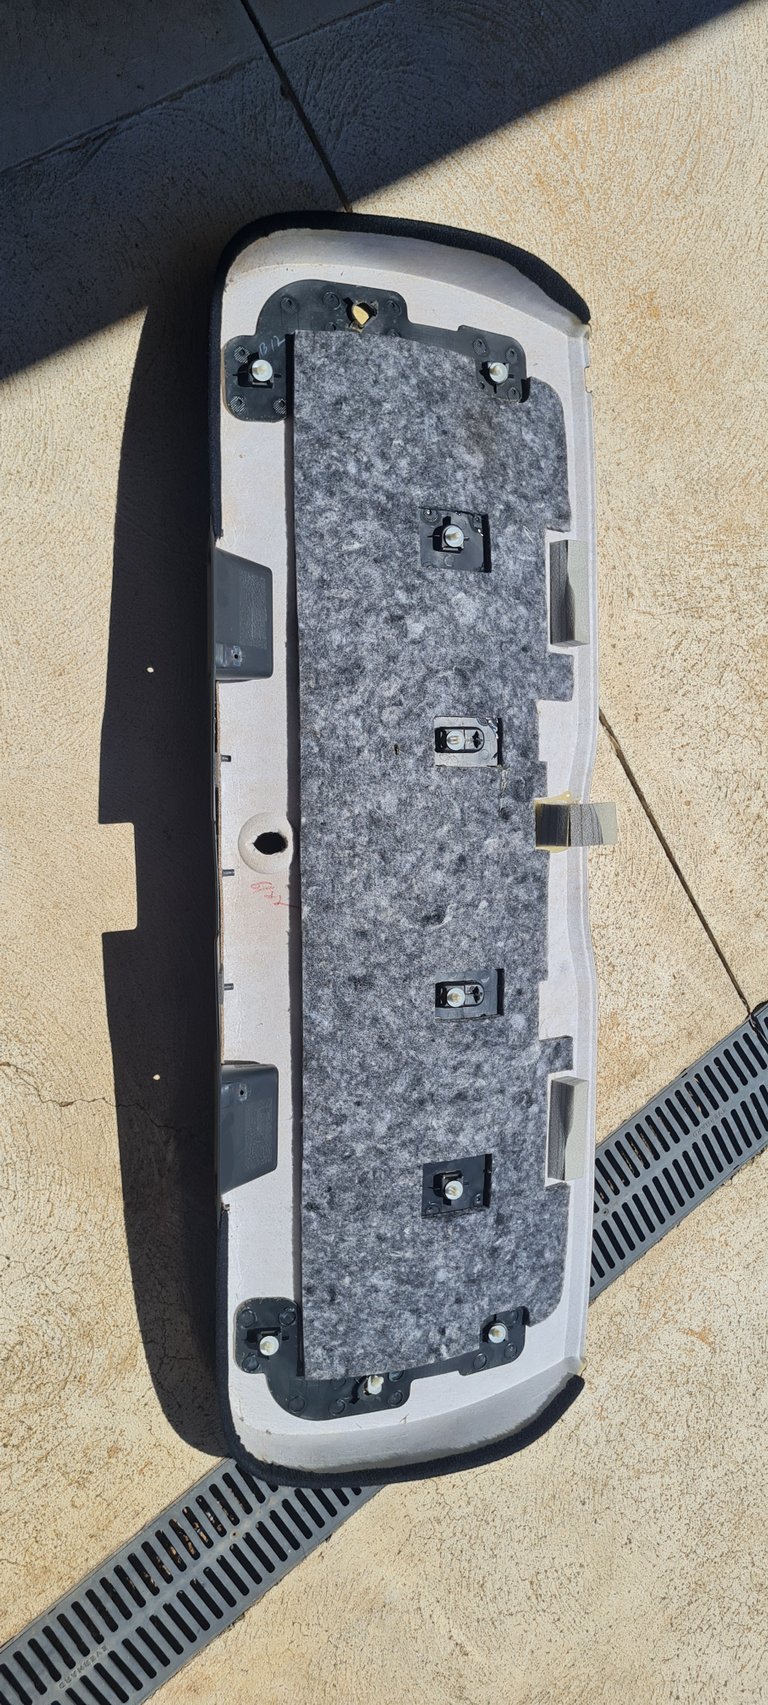
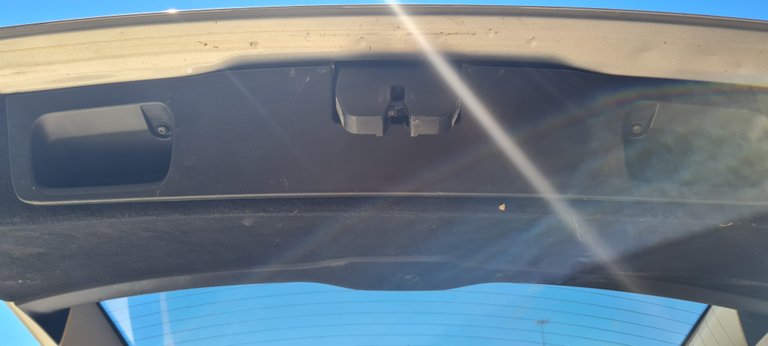
Removed boot trimming
For this next part you need to be extra careful because the boot release and number plate lights are mounted to the metal/chrome which is plastic details. This strip is quite expensive and you don't want to much it up.
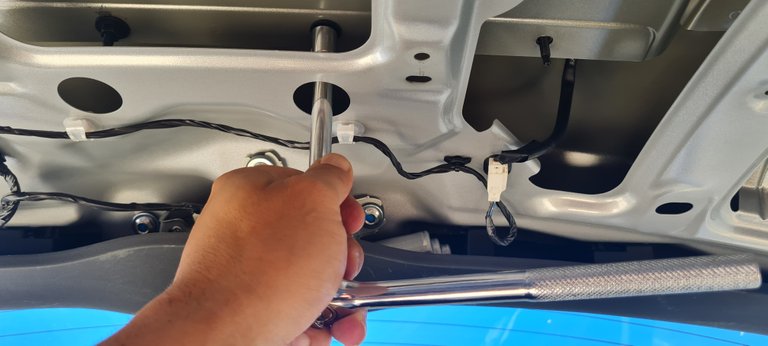
There are 6 bolts which are relatively easy to get to with a socket set and an extension bar. To be honest I was really expecting something harder because cars are often made.... well challenging to get to.
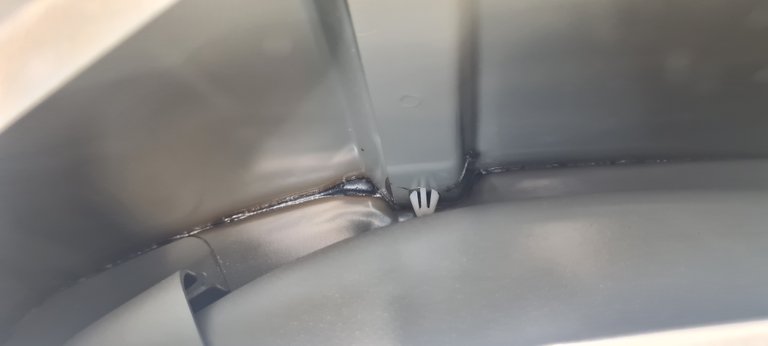
There are two plastic clips that are a little hard to get to and you will need some pointy nosed plyers to squeeze together and push through. Make sure you're gentle as you don't want to damage or break them. Once they are out the entire piece will lift out with relative ease. You will need to pop out the rubber seal that the wiring runs through which is also easy but that could be because it is old and worn and fell out relatively easy for me.

Now it is time to replace the boot release and you need to be careful here as you will need to remove the two Torx screws that are holding it in place. As it is screwed into a fitting of the plastic strip you need to be gentle. To do this I used my cordless drill by opening up the mouth piece and sitting it over the torx screws tightening the mouth than spinning it slowly anti clock wise to unscrew them.
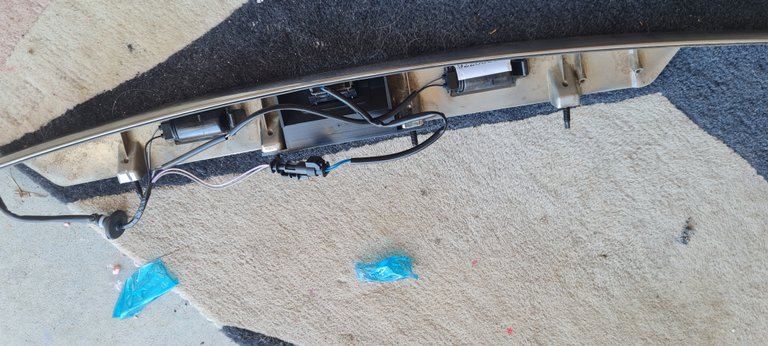
Then put in your new boot release, rescrew the torx screws gently the same way making sure not to break the strip or your new boot release, line the wires place in the new number plate lights and put it all back together the same way as above but in reverse.
No wonder why my boot release wasn't working anymore! Have a look at the state of it. It's in shambles!
I'm pretty excited about fixing it I've saved myself a few hundred bucks and also put together a handy guide on how to replace it. Which I wasn't able to find one online.
!LUV
@tin.aung.soe(3/4) gave you LUV.
Well done on the DIY repair 👍
Thank you my friend, I was getting quotes between $650 to $1100 for the repair with a 6 month wait. It's probably been broken for that long and then I decided to just do it myself. Part was $150 off e-bay.
There weren't any guides so thought I'd pop one together.
Your content has been voted as a part of Encouragement program. Keep up the good work!
Use Ecency daily to boost your growth on platform!
Support Ecency
Vote for new Proposal
Delegate HP and earn more
Thank you ecency :D
That is good
Work and repair with your hand
Good work
Thank you, definitely saved a few hundred dollars.
We are happy to have you back, good to have been able to solve the problem by yourself and generate some savings, it was really destroyed.
Thank you, great to be able to contribute. Lock down has ment staying in doors so didn't have much to offer 😞. Although even though I went no where my car still broke down 🤣🤣🤣
Not to mention I'm still waiting on my new car which isn't to arrive until September this year!!!
Yes it was a better idea to fix it myself and I noticed there was no how to guides so saw it as the perfect opportunity to provide one. Which is good because if people go searching SEO should potentially show it to them.
Thank you for maintaining a strong community.
Do try to google it right now, it should show up now :D
It was totally busted, well and that is willout you driving all the time like before covid. Im glad you saved some cash from fixing it yourself, and in fact even generated some with this post :P, is a great thing to have both saving and generating mixed up :)
Hahaha I know right! How good is that. Brings down the cost of the part a bit. I have more coming as I need to do a bit more work on the ol beast. Some small things some a little more complex.
This is good
Great work my friend.👍
When I get my first car
I would always want to fix things myself and learn more about what I got .
This looks like a Vauxhall brand, am I right.
It's a wonderful feeling being able to do it yourself. And save alot of cash