Bombones de Parchita caseros al estilo Melao´s Melena + Recomendaciones /Homemade Parchita Bonbons Melao's Melena style + Recommendations
Todas las fotos son tomadas desde mi telefono inteligente
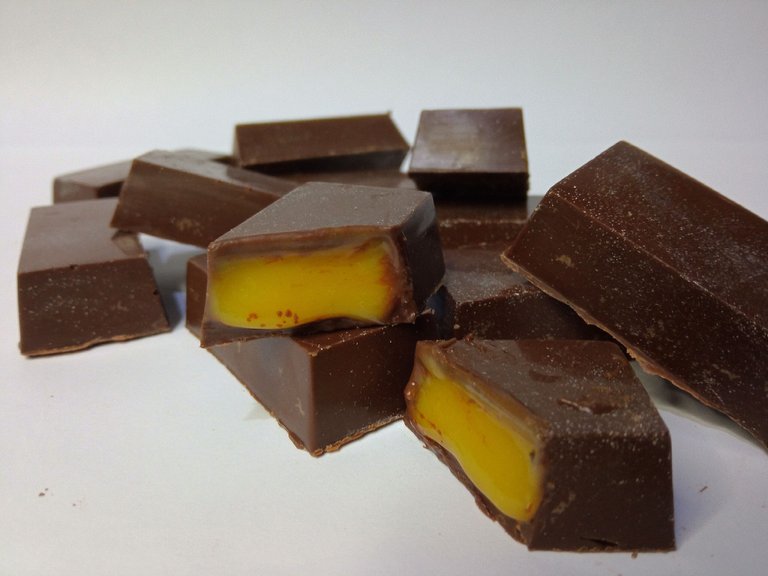
Hola cocineros de @foodiesbeehive, les quiero compartir una receta de encanto, sencilla, que eriza la piel, son los bombones de parchita. Con pocos ingredientes, es un procedimiento de práctica, espero que la disfruten mucho, se las dejo a continuación.
Las cantidades que es voy a dejar a continuación es para hacer de 12 a 15 unidades de bombones pequeños aproximadamente.


150gr de Cobertura de chocolate amargo.
380gr de Leche condesada (1 lata)
1 Taza de pulpa de parchita

Bombonera de silicón
Paleta miserable o dedo mágico
Alisador o algún utensilio liso y plano, podría ser un cuchillo grande (bien limpio)

Licua la pulpa de parchita y cuela, para posteriormente obtener el jugo sin semillas.
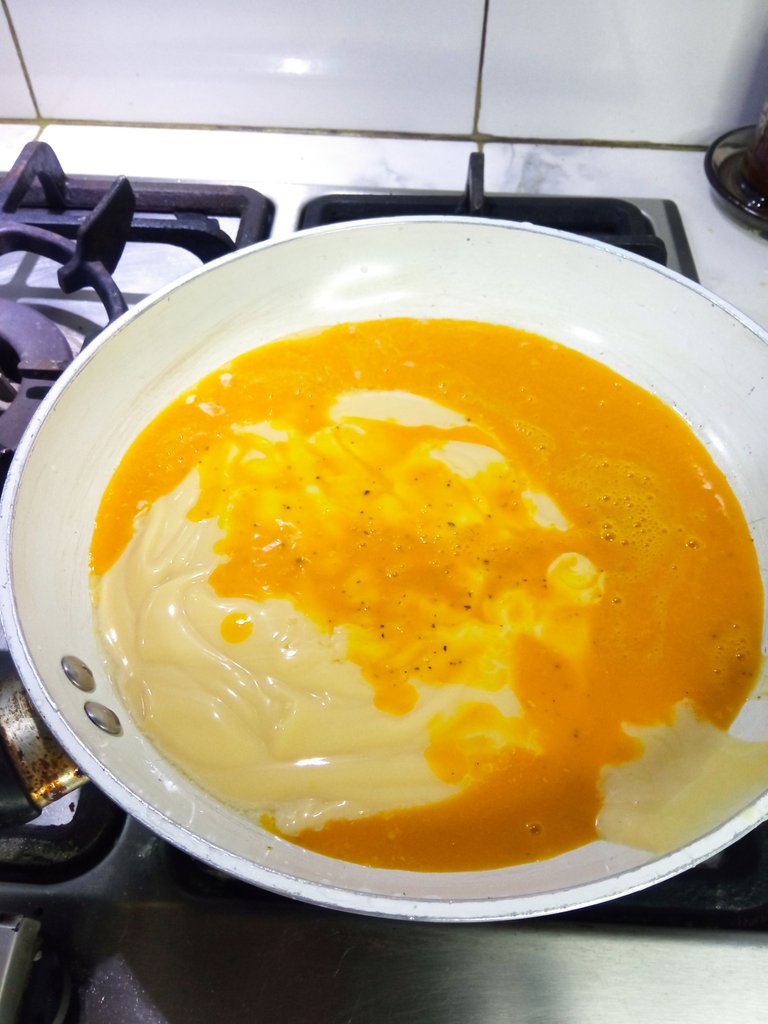
En un sartén coloca la leche condensada junto el jugo de parchita y mezcla.
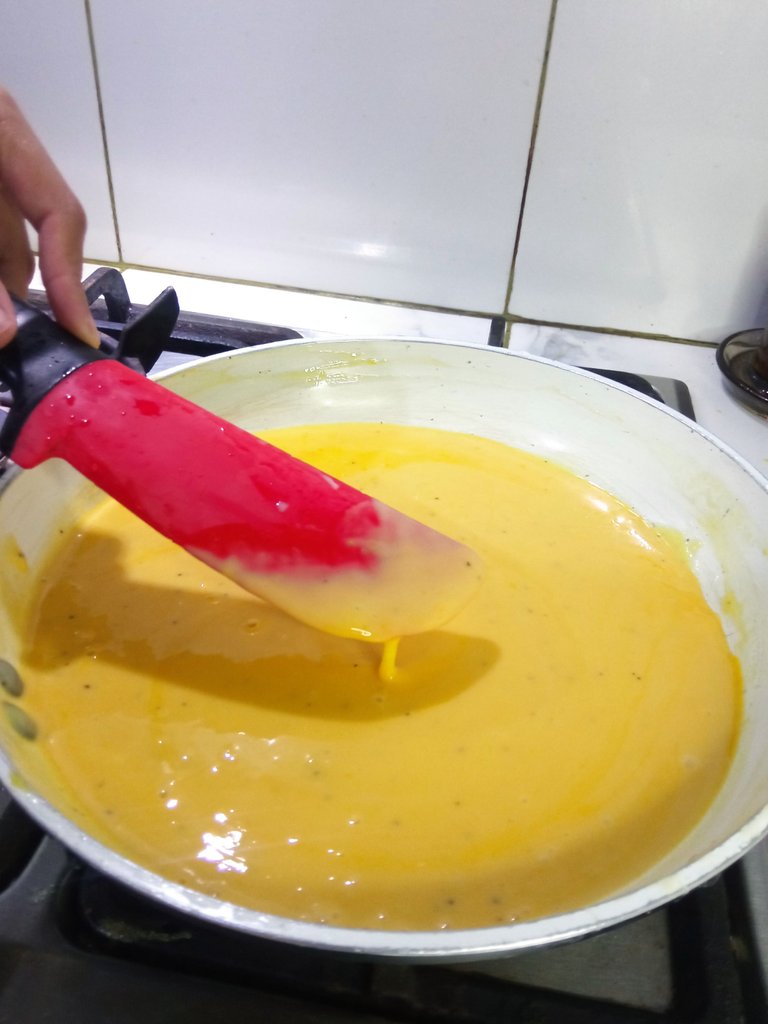
Enciende la estufa a fuego moderado y con tu paleta miserable mueve constantemente la mezcla, para evitar que el calor haga que se pegue. (pasea tu paleta por los bordes y el fondo del sartén)
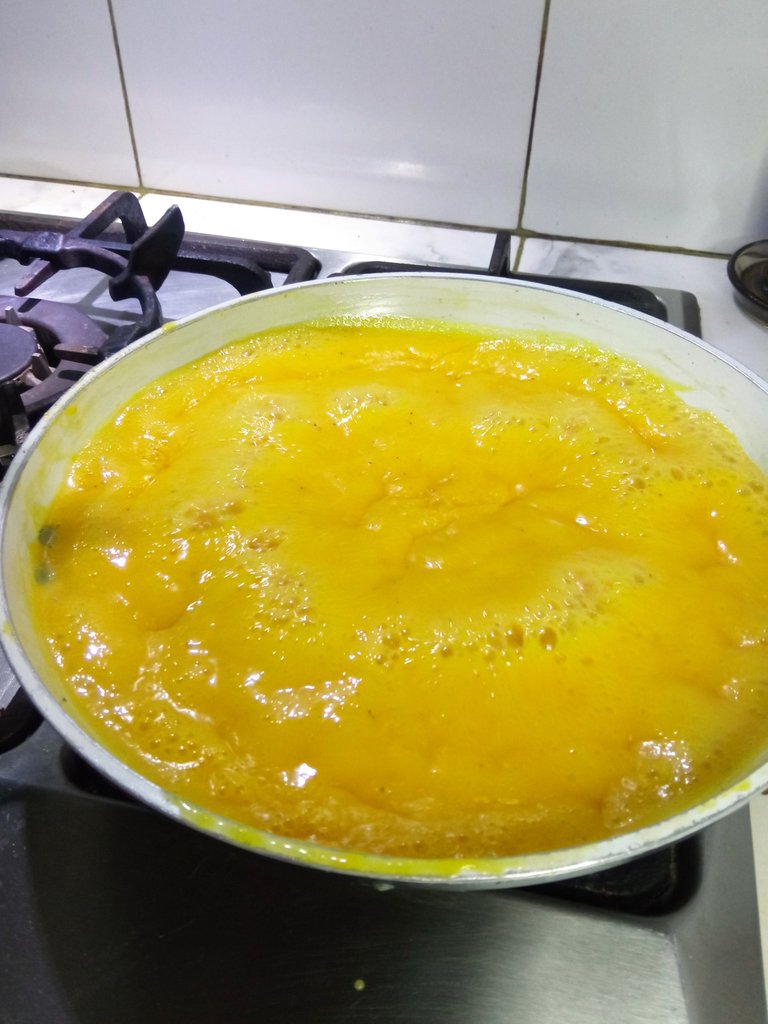
La mezcla hervirá y posteriormente comenzará a espesar, sabrás que esta lista cuando pases la paleta por el sartén de un extremo a otro y se haga un camino.
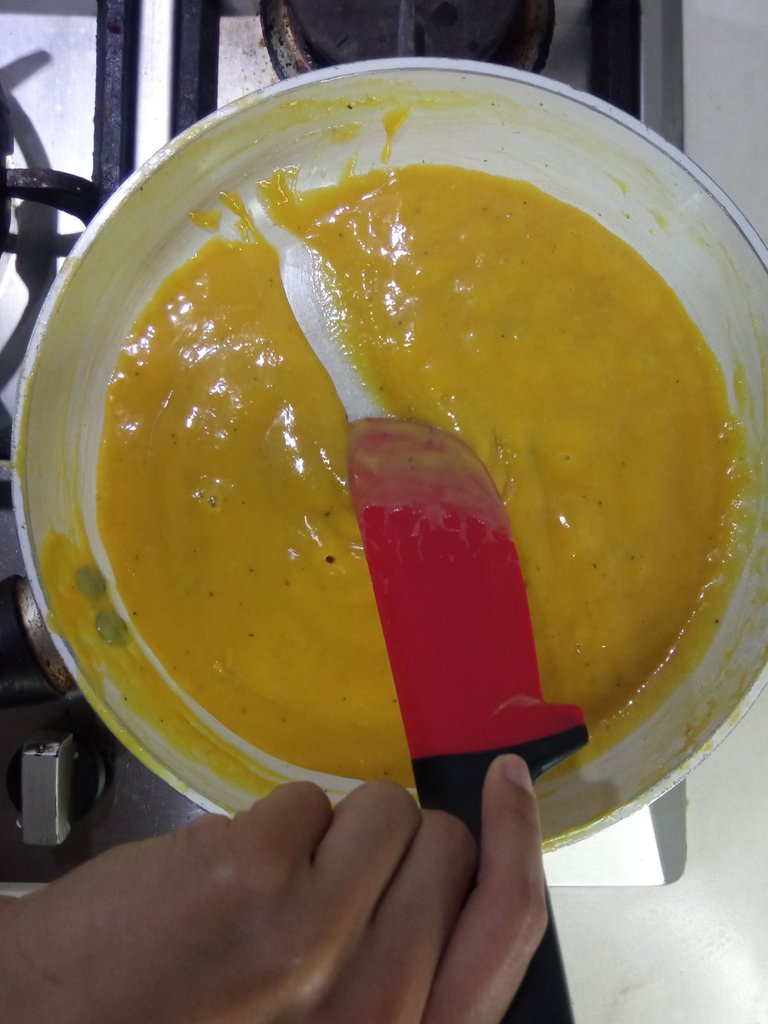
- Resérvalo en un envase en la nevera, debe estar frio o a temperatura ambiente para poder colocar en los bombones.
Preparación del chocolate y el bombón

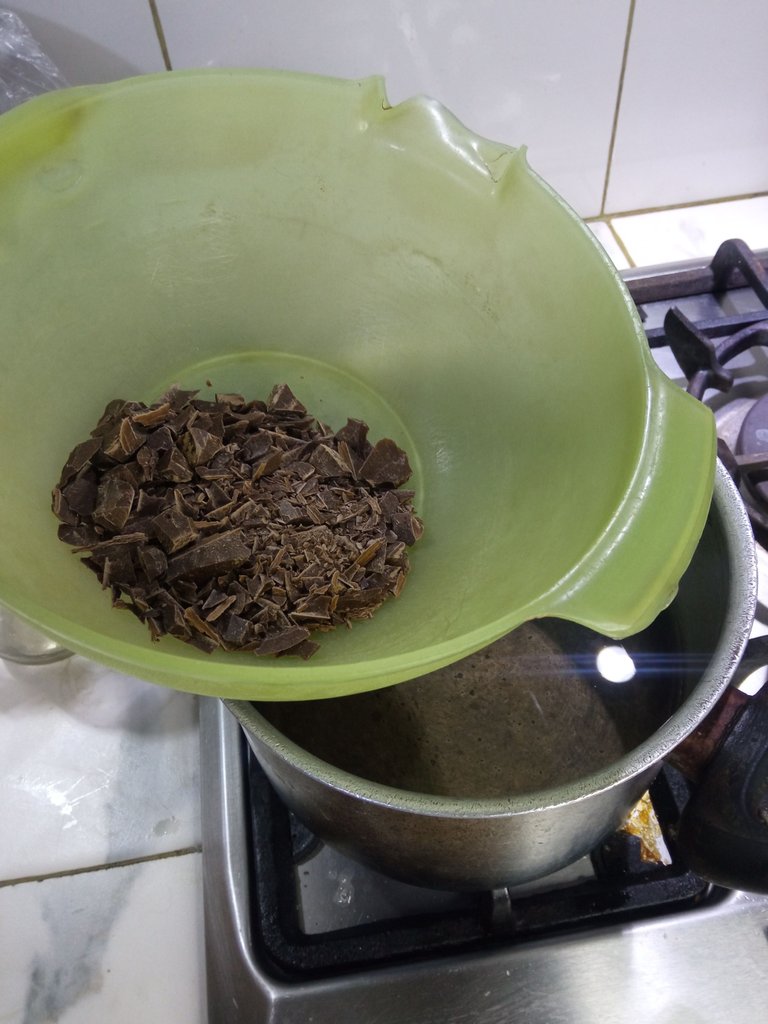
- Corta en pedazos la cobertura de chocolate y colócala en un envase 100gr de este chocolate, para llevar a baño María, deja derretir y mueve de vez en cuando.
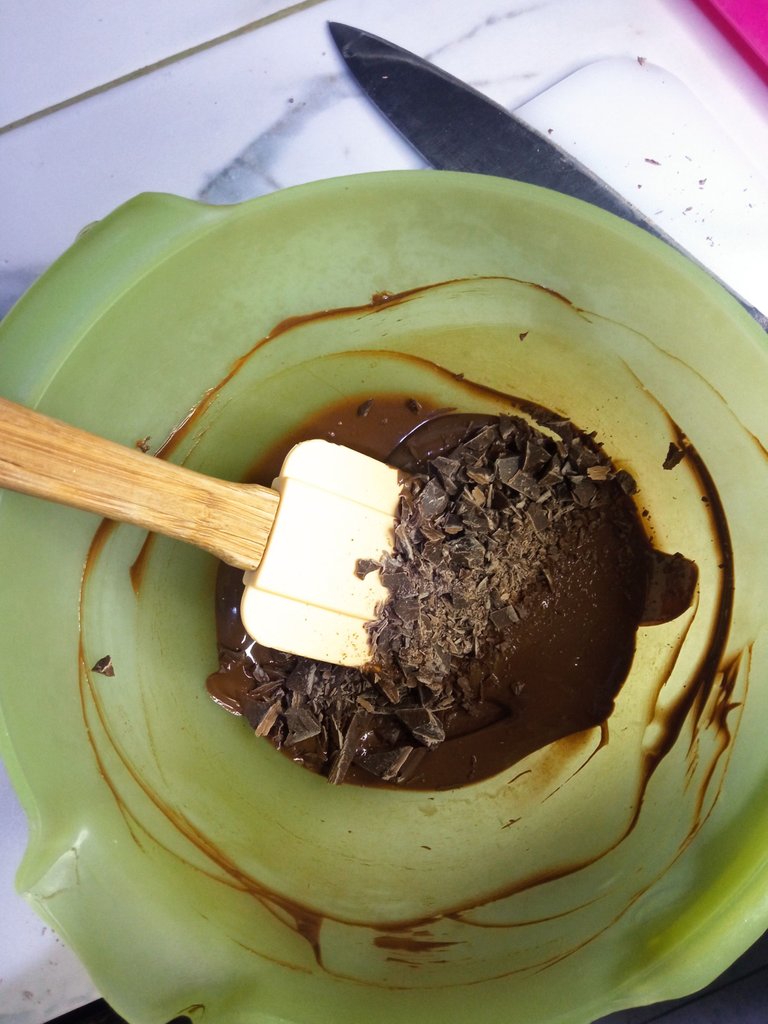
- Cuando esté completamente derretido, aparta del fuego (baño Maria) y agrégale los 50gr de chocolate restantes y mezcla hasta que estos pedazos se diluyan con el calor del chocolate que ya está derretido. Esta técnica lleva el nombre de atemperado.
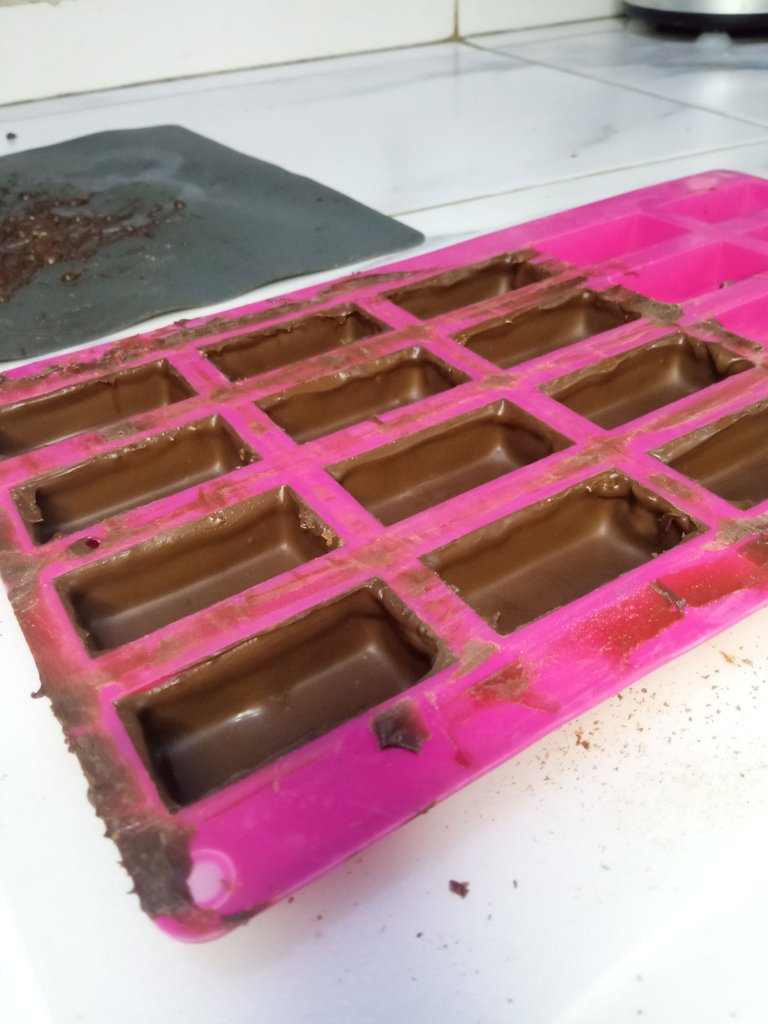
- En tu bombonera vierte en cada espacio un poco del chocolate previamente derretido y rápidamente comienza esparcirlo para cubrir toda la zona.

Para quitar los excesos y obtener una capa fina de chocolate, voltea la bombonera y generando movimientos vibratorios deja que caiga el chocolate en una superficie de mantel de silicón o papel encerado y con un alisador o un utensilio liso y plano quita los excesos que quedan en la bombonera, es decir, desliza el utensilio sobre la bombonera.
Deja refrescar el chocolate unos minutos hasta que endurezca.
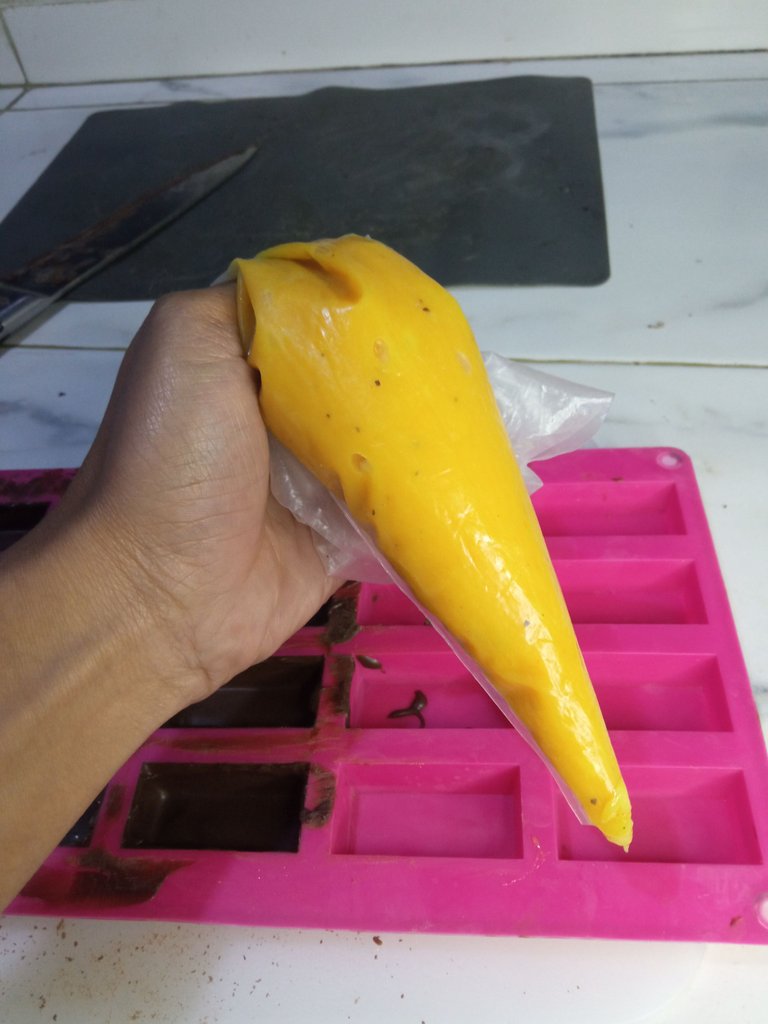
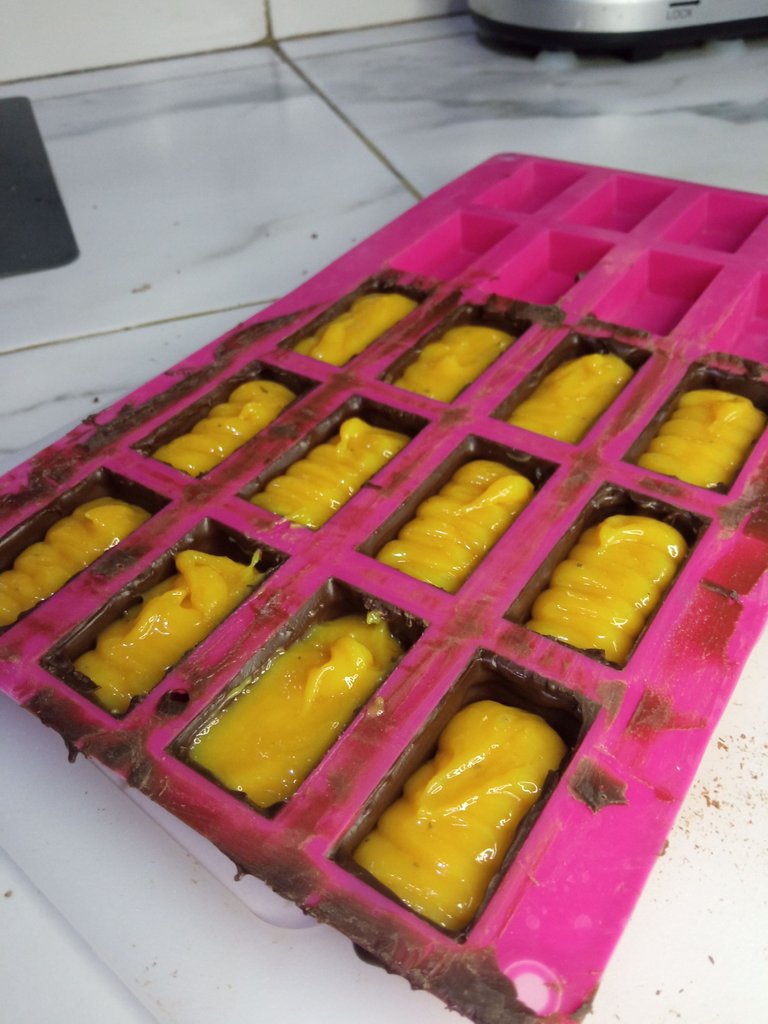
- Coloca en una manga o una bolsa resistente el relleno de parchita y rellena cada bombón (recuerda no llenarlos hasta el tope)
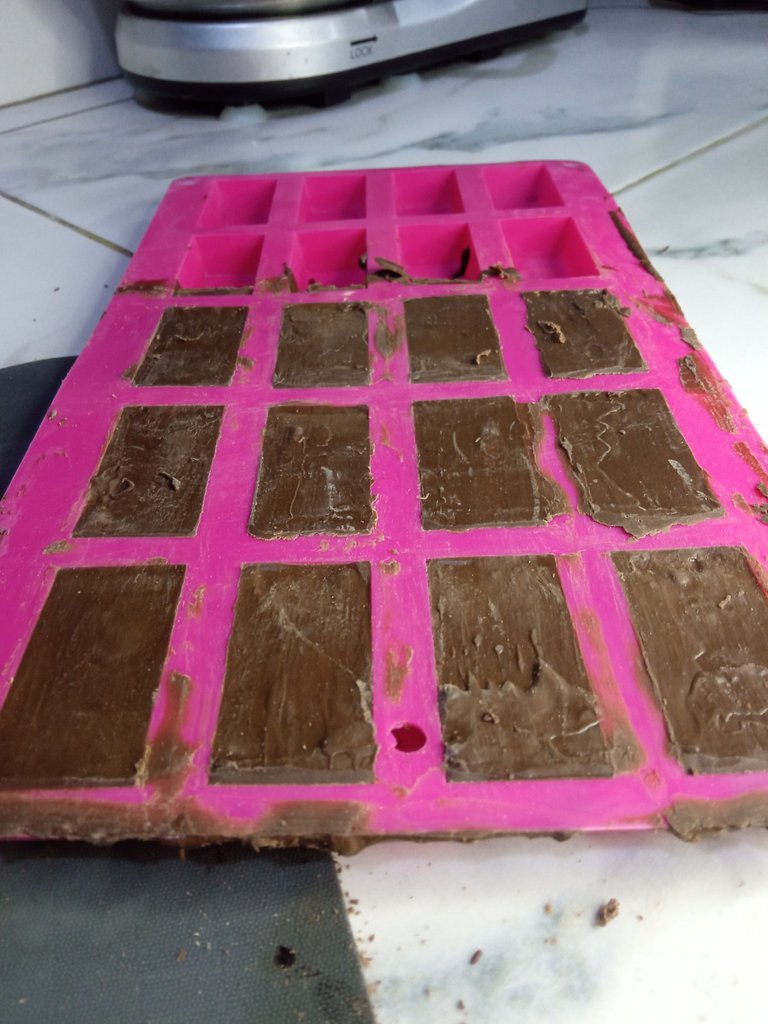
- Con el chocolate sobrante (excesos) vuélvelo a derretir a baño maría para colocar la tapa del bombón. Vierte el chocolate por encima de cada bombón y con el alisador o utensilio liso, desliza para cubrir el bombón de chocolate.

Parece largo el procedimiento, aunque con la practica se convierte en una receta super fácil de hacer a la que le vas consiguiendo cada vez más trucos para facilitar la elaboración.
Este relleno alcanza para 24 bombones pequeños o más, así que lo que te sobre lo puedes reservar en el congelador para una próxima creación.

- El chocolate endurece rápido, así que al momento de usarlo debes hacerlo con algo de rapidez.
- Evita que le caiga agua a tu chocolate, es decir, los utensilios deben estar muy bien secos.
- Debes esperar que tu chocolate refresque o endurezca para poderlo rellenar o desmoldar.
- Pica el chocolate en el momento que lo vayas a usar para evitar que humedezca.
- Si al final de la preparación te sobra chocolate, resérvalo en un envase plástico, en un lugar fresco.
- Si no te vas a comer los bombones al momento, resérvalos en un lugar fresco, no en la nevera.
Todas las recordaciones, son a raíz de experiencias y aprovecho compartirlas con ustedes para que eviten cometer algunos errores.
Disfrútenlo, póngalo en practica y nos vemos para la próxima, por esta misma comunidad con mas recetas con sabor a melaos.
Homemade Parchita Bonbons Melao's Melena style + Recommendations
All photos are taken from my smart phone.
Hi @foodiesbeehive cooks, I want to share with you a recipe of charm, simple, that makes your skin crawl, it's the parchita bonbons. With few ingredients, it is a practice procedure, I hope you enjoy it very much, I leave them below.
The quantities that I am going to leave below is to make 12 to 15 units of small bonbons approximately.


150gr of bitter chocolate couverture.
380gr of sweetened condensed milk (1 can)
1 cup of parchita pulp

Silicone bonboniere
Wretched palette or magic finger
Smoother or some smooth and flat utensil, could be a large knife (well cleaned)

Blend the parchita pulp and strain to obtain the juice without seeds.
In a saucepan place the condensed milk together with the parchita juice and mix.
Turn on the stove to moderate heat and with your miserable paddle constantly move the mixture, to prevent the heat from making it stick. (move your paddle around the edges and the bottom of the pan).
The mixture will boil and then begin to thicken, you will know it is ready when you pass the paddle through the pan from one end to the other and it makes a path.
- Reserve it in a container in the refrigerator, it must be cold or at room temperature to be able to put it in the chocolates.

Cut the chocolate coating into pieces and place 100g of chocolate in a container in a bain-marie, let it melt and stir it from time to time.
When it is completely melted, remove from the heat (bain marie) and add the remaining 50g of chocolate and mix until these pieces are diluted with the heat of the melted chocolate. This technique is called tempering.
In your bonbonniere, pour a little of the previously melted chocolate in each space and quickly begin to spread it to cover the entire area.
To remove the excess and obtain a thin layer of chocolate, turn the bonbonniere and using vibrating movements let the chocolate fall on a silicone tablecloth or waxed paper surface and with a smoother or a smooth and flat utensil remove the excess that remains in the bonbonniere, that is, slide the utensil over the bonbonniere.
Let the chocolate cool for a few minutes until it hardens.
Place the parchita filling in a sleeve or a resistant bag and fill each bonbon (remember not to fill them to the top).
- Melt the leftover chocolate (excess) in a bain-marie to set the bonbon top. Pour the chocolate on top of each bonbon and with the smoother or smooth utensil, slide to cover the chocolate bonbon.
Once cooled, unmold each bonbon and they will be ready to taste.
The procedure seems long, but with practice it becomes a super easy to make recipe that you get more and more tricks to facilitate the elaboration.
This filling is enough for 24 small bonbons or more, so you can keep the leftovers in the freezer for a future creation.

- Chocolate hardens quickly, so when you use it you should do it with some speed.
- Avoid getting water on your chocolate, that is, the utensils must be very dry.
- You must wait for your chocolate to cool or harden before you can fill or unmold it.
- Chop the chocolate at the moment you are going to use it to prevent it from getting wet.
- If you have leftover chocolate at the end of the preparation, store it in a plastic container in a cool place.
- If you are not going to eat the chocolates right away, keep them in a cool place, not in the refrigerator.
All the memories are from experiences and I take this opportunity to share them with you so that you can avoid making some mistakes.
Enjoy it, put it into practice and see you next time, in this same community with more melaos flavored recipes.
- Translated with www.DeepL.com/Translator (free version)
- Todas las fotos son de mi álbum personal y de mi exclusiva propiedad / All photos are from my personal album and my exclusive property.
- Banners y separadores diseñados en Canva con los elementos disponibles en su versión gratuita / Banners and dividers designed in Canva with the elements available in its free version.
Yum! You have been curated @sirenahippie on behalf of FoodiesUnite.net on #Hive. Thanks for using the #foodie tag. We are a tribe for the Foodie community with a unique approach to content and community and we are here on #Hive.
Join the foodie fun! We've given you a FOODIE boost. Come check it out at @foodiesunite for the latest community updates. Spread your gastronomic delights on and claim your tokens.
Join and Post through the Community and you can earn a FOODIE reward.
Your content has been voted as a part of Encouragement program. Keep up the good work!
Use Ecency daily to boost your growth on platform!
Support Ecency
Vote for new Proposal
Delegate HP and earn more
It looks super sweet and Yummi
Excelente edición quizá me animé y en alguno momento lo haga pues está súper fácil y estoy segura son tan deliciosos como tus helados pay de limón. Saludos mi
Linda @lamelena
Que delicia, que entrega tan pulcra de tu conocimiento... Esto está sin desperdicio
Gracias por compartir tu receta, me gusto mucho, me animare a hacerla y te comento.