DESDEMONA (PART 1) - DIGITAL ART
________DESDEMONA_________
Hello friends, how are you doing today, Happy first Sunday of the month.
I've not been feeling so good today and I had to go to the nearest pharmacy to get some drugs and I thank God I've gotten a little better now.
So I'm sharing with you guys today a series I made titled DESDEMONA, it's in three parts and this is just the first part so stay tuned to catch on on the other two 😊.
And I want to say a big thank you to a friend of mine who helped come up with the story or write ups on the Art.
_____Welcome To My New Post_____
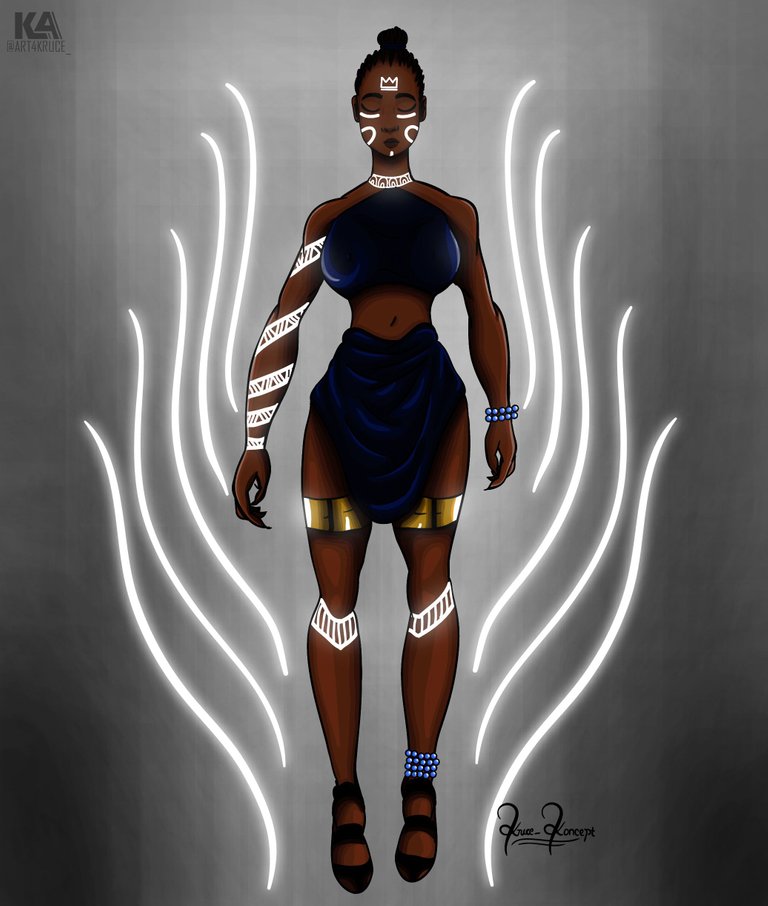
Hi, I doubt you've met the queen of a day moon
powered by the ashes of her late mum
Blown by the lightening of the moon
before it could kiss the ocean for peace
Now she bodies the savour of this mesh
She's nothing you've seen before
She's something you want to see
She was called Desdemona
The lady of misery
feared by all, until...
to be continued
I hope you like it.
________ PROGRESS SHOTS ________
Note: This is an original character created from scratch by me without any references.
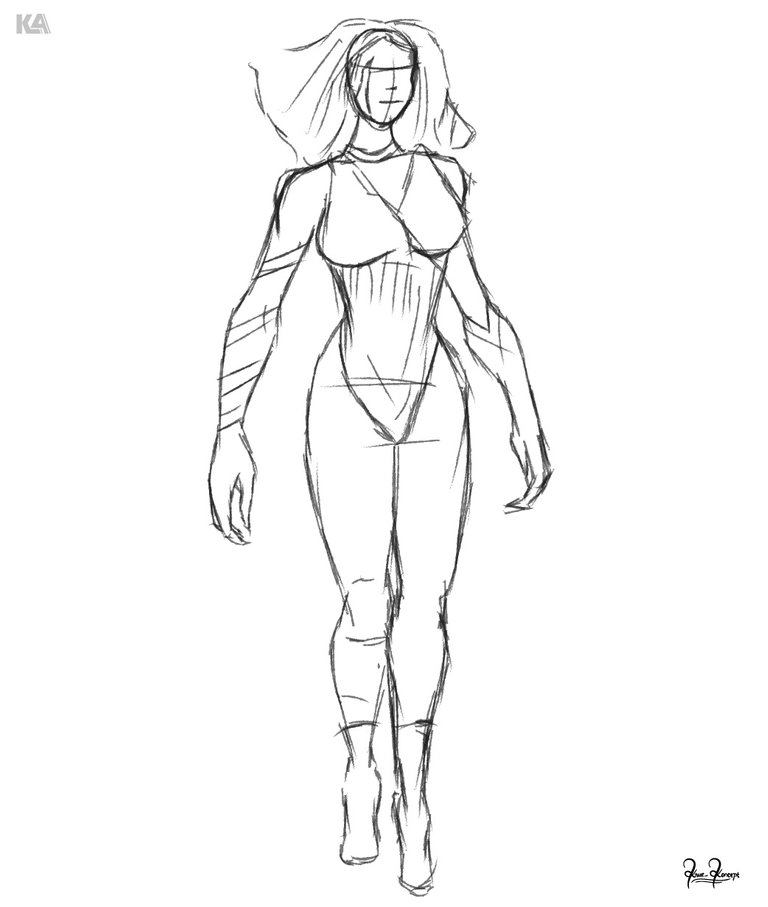
Step 1: I created a quick rough sketch of how I wanted my character to be and also some necessary accessories on her body.
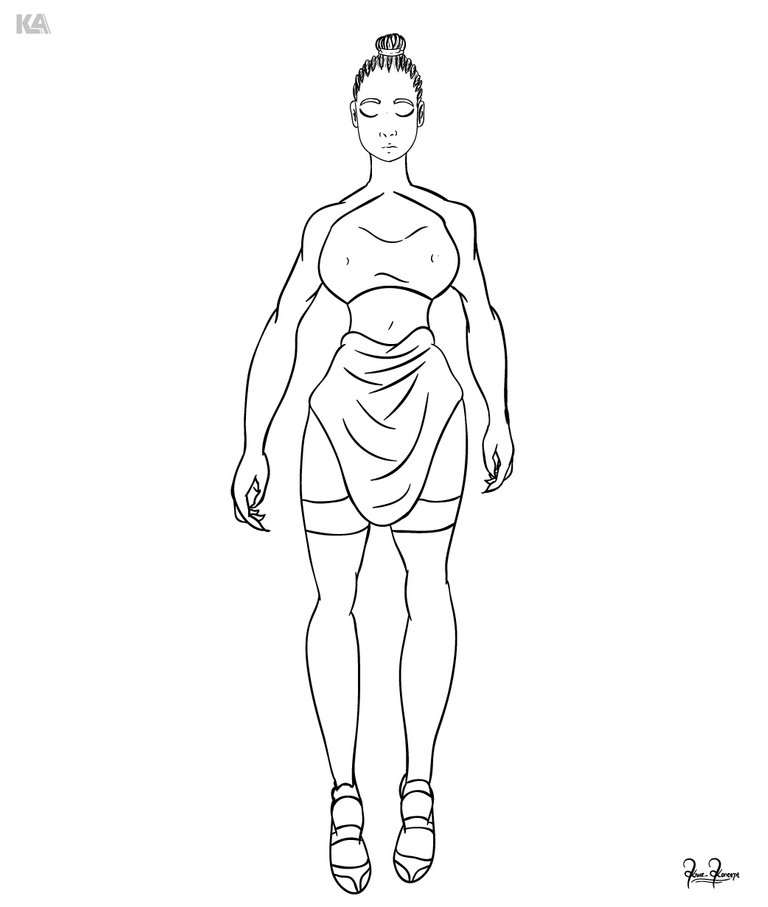
Step 2: on this stage I created my neat line Art using the previous stage which is the sketch. On this stage, I added and also removed some details from it that I do not want such as the outfit. This stage is am important one cos it will decide how you paint your art and the outcome of it.
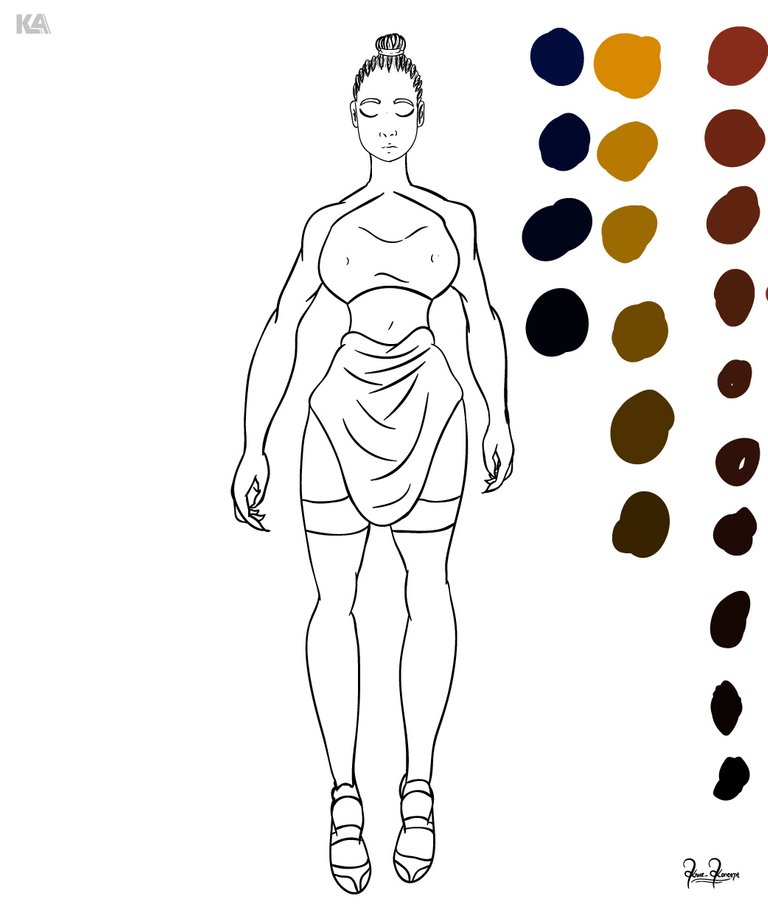
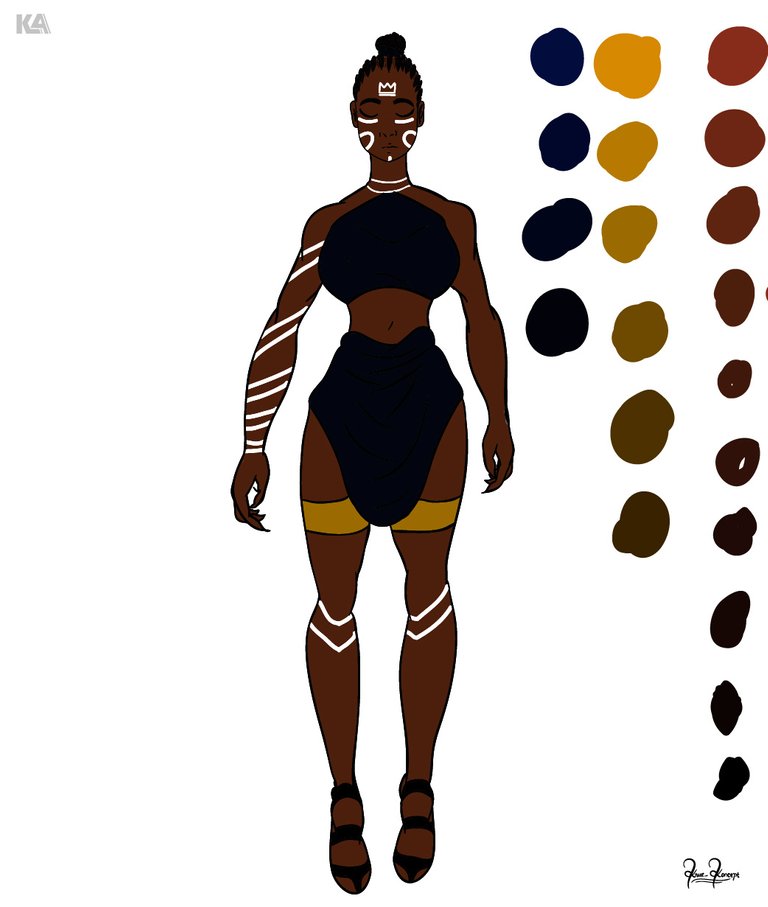
Step 3: On this stage I decided to create a color palette which I'll use in creating the work, such the cloth, the skin tone, the golden plate on her thigh and so on.
Step 4: Here on this stage I established my first layer of colour using my already created colour palette, some may call it base colour. Like I said, I had no reference for the art so I just chose colours at random.
Also I decided not to approach the first layer with a gradient cos I had planned on create my lights and dark myself using a step by step tone shade from dark to light.
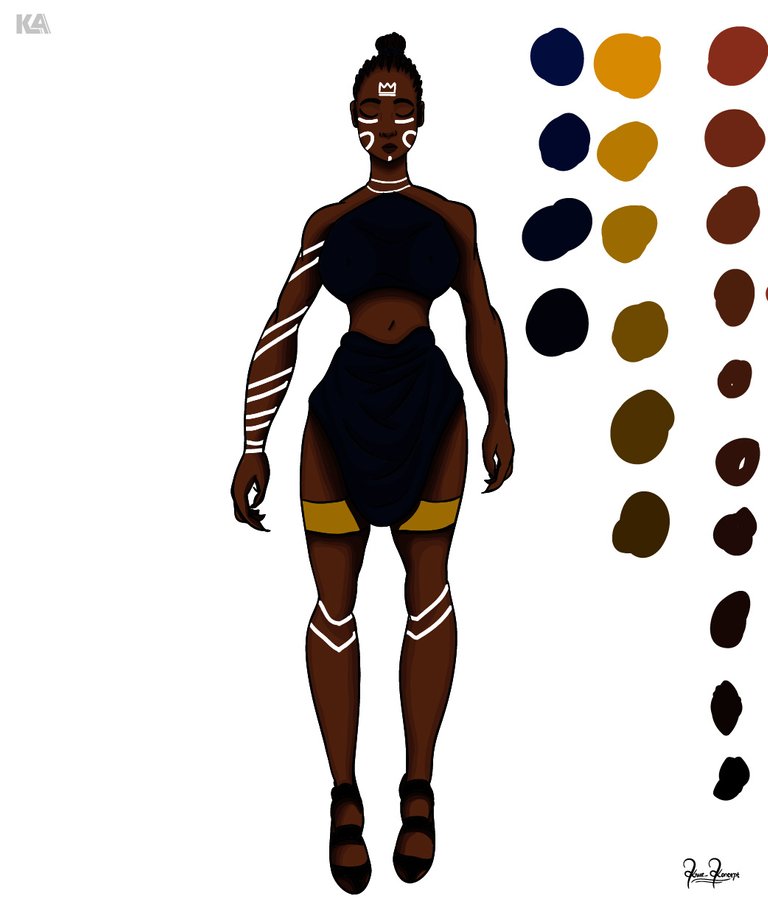
Step 5: Here I started adding my shades to the character such as the body and also the head and face. This step took me some time cos I had to create the shade on the body gradually till it get to the base colour.

Step 6: Here I also added my shades to the character's cloth . This was pretty fast cos I only had a few layers of shades for the cloth.
Step 7: On this stage I added my first light to the art and also my rim light or sharp light as you can see it on some edges of the body, cloth and also the golden plate on her thigh.
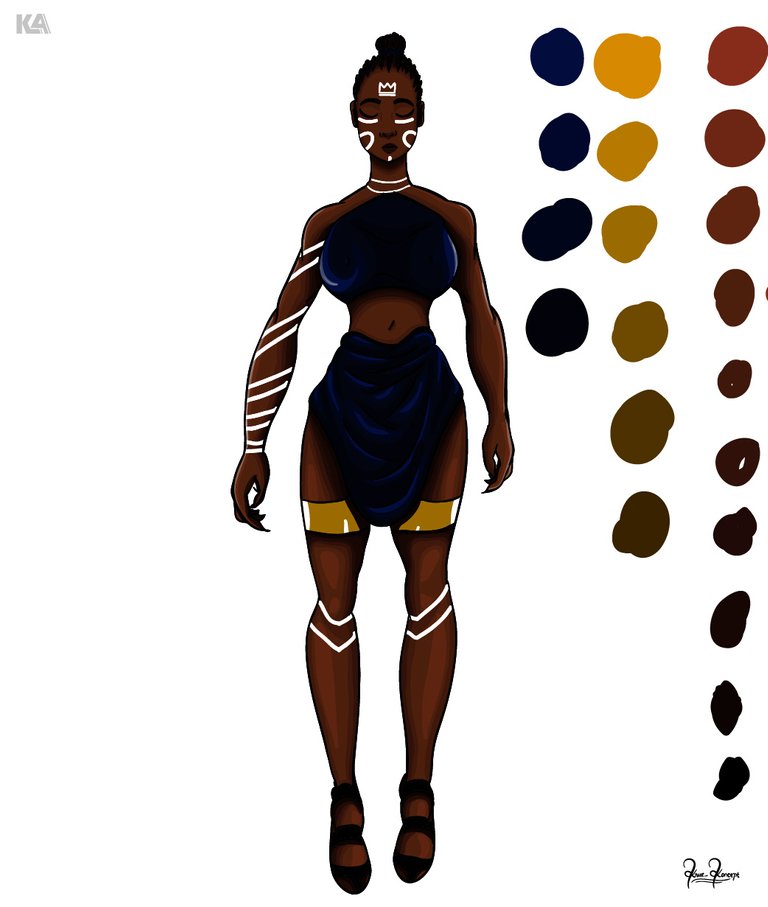
Step 8: Here I decided to work more on the golden plate on her thigh. I struggled with this a little cos I don't usually find it easy to illustrate a shiny object but I'm happy I was able to make a good progress on the one.

Step 9: on this stage I added one more accessories to the character with his the bracelet and anklet, for I read that these body accessories indicates beauty in most African cultures.

Stage 10: on this stage, I established my background, as usual I lack knowledge on creating good backgrounds for art so I just did whatever came to my mind at the moment 😅.
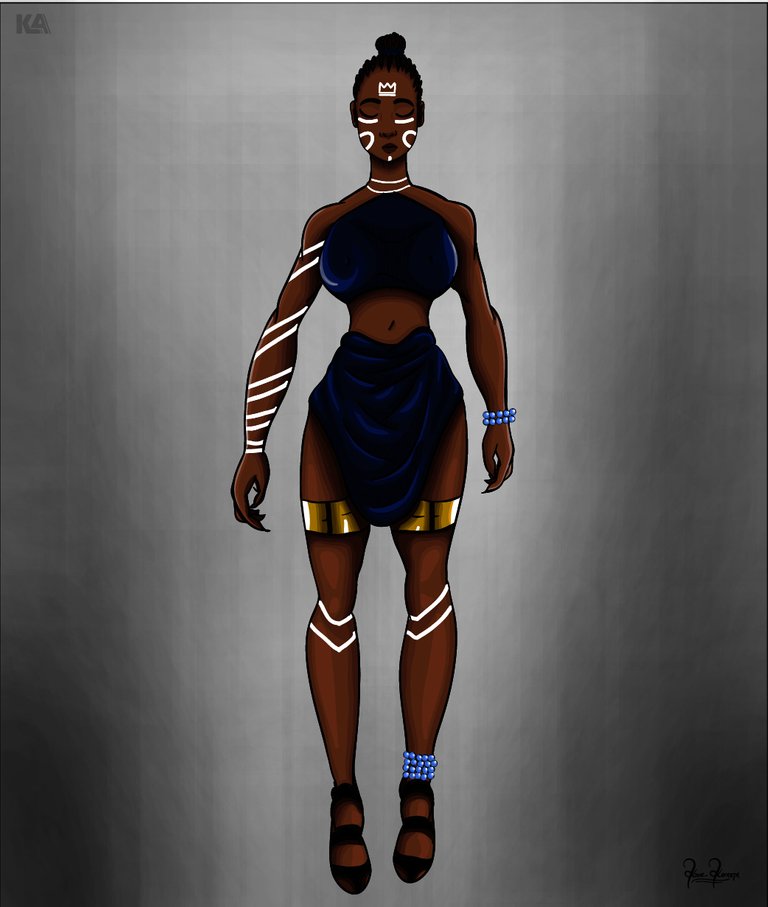
Final stage: I decided to add a glow effect on some part of the character and also the background and the work is finally concluded 😊.
____ THANK YOU FOR YOUR TIME ____
A very unique choice of colors and design 💕
Thank you 😊
Yay! 🤗
Your content has been boosted with Ecency Points, by @krucekoncept.
Use Ecency daily to boost your growth on platform!
Support Ecency
Vote for new Proposal
Delegate HP and earn more