Sweater #3 is finished ~ My Linen Yarn
As I sit here wearing my new sweater, I'm happy. We quickly forget the trials and tribulations of our projects -- I'm told it's something like childbirth that way... I don't mean to sound ominous. lol
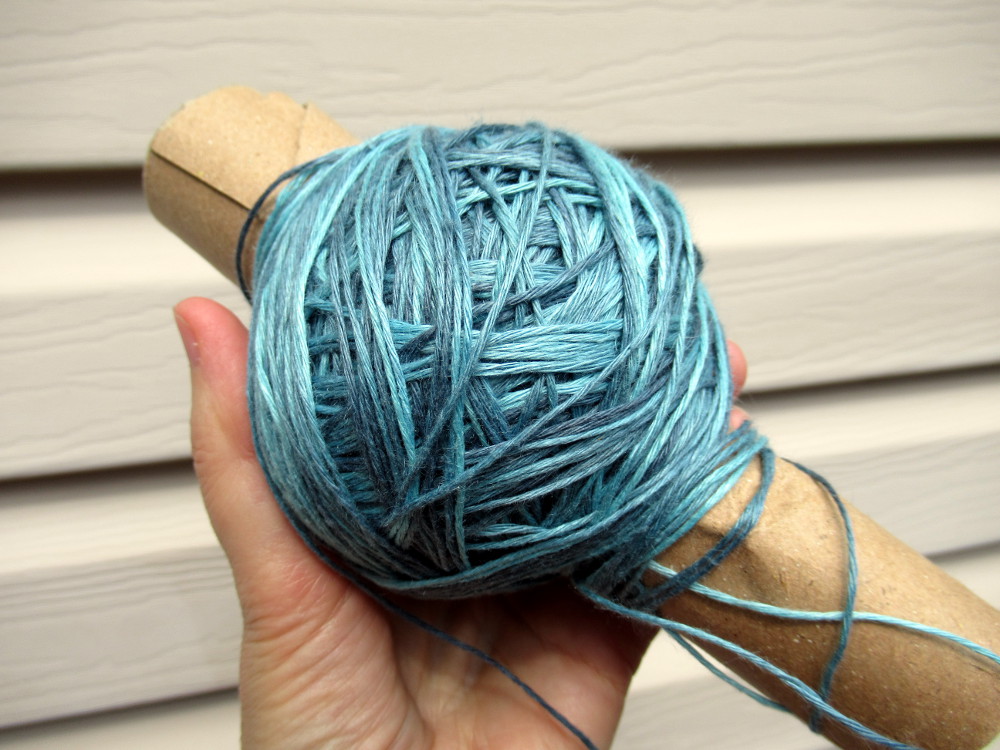
My yarn (tale) starts in February when the snow was still on the ground and, what can I say, I was seduced by a beautiful yarn, Ollagua in Espinela Azul by Araucania Yarns, a 100% linen hand-painted yarn. "Seduced" -- there isn't another word for it. I saw the yarn, was captivated and decided to make myself a summer sweater. I have always had a thing for beautifully coloured and textured yarns. Below, the yarn in daylight.
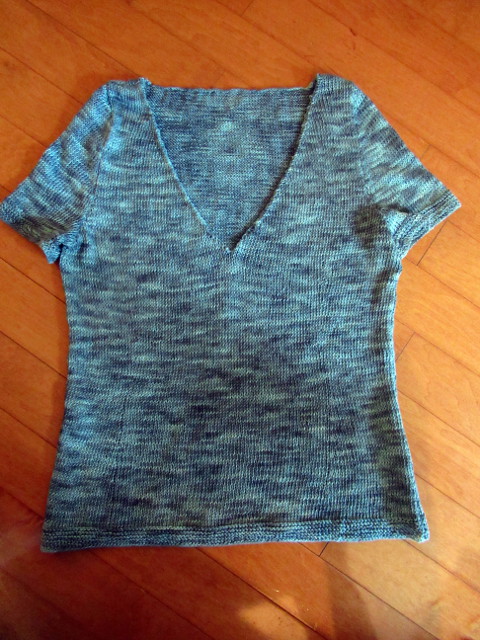
I already knew what I wanted to make. My last two sweaters had both been custom fit designs by Amy Herzog and I was going to make one similar to the last one. I wrote about it in Finishing my Sweater, literally.
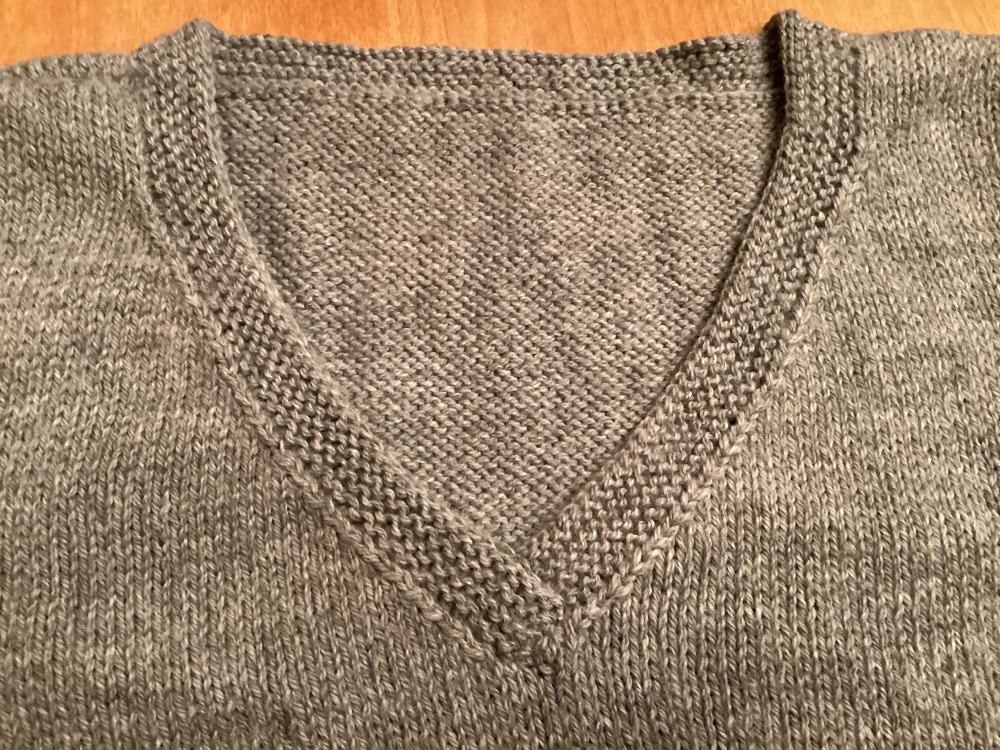
And here is that sweater, above. For the new one, there would be minor adjustments for fit, gauge, shorter sleeves, this same neckline, and I knew it would all work because the original pattern called for linen yarn.
Okay, so a similar sweater and the big difference is the yarn. Maybe I should mention that it's the first time I've used linen yarn.
Knitting with Linen
Knitting with linen or other plant fibres is not the same as knitting with wool or animal fibres. There is less stretch to it. It's more like string. In fact, that was my impression as I looked at balls much tinier than I expected.
I read that I should wind the yarn onto something rather than making a ball which might easily fall apart -- good advice! I cut up a cardboard tube that had previously held wrapping paper and made notches in it to hold the yarn ends. See my second photo, above.
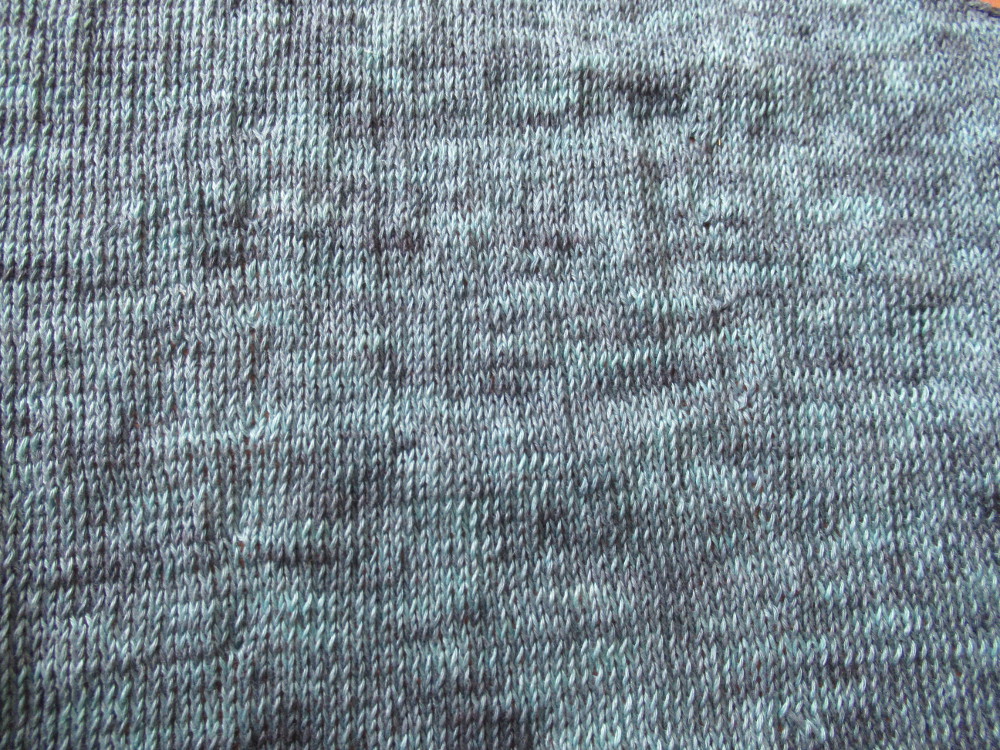
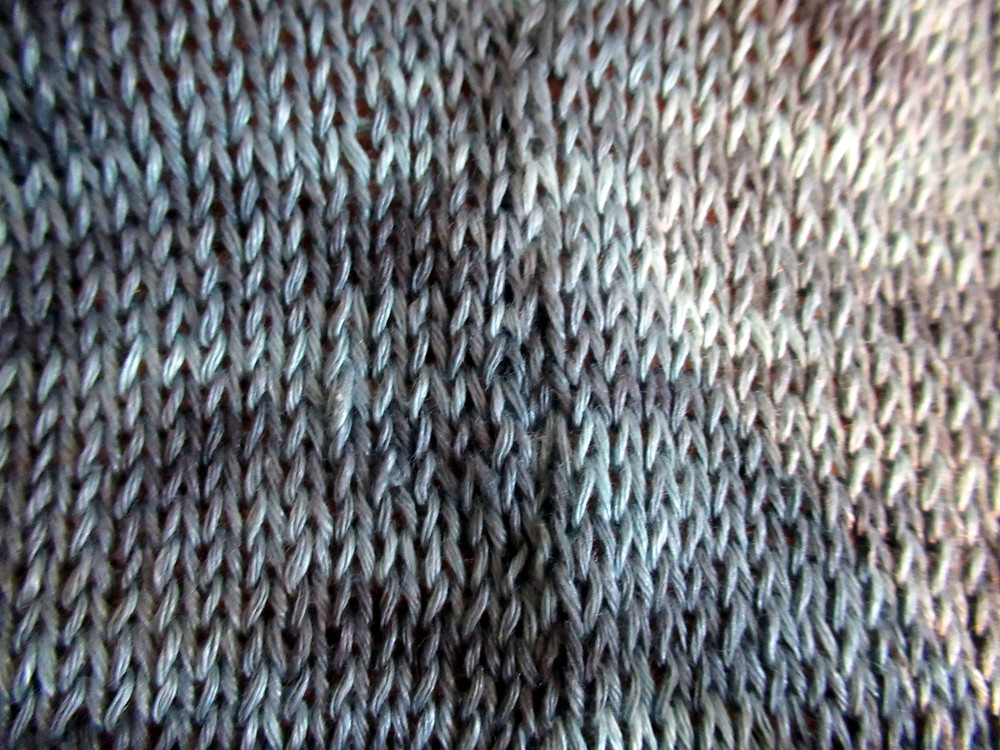
When knit, the stitches aren't quite as regular as with wool and we're told to accept this as being part of its natural beauty. In a few places where there might be a tendency for loose stitches, just pull things a little tighter.
The way it drapes can be used to nice effect. I also learned that where stockinette stitch (what I use in the body of this sweater) done in wool would roll without a different edge treatment, linen won't. It's cool, absorbent and perfect for summer, and it's long lasting because it is so tough.
On YouTube, I did find some methods, unique to linen, for joining a new ball in the center of a knitted piece -- mind blown, how they did it -- but I wasn't trying them. Other experts say to always join at the edges.
And with my new knowledge, I wound the yarn around the cardboard tubes and set off.
Planning
Having basically knit this pattern once, I wanted to improve my technique and took the advice of experts to plan ahead.
- I decided to minimize the number of ends. This yarn struck me as something that would come undone if I gave it half a chance. When I ended a piece, I left a long enough yarn tail for sewing a seam rather than adding another piece later. I have another little secret -- I dabbed clear fingernail polish on some of those knots!
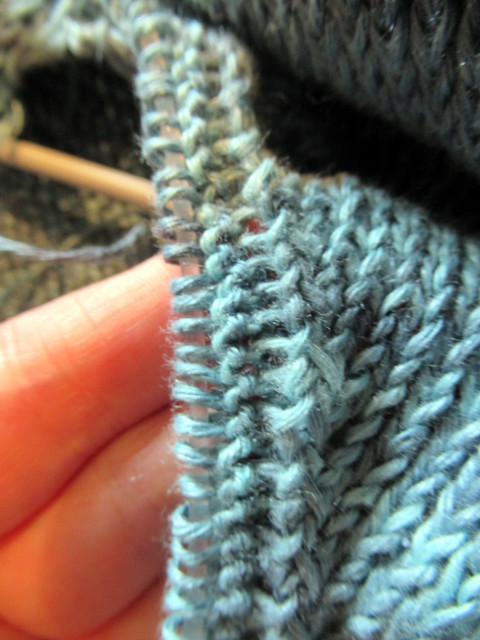
- It's awkward to sew garter stitch pieces together so I did one stitch of stockinette along the garter stitch areas to make it easier for me.
- I was intrigued by the idea of short rows and a 3 needle bind off. I'll explain that in a minute. (It takes a bit of confidence to ignore the pattern and try a different technique.)

Above, that's where I did the stockinette along the edge.
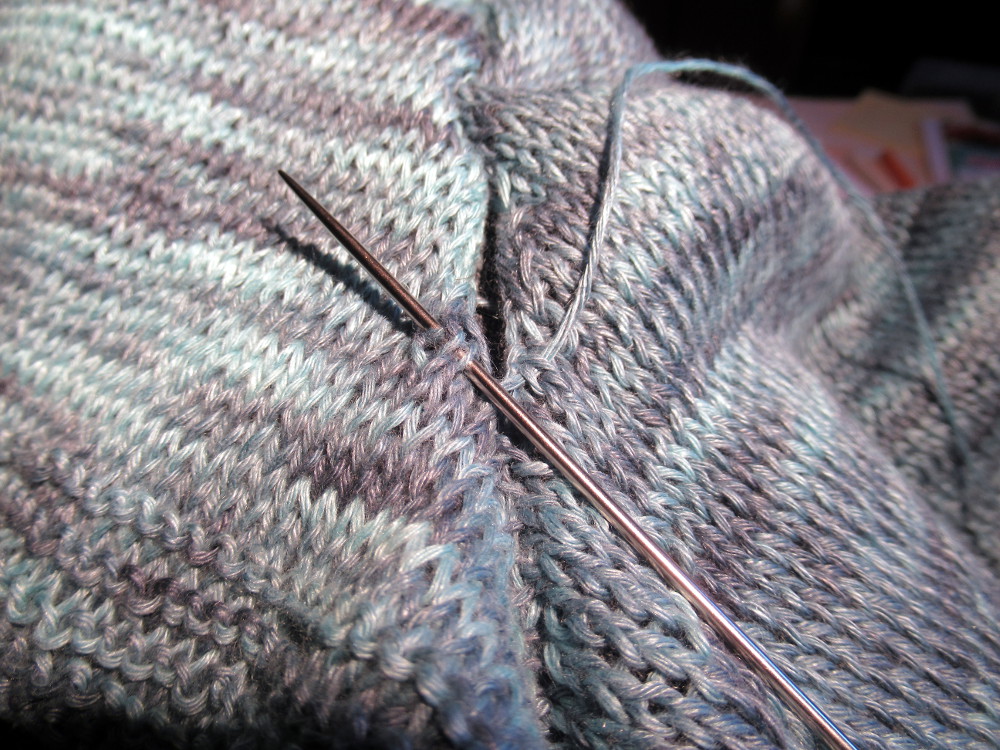
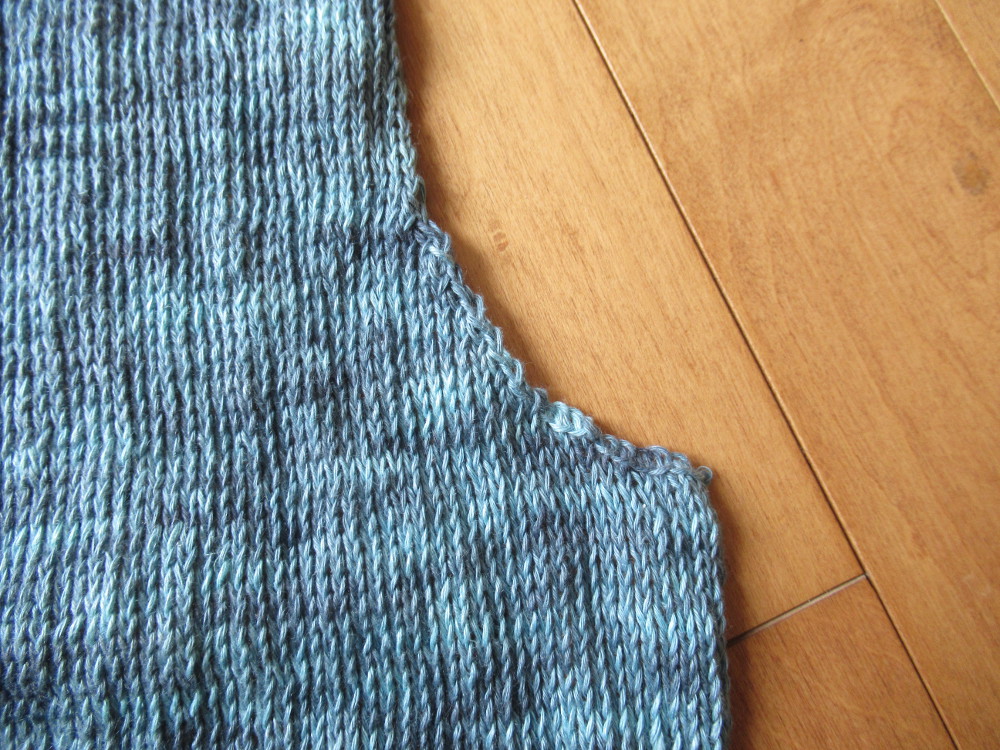
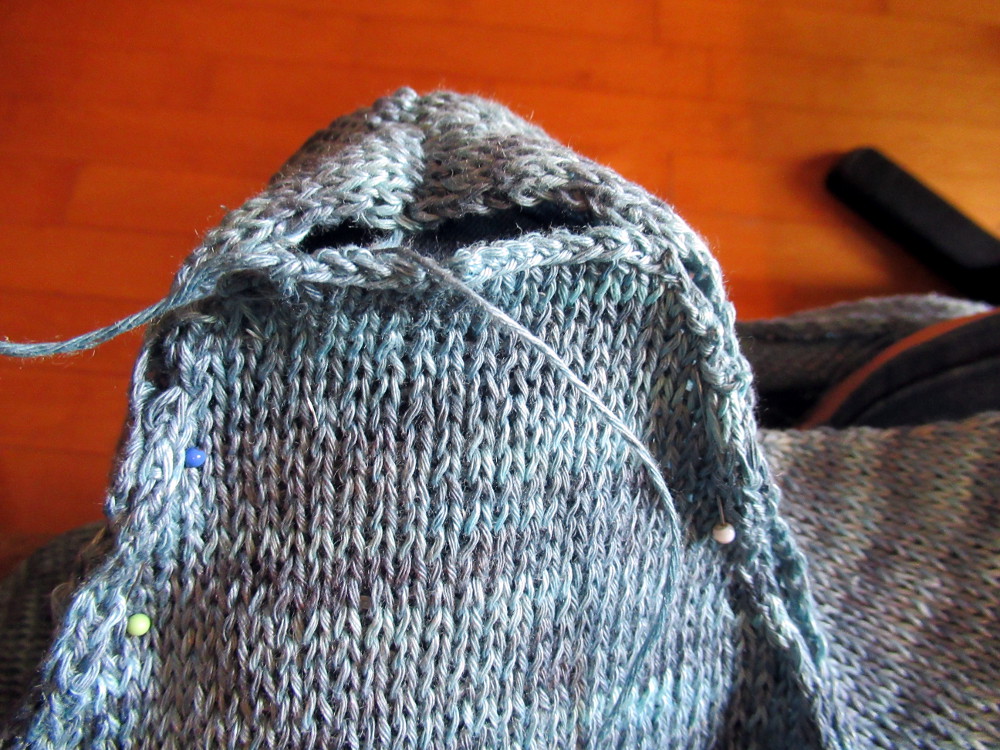
When I reached the top of the back, I tried the "short row" technique on the shoulders.
To create a sloped shoulder, a pattern calls for you to knit a series of steps, like a staircase. They become a little awkward when you join the shoulder seams and usually, for me, it result in a lumpy seam. The short row technique, that I learned on YouTube, produces a smooth diagonal edge, above. It wasn't a big deal at all. You just need to have the confidence to attempt it. I watched some YouTube videos and the trickiest part was what to do as you changed directions to not leave any tiny gaps. Watch what we do next!
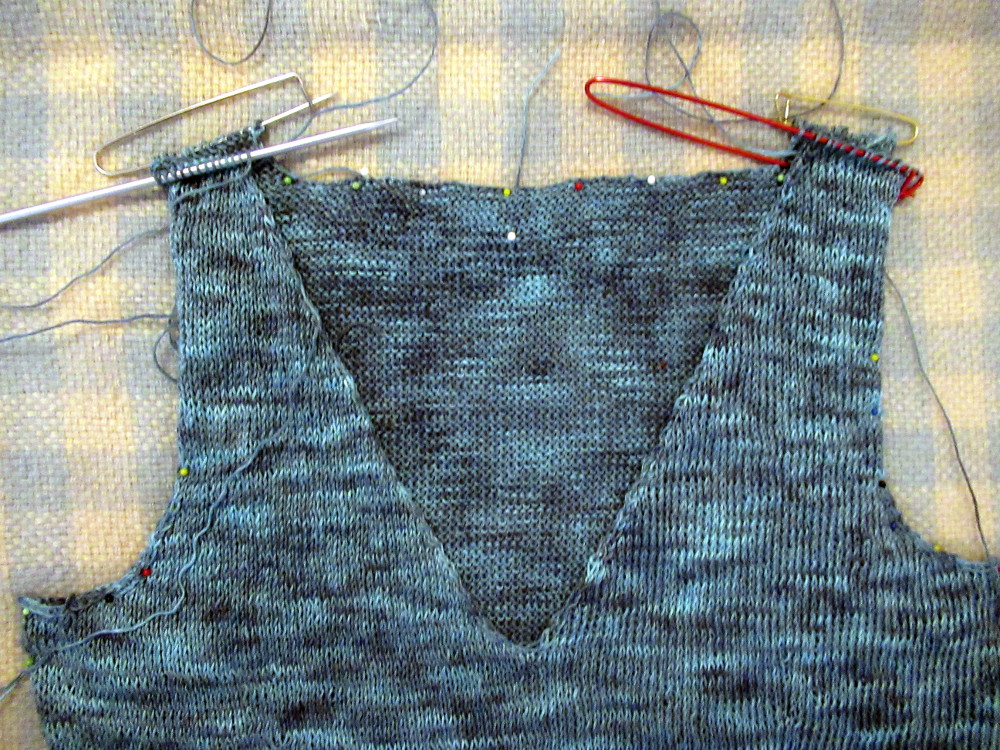
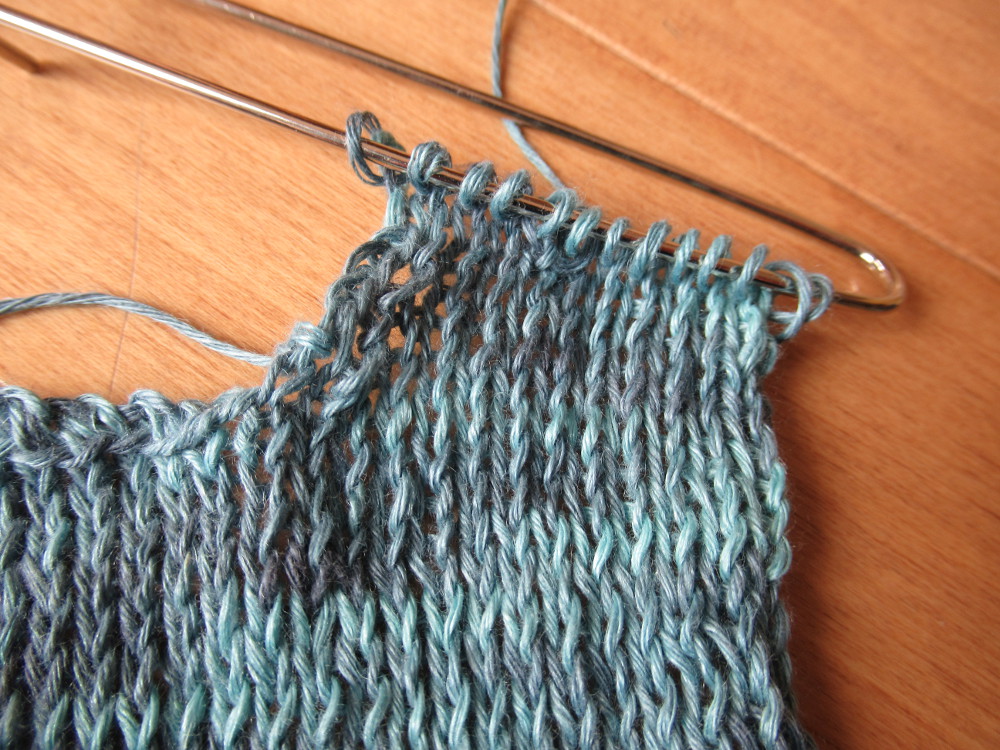
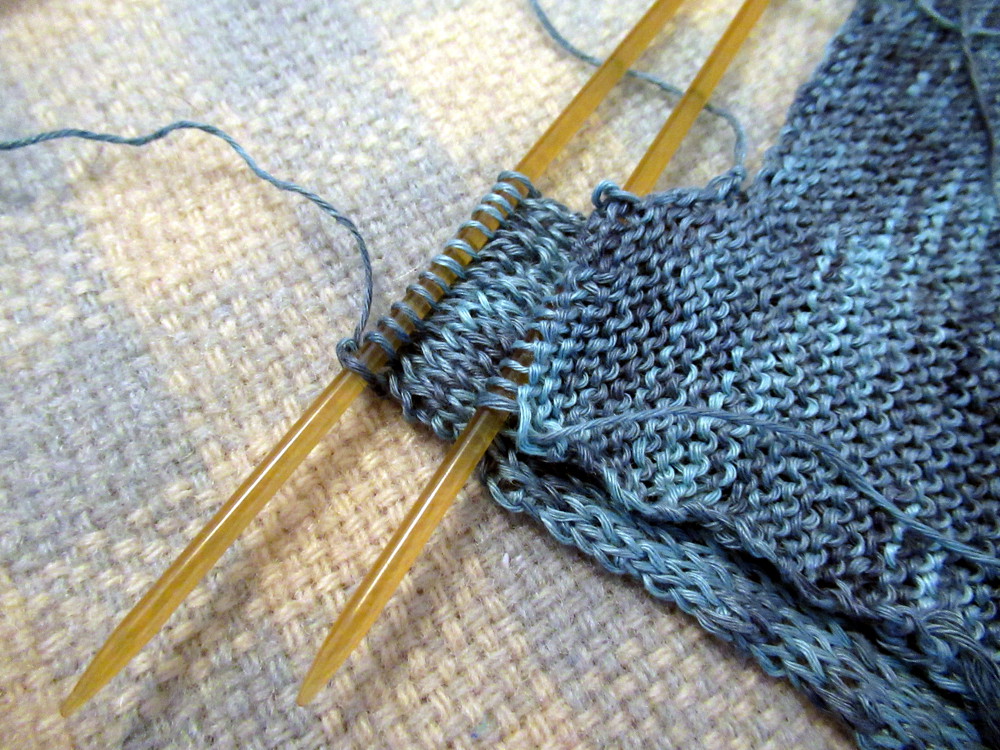
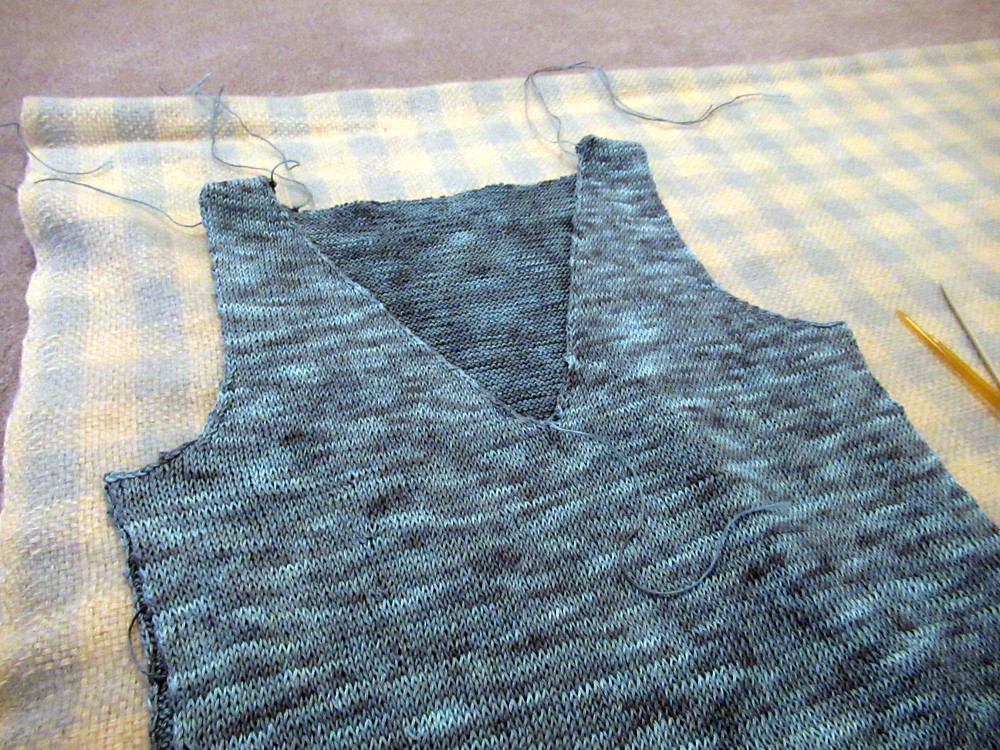
Here are the back and the front of the sweater lying back to back where I had blocked them, and you can see that, instead of binding off, I have almost everything on stitch holders. We're going to do a 3 needle bind off.
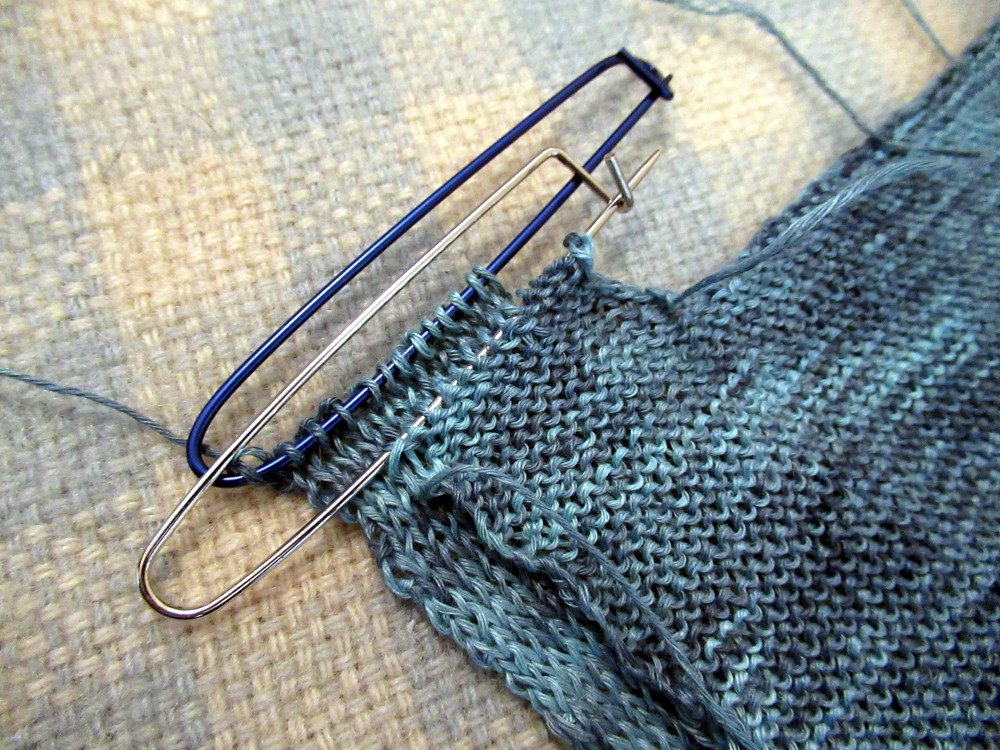
I flip things over so the pieces are face to face, exactly the same idea as if you were about to sew a seam.
I put the knitting needles back in.
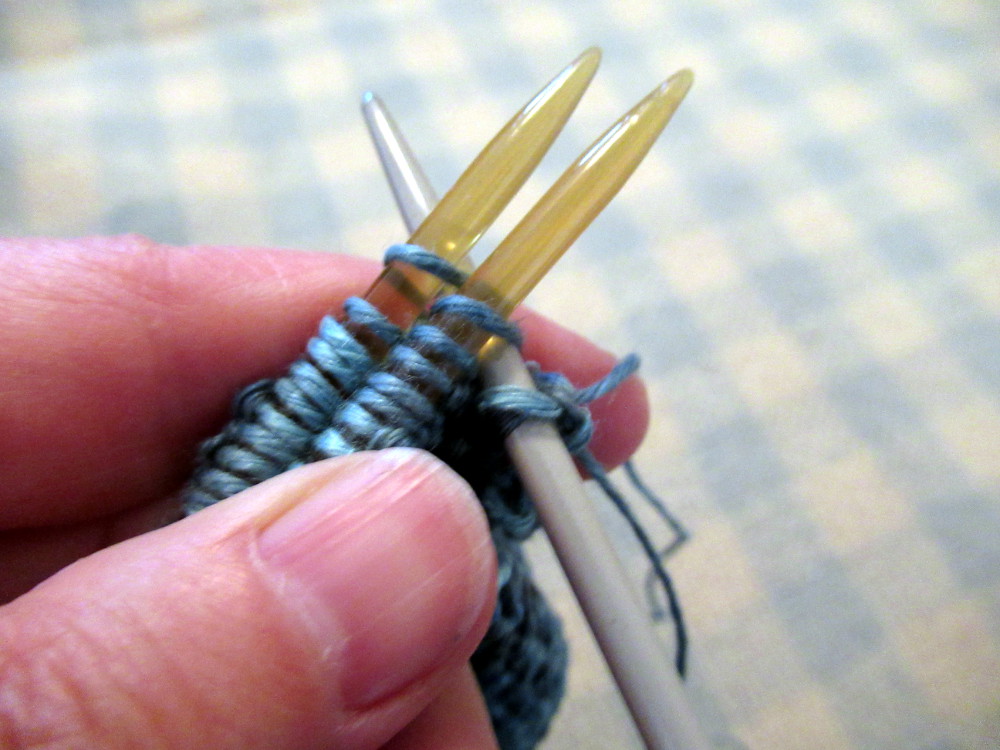
I pick them up, and using a third needle, simply knit them together and bind off as I go along.
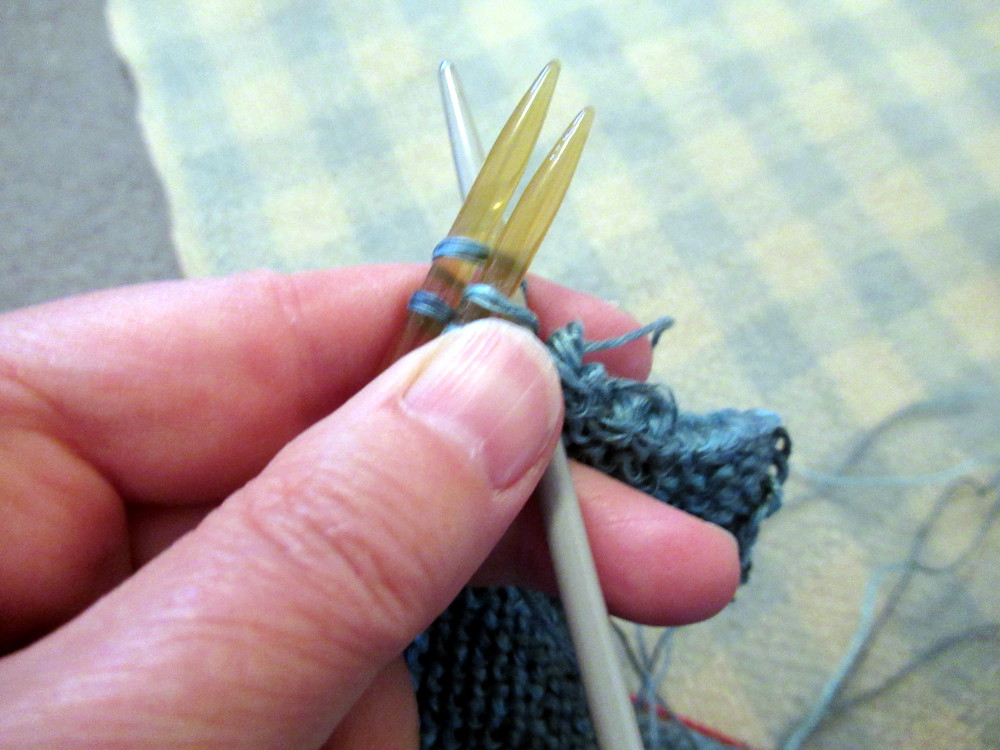
Like so.
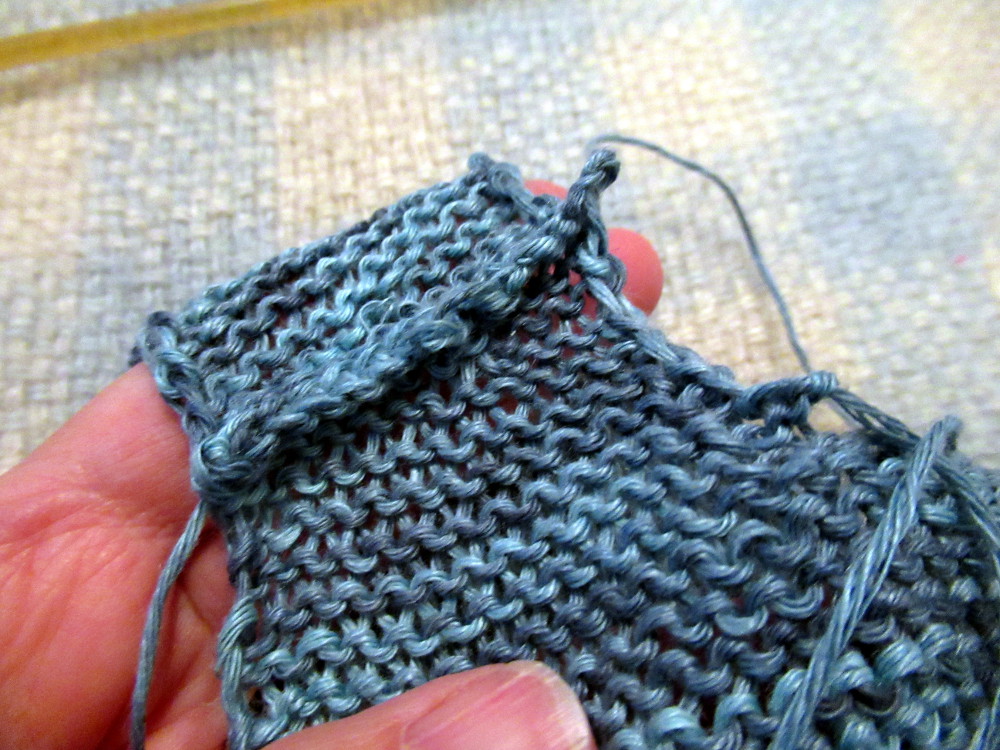
You end up having what looks like an actual seam on the inside. (Note that, if you wanted, you could use contrasting yarn and put the seam on the outside.)
Here's the outside of the other shoulder. Two less seams to sew by hand -- not bad.
All ready for the sleeves.
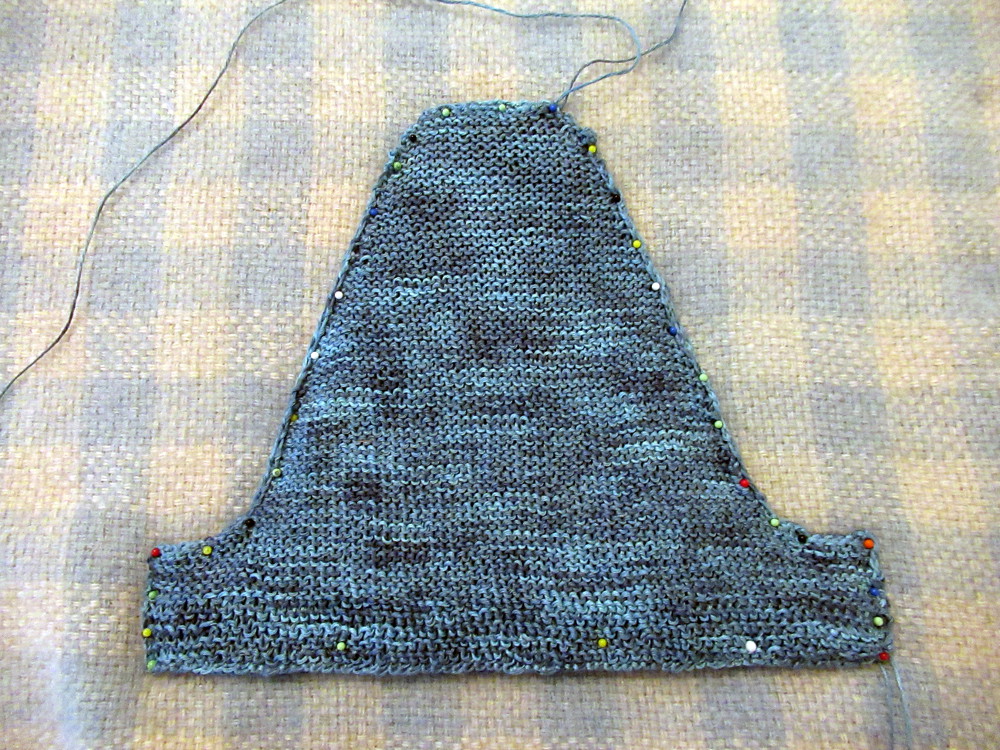
I explained "blocking" in my Finishing my Sweater, literally post. In short, some types of yarn stretch out of shape while you're knitting, so blocking -- and there are different techniques -- lets you reshape the piece to its proper dimensions. It can also even out stitching but, I think, less so with linen. Some people think you should wash linen pieces to block them but I used my technique of laying them out on a blanket and pinning them to size through the underpad of my carpet, then wetting them thoroughly with a spray bottle of water. Here, I have both sleeves, one on top of the other, so I only had to measure them once.
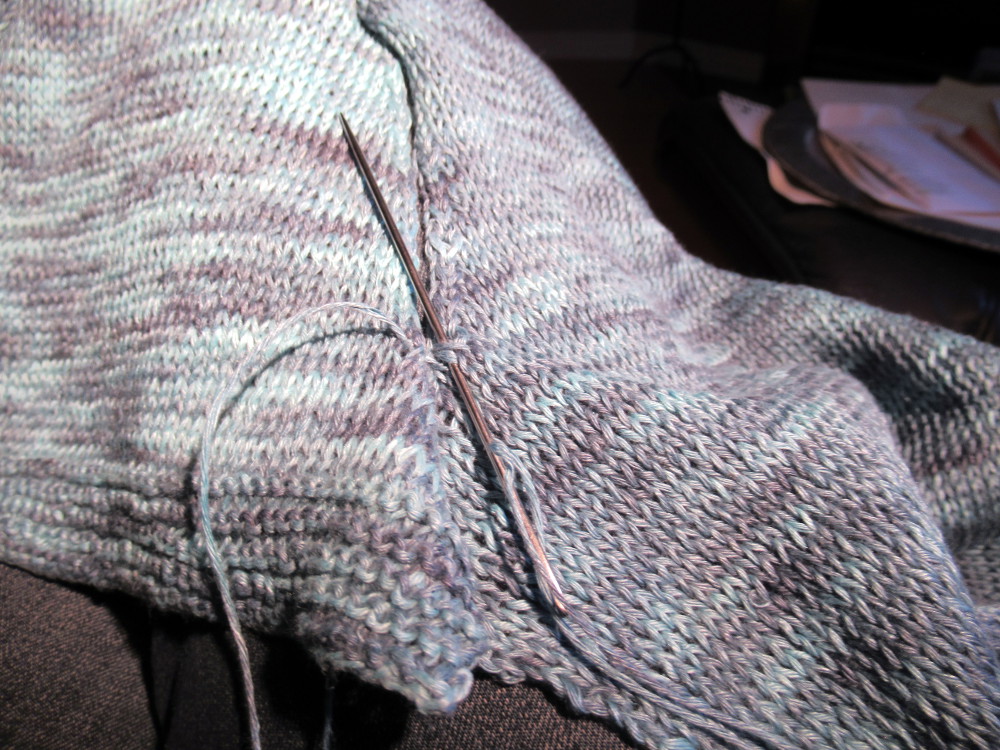
Sewing in a sleeve, above.
Also, sewing in the sleeve. I tried putting it over my knee one evening, view from the top.
A side seam.
Just the neckband to do -- famous last words. While things had mostly gone smoothly up until this point, I must confess that I broke a knitting needle as I finished the garter stitch at the bottom front and it slowed me down and became pretty confusing when my replacement needles, that were supposed to be the same size, were a different size, and I had to decide what to do. I'll just shake my head slowly and not talk about it.
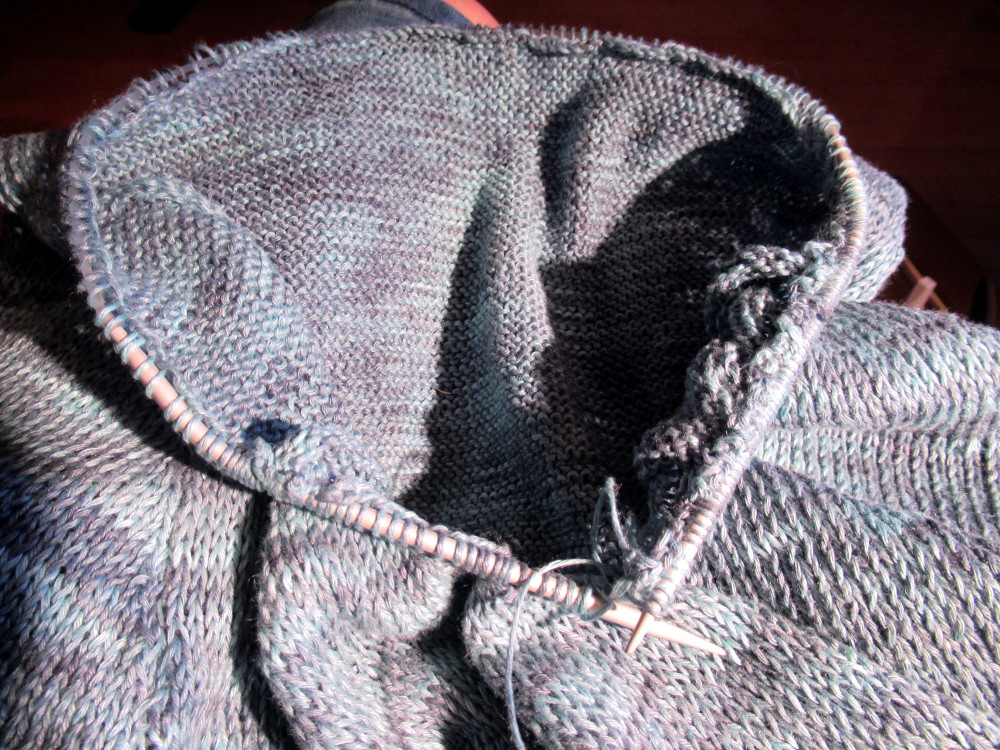
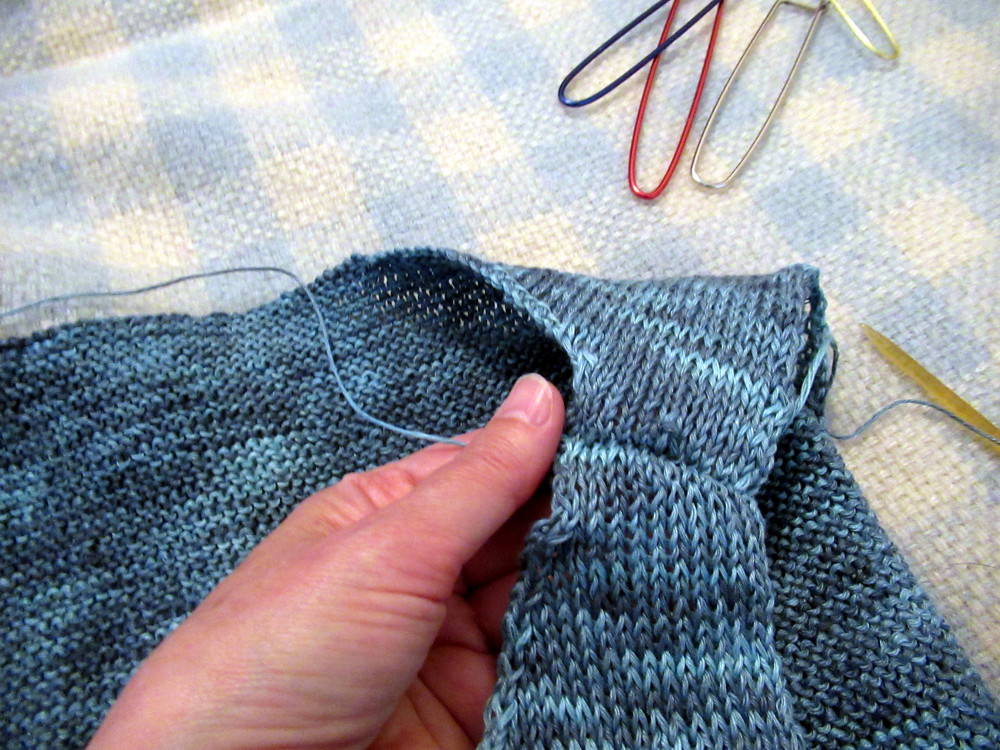
Then this neckline that had been so easy and looked so beautiful on the wool sweater, first try, just wasn't working out. The shape of those needles pulled on the neckline too much and the yarn didn't snap back into shape afterwards. It was frustrating.
See that gap between the knitted row and the body of the sweater? I scrounged for needles to try at the second hand store and eventually ordered new needles that were shaped differently. They took four weeks to arrive.
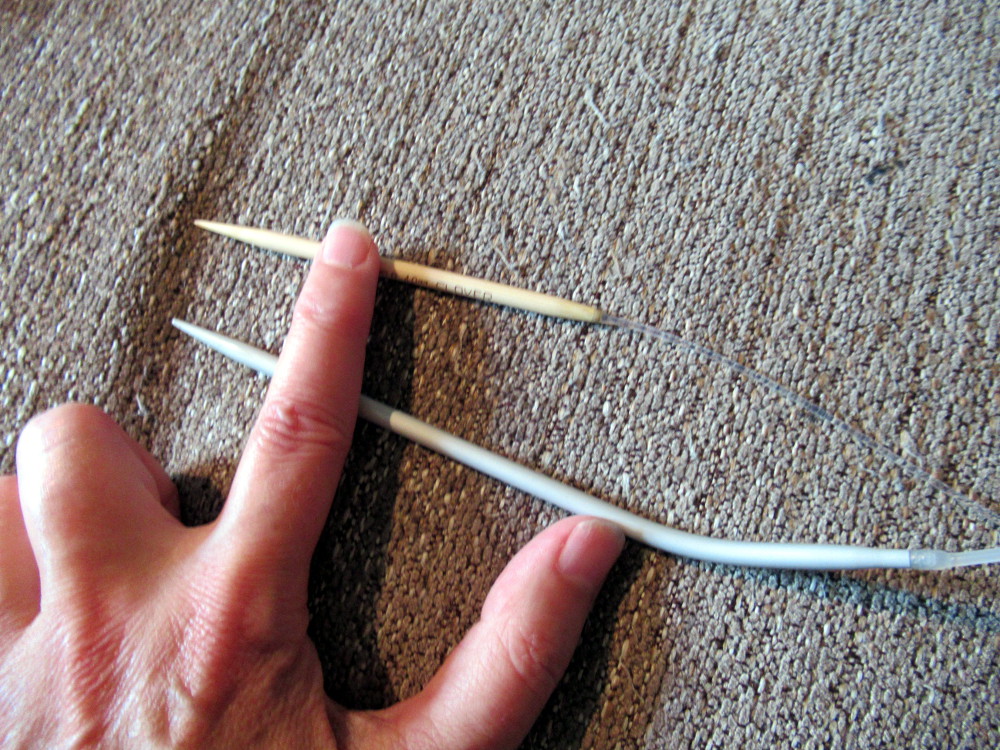
That's when I learned that circular needle length for some companies includes the length of the needles. I needed longer ones and those arrived overnight.
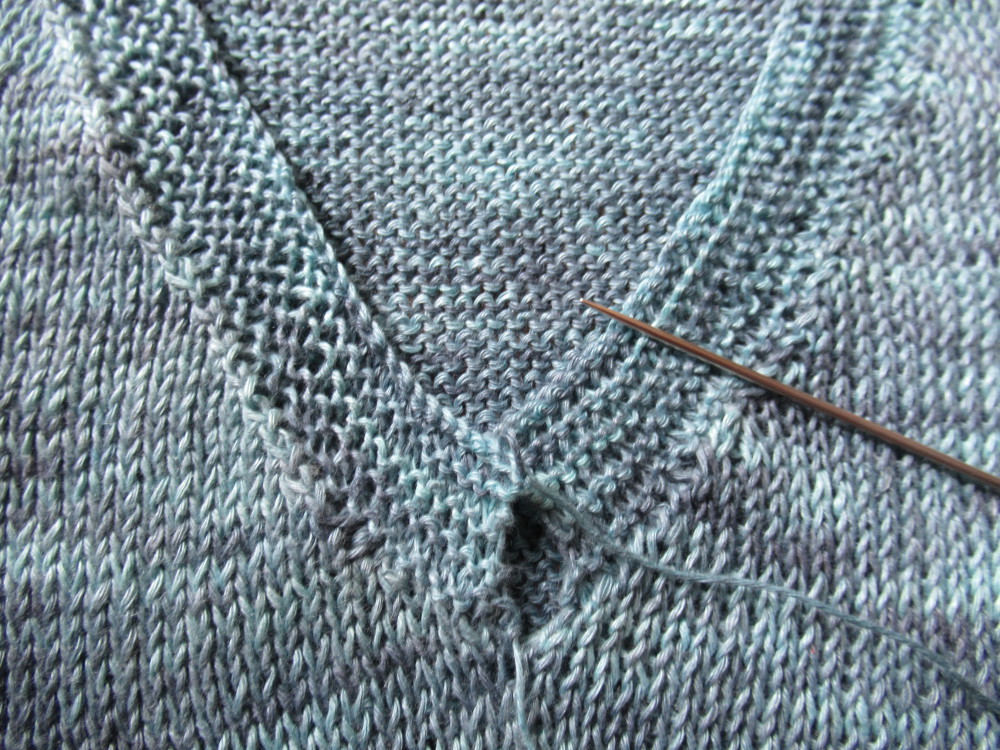
While I was experimenting, I had picked up the stitches around the neckline enough times that there were permanent holes on one side of the neck (hidden, of course) and I was completely lost on the other. I wondered if it would ever be okay.

I think that's as good as I'm going to get it.
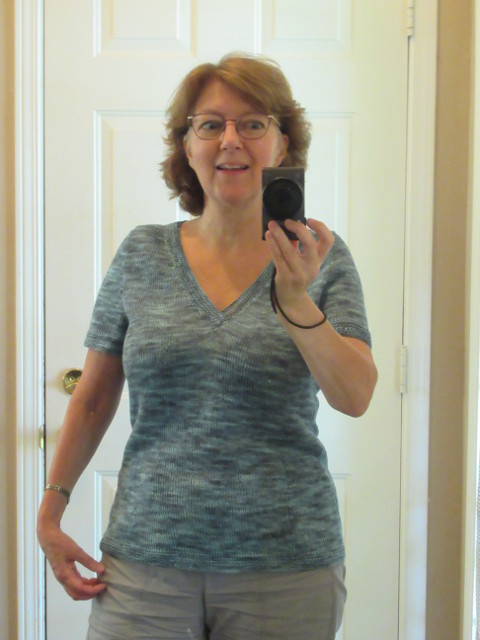
Looking through my camera viewer, and it looks okay!
References
Sweater #2 ~ Finishing my Sweater, literally
Sweater #1 ~ Finally Finished!
CustomFit by Amy Herzog Designs
Amy Herzog Designs
Images
Photos from the iPad(s) of @kansuze in Kanata (Ottawa), Canada.
Enjoy!
@kansuze
I'm so glad you finished your wip. Your sweater is very nice ❤ great job!!!
Thanks!
Your content has been voted as a part of Encouragement program. Keep up the good work!
Use Ecency daily to boost your growth on platform!
Support Ecency
Vote for new Proposal
Delegate HP and earn more
Thank you!
Excellent. You almost made me consider knitting again... Teaching the neighbour's child during lockdown was enough for me though. Sadly, she didn't take to it
It turned out okay and luckily I still have time to wear it this year. Next time I do a summer sweater, I think I'll do a round or scoop neckline, just for the versatility underneath jackets.
Great job!
Thanks!
🎉
Linen yarn... Love it!!! looks like there might be a chance so for me to get into knitting again:)) It must feel awesome to wear, I imagine!
It was a bit like knitting with string but it is supposed to become software with every wearing. I like that it has a boutique look to it.