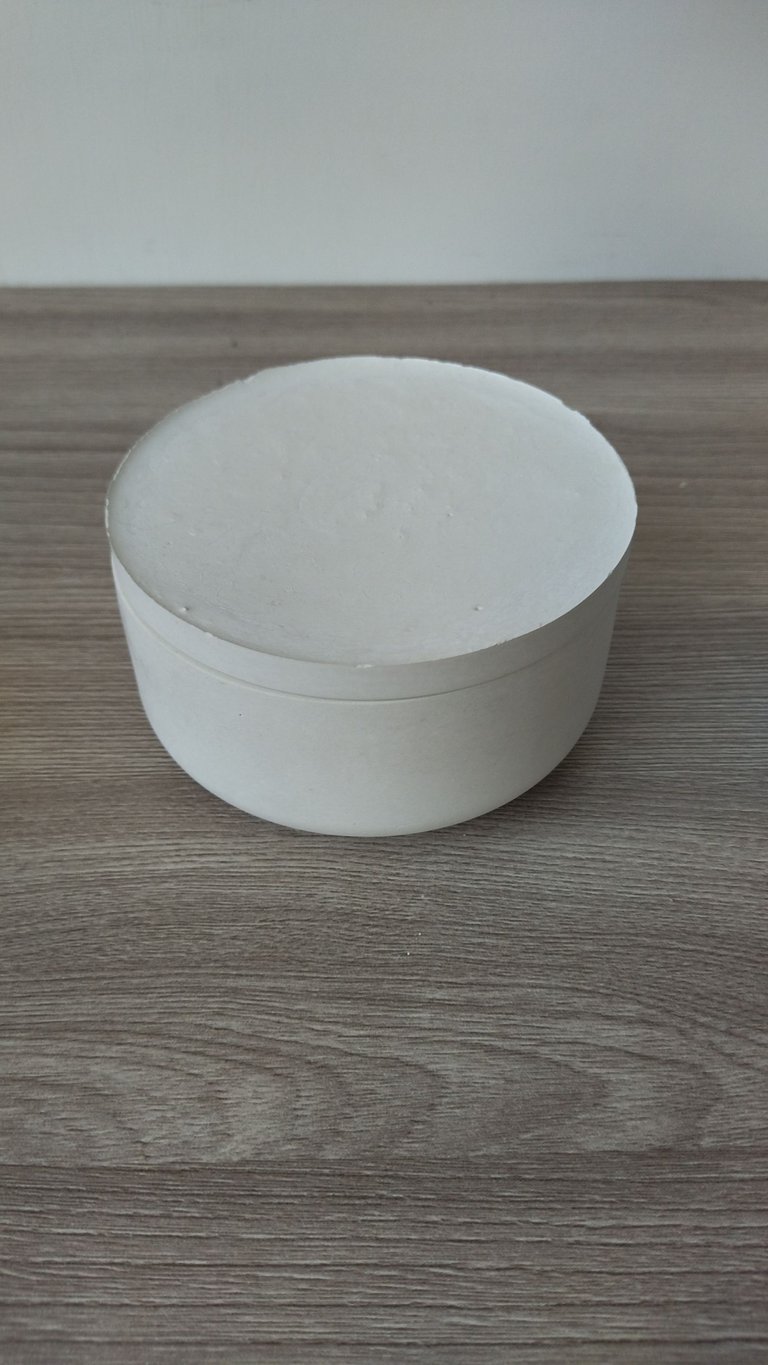
Cement Container | Envase de Cemento 💡
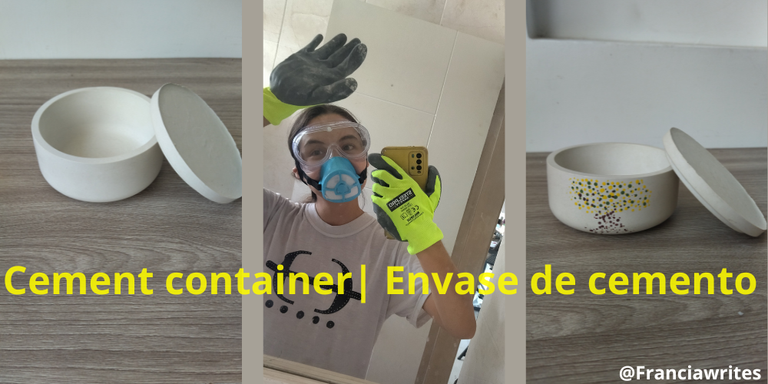
Hola bonita comunidad de hive! Aquí les quiero mostrar como hago mis envases de cemento, soy aprendiz así que cualquier sugerencia me escriben (estos son aun ensayos porque los quiero para mi marca de velas y son varias las pruebas que debe pasar un envase por el calor). Igualmente pueden ser usado como contenedor.💛
⚠️Por favor tenga en cuenta que los envases de cemento no pueden estar en contacto con alimentos⚠️
Materiales
Esenciales:
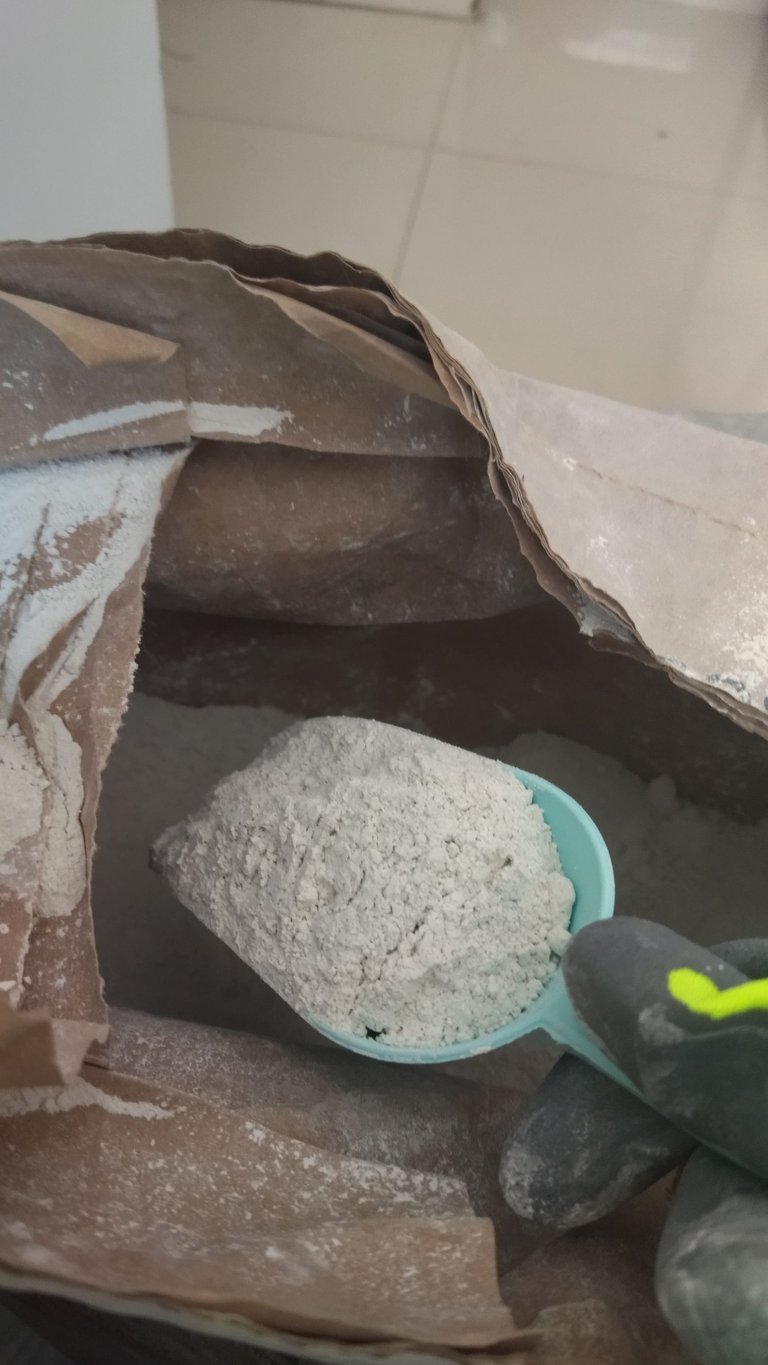
1️⃣Cemento Blanco (puede ser gris o del color que quieras).
2️⃣Agua.
Complementarios:
3️⃣Balanza.
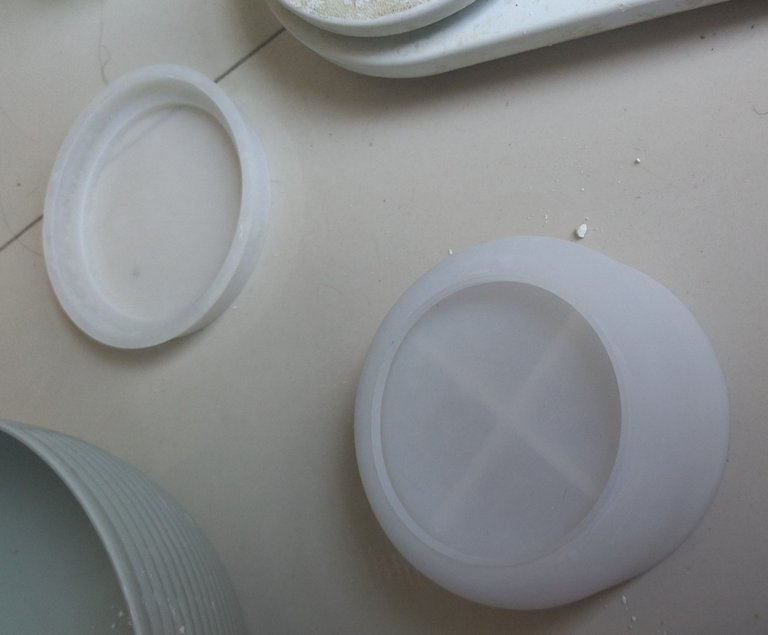
4️⃣Molde de silicona (puedes sustituirlo con dos vasos apilando uno sobre otro).
5️⃣Espatula de silicon (puedes batir con cualquier cosa que no uses en la cocina).
6️⃣Proteccion (puedes usar una franela en la boca y unos lentes).
7️⃣Cera de coco y termometro (puedes saltarte esto pero quedara un poco áspero).
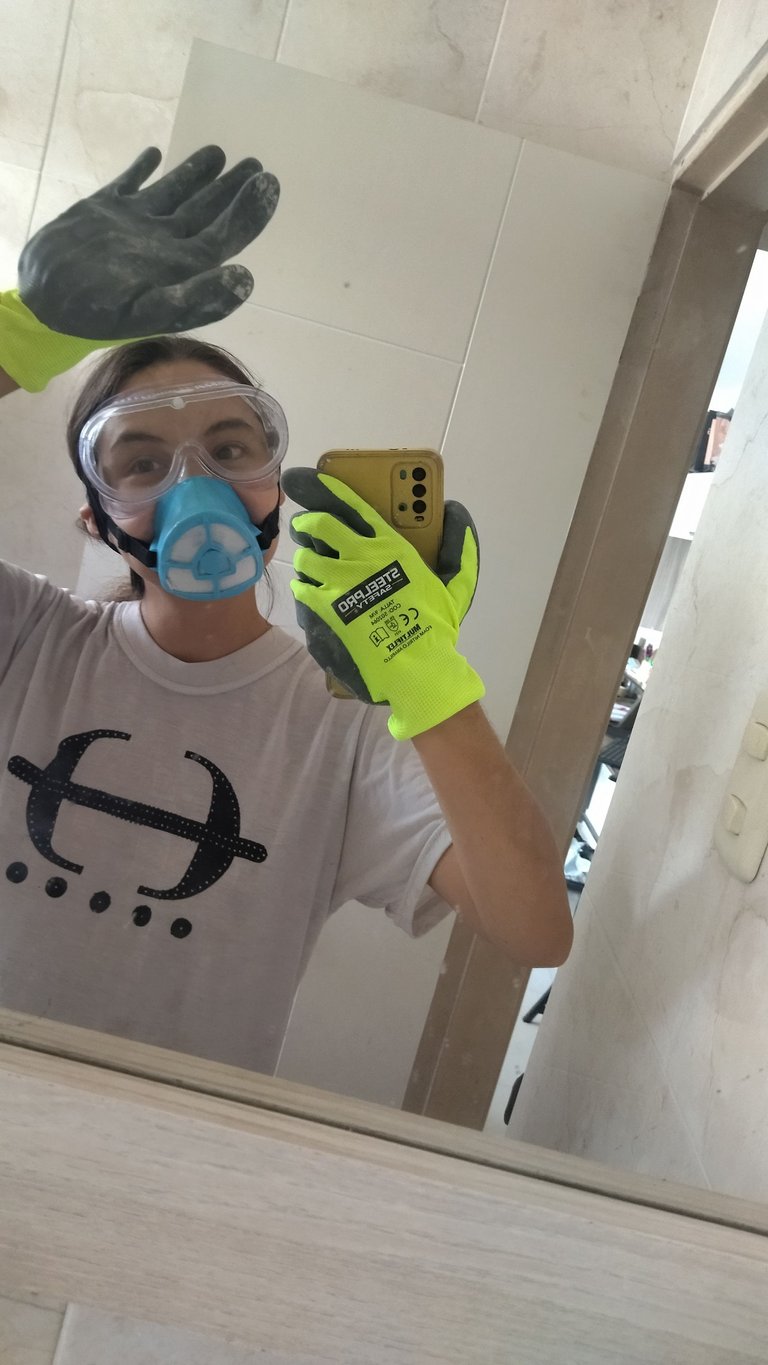
Primer Paso: protección⚠️
Esto es algo que me he tenido que repetir a mi misma muchas veces porque a veces omito este primer paso y en la noche cuando estoy a punto de dormir siento una alergia terrible en los ojos,entonces usa lo que tengas en casa.
El equipo de protección me lo quito una vez haya terminado de limpiar todo lo que quede lleno de cemento. Y así me queda el rostro con unas cuantas marcas pero libre de daños fuertes.
.
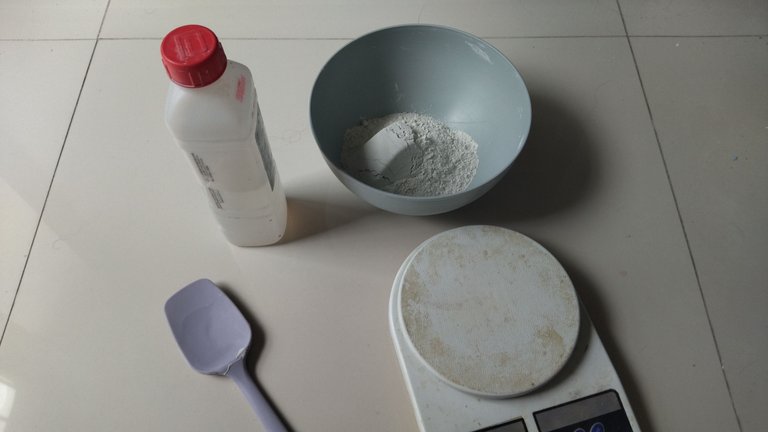
Segundo Paso: preparar la mezcla🥄
Mezclamos el cemento con el agua, las cantidades dependen mucho del tipo de cemento normalmente uso del 30% al 50% de agua por cemento. Para esta mezcla use 250g de cemento y 125g de agua. Lo ideal es que quede una consistencia como la de la foto que sea espesa pero se esparza fácilmente
Tercer paso: envasar en el molde 👀
La mezcla la envasamos sobre el molde y sacamos el aire para que quede lo mas uniforme posible el envase y ponemos a secar en una superficie que sea lisa y nivelada
Cuarto paso: desmoldar 💛
Para desmoldar el envase mínimo debe tener 36 horas de secado con un clima seco, normalmente espero 48 horas para evitar dañar el envase. Luego ponemos el envase en una rejilla a terminar de secar durante 5 días más.
Quinto paso: sellado 🔎
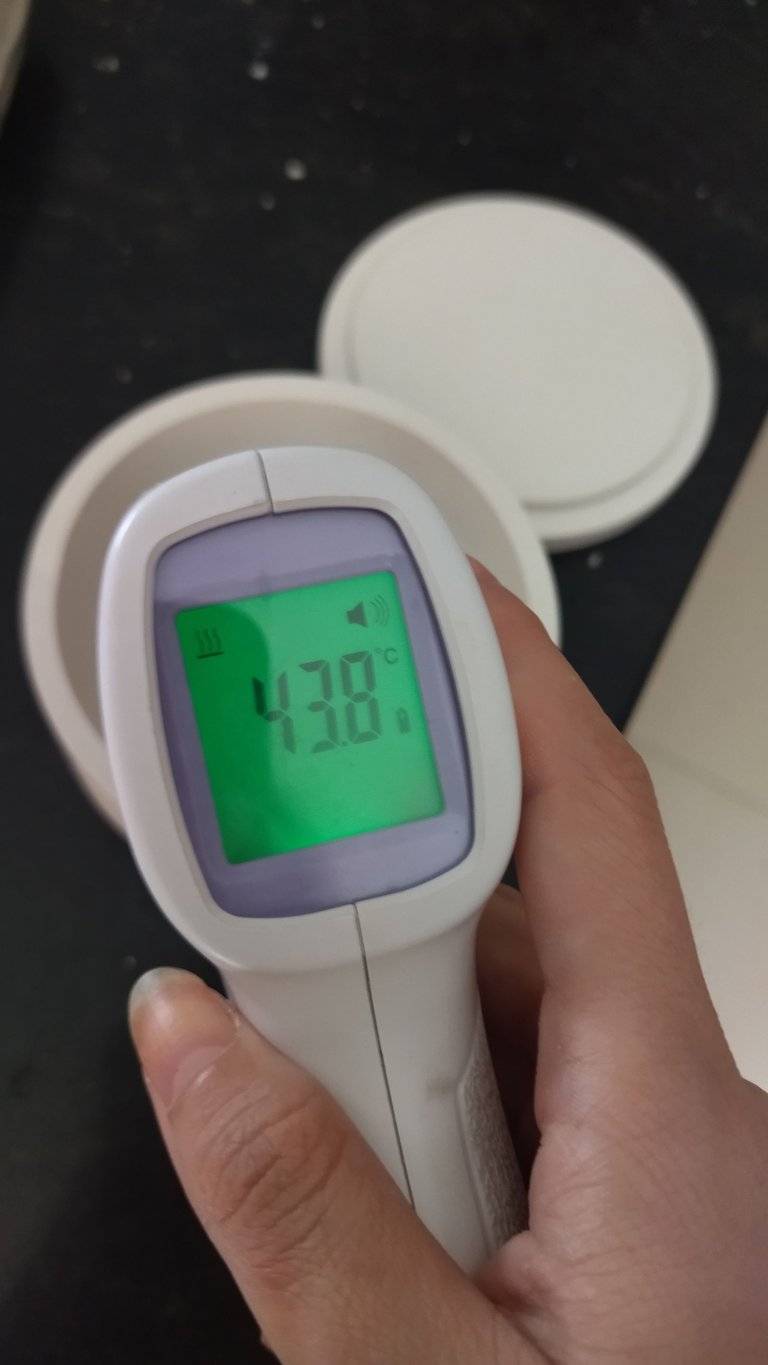
Precalentamos el horno al mínimo durante 5 minutos, luego con el horno apagado metemos el envase por aproximadamente 3 minutos (es importante que sea poco tiempo para que el envase no se rompa) Esto es para que la cera se pueda derretir al contacto con el envase, lo ideal es que el envase agarre una temperatura de 44°C (que se sienta tibio y puedas sostener el envase en tus manos) luego pasamos con un paño cera de coco por todo el envase hasta tener una textura que nos guste.
Este paso es para dar una textura mas lisa al envase y que no se sienta residuo en las manos.
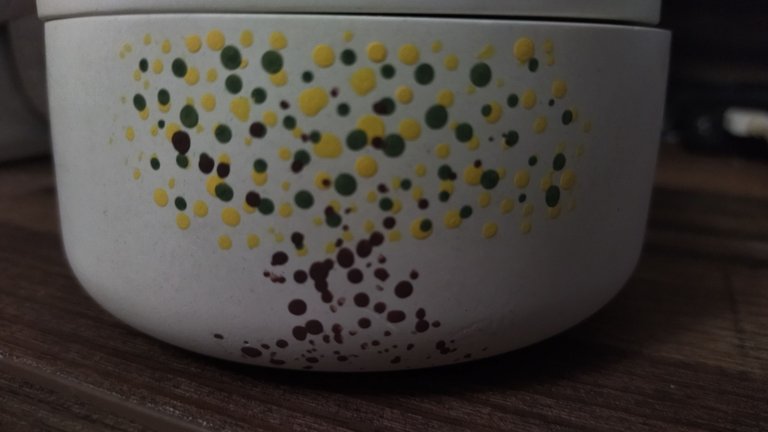
Si quieres puedes pintar estos envases con pintura acrílica yo me inspire en mi árbol favorito que es el Araguaney.🌳

Escribir sobre el proceso de como hacer mis envases me hace darle mas valor que el que le doy cuando normalmente los hago en la estructura de costos que armé había puesto un precio muy bajo porque los materiales son económicos, pero la realidad es que toma mucho tiempo y paciencia hacerlos y hoy haciendo este post le doy un poco mas de merito a mi trabajo. Gracias por leer y por estar💛
Hello beautiful hive community! Here I want to show you how I make my cement containers, I am an apprentice so write to me if you have any suggestions (these are still trials because I want them for my brand of candles and there are several tests that a container must pass due to heat). They can also be used as a container.💛
⚠️Please note that cement containers cannot be in contact with food⚠️
Materials
Essentials:
1️⃣White Cement (can be gray or any color you want).
2️⃣Water.
Complementary:
3️⃣Balance.
4️⃣Silicone mold (you can replace it with two glasses by stacking one on top of the other).
5️⃣Silicone spatula (you can beat with anything you don't use in the kitchen).
6️⃣Protection (you can wear a flannel over your mouth and glasses).
7️⃣Coconut wax and thermometer (you can skip this but it will be a little rough).
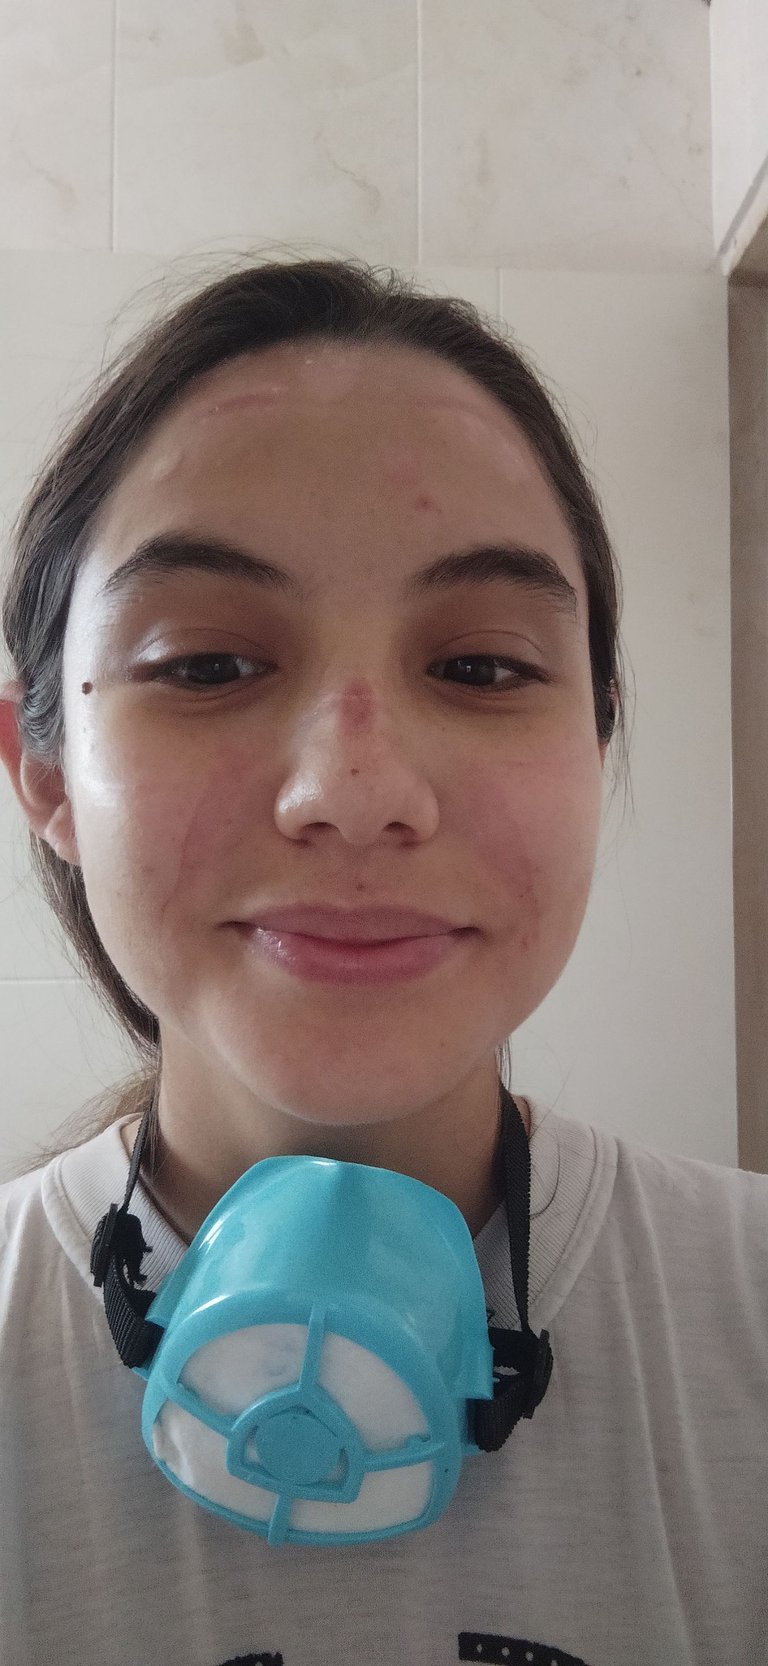
First Step: protection⚠️
This is something that I have had to repeat to myself many times because sometimes I skip this first step and at night when I am about to sleep I feel a terrible allergy in my eyes. So use what you have at home.
I take off the protective equipment once I have finished cleaning everything that is filled with cement. And this is how my face is left with a few marks but free of heavy damage.
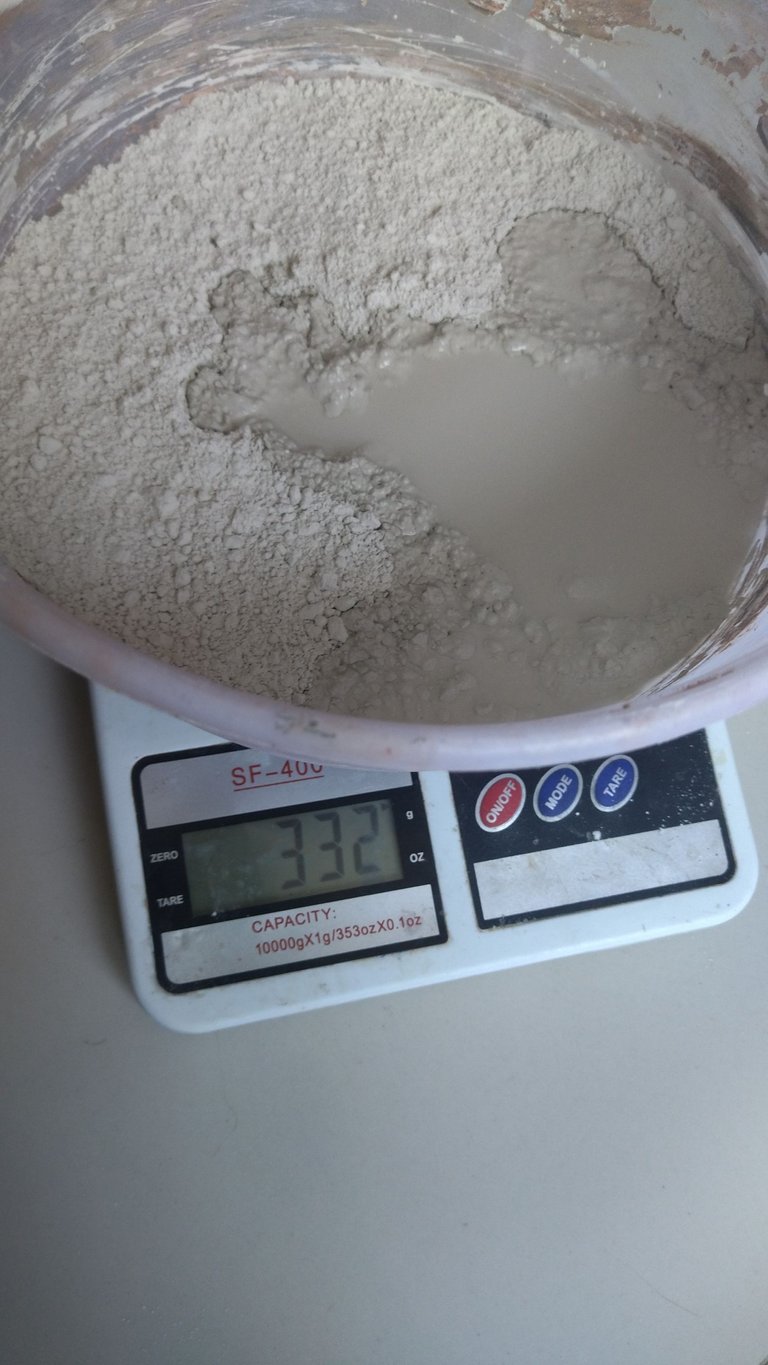
Second Step: prepare the mixture🥄
We mix the cement with water, the quantities depend a lot on the type of cement, normally I use 30% to 50% water per cement. For this mixture use 250g of cement and 125g of water. The ideal is to have a consistency like the one in the photo that is thick but spreads easily.
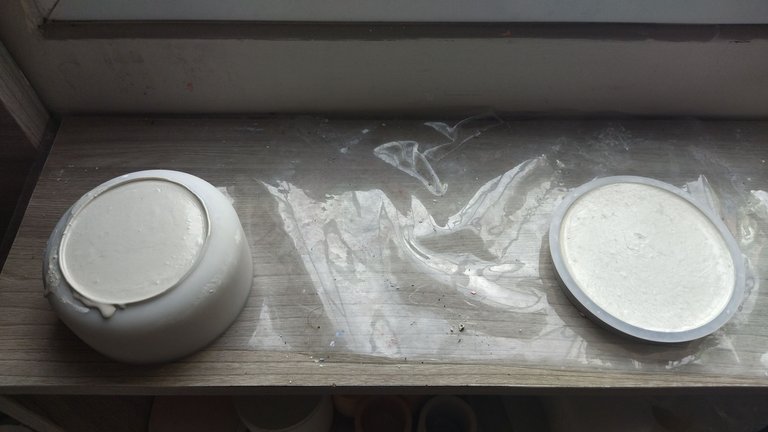
Third step: pack in the mold 👀
We package the mixture on the mold and remove the air so that the container is as uniform as possible and let it dry on a surface that is smooth and level.
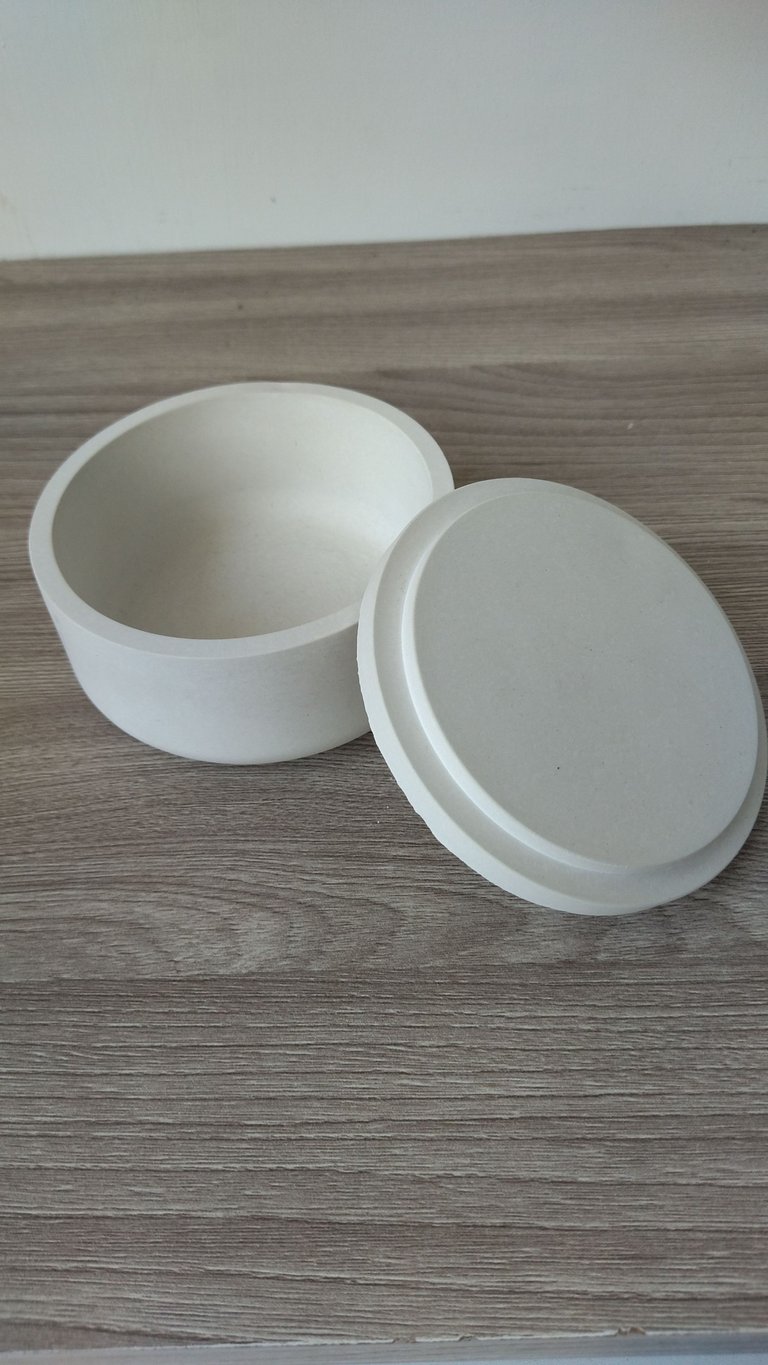
Fourth step: unmold 💛
To unmold the container, it must have dried for at least 36 hours in dry weather. I normally wait 48 hours to avoid damaging the container. Then we put the container on a rack to finish drying for 5 more days.
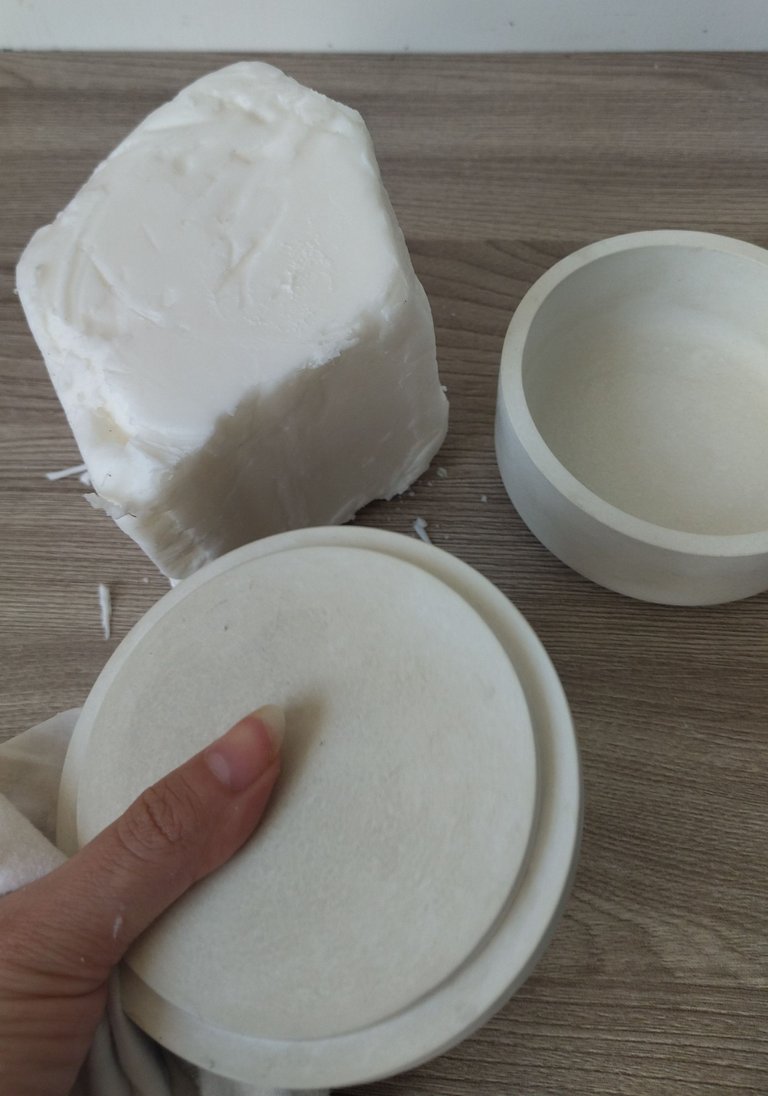
Fifth step: sealing 🔎
We preheat the oven to minimum for 5 minutes, then with the oven off we put the container in for approximately 3 minutes (it is important that it is a short time so that the container does not break). This is so that the wax can melt on contact with the container. , the ideal is for the container to reach a temperature of 44°C (so that it feels warm and you can hold the container in your hands) then we use a cloth to rub coconut wax over the entire container until we have a texture that we like.
This step is to give a smoother texture to the container and so that no residue is felt on the hands.
If you want, you can paint these containers with acrylic paint. I was inspired by my favorite tree, the Araguaney.🌳
Writing about the process of how to make my containers makes me give it more value than what I give when I normally make them. In the cost structure that I put together, I had set a very low price because the materials are cheap, but the reality is that it takes a long time. and patience to do them and today by making this post I give a little more merit to my work. Thanks for reading and for being there💛
Congratulations @franciawrites! You have completed the following achievement on the Hive blockchain And have been rewarded with New badge(s)
Your next target is to reach 20 posts.
You can view your badges on your board and compare yourself to others in the Ranking
If you no longer want to receive notifications, reply to this comment with the word
STOPTo support your work, I also upvoted your post!
Check out our last posts:
Muy bonito, se ve que quedó muy bien hecho.
Muchas gracias cariño! gracias también por leerme💛
From Venezuela, our witness drives decentralization and the adoption of Web3 technology, creating opportunities for the local community and contributing to the global ecosystem. // Desde Venezuela, nuestro testigo impulsa la descentralización y la adopción de la tecnología Web3, generando oportunidades para la comunidad local y contribuyendo al ecosistema global.
Sigue, contacta y se parte del testigo en: // Follow, contact and be part of the witness in:
Excelente publicación, la amé ... Ahora necesito un molde en mi vida y no sabía.
El diseño o molde queda genial, y con tu explicación siento que es muy fácil lograrlo. Me gusta que se pueda medir el insumo para garantizar uniformidad, sobre todo si hacemos varios
Gracias por compartir tus conocimientos en Hive Diy
Estoy un poco adicta a los moldes! Luego dejare un post con todos los moldes y salen cosas muy bonitas☀️ Gracias por leerme💛
Oye esto es un muy buen trabajo, me encanto todo el proceso, y paso a paso que nos regalas. Me encanto el molde, y como lo decoraste. Éxitos @franciawrites ✨
!DIY
Muchas gracias! y gracias por leerme💛✨
Excellent work, thanks for giving us this great process, the mold was wonderful. // Excelente trabajo, gracias por regalarnos este gran proceso, el molde te quedo de maravilla.
You can query your personal balance by
!DIYSTATS@franciawrites
https://leofinance.io/threads/view/hive-130560/re-leothreads-2sbgfotv1
https://twitter.com/hivediy47901/status/1707187215879573784
thanks💛
thanks💛