Painting with Homemade Linseed Oil Paint

Finally a little update on the room I demolished over a month ago!
I decided now was a good time to start painting the floor, even though it might make more sense to work from top down. My keywords for this room are brown, dark and natural, and after I discovered the original floor colour to have been a redish brown, I leaned into it.
Since becoming familiar with linseed oil paint, I will not let any other paint touch wood in my house. It’s fairly expensive, though it goes a long way, but you can make it yourself easily and save quite a lot of money. Basically all you need is boiled linseed oil and pigment, maybe a bit of chalk to adjust thickness and cobalt-zirkonium drying additive.
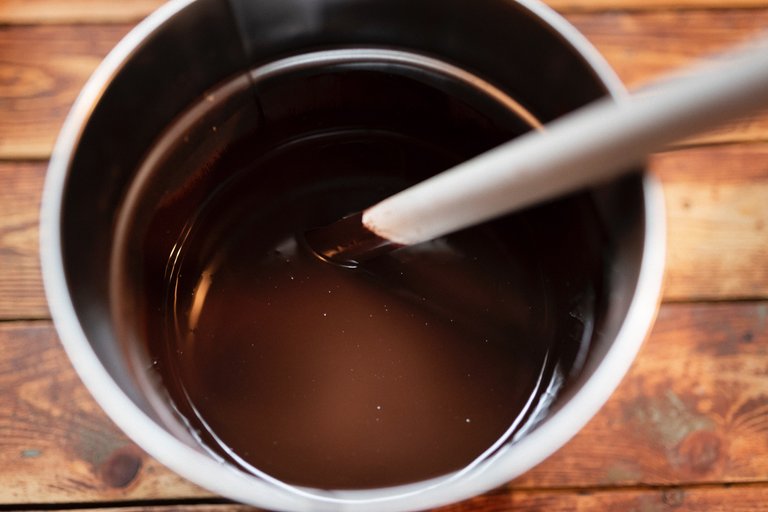
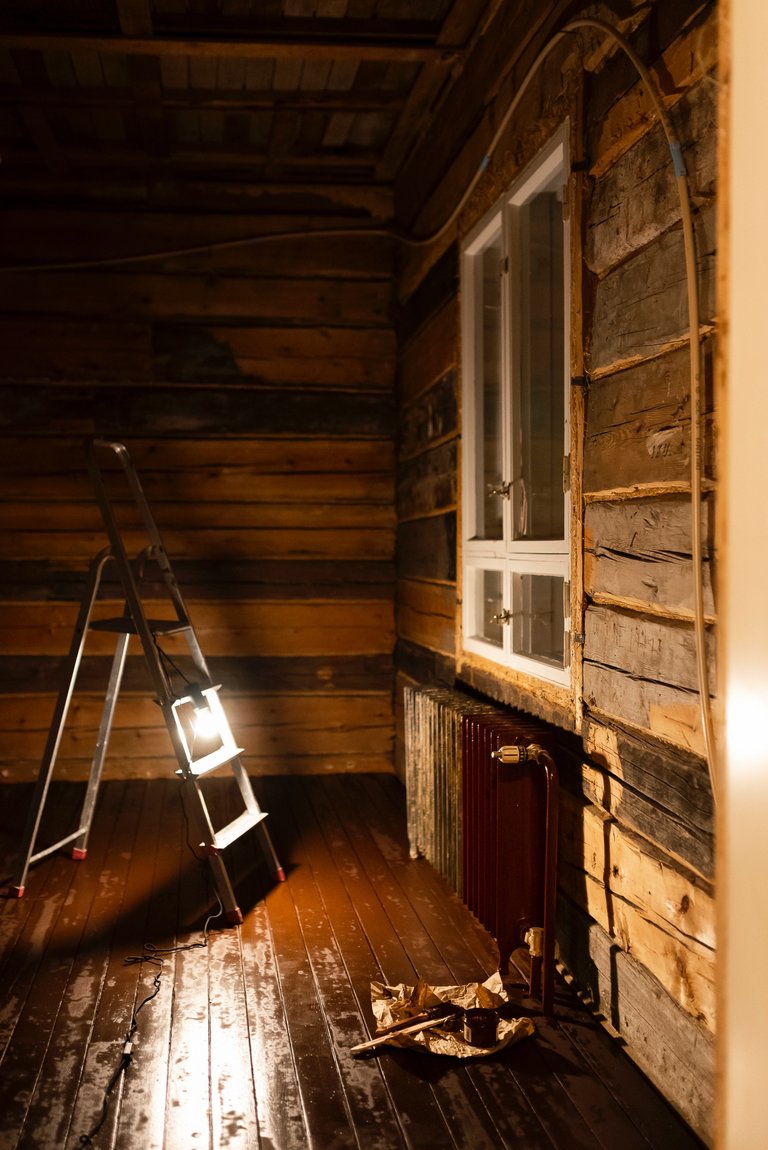
The colour I mixed is mostly burned umbra ”coffee”, with a hint of burned terra, and black readymade paint to darken it up. I think it turned out real nice, but it’s very hard to see the real colour with these pictures being shot at different times and lighting. I did most of the painting under one single lightbulb because it’s winter here (aka very little daylight) and I temporarily took away all the electrical outlets in this room.
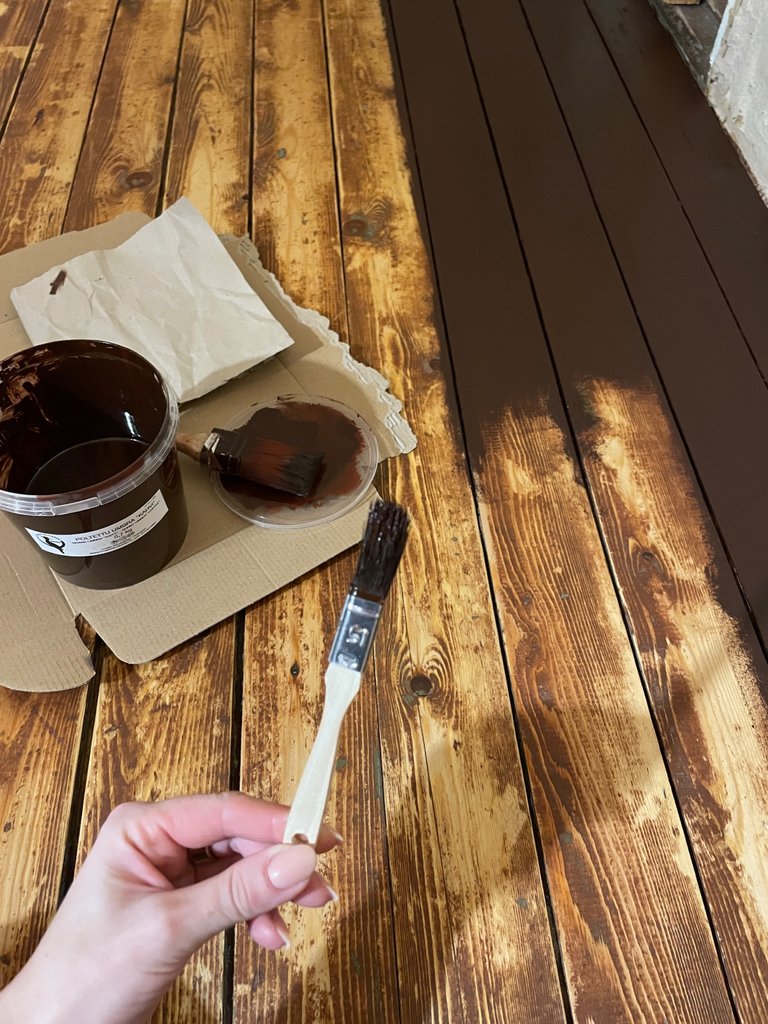
It was slow but very relaxing to sit on the floor for hours and paint. I used a tiny brush to really stab the paint into the wide cracks between the boards, otherwise the floor would look stripey.

A little detour to before I painted the floor and made the idiotic decition to remove all the old paint from the radiator so I could paint it something other than white. Oh and I decided to do that without calling a plumber to come and take the radiator out.
I don’t have many pictures of the process but let’s just say I’m never doing this again, ever. I don’t know what paints were used, there were several layers, but never have I ever seen a paintjob this hard to remove. It took me DAYS of smelling paint remover gel, scraping and re-applying remover, trying to get everything off between the columns. I finished the shitty job with a brass wire brush attached on the drill and a sanding sponge thingy.
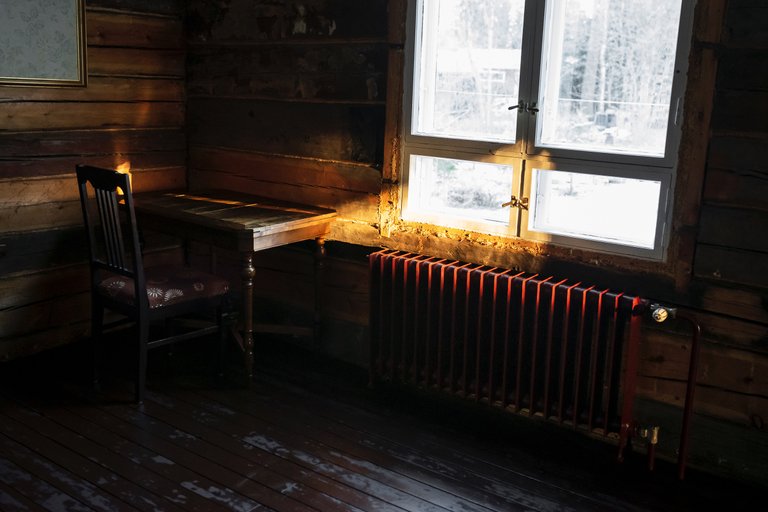
I have no pictures of it but I did not get off all the white paint in the back, nor did I manage to fully paint those parts over either. I’ll deal with it some other time, maybe next summer. For now I just painted a thin layer of linseed oil paint in a red colour that also acts as rust prevention because of the iron oxides on the red pigment. Yay, science! I’m not fully set on what the final colour of the radiator will be, but I’m leaning towards black at the moment.
Back to the floor; I pre-treated the old extra dry floor boards with raw linseed oil. I only did one layer but I think I could have easily done two judging by how fast the floor sucked up the oil from the first paint layer.
Honestly, after two layers of paint, the floor looks worse now than it did before, but trust the process! Linseed oil paint can be a bit tricky and I’m still new to making my own. It works by oxidation which hardens the oil and makes the paint stick and form a strong bond with the surface. Depending on how smooth the paint itself is, how evenly you paint it and how absorbent the material you paint is, there are often variation on the gloss, but there should not be variation on the pigmentation. Every thin layer should fully cover any colour underneith, and the more layers you paint, less patchy the texture will be.
Oven time, the paint will start to even out and become matt all over. If you want a glossier harder look, you can use an immersion blender to add about 20% of water into the paint, which is what I did on the entryway floor.
I only painted two layers of the dark brown here, that’s why it still looks very uneven. I know this floor definitely needs at least one more layer, probably two, but I’ll get back to it somewhere in the future, I have other pressing matters to deal with.
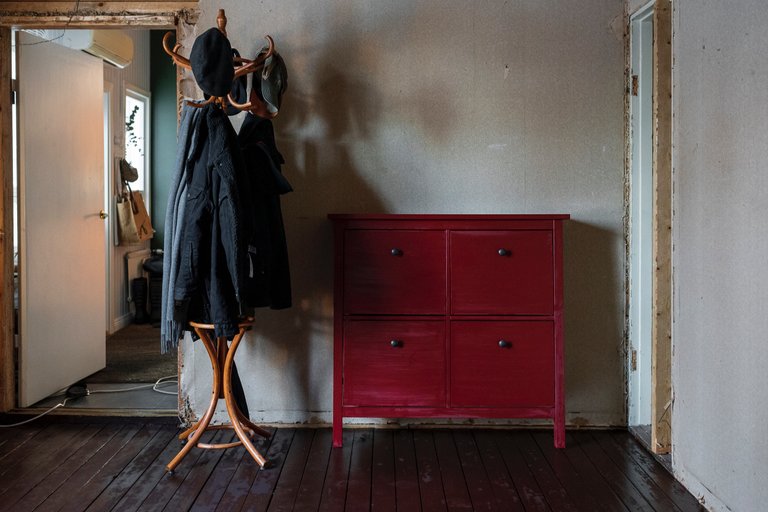
Some of the lighter furniture is now back in the room, but I’ll wait a few more days, preferrably weeks, before I drag in a heavy hardwood chest.
what a change good colors do
🤩 This is awesome !PGM
BUY AND STAKE THE PGM TO SEND A LOT OF TOKENS!
The tokens that the command sends are: 0.1 PGM-0.1 LVL-0.1 THGAMING-0.05 DEC-15 SBT-1 STARBITS-[0.00000001 BTC (SWAP.BTC) only if you have 2500 PGM in stake or more ]
5000 PGM IN STAKE = 2x rewards!
Discord
Support the curation account @ pgm-curator with a delegation 10 HP - 50 HP - 100 HP - 500 HP - 1000 HP
Get potential votes from @ pgm-curator by paying in PGM, here is a guide
I'm a bot, if you want a hand ask @ zottone444
Legit.
Best comment so far, people really need to put effort in to top this! 😝
I thought I'd take it back to the very first comment I made to you; re-living good moments can be nice right? I'll comment elsewhere to you, as you know.
Finally some cool room to do the photoshoot
That timber wall is delicious isn’t it?
With the natural light! I could shoot for days and never would get bored. You remember we are trying to do that already for 6 years
oh god that's a beautiful wall color. I love it.
That looks fantastic!!! You've put in a hell of a lot of work on that. I picture a happy doggo snuggled up on a sheepskin right in front of the radiator/window. Or maybe an Eve... 🤔
You mean this one, who if given the opportunity will stick her nose (literally) in between you and what ever you are trying to do. Tying shoelaces? Great, she’ll get in on that action. Cooking, obviously perfect. Sharp tools? No self preservation, she’ll jump in to ”help.”
Exactly!!!! Puppers always want to help!