Christmas gift bag # 02 / Bolsita de regalo navideña # 02 (Esp/Eng)

[Esp]
¡Saludos comunidad DIY!.
Hacer bolsitas para presentar tus obsequios es realmente divertido, además que hace el detalle aun más especial.
En mi primera entrega os mostré hacer un modelito muy sencillo y muy chulo, bueno hoy os muestro uno al que le hemos subido un poco el grado de dificultad pero no deja de ser fácil de elaborar.
Usa los materiales que tengas a tu alcance, yo reciclo generalmente de otras manualidades que me van quedando o sencillamente aquellas que ya tienen muchos años las renuevo o tomo sus materiales para hacer otras cosas.
Pedacitos de foami que van quedando, puedes usar cualquier tipo de hoja que tengas, bien sea blanca, de colores, con motivos, papel de regalo, entre otros, el detallito que lo hace lindo y especial es ese ancianito al que todos conocemos como regalón Santa Claus.
No te pierdas mi paso a paso.
! [English version]
[Eng]
**Greetings beautiful community!
Making bags to present your gifts is really fun, plus it makes the detail even more special.
In my first post I showed you how to make a very simple and cool little model, well today I show you one that we have raised the degree of difficulty a little but it is still easy to make.
Use the materials you have at your fingertips, I usually recycle from other crafts that I have left or simply those that are already many years old I renew them or take their materials to make other things.
You can use any type of sheet you have, whether white, colored, with motifs, wrapping paper, among others, the detail that makes it cute and special is that little old man we all know as Santa Claus.
Don't miss my step by step.

[Esp]
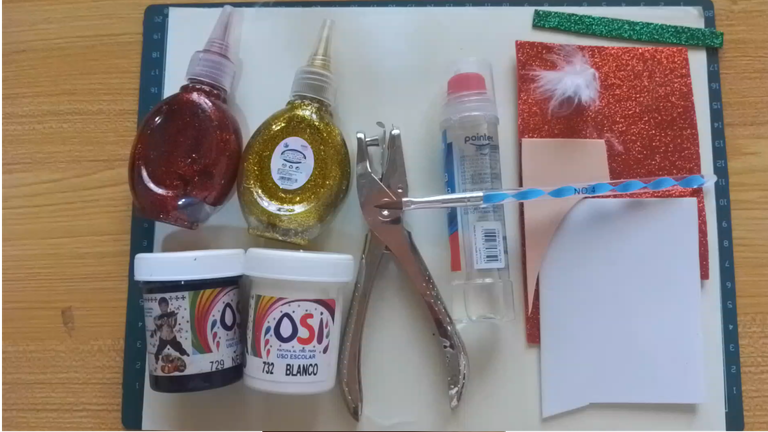
Los materiales que recomiendo usar, son los que tengas a tu alcance yo usé los siguientes:
Papel cualquiera.
Pega, silicón caliente, tijera.
Foami escarchado rojo, verde, foami blanco, color carne.
Pincel, pega, abre huecos.
Bordado líquido rojo y dorado (opcional)
Plumón u otro material afelpado.
! [English version]
[Eng]
- The materials that I recommend to use, are the ones you have at your fingertips, I used the following:
- Any paper.
- Glue, hot silicone, scissors.
- Red, green, white and flesh colored frosted foami.
- Brush, glue, hole openers.
- Red and gold liquid embroidery (optional).
- Marker pen or other plush material.

Step 1️⃣/ Paso 1️⃣
 |  | |
 |  |
[Esp]
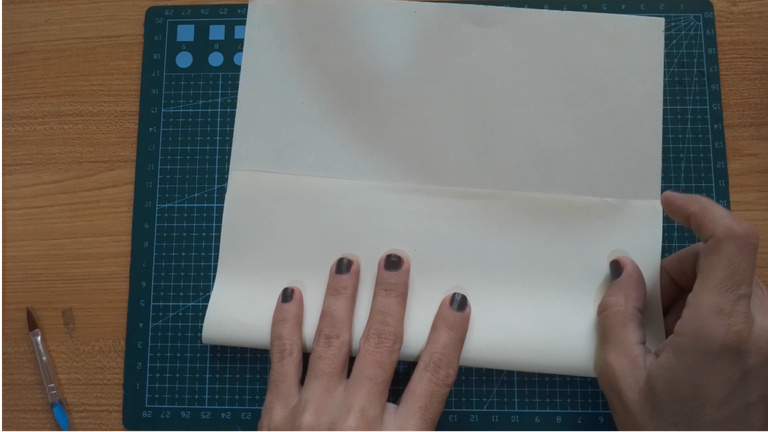
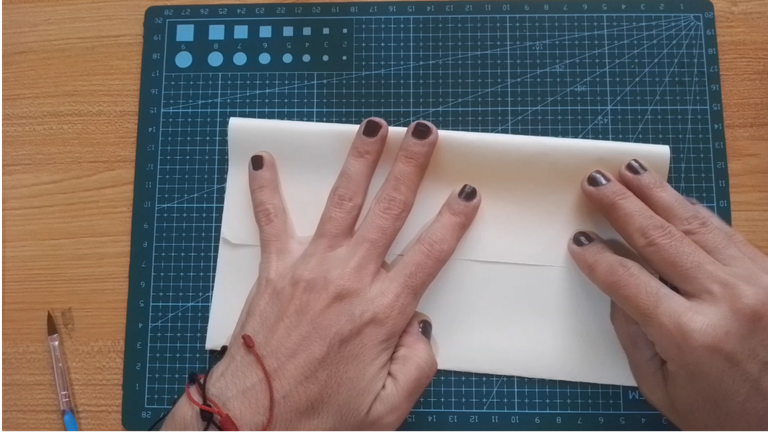
Si usas una hoja tamaño carta sea unicolor, estampada o de colores, dobla una pestaña hasta un poco más de la mitad, luego dobla la otra pestaña, aplica pegamento y une los extremos.
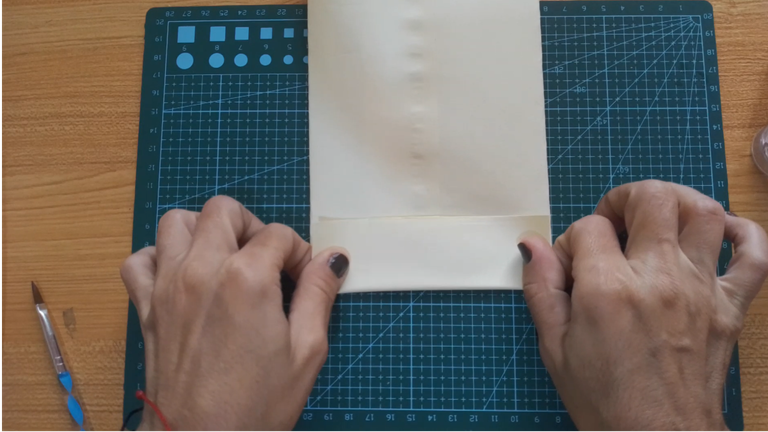
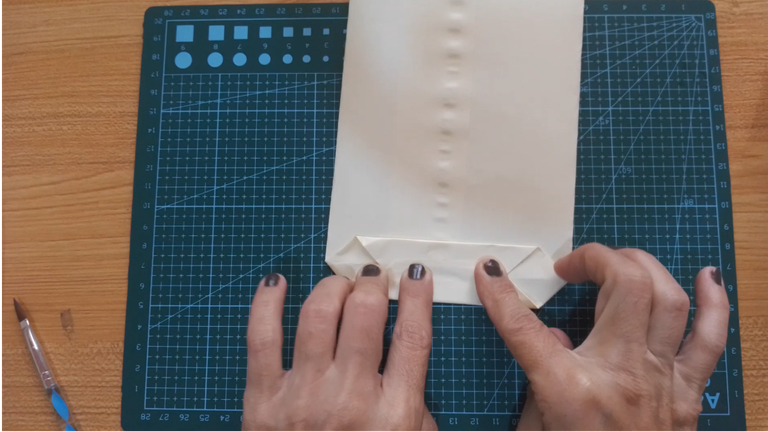
En la parte baja dobla nuevamente una pestaña de aproximadamente 2.5 centímetros. Dobla las esquinas formando un triángulo.
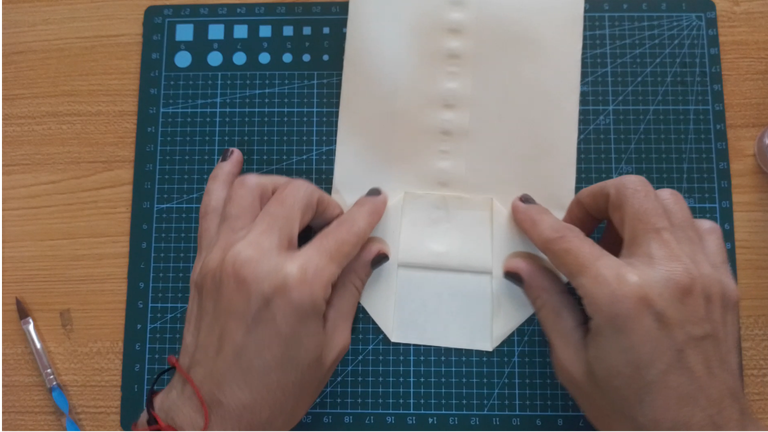
Observa la última imagen, dobla al centro la primera pestaña y luego la otra, aplica un poco de pegamento y une ambas pestañas.
! [English version]
[Eng]
If you are using a letter size sheet, either one-color, printed or colored, fold one flap a little more than halfway, then fold the other flap, apply glue and join the ends.
At the bottom fold again a tab of approximately 2.5 centimeters. Fold the corners forming a triangle.
Look at the last image, fold the first tab to the center and then the other one, apply some glue and join both tabs.
Step 2️⃣/ paso 2️⃣
 |  |  |
[Esp]
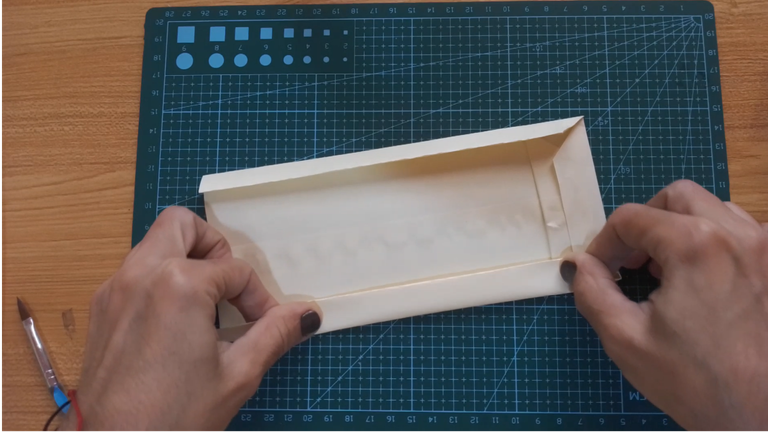
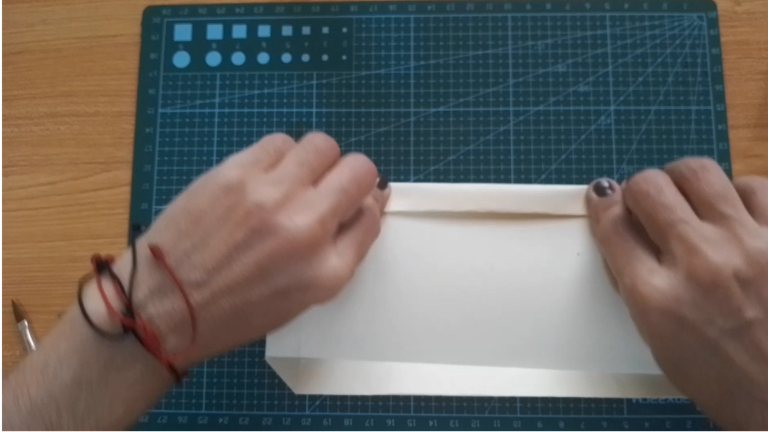
Dobla los laterales hacia adentro y luego vuelve a doblar al lado contrario.
Abre la bolsita y dale forma.
Aplica un dobladillo en la abertura.
! [English version]
[Eng]
Fold the sides inward and then fold again to the opposite side.
Open the pouch and shape it.
Apply a hem at the opening.
Step 3️⃣/ paso 3️⃣
 |  | |
 |  |
[Esp]
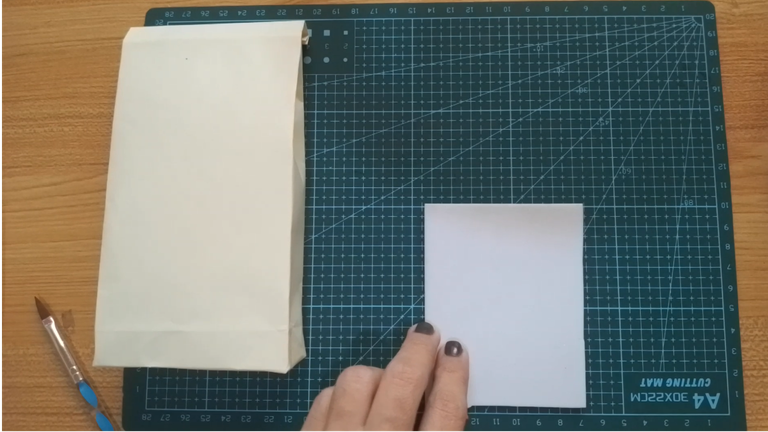
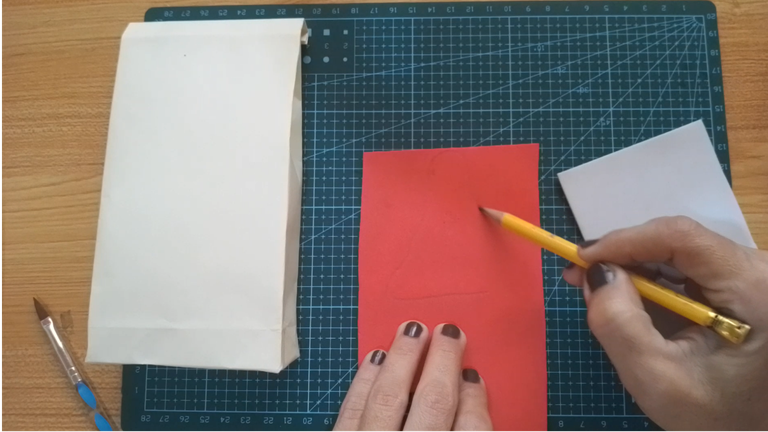
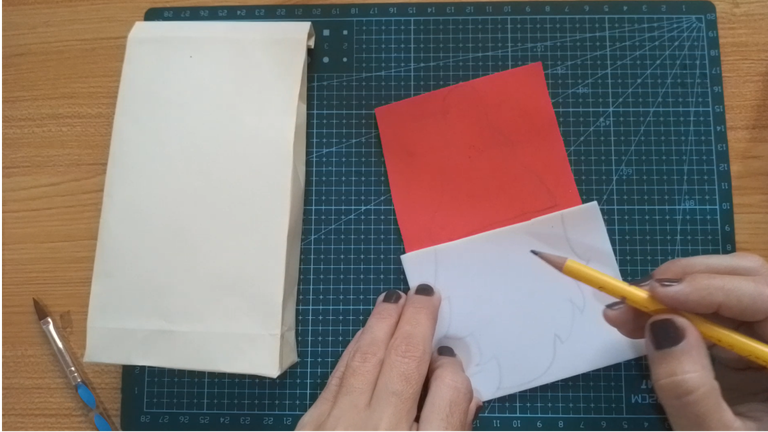
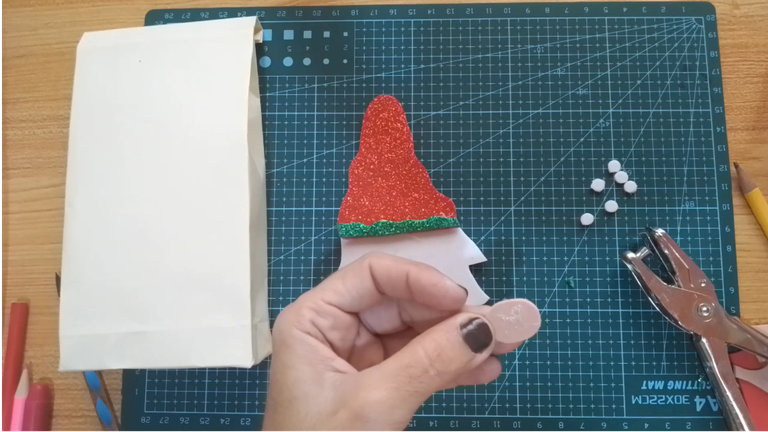
Hacemos al hombre barbudo
Con un lápiz marca la forma del gorro.
Toma la medida de la base y dibuja una barba.
Recorta por las marcas que hiciste, luego recorta un óvalo para la nariz y una tirita con unas ondas para la terminación del gorro.
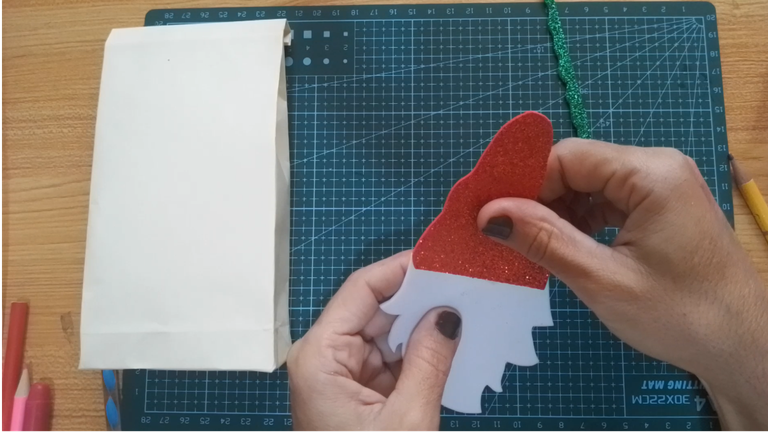
Pega el gorro a la barba y luego pega la tirita verde a la terminación del gorro.
! [English version]
[Eng]
We make the bearded man
With a pencil mark the shape of the cap.
Measure the base and draw a beard.
Cut out the marks you made, then cut out an oval for the nose and a strip with some waves for the end of the cap.
Glue the cap to the beard and then glue the green strip to the end of the cap.
Step 4️⃣/ paso 4️⃣
 |  | |
 |  |
[Esp]
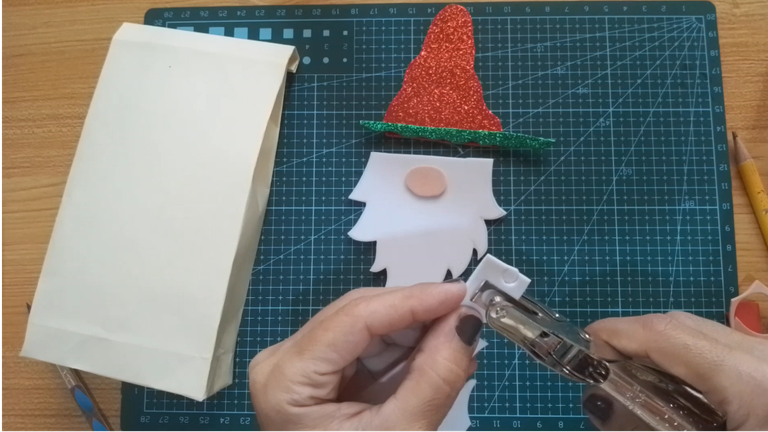
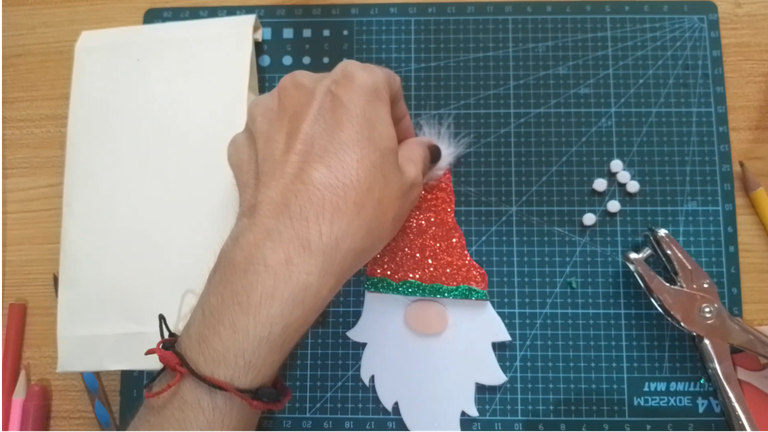
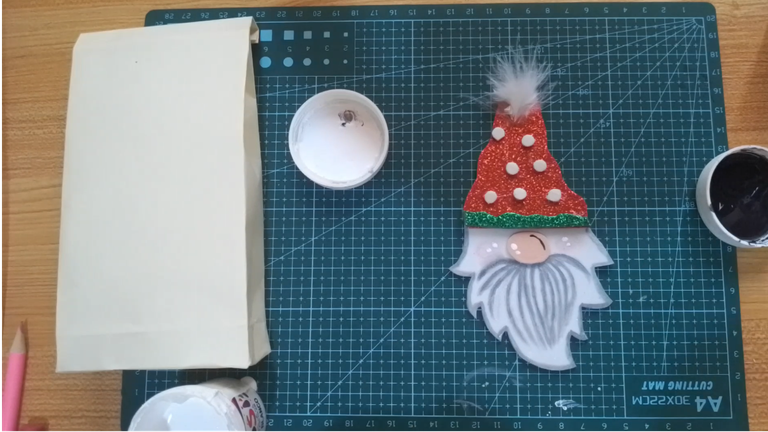
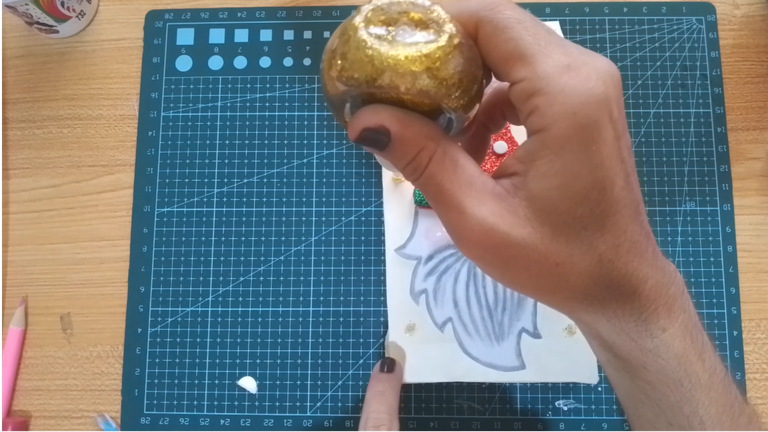
Pega la nariz a la barba.
Pega el plumón en la punta del gorro. Puedes sustituirlo por estambre u otro material afelpado.
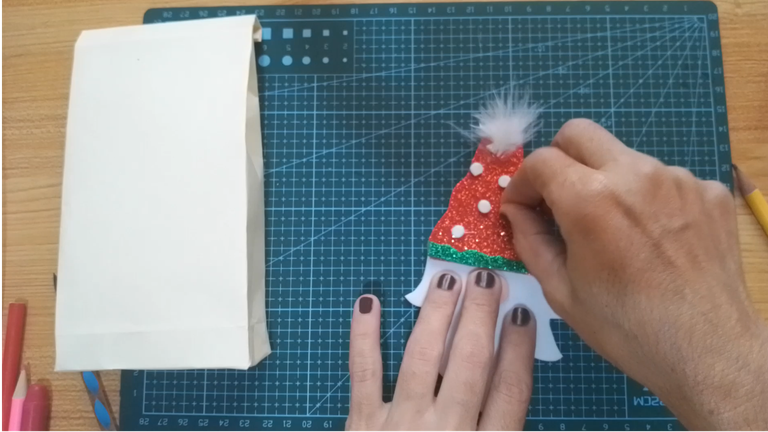
Con el abre huecos, perfora el foami blanco varias veces y usa los pequeños círculos para decorar el gorro.
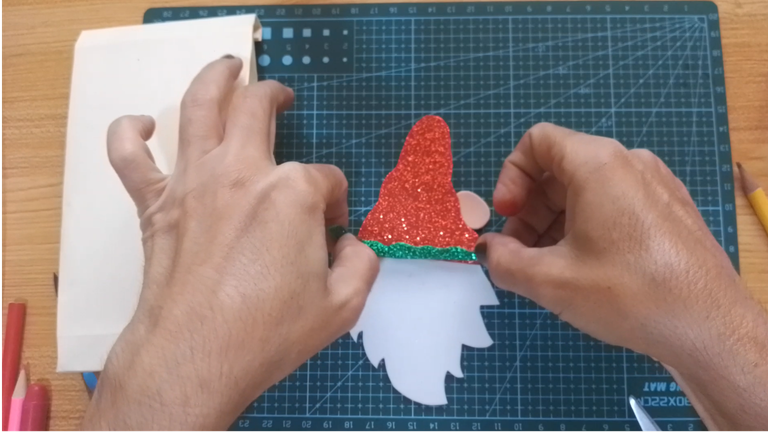
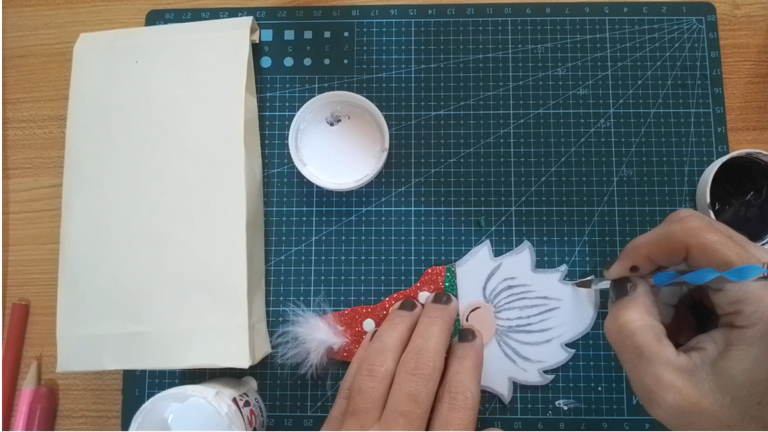
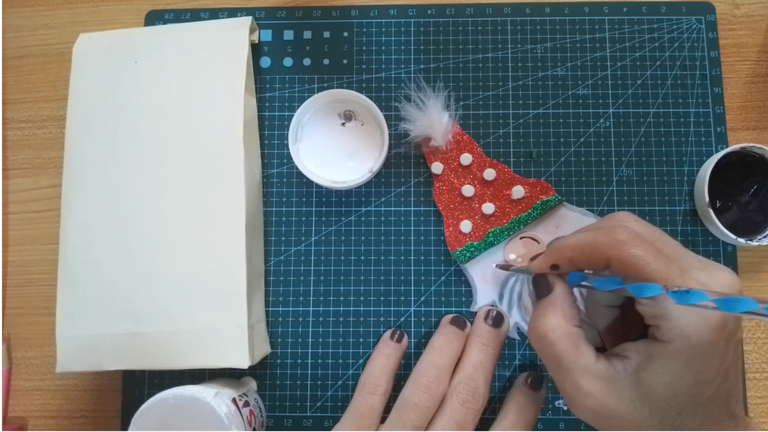
Con la pintura blanca y negra mezcla un poco hasta que logres un color gris, con ella realiza los pelitos de la barba y remarca las orillas.
Con la pintura negra realiza una sombra en la nariz, luego pequeños puntos de luz en cachetes y nariz.
! [English version]
[Eng]
Glue the nose to the beard.
Glue the down to the tip of the cap. You can substitute it with yarn or other plush material.
With the hole punch, pierce the white foami several times and use the small circles to decorate the hat.
With the black and white paint mix a little until you get a gray color, with it make the little hairs of the beard and outline the edges.
With the black paint make a shadow on the nose, then small points of light on the cheeks and nose.
Step 5️⃣/ paso 5️⃣
 |  |
 |  |
[Esp]
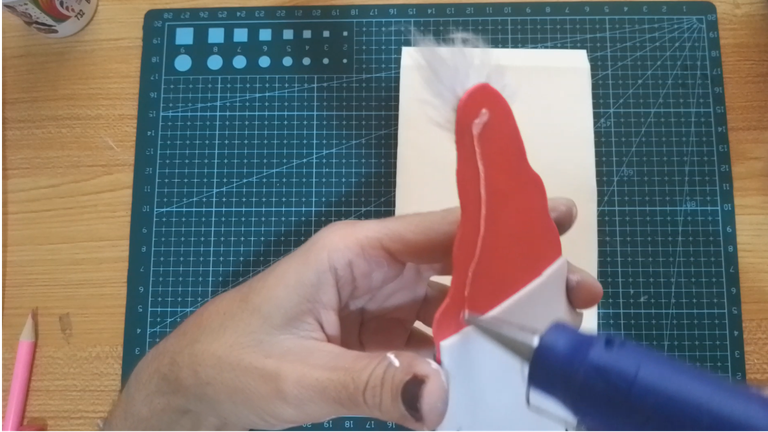
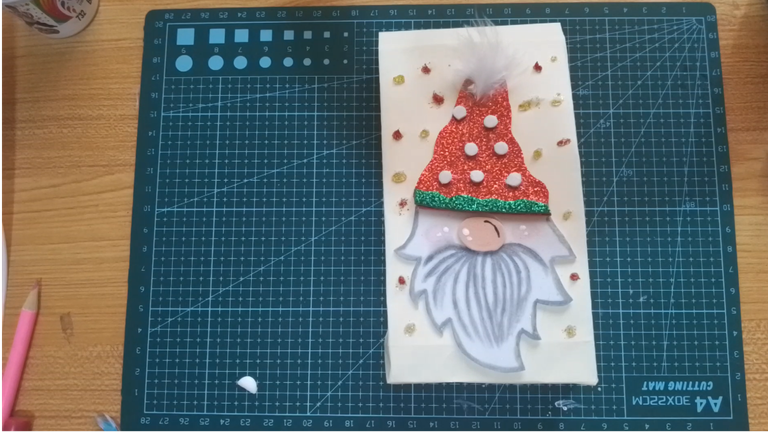
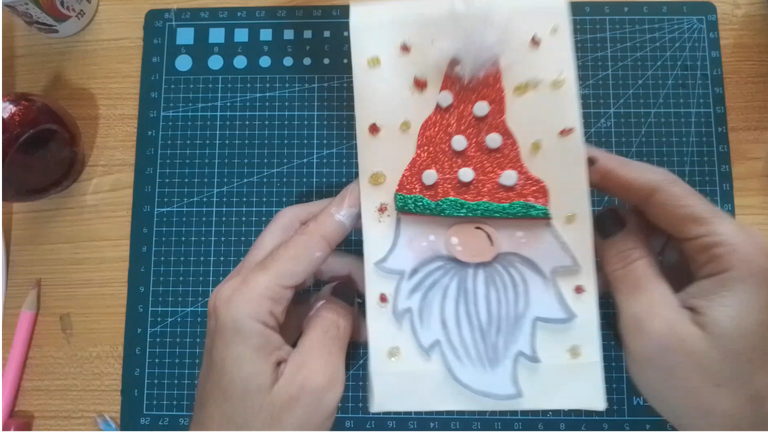
Aplica pegamento en la parte de atrás de la figura y pega en la bolsita.
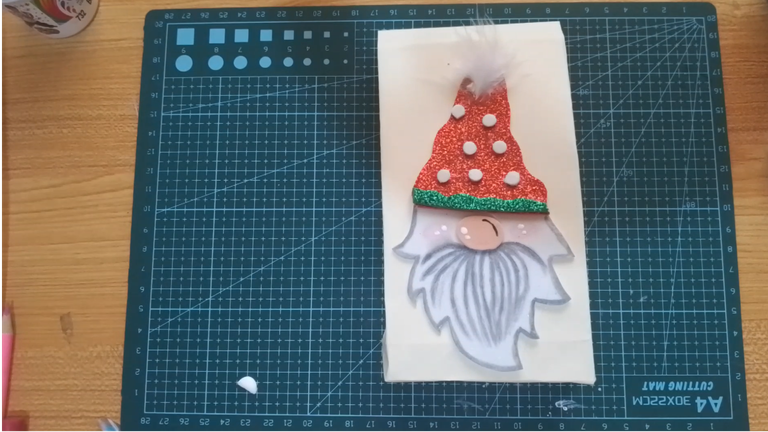
Decora como quieras, yo apliqué bordado líquido con escarchas, pequeños puntos.
Deja secar y con ello hemos terminado de personalizar nuestra bolsa de regalo.
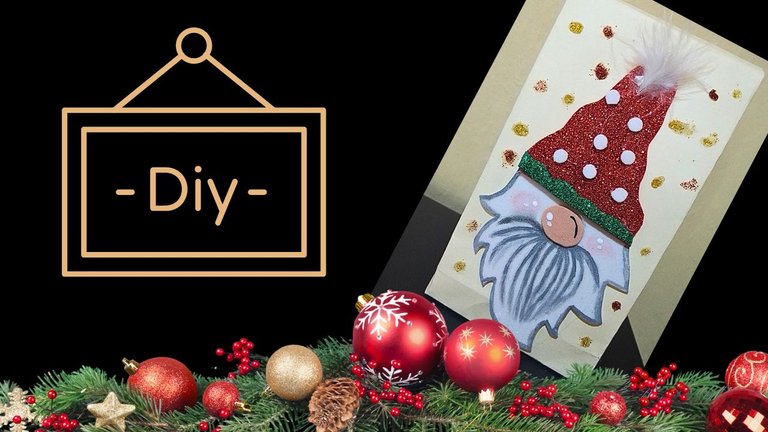
Espero les guste esta manera especial de impresionar a tus seres queridos con los obsequios.
Felices fiestas.
! [English version]
[Eng]
Apply glue on the back of the figure and glue on the bag.
Decorate as you like, I applied liquid embroidery with frosting, small dots.
Let it dry and with that we have finished personalizing our gift bag.
I hope you like this special way to impress your loved ones with gifts.
Happy Holidays.

Program: MediBang Paint Pro.
Tablet Huion model 420
Las fotos fueron tomadas con mi teléfono ZTE Blade A5 2020
The photos were taken with my ZTE Blade A5 2020 phone.
Hecho con amor/ Made with love.
💜💜💜

💜💜💜
![]() 👉
👉 ![]() 👉
👉 ![]() 👉
👉 
Here / Bríndame un café

Good morning dear friend @equipodelta, how are you?
How great it is to see your creations, although they are easy to prepare, they are still a beautiful option to make a gift.
I loved the model of this second presentation
Have a great day
This post has been manually curated by @steemflow from Indiaunited community. Join us on our Discord Server.
Do you know that you can earn a passive income by delegating to @indiaunited. We share more than 100 % of the curation rewards with the delegators in the form of IUC tokens. HP delegators and IUC token holders also get upto 20% additional vote weight.
Here are some handy links for delegations: 100HP, 250HP, 500HP, 1000HP.
100% of the rewards from this comment goes to the curator for their manual curation efforts. Please encourage the curator @steemflow by upvoting this comment and support the community by voting the posts made by @indiaunited.
Ay amo tus bolsitas, son super bonitas y tiernas 😍 mi mamá ya compro bolsitas asi que me gano de mano jaja pero le voy a proponer el proximo año hacerlas nosotras con estos tutoriales, a ver que me dice 😂 es que estan muy lindas y asi son mas especiales, hacen mas especial el regalito ❤️
Me encantó esta bolsita, amiga. Es muy linda y fácil de hacer. Gracias por compartir este paso a paso bien explicado. Un abrazo.
Que chulas están tus bolsitas para regalo, el que las reciba lo apreciará más porque son hechas con tus propias manos, ya cuentan con valor agregado. Un saludo 👋
Your Christmas gift bag is truly amazing. It is witnessing great innovation and every step of the way has been brilliant. You are able to express the creativity of your genius. It sounds great to me. thank you
Quedó muy bonita, excelente trabajo 🎄🤗
Yay! 🤗
Your content has been boosted with Ecency Points, by @hive-130560.
Use Ecency daily to boost your growth on platform!
Support Ecency
Vote for new Proposal
Delegate HP and earn more
https://twitter.com/hivediy47901/status/1734706725263962356
Hola amiga, esa bolsita esa muy bonita y perfecta para estas navidades, donde podrás regalar y guardar muchas cosas en ellas, sin duda una gran elaboración y me gusto como vas diseñando y recortando y al final sale un gran resultado. Éxitos y que sigas produciendo más bolsitas.
Congratulations, your post has been upvoted by @dsc-r2cornell, which is the curating account for @R2cornell's Discord Community.
Enhorabuena, su "post" ha sido "up-voted" por @dsc-r2cornell, que es la "cuenta curating" de la Comunidad de la Discordia de @R2cornell.