And so I made my son's piñata / Y así realice la piñata de mi hijo Eng - Esp
Hello good morning my dear readers and friends of #Hive, it is a pleasure to be here again, this time to show you how I made a piñata, I had told you in my previous post that I made one for my son Dylan's birthday.
Actually I thought a lot about designing it, because I had never made one; however, that was not an impediment for me, I saw some tutorials of how other people made it to verify the steps I had to take and so I was clearer about how I was going to work it, I bought some materials that I didn't have and well, let's get to work.
Hola buenos días mis queridos lectores y amigos de #Hive, es un gusto estar por aquí nuevamente, en esta oportunidad para mostrarle como realice una piñata, les había comentado en mi post anterior que hice una para el cumpleaños de mi hijo Dylan.
En realidad pensé mucho en diseñarla, pues nunca había hecho una; sin embargo, eso no fue ningún impedimento para mí, si vi algunos tutoriales de como la hacían otras personas para verificar los pasos que debía dar y así estuve más clara de como iba a trabajarla, compre algunos materiales que no tenía y bueno, manos a la obra.
- Bond paper.
- Cardboard cardboard.
- Recycled cardboard.
- Cilicon gun.
- 3 cilicon bars.
- Recycled sheets.
- White glue.
- Blue crepe paper.
- Scissors.
- Cutter.
MATERIALES:
- Papel Bond.
- Cartulina de cartón.
- Carton reciclado.
- Pistola de Cilicon.
- 3 barras de cilicon.
- hojas recicladas.
- Pega blanca.
- Papel Crepe color azul.
- Tijera.
- Cortador.
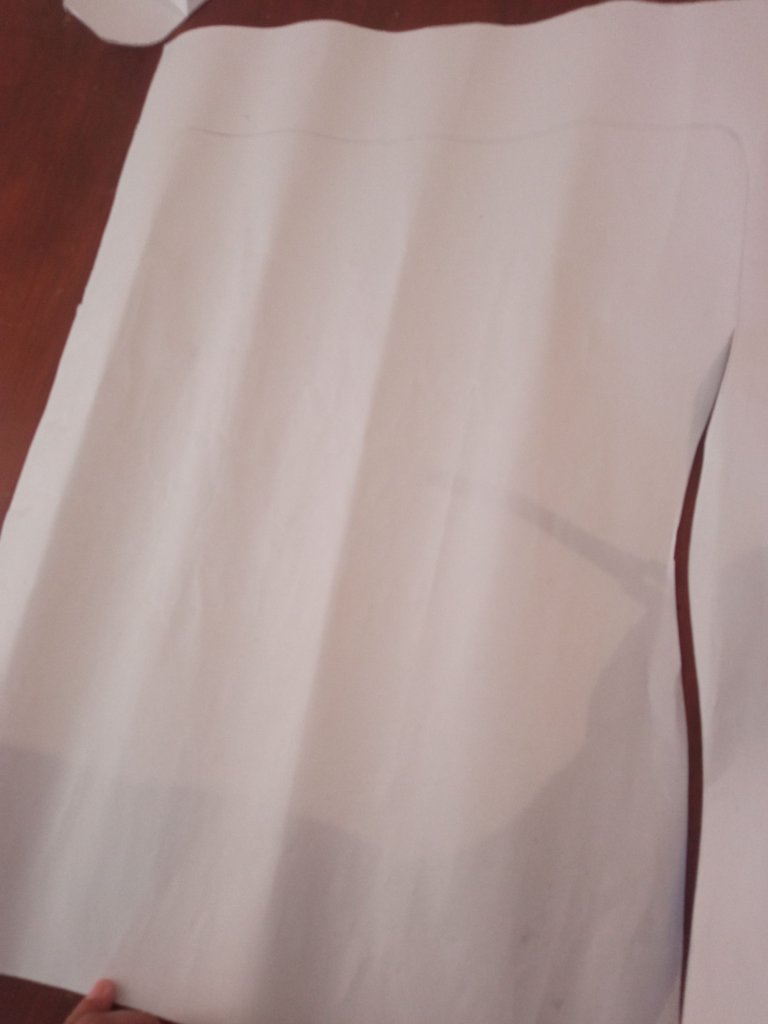
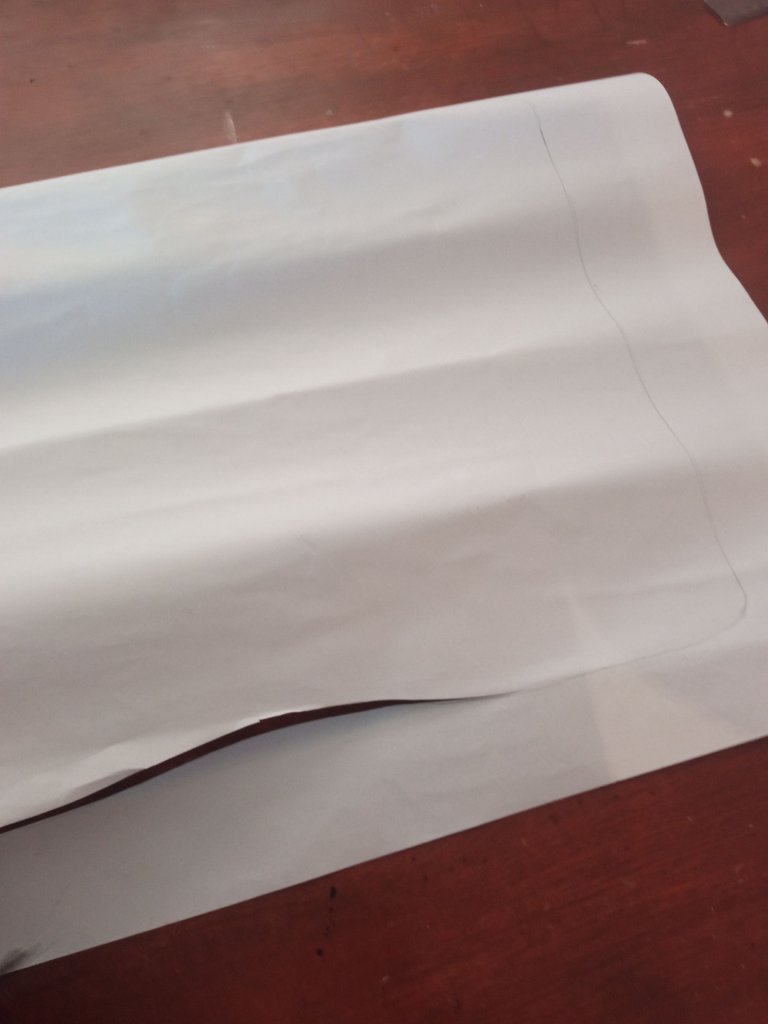
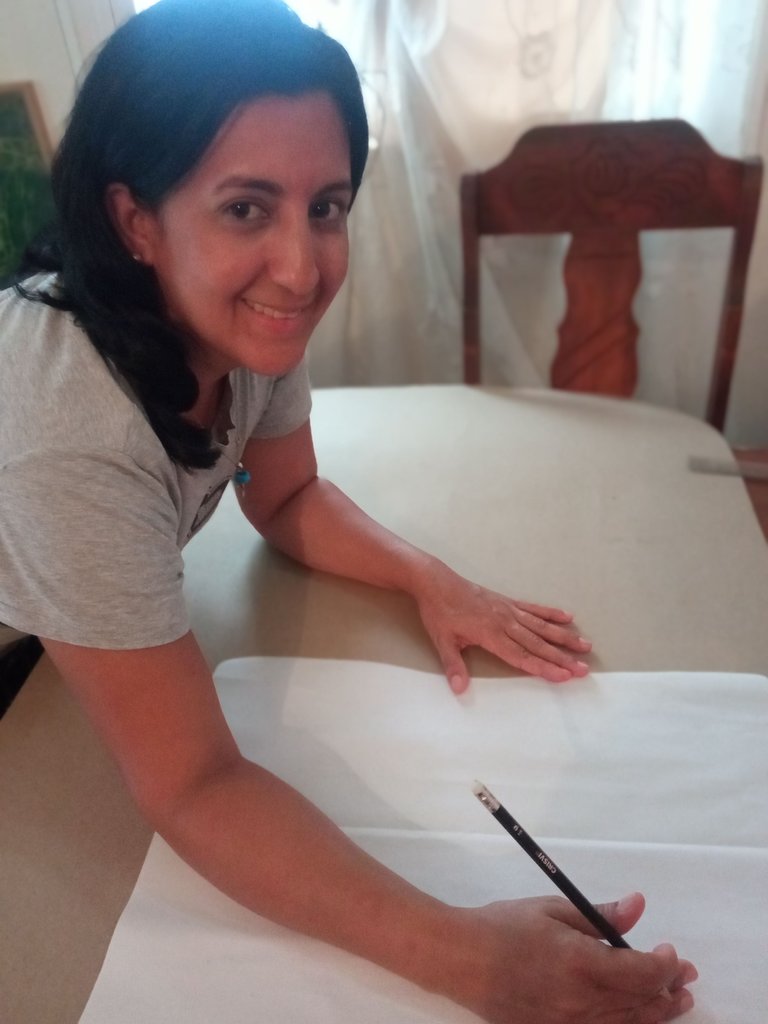
Step #1: To begin, I traced on the Bond paper the mold of how I wanted to shape it on the cardboard cardboard, I made it in a Concavo shape.
ELABORACIÓN:
Paso #1: Para comenzar traze sobre el papel Bond el molde de como quería plasmarlo en la cartulina de cartón la hice en forma Concavo.
 |  |  |  |
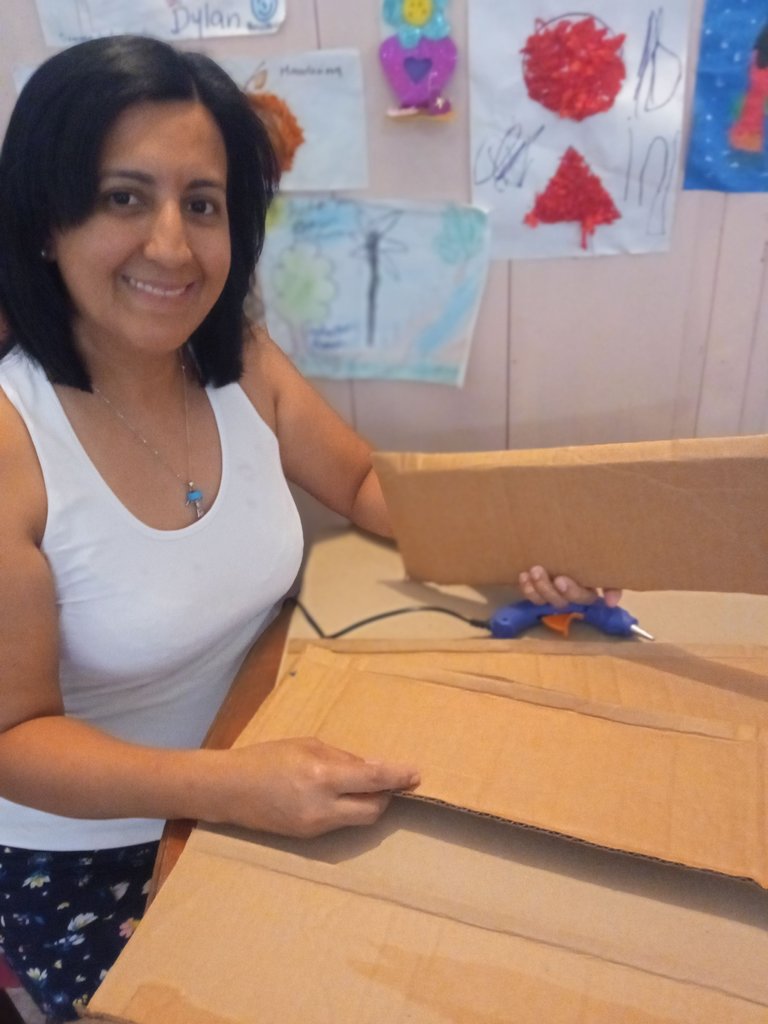
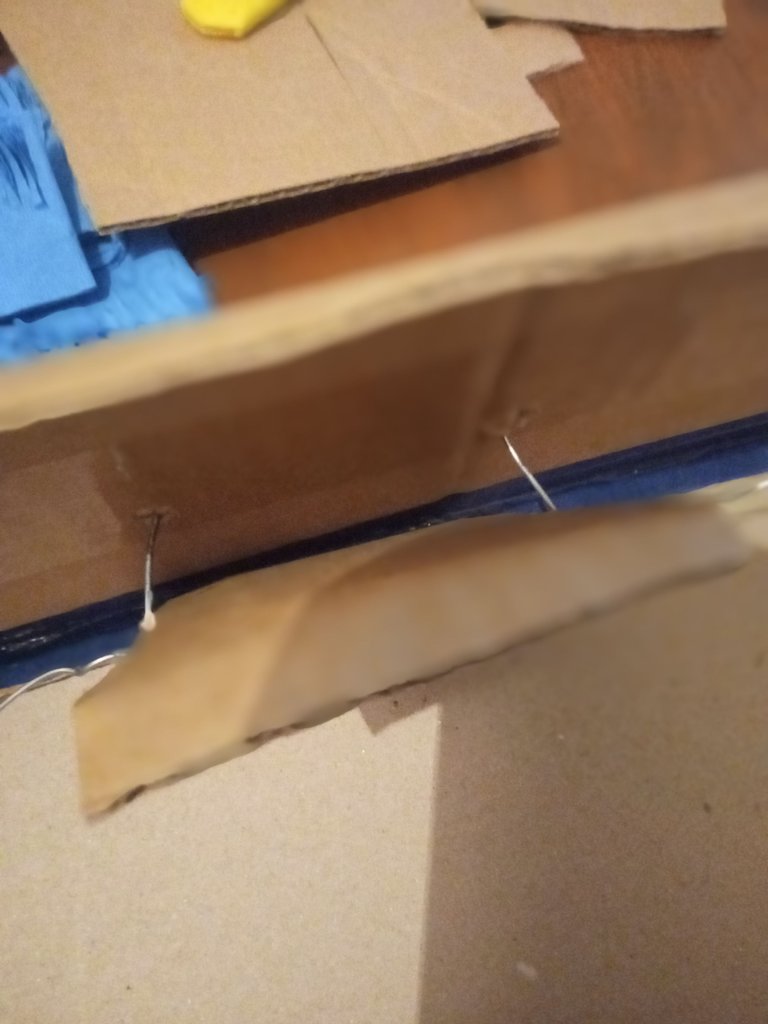
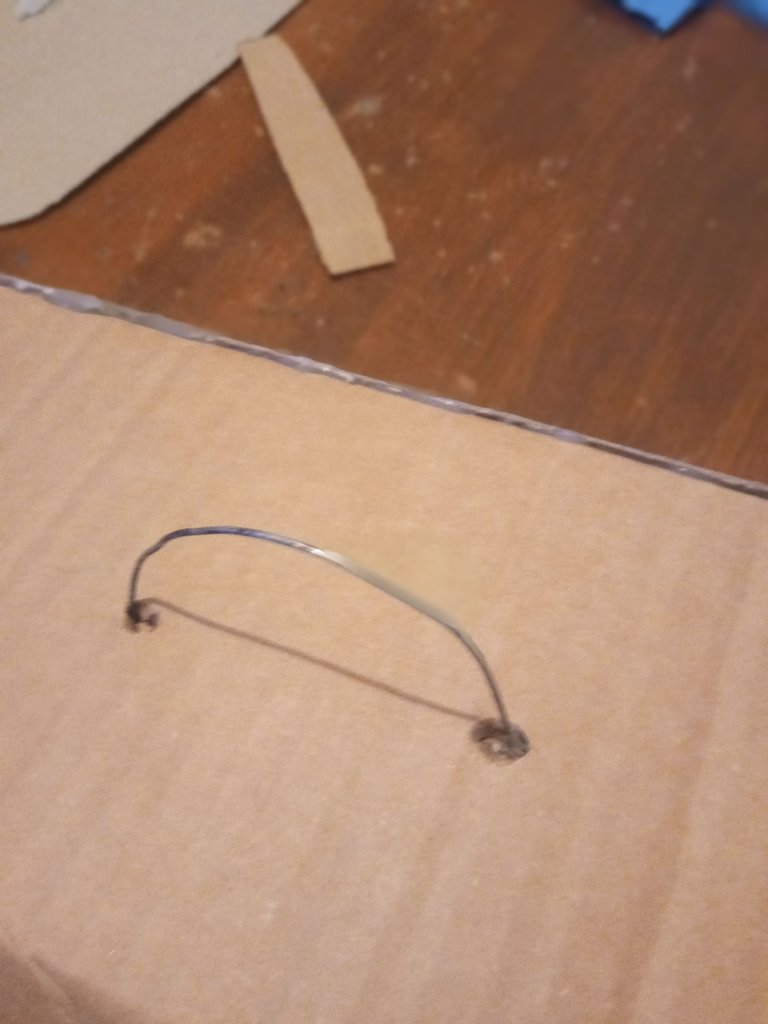
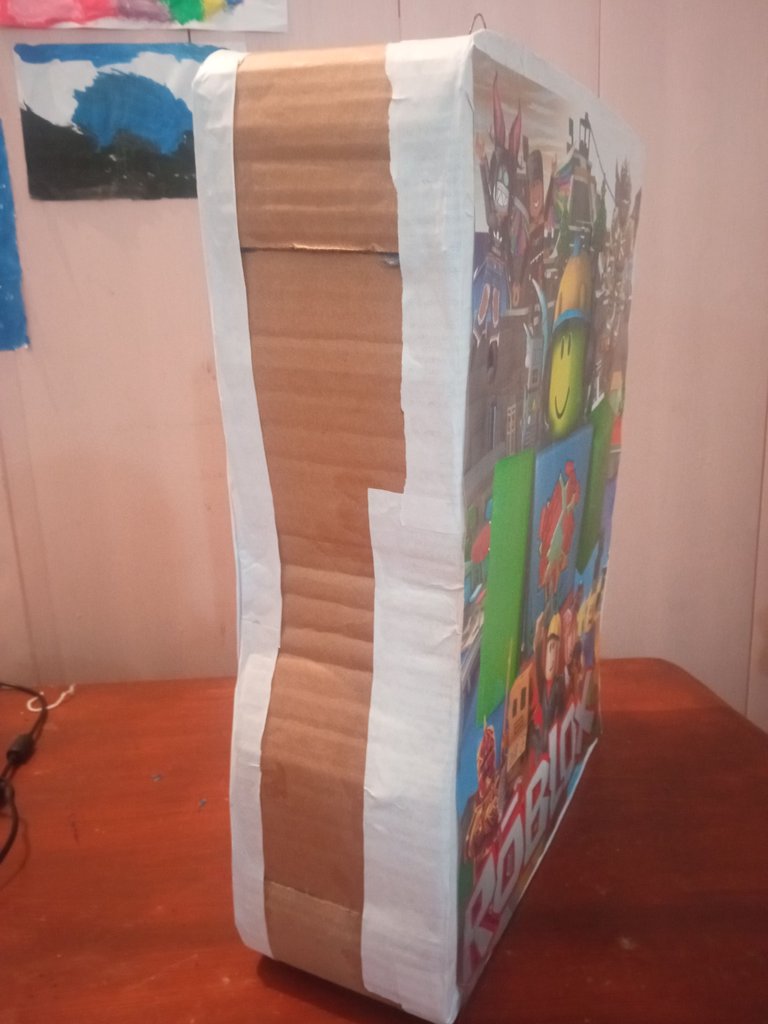
Step 2: Having the mold ready on the cardboard, I proceeded to join the parts, for the sides I looked for several recycled cardboard cutouts, then to give it the concave shape I molded it little by little and glued it with the cilicon. Already at the top of the piñata I opened two holes, where I inserted a piece of wire and made with the type ring, hold down and put a piece of cardboard sticking it with a lot of cilicon to avoid breaking the cardboard, the wire is the one that will hold the piñata when it is finished and thus be able to be hung.
Paso2: Ya teniendo el molde listo en la cartulina de cartón, procedí a unir las partes, para los laterales busqué varios recortes de cartón reciclado, luego para darle la forma cóncava fui moldeando poco a poco y fui pegando con el cilicon. Ya en la parte superior de la piñata abrí dos orificios, donde inserte un trozo de alambre e hice con el tipo argolla, sujete abajo y le coloque un trozo de cartón pegándolo con mucho cilicon para que no se rompiera la cartulina, el alambre es el que va a sujetar la piñata cuando ya esté terminada y así poder ser guindada.
 | 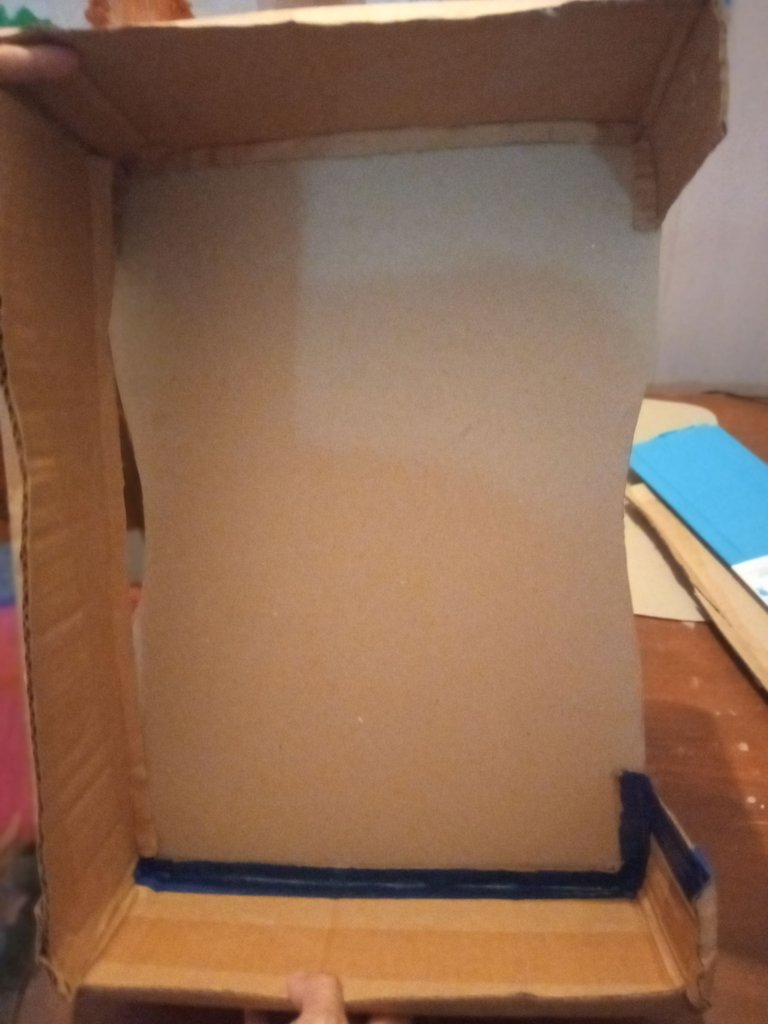 | 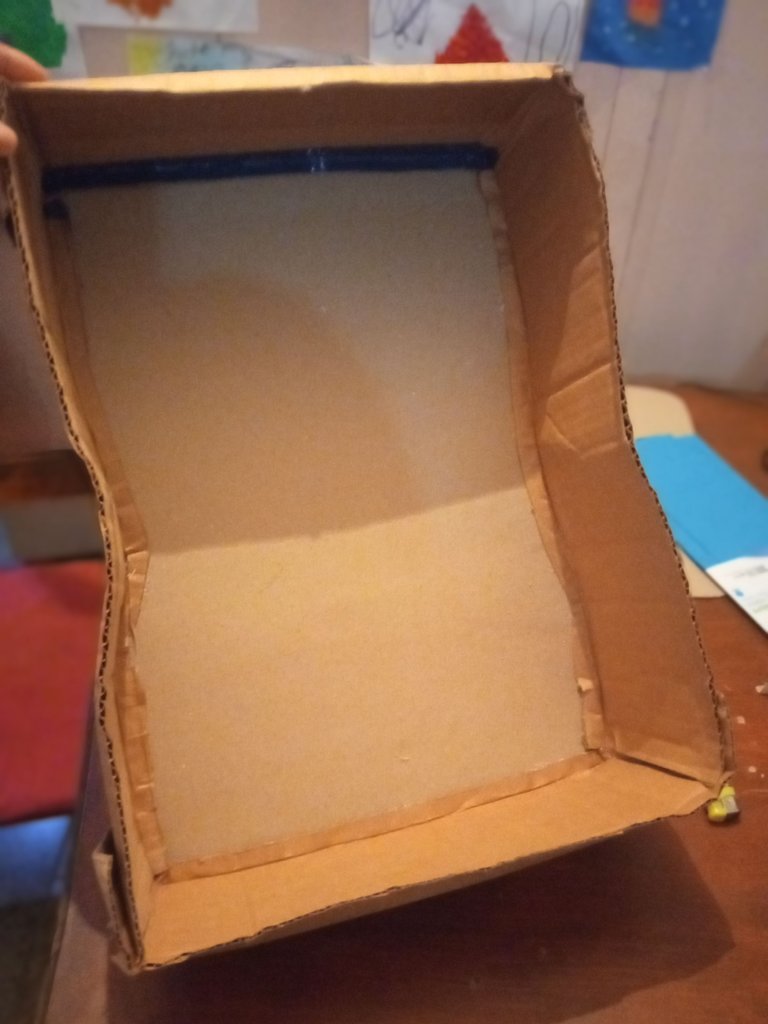 |  |
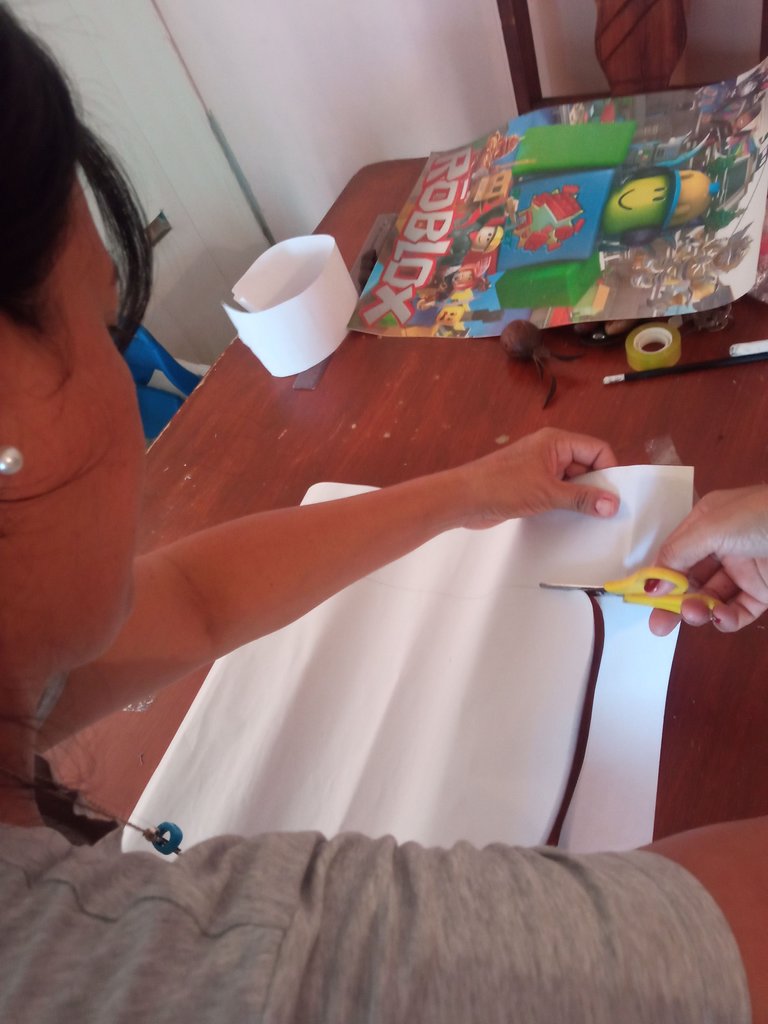
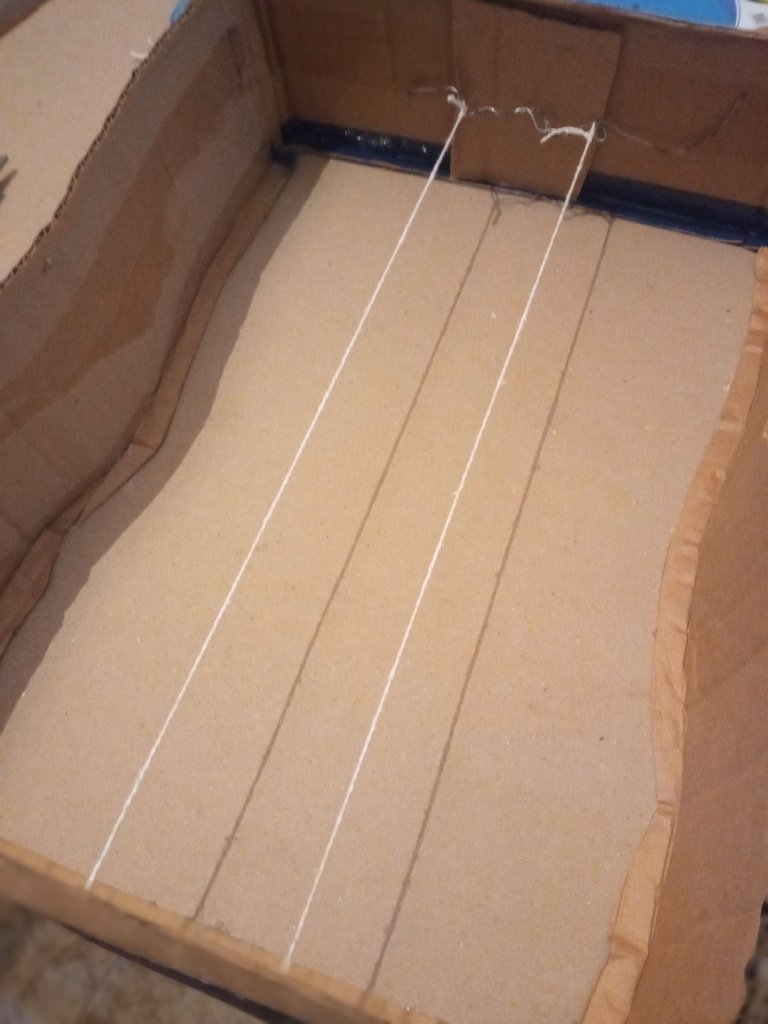
Step #3: Then, after I placed the wire, I also opened two holes at the bottom and there I inserted the wick and fastened the two sides to give more stability to the piñata. Having this part ready, I finished gluing the other cardboard with the cilicon. As you can see, on one of the sides I used the exacto or as some people call it cutter, to cut out a tab that is where I am going to insert the candies.
Paso #3: Luego, después que coloque el alambre, también abrí dos orificios en la parte inferior y allí inserte pabilo y sujete los dos lados para darle mayor estabilidad a la piñata. Teniendo esta parte lista terminé de pegar con el cilicon la otra cartulina. Como ven, en uno de los laterales use el exacto o como algunos le dicen cutter, para recortar una pestaña que es por donde voy a introducir las golosinas.
 |  | 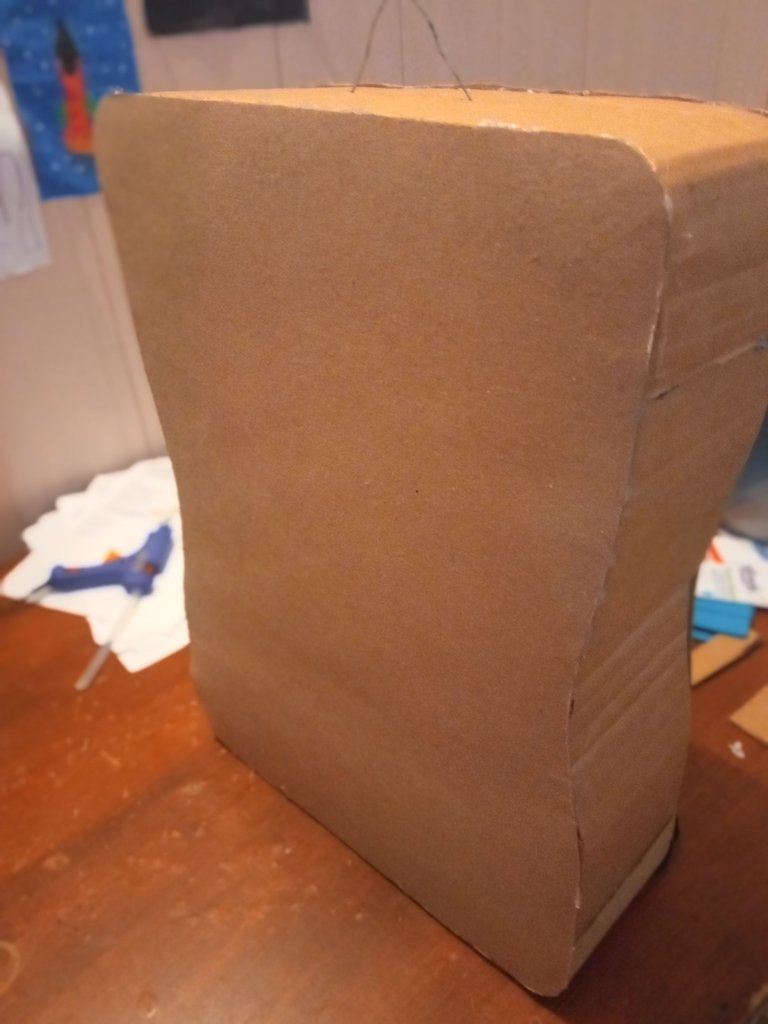 |  |
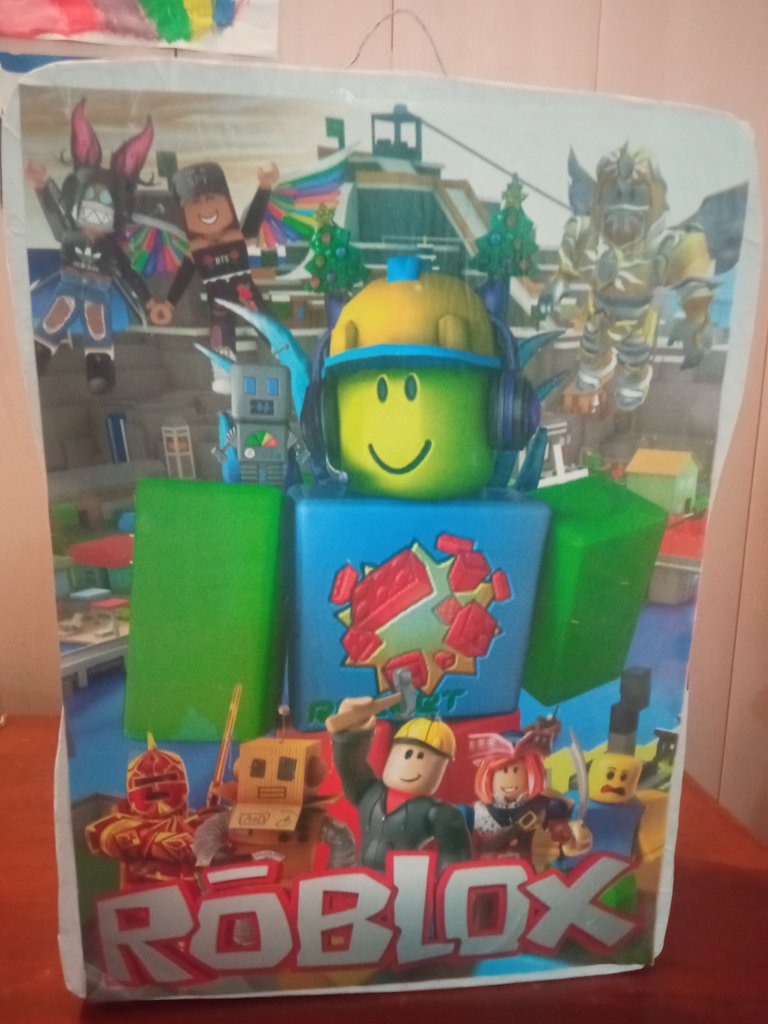
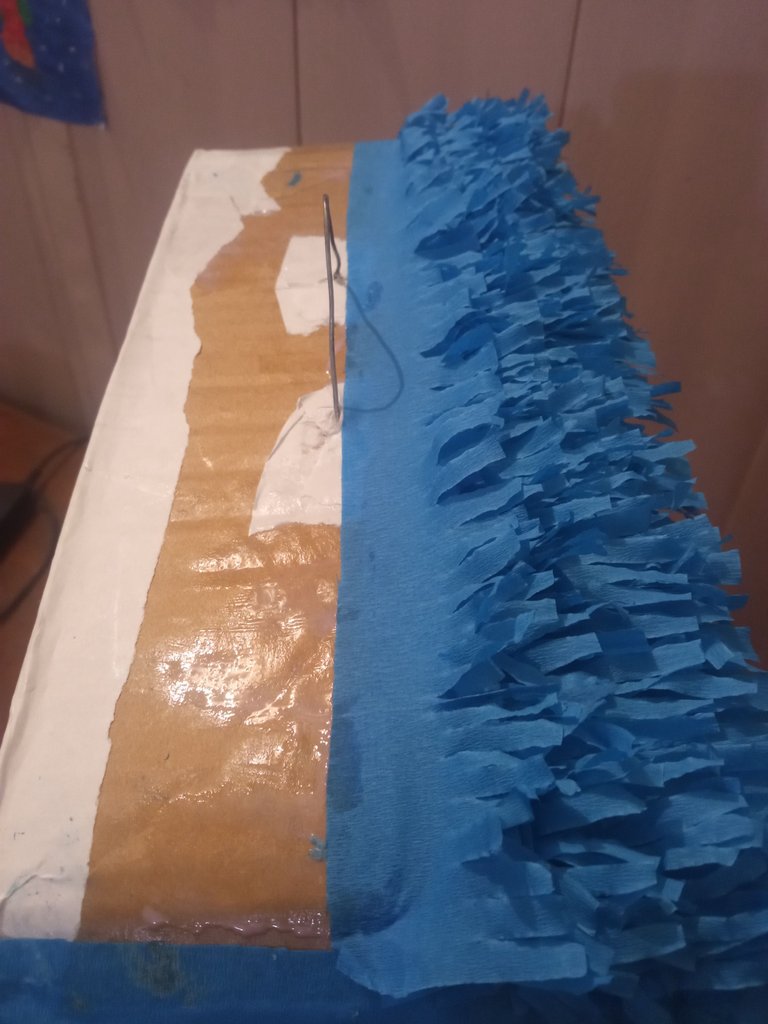
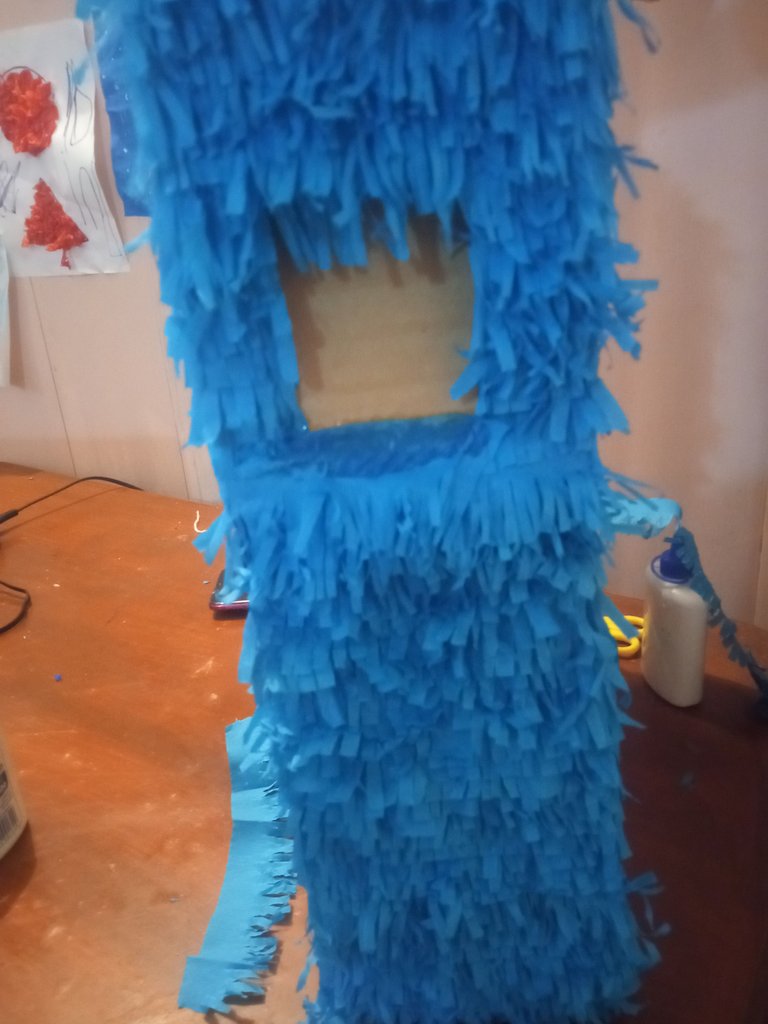
Step #4: Lastly, use recycled leaves and glue them with white glue all around the edges, wait for it to dry and then proceed to glue the crepe paper, which I cut into strips to decorate the pineapple. On the front I placed a Roblox poster, which was the one my son wanted, it all depends on the model the kids like.
Paso #4: Por último use hojas recicladas y las pegue con pega blanca por todos los bordes, espere que secara para proceder a pegar el papel crepe, el cual recorte en tiras y así adorne la piña. En la parte del frente le coloqué un afiche de Roblox que era el que mi hijo quería, todo depende del modelo que los niños gusten.
 |  |  |  |
That is the whole process to make the piñata, I hope you like it, I really loved my work and the satisfaction was the face of joy of my child, that really is priceless. Thank you dear friends for visiting my blog. I send you many greetings and success.
Eso es todo el proceso para realizar la piñata, espero les sea de su agrado, de verdad me encanto mi trabajo y la satisfacción fue la cara de alegría de mi niño, eso de verdad no tiene precio. Gracias estimados amigos por visitar mi blog. Les envió muchos saludos y exitos.
Fotos tomadas desde mi celular Motog 4.
Used translator Deepl
Traductor utilizado Deepl
Foto de portada editada en canva
Hermosa piñata, gracias por compartir.
Gracias por leerme amiga, si quedo muy linda.
Dylan must have been a big fan of Roblox. This piñata is epic. Nicely done.
Thank you for the support, if like his older brother he plays Roblox, he really likes the graphics and the characters, now this is fashion hahaha children's things, he has already learned to play it, under a lot of supervision. I'm glad for your comment 😊. Happy afternoon.
!discovery 30
This post was shared and voted inside the discord by the curators team of discovery-it
Join our Community and follow our Curation Trail
Discovery-it is also a Witness, vote for us here
Delegate to us for passive income. Check our 80% fee-back Program
Muy bonita la piñata, y lo mejor es que la hiciste tu misma y así tiene más valor para tu hijo, te felicito
Si amiga me puse creativa, el estaba muy contento 😀 y más por lo que tenía adentro jejeje. Saludos. Feliz tarde.
Congratulations @damarelys! You have completed the following achievement on the Hive blockchain And have been rewarded with New badge(s)
Your next target is to reach 2500 upvotes.
You can view your badges on your board and compare yourself to others in the Ranking
If you no longer want to receive notifications, reply to this comment with the word
STOPYou did a very good job here. Your son would be so happy to get his first homemade pinata
Thank you for the support, I am very happy that you also liked my work. Goodnight.
You're welcome🤗