[ESP-ENG] Beautiful lycra to wear at home and to be able to walk around | Hermosa licra para usar en casa y poder pasear
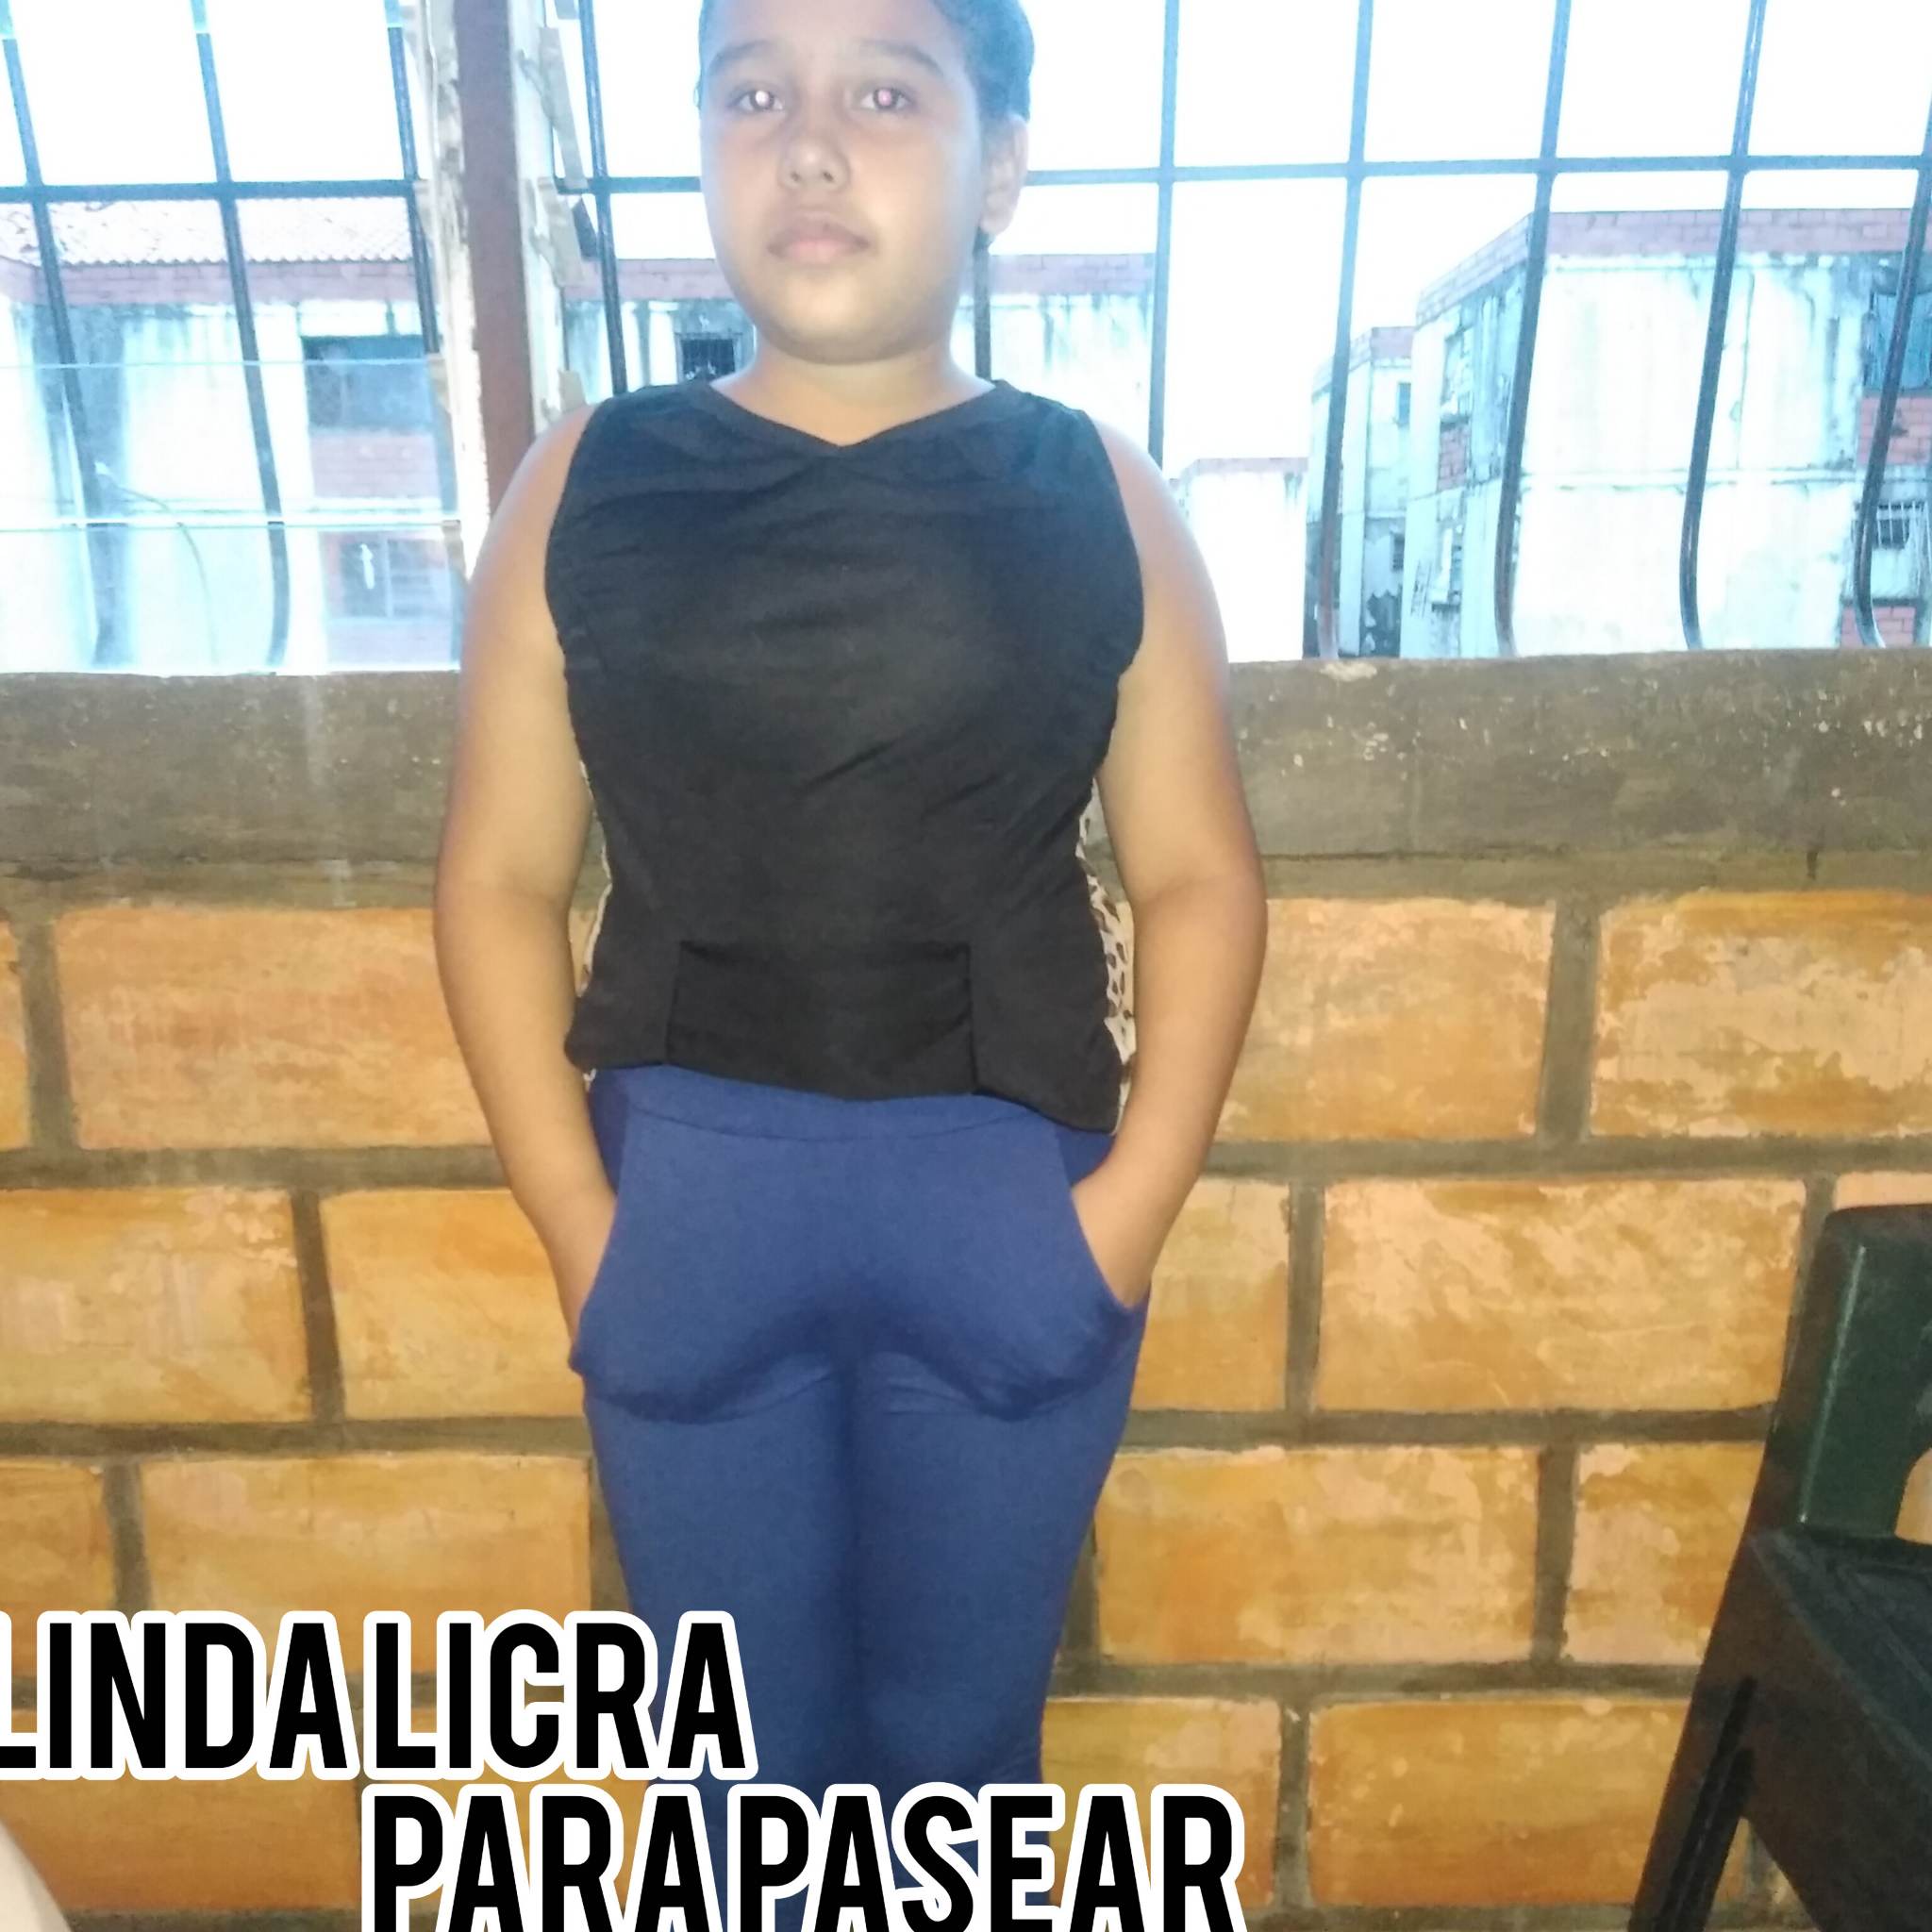
Hello my beautiful hive family, what a pleasure to be here again with you, God bless me, I want to tell you that a friend who knows that I do sewing, brought me a fabric to make her daughter a nice lycra for her to walk, so I want to share this experience with all of you, let's see the step by step:

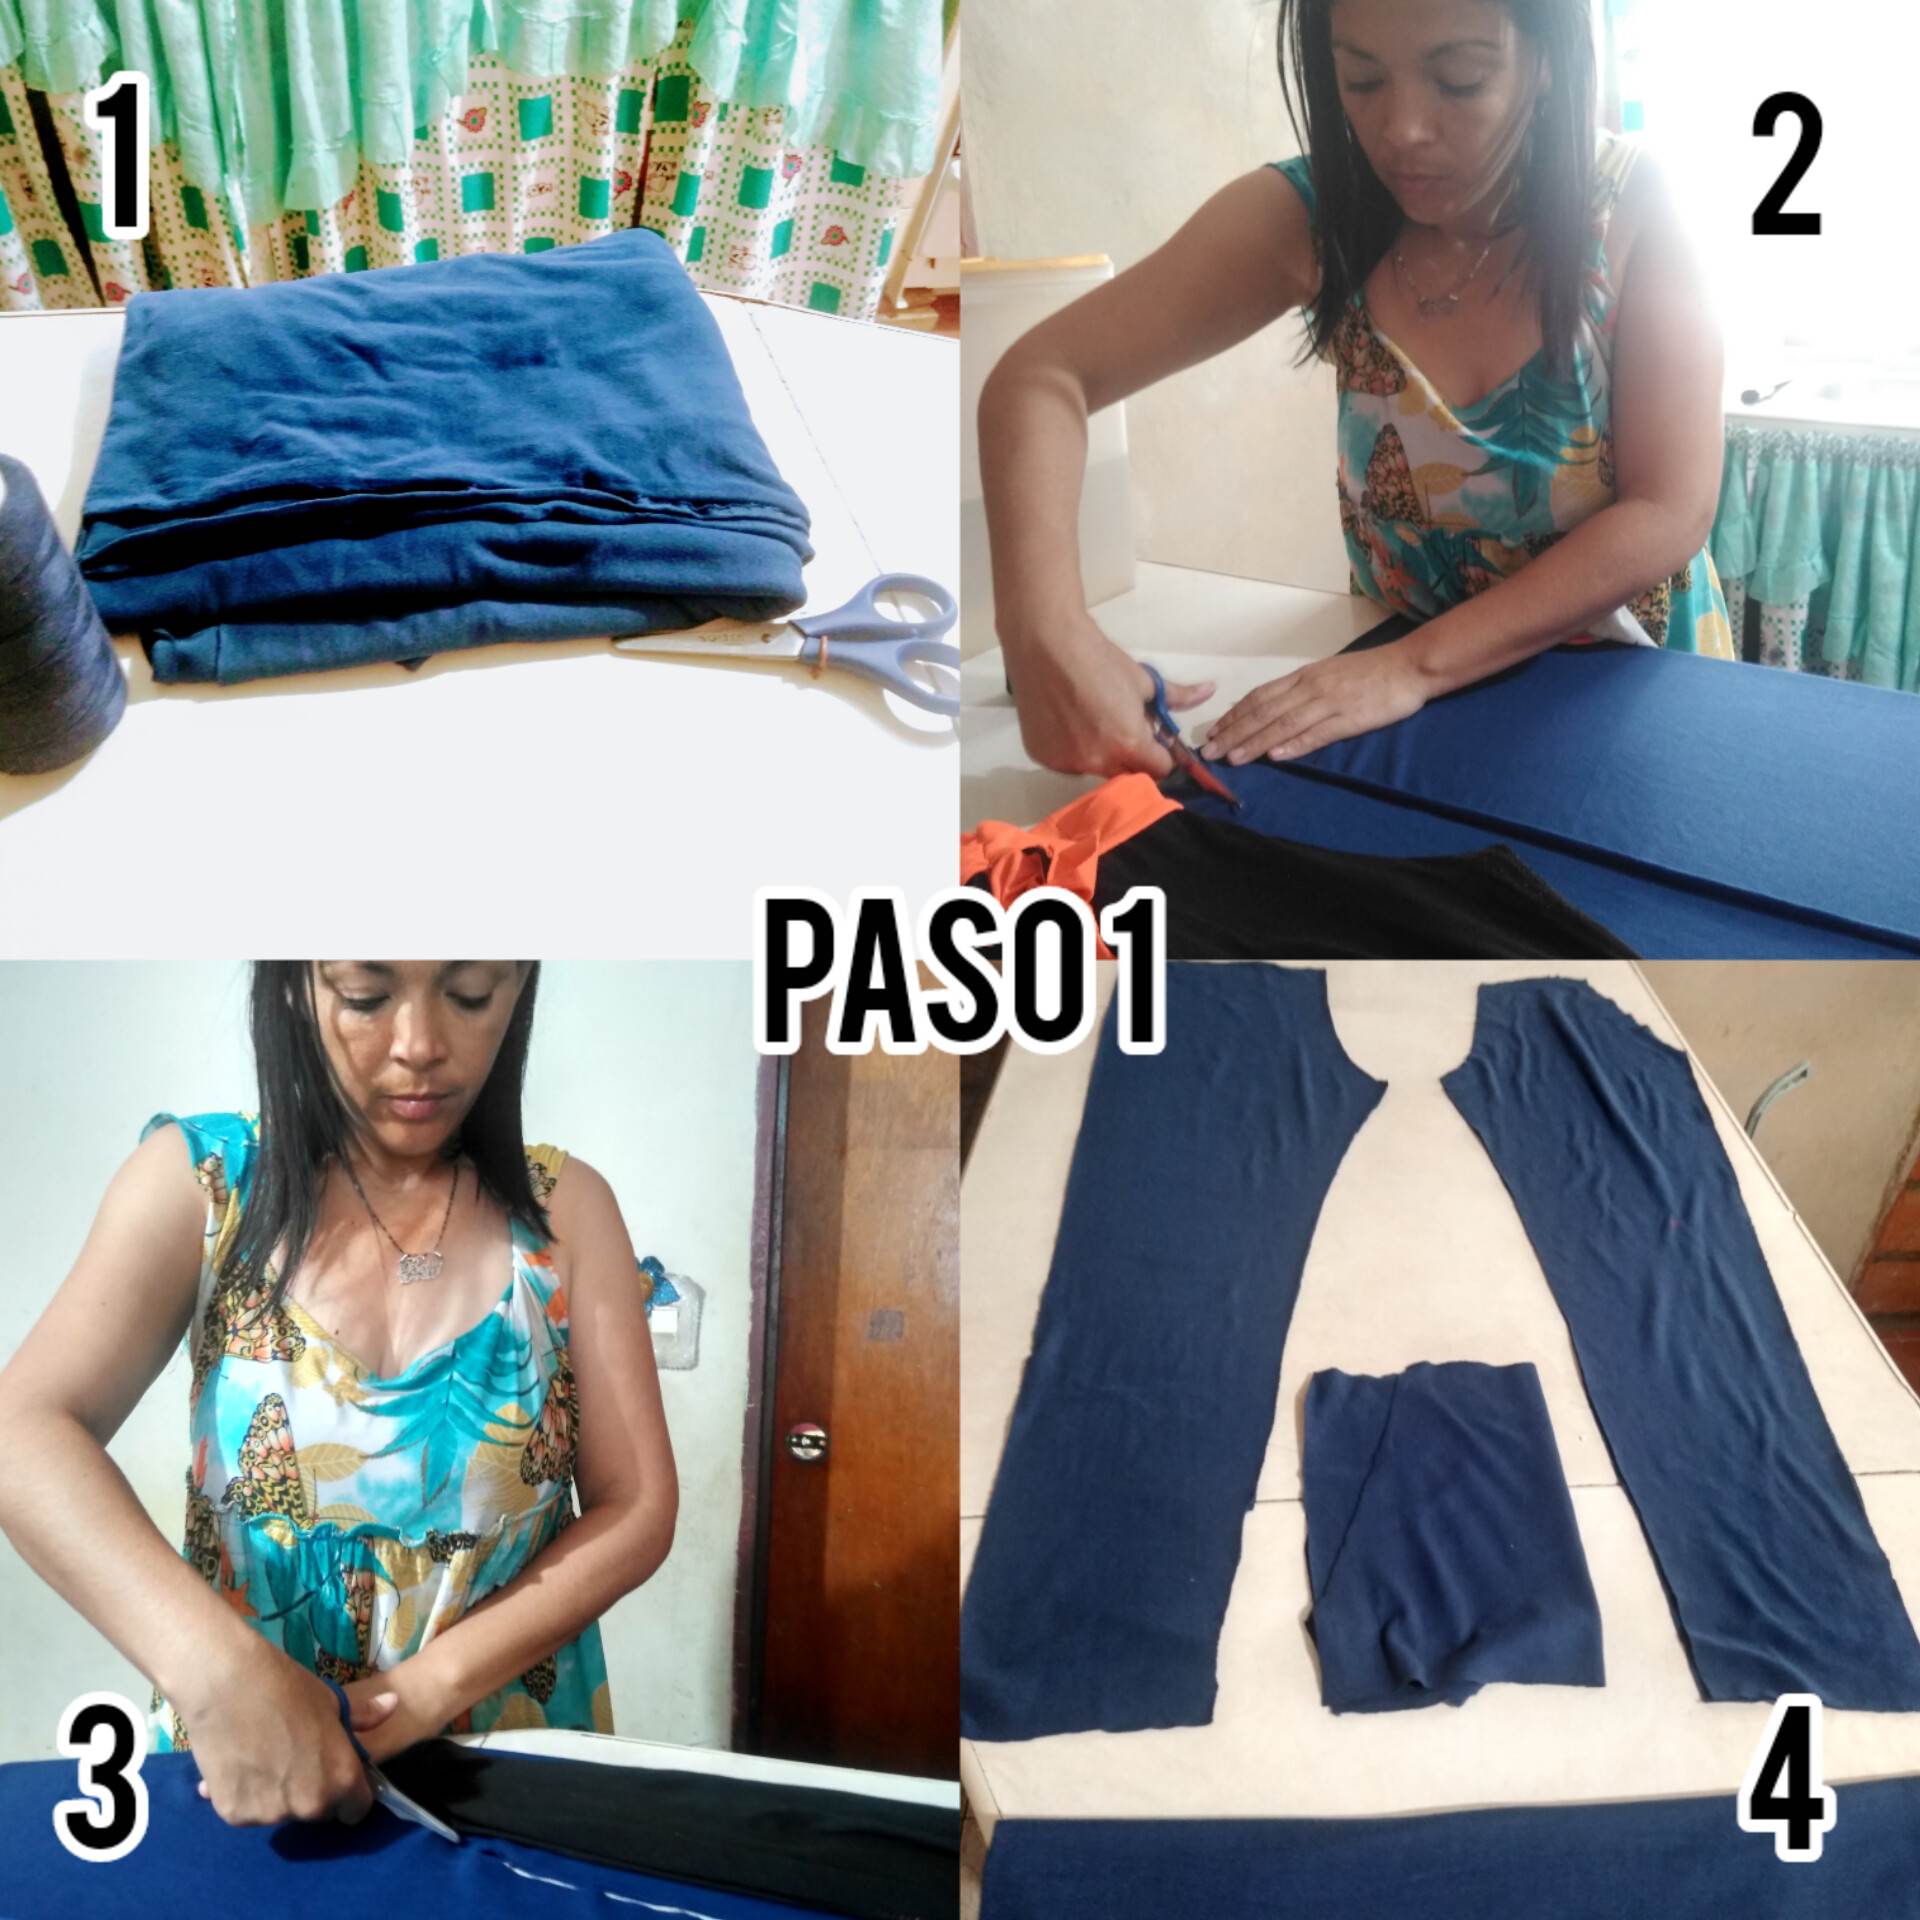
Paso 1: Vamos a necesitar tela para licra del color de su preferencia, y vamos a necesitar por supuesto la medida de la persona a la que se le hará la licra, procedemos a cortar las piezas, la parte delantera y trasera de la licra, la pretina y bolsillos.
Step 1: We will need lycra fabric of the color of your preference, and we will need of course the measure of the person to whom the lycra will be made, we proceed to cut the pieces, the front and back of the lycra, the waistband and pockets.
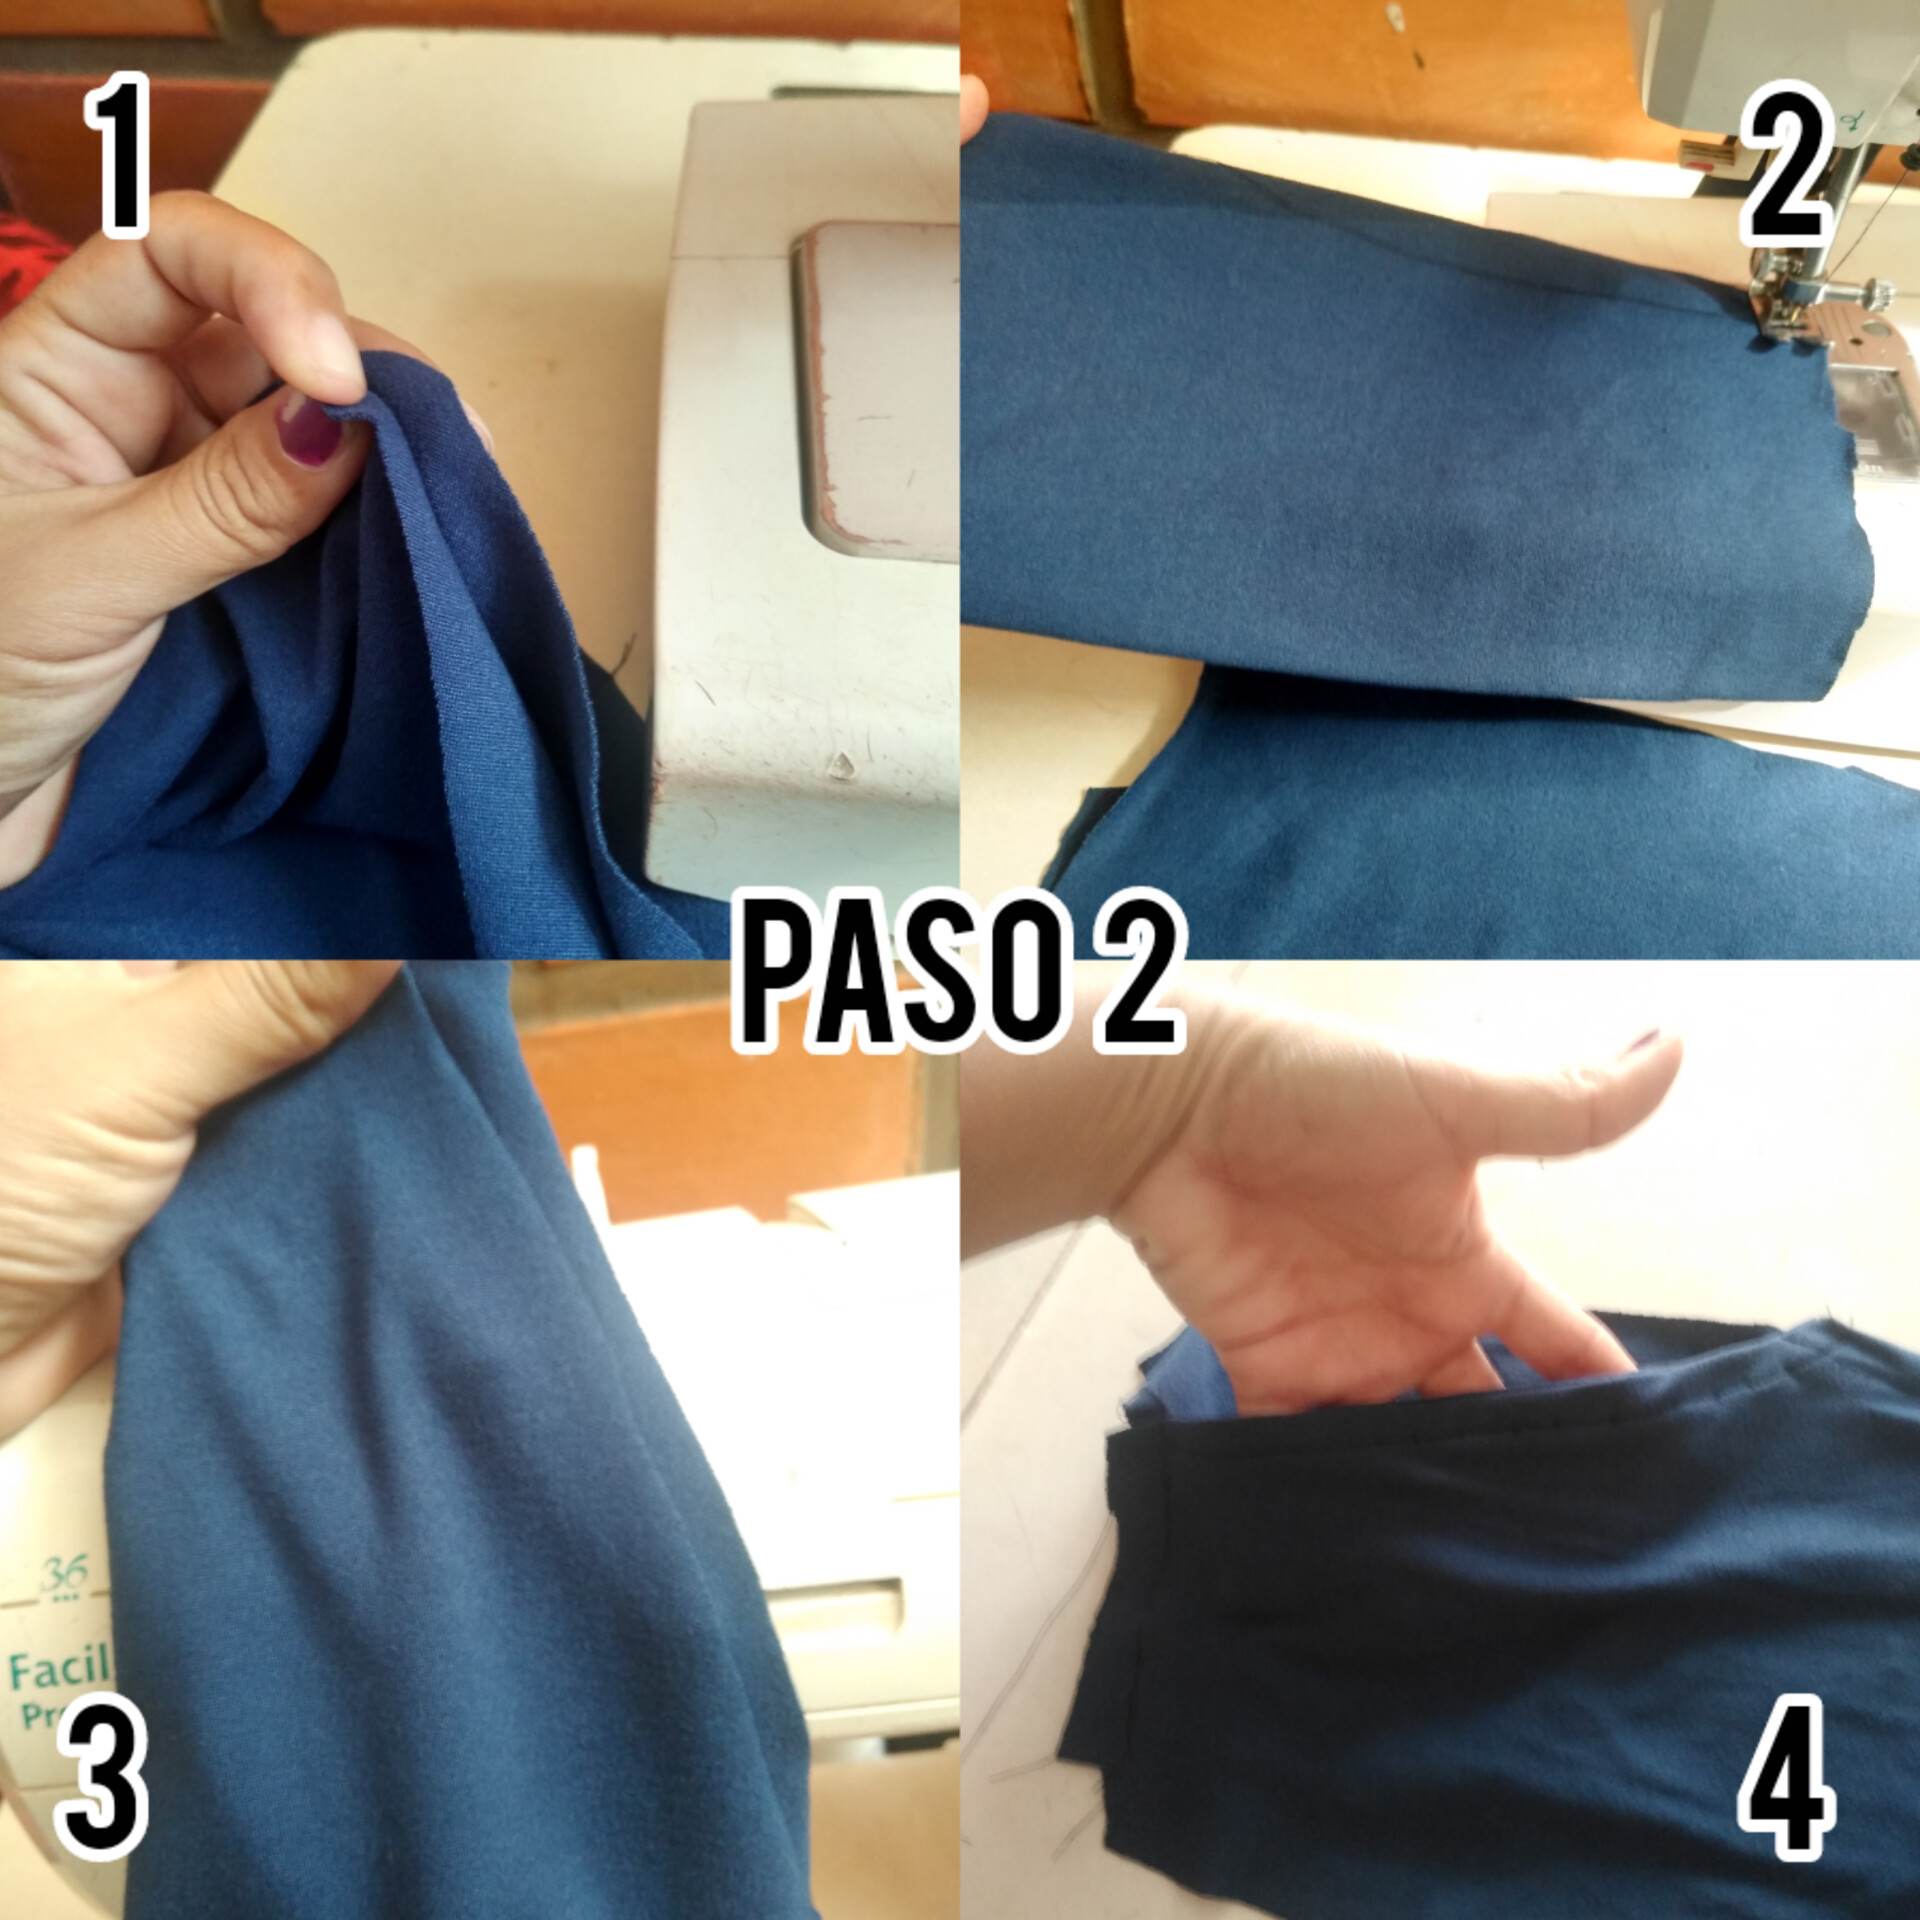
Paso 2: Lo primero que coseremos serán los bolsillos, por separado para luego unirlos a la parte delantera de la licra, cosemos los bolsillos y luego coseremos los bolsillos a la parte delantera de la licra como lo muestra la imagen.
Step 2: First sew the pockets separately and then attach them to the front of the lycra, sew the pockets and then sew the pockets to the front of the lycra as shown in the image.
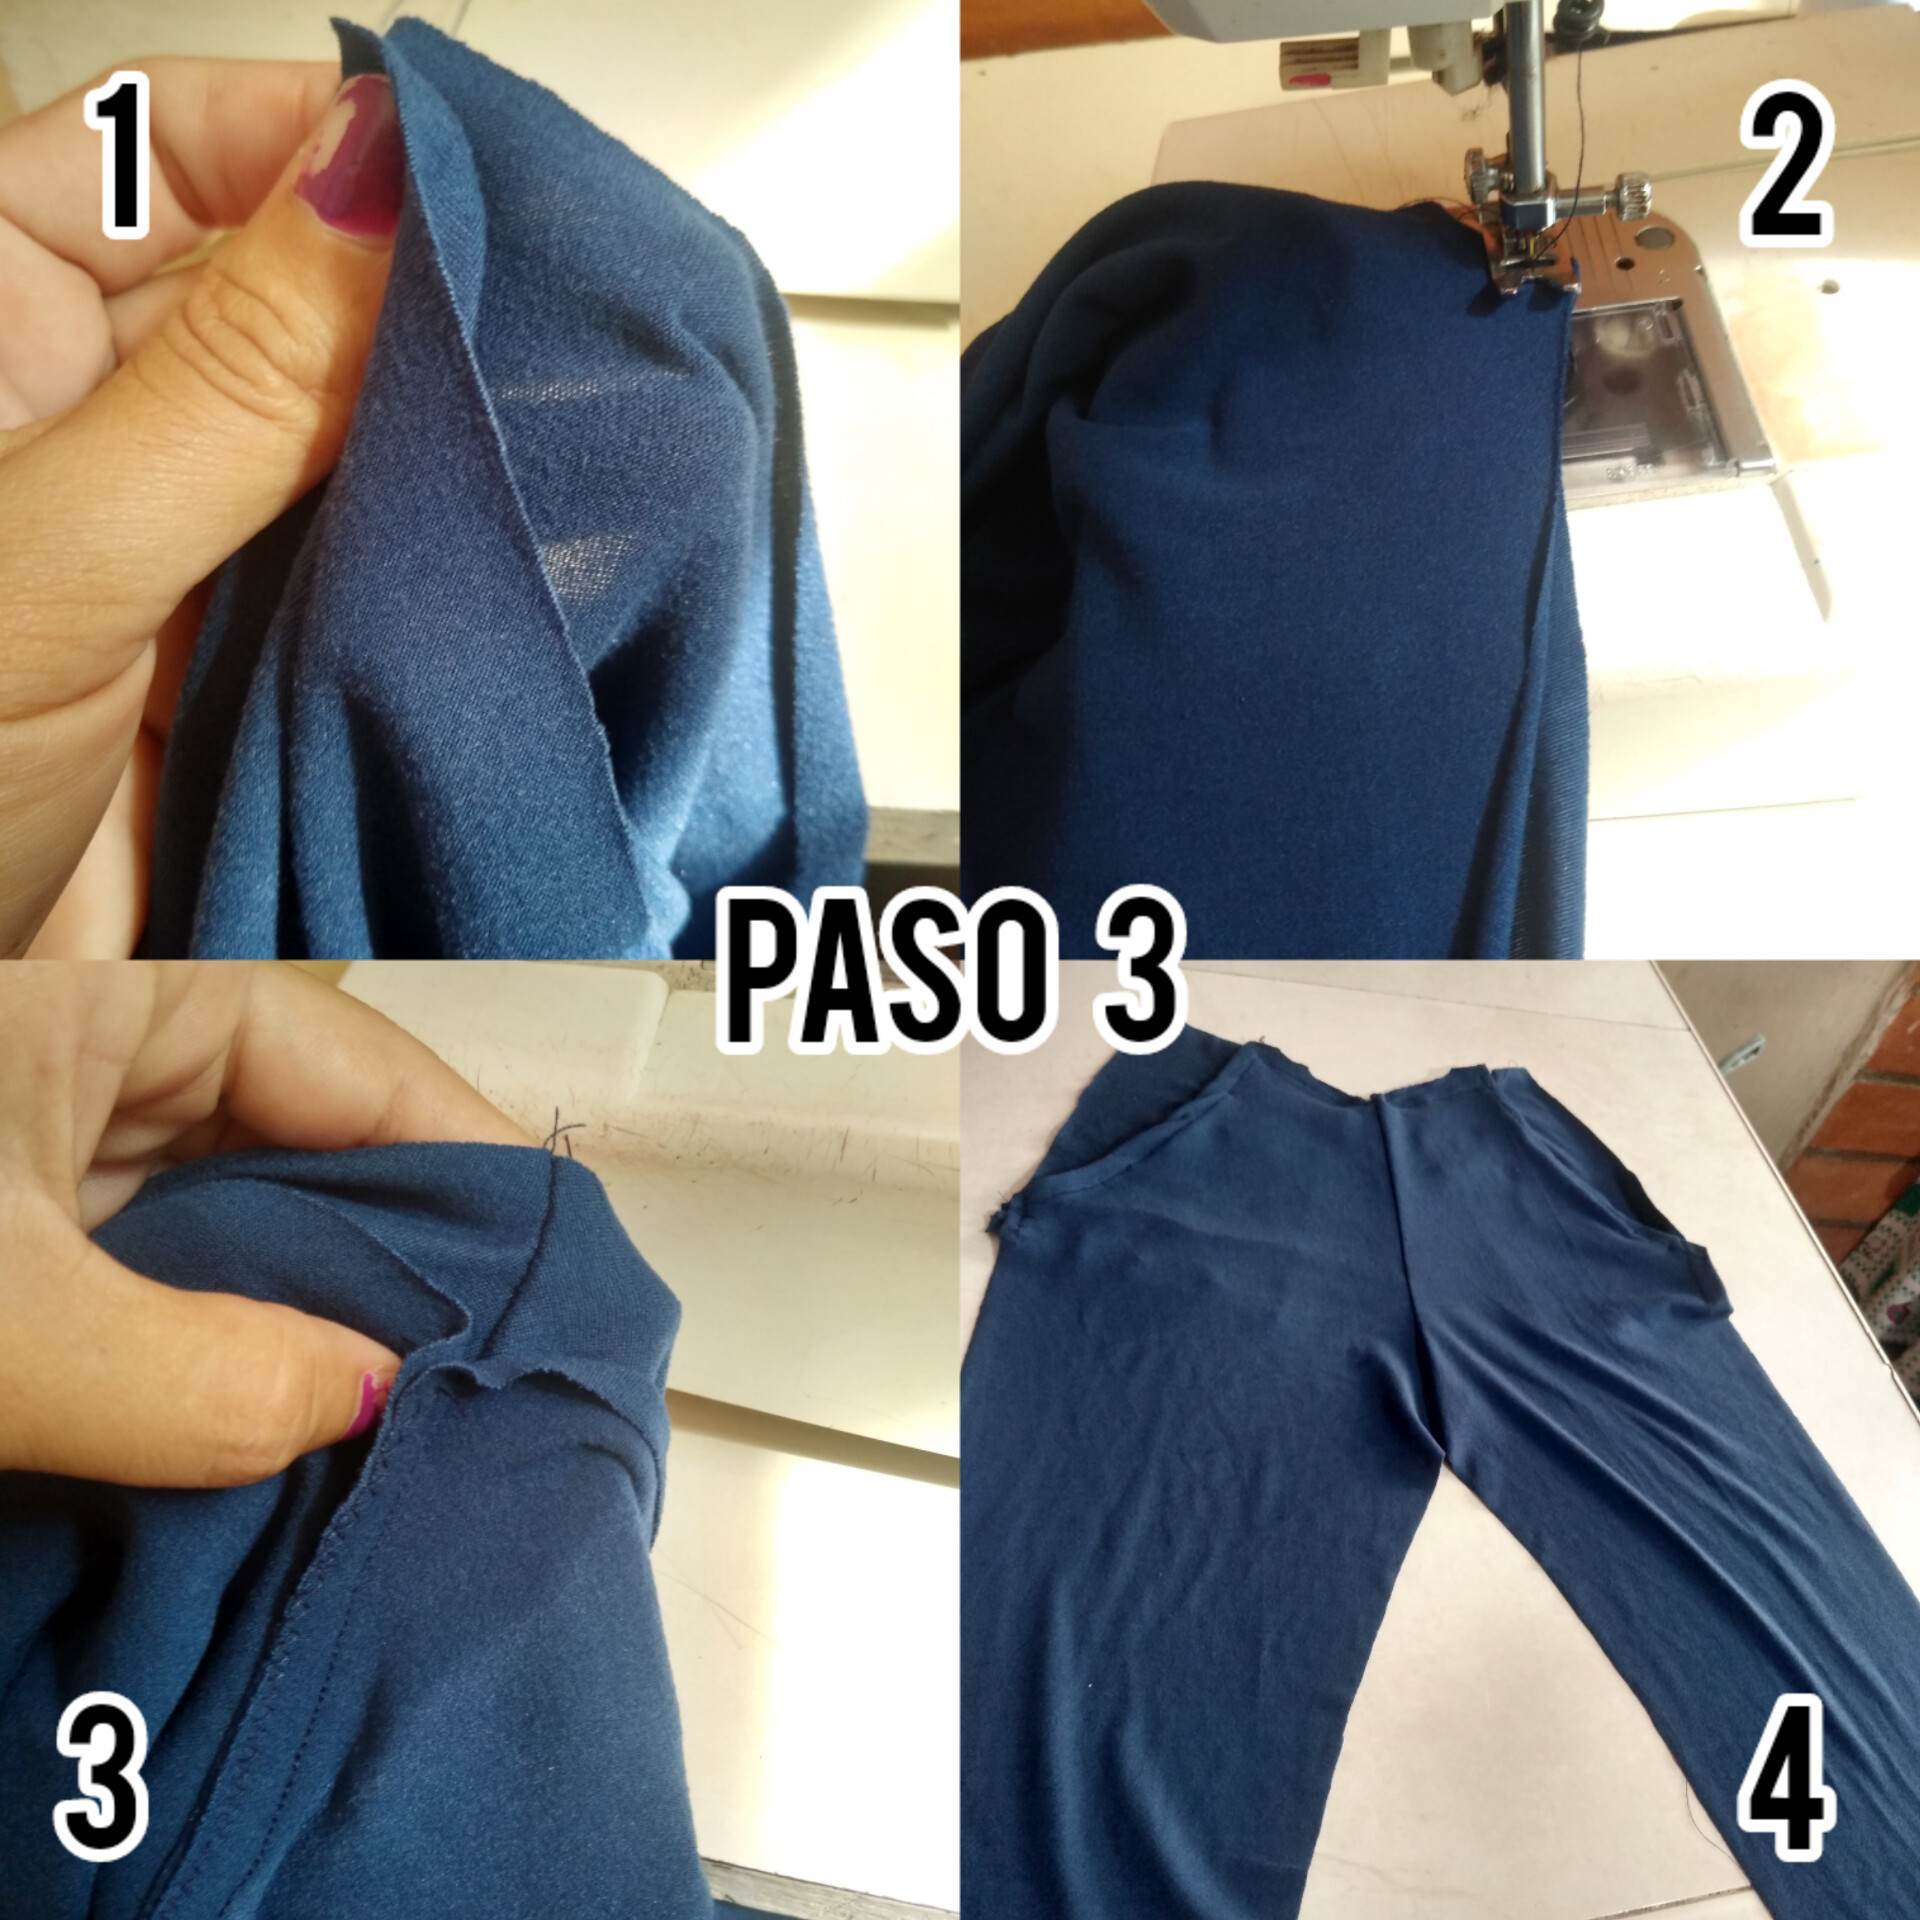
Paso 3: Lo siguiente que coseremos será la parte centrica que une ambas piernas de la parte delantera de la licra, coseremos esto luego de haber cosido ya los bolsillos, coseremos el fundillo de la licra y así unimos poco a poco las piezas.
Step 3: Next we will sew the center part that joins both legs of the front part of the lycra, we will sew this after having sewn the pockets, we will sew the lycra sleeve and thus we will join the pieces little by little.

Paso 4: Lo último que haremos será coser esta tira que será la pretina de nuestra licra, y tomaremos el ruedo de la licra dando así los acabados finales de nuestra creación.
Step 4: The last thing we will do will be to sew this strip that will be the waistband of our lycra, and we will take the hem of the lycra giving this way the final finishing touches to our creation.
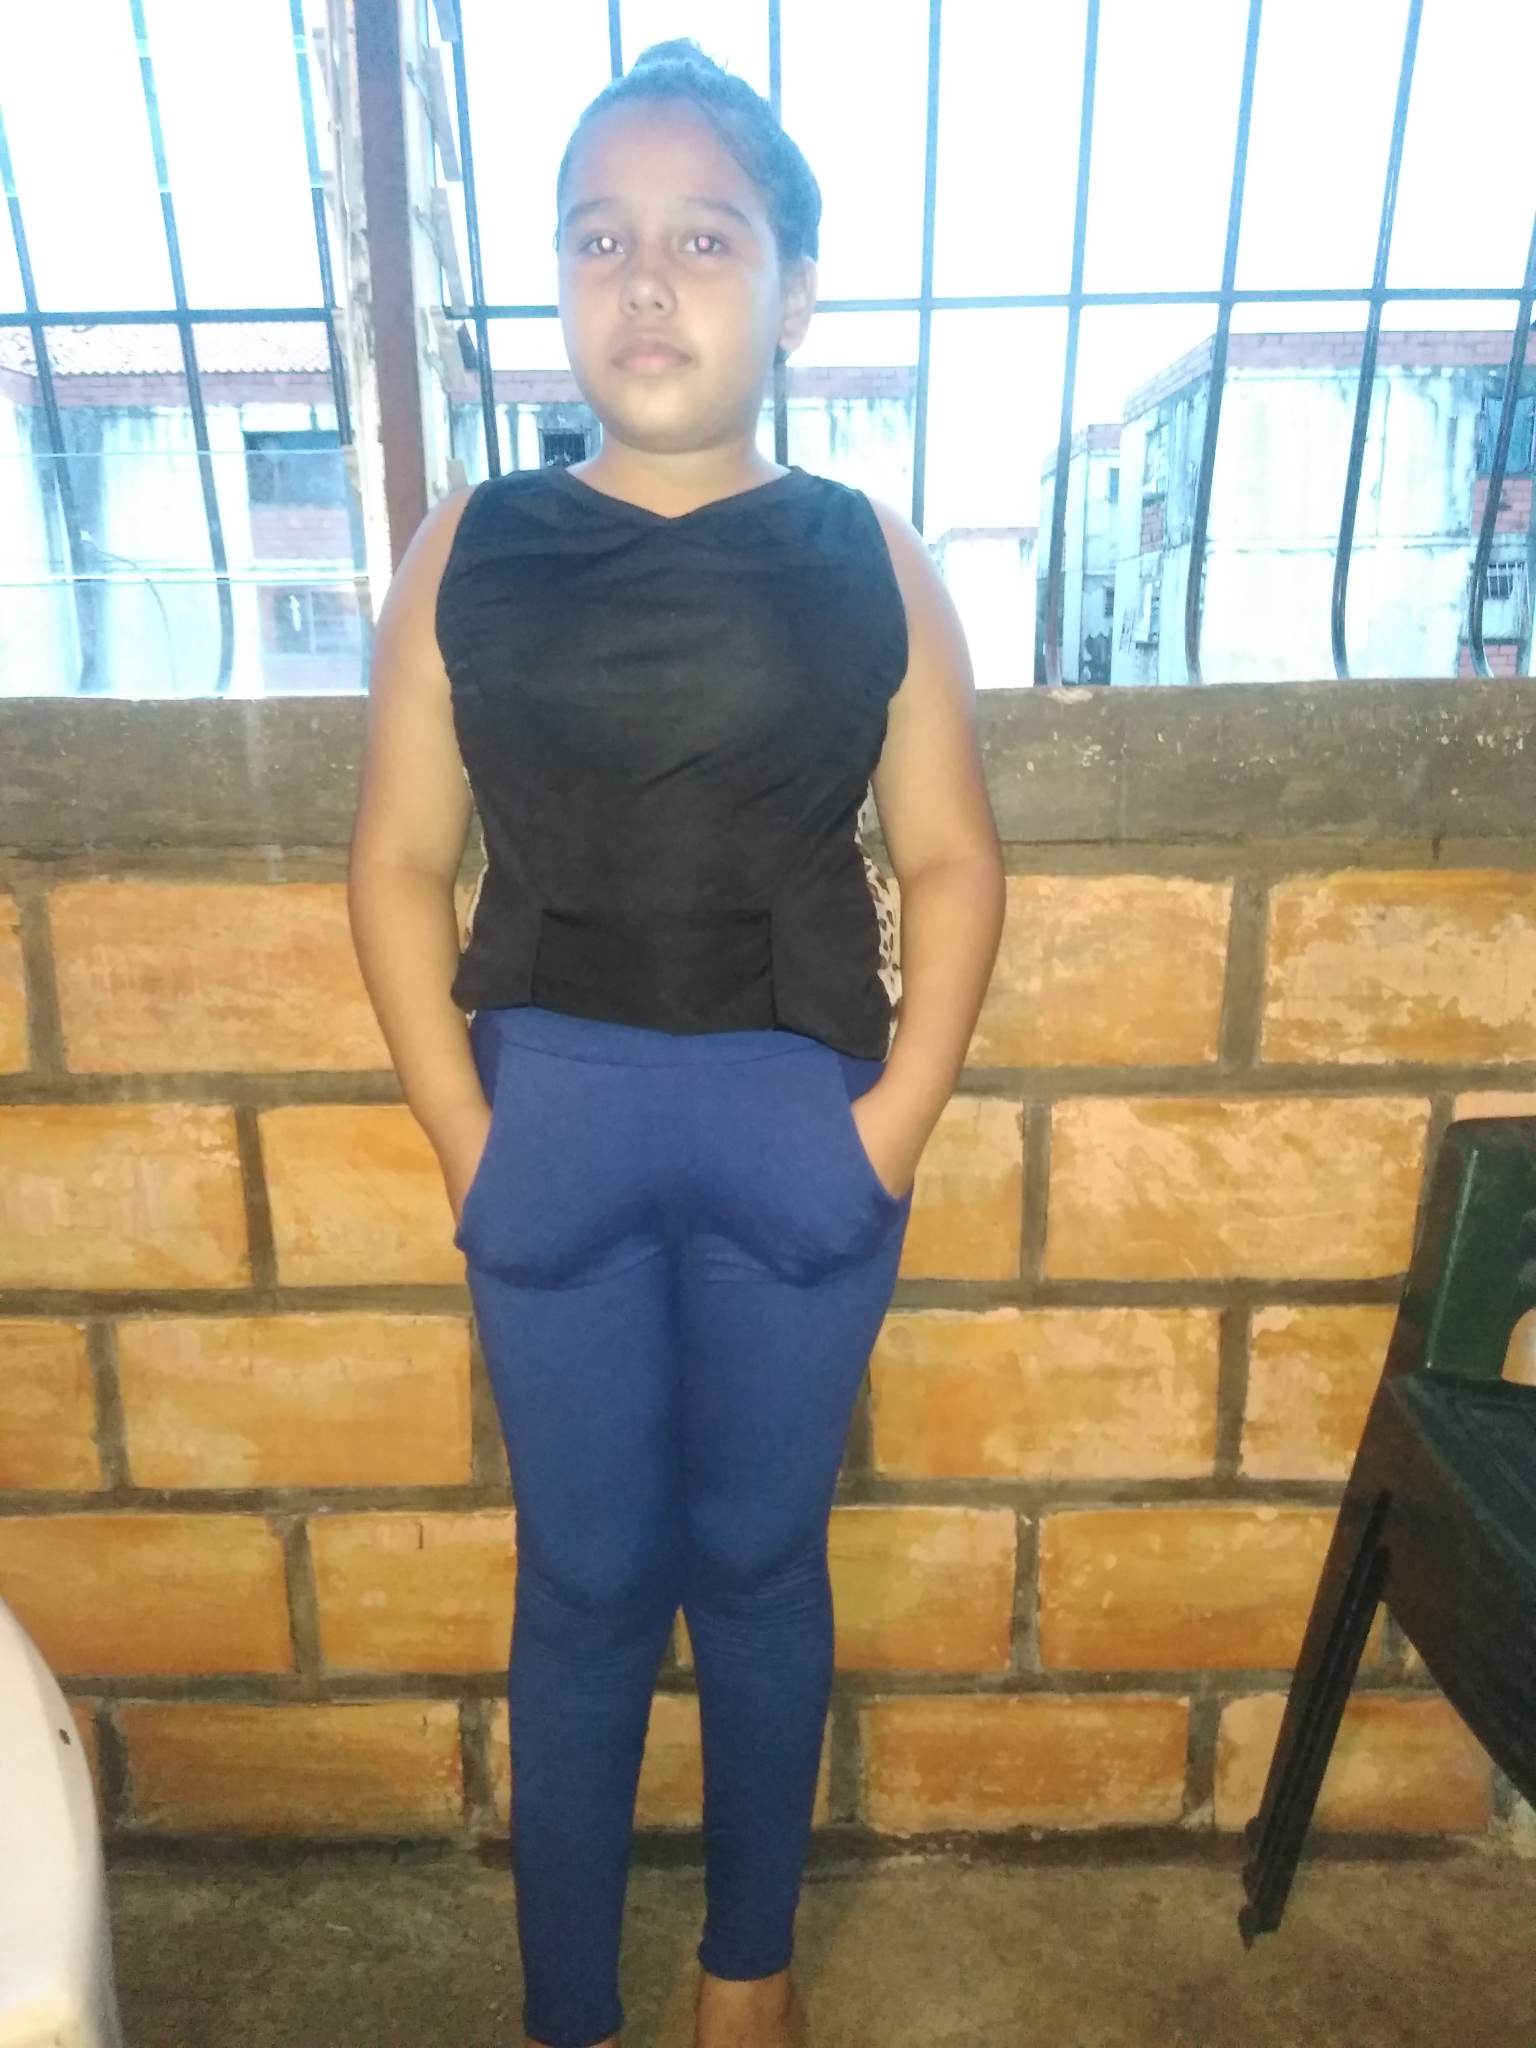
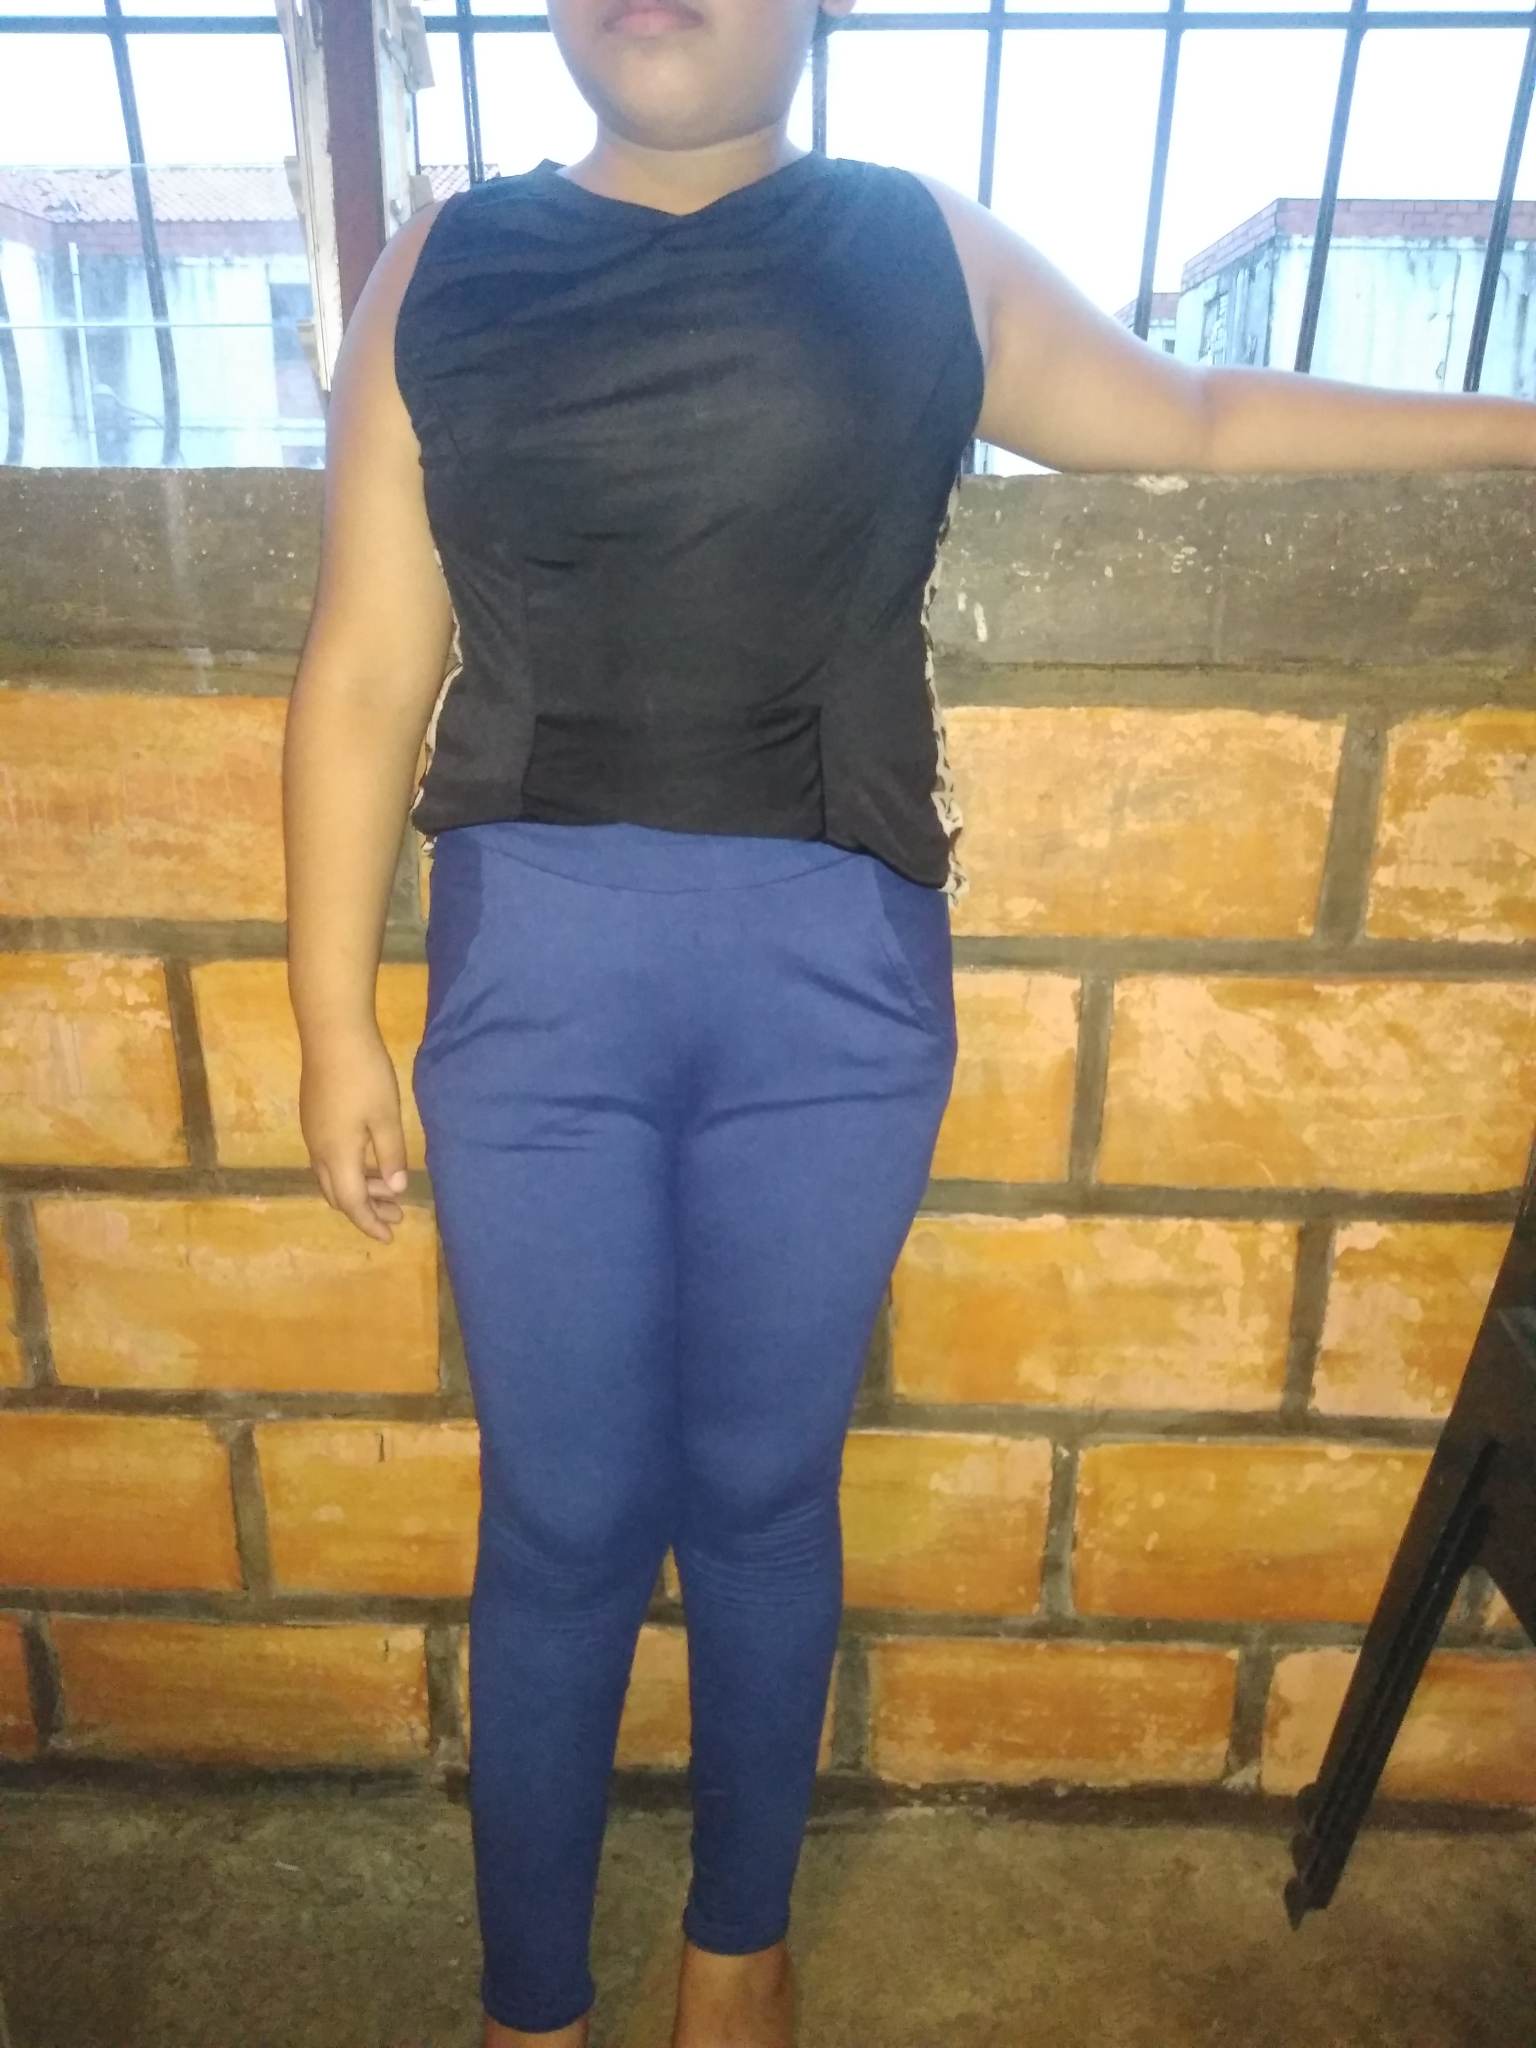
Final Result.

!discovery 30
!DIY
This post was shared and voted inside the discord by the curators team of discovery-it
Join our community! hive-193212
Discovery-it is also a Witness, vote for us here
Delegate to us for passive income. Check our 80% fee-back Program
Hola @betzy25, una prenda muy cómoda para usar a diario, para coser licra utilizas alguna puntada en específico? he intentado con puntada recta y se ve arrugada.
Saludos!
Thank you for sharing this post on HIVE!
Your content got selected by our fellow curator rezoanulvibes & you just received a little thank you upvote from us for your great work! Your post will be featured in one of our recurring compilations which are aiming to offer you a stage to widen your audience within the DIY scene of Hive. Stay creative & HIVE ON!
Please vote for our hive witness <3
This is really amazing. I love it