[ESP/ENG] TUTORIAL COLORIDO PASO A PASO/COLORFUL STEP-BY-STEP TUTORIAL
Hola queridos amigos bienvenidos a mi blog/Hello dear friends welcome to my blog
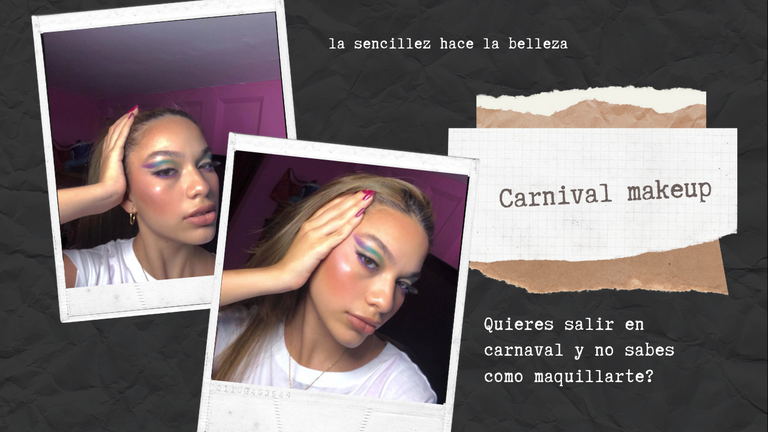
Hoy les enseñare paso a paso uno de mis maquillajes favoritos algo muy colorido pero sencillo para no sobre cargar mucho, todos sabemos que se viene acercando carnaval y ya tenemos nuestro maquillaje a la mano para no estar buscando más, así que comencemos
Today I will show you step by step one of my favorite makeups something very colorful but simple to not overload much, we all know that carnival is approaching and we already have our makeup on hand to not be looking for more, so let's start
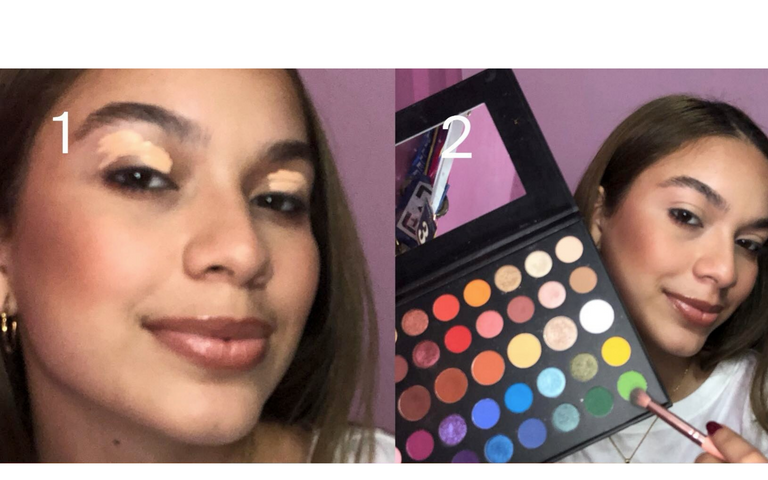
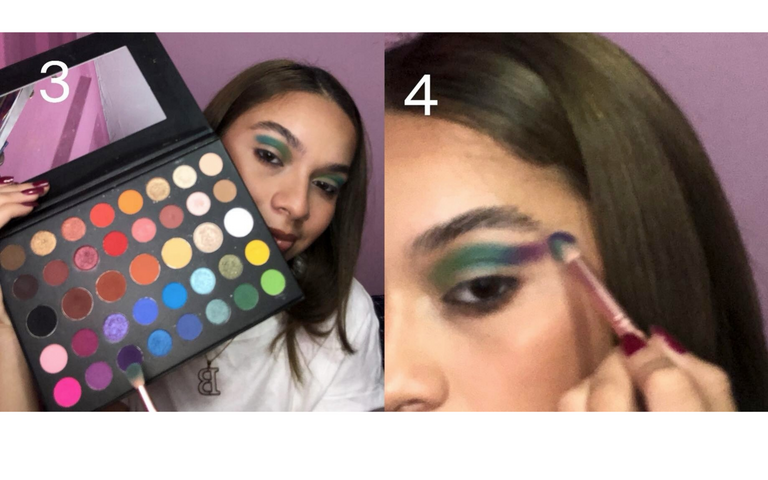
Nuestro primer paso siempre será aplicar corrector de ojeras en todo el parpado para que las sombras se vean mucho más llamativas, luego de difuminar todo el corrector procedo a aplicar un verde manzana en el inicio de mi ojo
Our first step will always be to apply concealer under the eye circles all over the eyelid to make the shadows look much more striking, after blurring all the concealer I proceed to apply an apple green at the beginning of my eye.
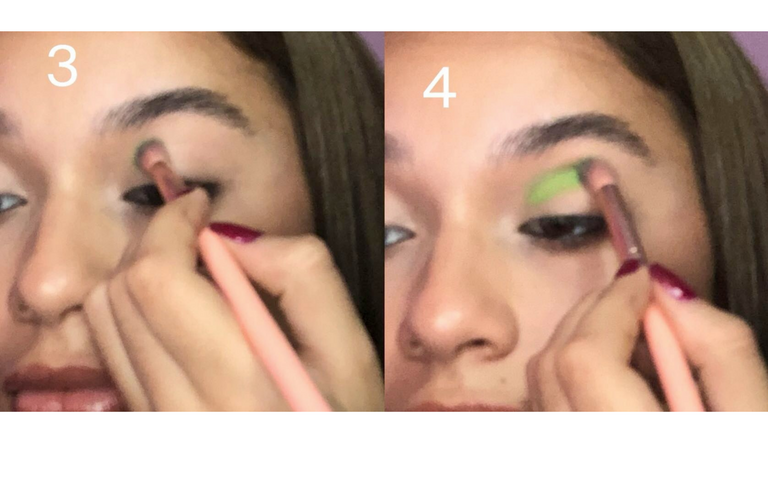
Siguiendo el verde aplicare un azul rey vibrante muy llamativo, luego aplicare un morado oscuro y difumino ambos colores para que se muestren entre sí
Following the green I will apply a vibrant king blue very striking, then apply a dark purple and blend both colors to show each other
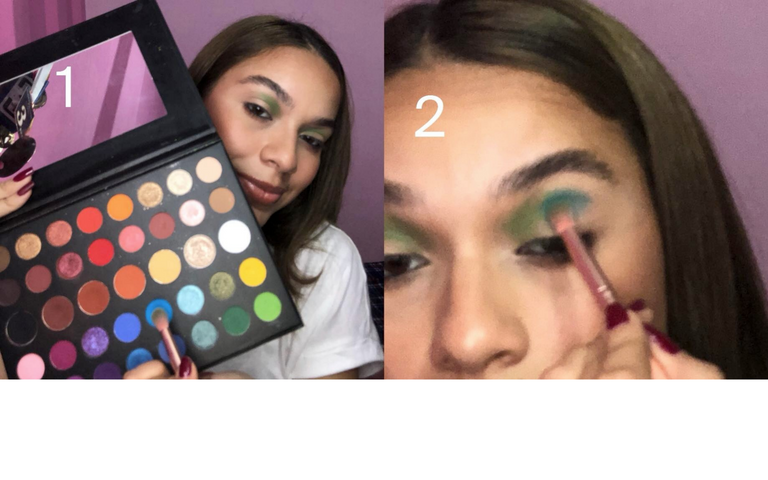
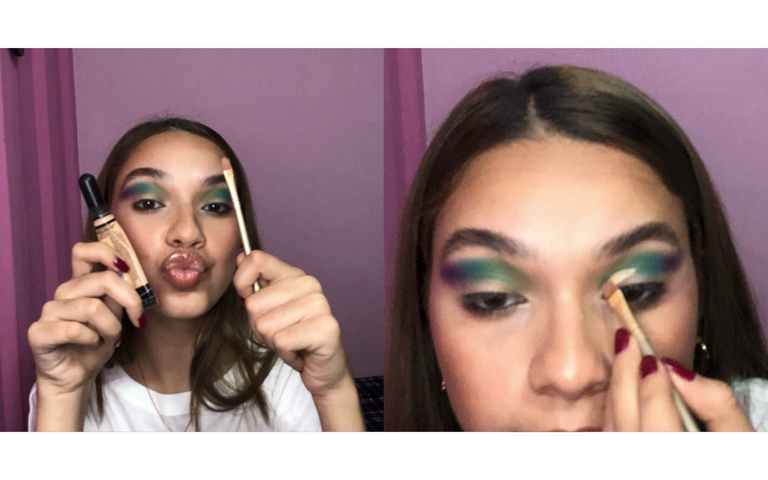
con corrector de ojeras y una brochita plana me voy a hacer un corte de cuenca abierto para darle esta forma a mi maquillaje, a veces es mejor hacerlo con un hisopo y desmaquillante para no ensuciar de sombra la parte donde aplicare el corrector, pero esta vez lo hice directo, después de aplicarlo me paso una esponjita para difuminarlo un poco
with concealer and a flat brush I'm going to make a cut open basin to give this shape to my makeup, sometimes it is better to do it with a swab and makeup remover to avoid dirtying the shadow part where I apply the concealer, but this time I did it directly, after applying it I pass a sponge to blend it a bit
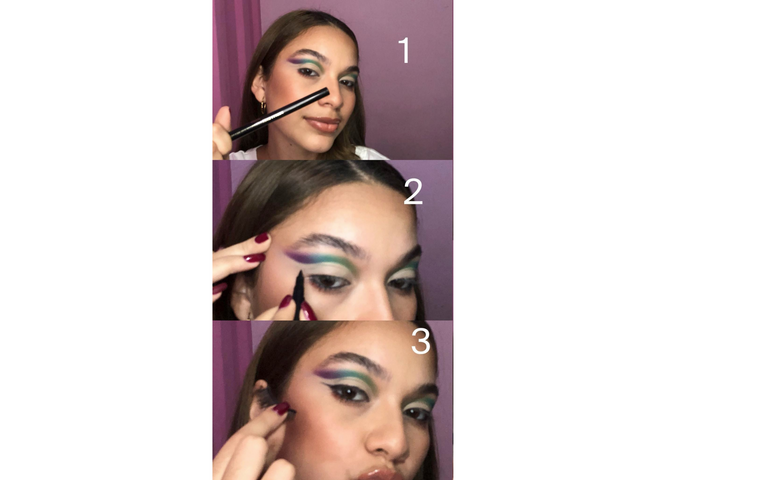
Complemento mis ojos haciendo un delineado muy fino tipo cat eye pero mas alargado, me pego pestañas que nunca puede faltar, y relleno la línea de agua con lápiz negro para abrir la mirada
I complement my eyes with a very thin eyeliner cat eye type but more elongated, I stick eyelashes that can never miss, and fill the water line with black pencil to open the look.
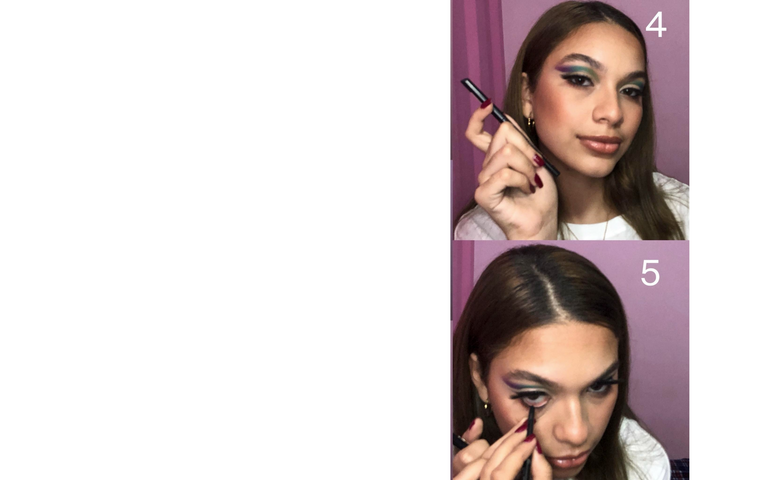
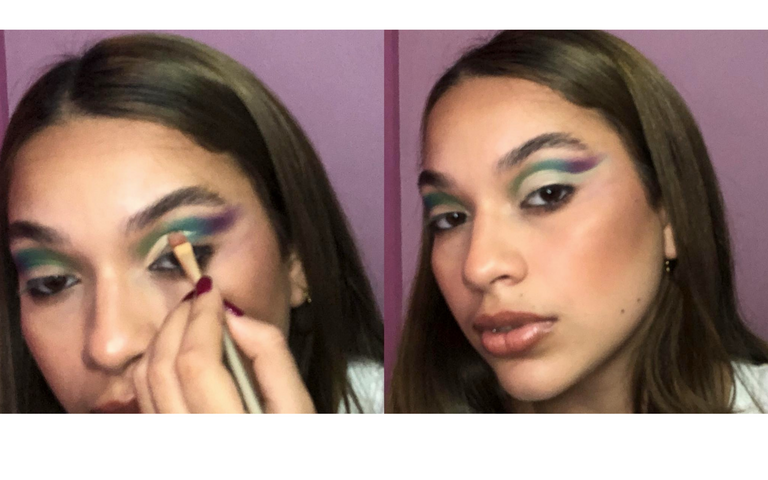
Y para finalizar aplico debajo de mis pestañas inferiores dos tonos morados para que el look se vea mucho más divertido
And to finish I apply under my lower lashes two purple shades to make the look much more fun.


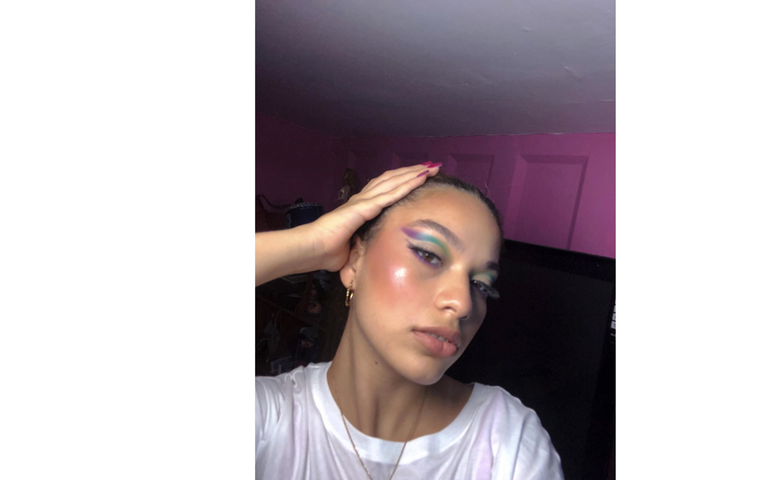
Y bueno chicas así quedo nuestro maquillaje espero que les guste, lo hagan y se tomen muchas foticos un besito los quiero!
And well girls, this is how our makeup turned out, I hope you like it, do it and take lots of pictures, I love you all!

0
0
0.000
Your content has been voted as a part of Encouragement program. Keep up the good work!
Use Ecency daily to boost your growth on platform!
Support Ecency
Vote for new Proposal
Delegate HP and earn more
Congratulations @barbaraaranad! You have completed the following achievement on the Hive blockchain and have been rewarded with new badge(s):
Your next target is to reach 700 upvotes.
You can view your badges on your board and compare yourself to others in the Ranking
If you no longer want to receive notifications, reply to this comment with the word
STOPCheck out the last post from @hivebuzz:
Support the HiveBuzz project. Vote for our proposal!