[개발][자동화][NODEJS] TISTORY API로 글쓰기 - 1
1. 개요
참조 문서 : https://tistory.github.io/document-tistory-apis/
최종 작업일 2020.02.18 ( 참조용 )
- 목표 1 : 스팀잇에 쓰인 글을 주소 입력만으로 TISTORY 로 바로 등록하기
- 목표 2 : 자동으로 TISTORY 에 주기적으로 글 작성하기
2. 작업환경
- nodejs + express : 최신버전으로 설치하면 무난
3. TISTORY API 키 발급받기
3.1. 등록페이지 접속 : https://www.tistory.com/guide/api/manage/register
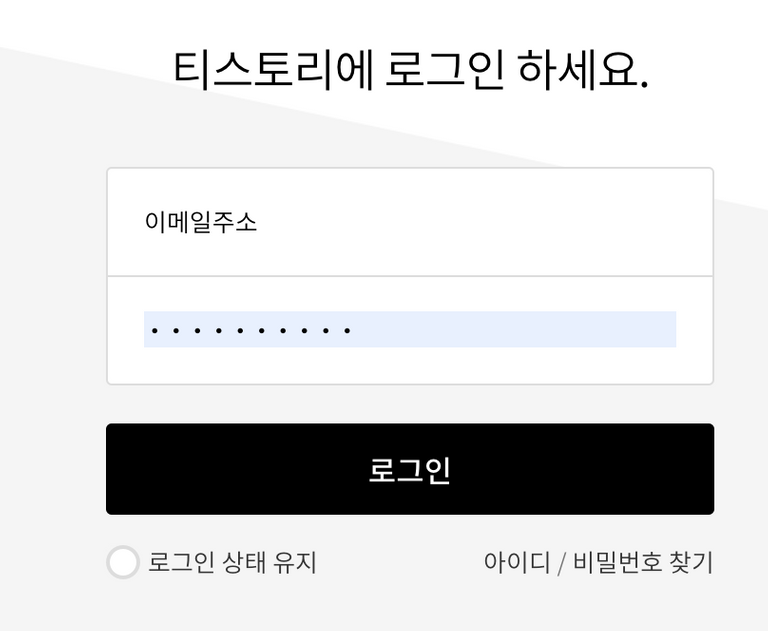
이메일주소와 ID를 입력하여 로그인
3.2. 앱 등록 - 정보 등록
CallBack 이 중요. 나머지는 적당히 입력해도 상관 없음.

3.3. 앱 관리 - 정보확인
APP ID 와 Secret Key 는 매우 중요한 정보이므로 타인에게 노출되지 않도록 조심하기 바랍니다.

4. NODEJS + EXPRESS
웹서비스를 구축해서 ACCESS_TOKEN 정보를 받아보도록 하겠습니다.
4.1. 설치 정보
- nodejs 설치 : https://nodejs.org 접속 후 download 및 설치(다음 or next 만 잘 누름 됨 )
- express 설치
웹 프레임워크는 expressjs, 웹 호출용 request (또는 axios 설치해도 됨 ) , node 모니터링용 nodemon 이렇게 3개를 설치
$ mkdir web
$ cd web
$ npm init
(이후 enter 만 쳐서 일단 기본값으로 완료)
$ npm install express request
$ npm install -g nodemon
4.2. 파일 수정 및 생성
- package.json 수정
"main" : "app.js" 로 수정
- app.js 파일 생성
인증에 필요한 부분만 구현
const express = require('express');
const path = require('path');
const request = require('request');

// init
const app = express();

// 라우팅 설정
app.get('/tistory/auth/res', function(req,res,body){
    // client_id, redirect_uri 값 입력을 통해 Authentication Code 값을 얻어 온다.
    // https://www.tistory.com/oauth/authorize?client_id=1fd6a4c18027723413ebedbb0b58c1f2&redirect_uri=http://localhost:3000/tistory/auth/res&response_type=code

  let client_id = '위에서 생성한 자신의 APP ID 입력';
  let client_secret = '위에서 생성한 자신의 Secret Key 입력';
  let code = req.query.code;
  let redirect_uri = 'http://localhost:3000/tistory/auth/res';  // 사용은 안되는데 누락되면 오류
  let url = `https://www.tistory.com/oauth/access_token?client_id=${client_id}&client_secret=${client_secret}&code=${code}&redirect_uri=${redirect_uri}&grant_type=authorization_code`;
    let options = {
            url,
            method : 'get',
            timeout : 1000,
        };

    request(options, function (error, response, body) {
        if(error){
            res.send(error);
        }else{
            res.send(body);
        }
    });
});

// start server
const SERVER_PORT = 3000;
app.listen(SERVER_PORT, function(){
    console.log(`server is started with http://localhost:${SERVER_PORT}`);
})
4.3. 웹서버 실행
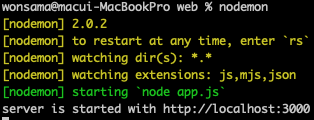
$ nodemon
5. ACCESS_TOKEN 확인하기
5.1. 인증 페이지 접속
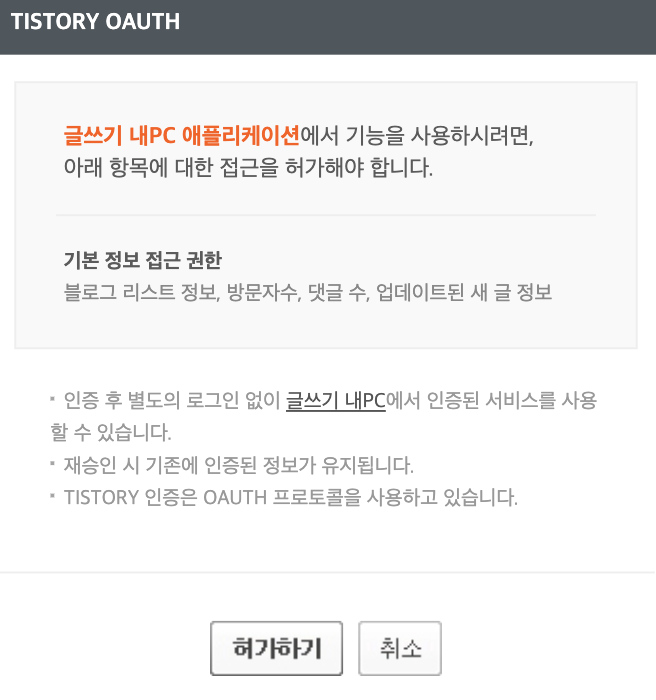
위 주소 값에서
client_id,redirect_uri위 2가지 값을 확인한 후 접속한 다음 확인 버튼을 눌러 ACCESS_TOKEN 값을 확인한다
결과 예시
access_token=a39f1d**********************************
맺음말
일단 ACCESS_TOKEN 을 확보 했다면 뭐 거의 다 완료 했다고 보면 됩니다. 이제 이것을 이용하여 글을 작성하면 됩니다. (다음편에 계속 ... ) https://tistory.github.io/document-tistory-apis/ 링크를 참조하면 API 활용 방법을 볼 수 있습니다.
0
0
0.000
전 제가 쓴 티스토리 블로그 글을 스팀잇에 퍼오는 쪽인데 원사마님께서 올리신 이 방법은 스팀잇에 글 쓰면 자동으로 티스토리에 등록되게 하는 것인가요? 유용해 보입니다
넵 정방향 역방향 둘 다 가능합죠 .
최종 목표는 온갖 블로그를 한번에 포스팅 하는 것인지라 ㅋ
저도 쓸수 있게 해주세요
다 완성 돠면 촤대한 쉽게 해보죵 ㅎㅎ