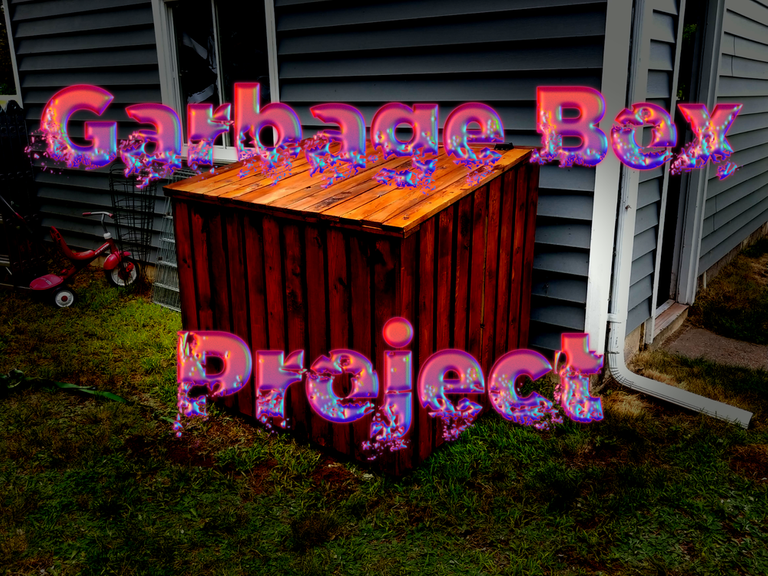
The Garbage Box Project
Recently we moved from our place in Quebec to a new house in Nova Scotia. Being a Nova Scotian boy, this was a much-needed change. We ended up buying a nice little place with 2.4 acres of property. There's so much more space here compared to our old house it's still blowing my mind daily.
But what the property itself makes up for in space, the house is lacking. We intentionally went with a smaller house because... well... we don't need a bigger house. Our last house was 4 bedroom with a 5th large unfinished room that I used as a workshop. The garage was just shy of a double car garage with a small garden shed attached to the side. The house also had two storage rooms under the outside concrete staircases plus a large area under a full set of stairs.
This new house is only 3 bedrooms, a smaller workshop room, and only a little bit of storage under a smaller set of stairs. The garage is also only a single car garage and there is no garden shed. Finding a place for everything over the last two months has been a challenge and is currently an ongoing battle.
This week I decided to take care of at least one of the problems I knew would become an issue if it was left too long.
The garbage.
You see, waste management is quite different in Nova Scotia than in Quebec. In Quebec, garbage goes in one giant garbage can and recyclables go in another - whether it's paper or plastic. I've read that Quebec has a really hard time dealing with this, but it was really easy dealing with the waste as a producer.
In Nova Scotia, the responsibility is more on me to sort my waste and get it ready for pickup. Paper and plastic have to be in separate bags, garbage has to be in clear bags, and bottles and other refundable items have to be dropped off.
I don't mind doing this extra work, it just takes more planning and some getting used to.
The problem I've been running into the last few months of getting used to this new system is waste storage. Pickup is only every two weeks so where do I put the garbage and recycling bags while they are waiting for pickup? Plus, if I miss a garbage day, which sometimes happens, I have a whole month of garbage to put somewhere animals can't get it and so it doesn't pile up in the garage.
I solved this problem by making a garbage box. Here are my free plans to use if you want to make your own.
Step 1 - The Plan
You don't want to just go buy a bunch of lumber and just wing the construction. You might end up with something usable but, even for something simple like a garbage box, it's a good idea to think about the way it will be constructed and make a plan. It has the potential to save a lot of headache in the long run.
I initially drew up a quick design with Sketchup. I'm pretty good with this program, it's free, and it's great for any woodworking projects to get a visual idea of how things will go. This lets you see any problems you might run into and helps to answer the questions before they become problems if you try and make something from scratch. In only about 30 minutes I had this mockup of what I would build.
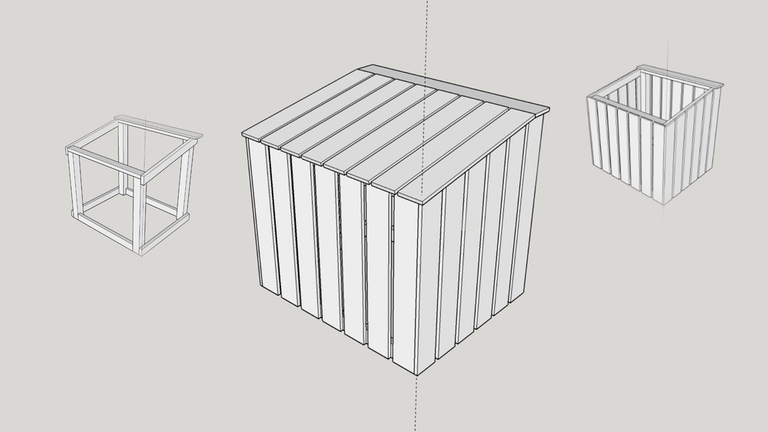
With a quick mockup done in Sketchup, I now needed some plans I could print and take out to the garage with me. I'd love to be able to use Sketchup to do this, but I would have to pay for a subscription to get those features and the price is not worth it when you add it up over months.
So, I turned to a good free program for hobbyists - Fusion 360.
This program is a little trickier to draw in, but the plans you can produce with it are top-notch. It's also available for free unless you are making over $100k a year with it, so no complaints at all about that.
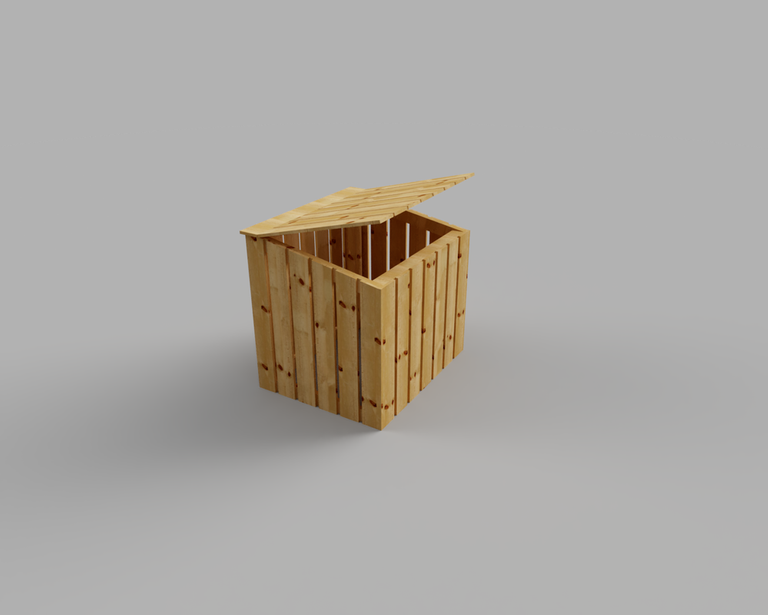
Using my basic measurements from Sketchup, I reproduced the model in Fusion and made a set of plans to show the measurements. Fusion also has a pretty good render engine so you can create a pretty realistic look before you even construct anything.


Step 2 - The Lumber
Looking at the plans, I was able to come up with a list of lumber I needed to complete this project. I already had some pressure treated 4x4's, so all I needed was some 2x4's for the frame and some 1x6 for the siding.
I made a little mistake when I went to the hardware store to get this. I either said 1x4 or the guy misheard me when I said 1x6. Either way, I noticed the guy loading 1x4's onto my truck and figured I'd make it work since I had already paid and it was just the siding. I ran into a few issues that took some extra measuring, but generally, there were no problems.
Here is the list of materials you can use:
4x4x8' - 2 (pressure treated)
2x4x8' - 4
1x6x8' - 20 or 1x4x8' - 30
1 lb of common nails - 1 1/4"
1/2 lb deck screws - 3"
1/2 lb of deck screws - 1"
For my box, I will be staining it, so I only needed pressure treated lumber where it touches the ground; in this case, the 4x4's. If you didn't want to paint or stain the box, just buy all pressure treated.
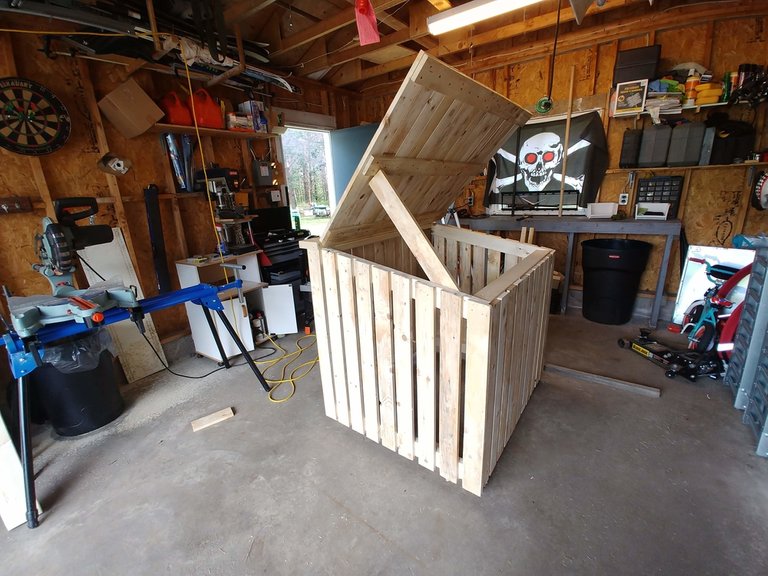
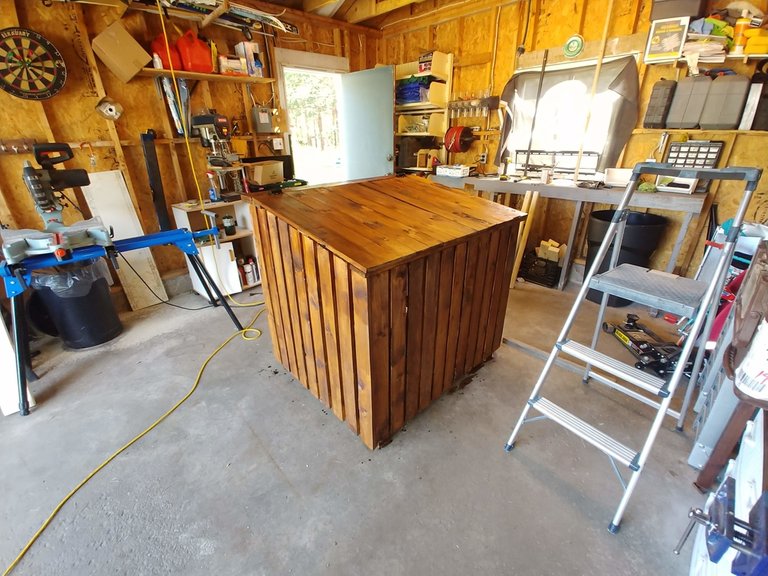
Step 3 - Construction
And now the fun part. Putting it all together. Using the plans to quickly cut the material, I was able to put this thing together in an afternoon. I had to do a little bit of measuring with the siding because of the different lumber widths, but I pretty much just followed the plan and everything turned out exactly how I drew it. There was no need to guess on anything until I came to making the lid.
The lid had a piece of 1x6 running along the top where the hinge was going to attach. Since I didn't actually get any 1x6, I decided to use a piece of 2x6 I had. This would leave a little gap under the lid, but otherwise wouldn't be noticeable. To make sure it stayed straight, I simply extended the two pieces holding the lid together so they rested on the frame instead of fitting inside as I had drawn in the plans.

Step 4 - Staining
I went with some stain because there was a brand new can left behind from the previous owner of the house. Had I not had the stain already, I probably would have painted it. But, it looks fantastic when it's all done, and it took exactly the amount of stain I had to finish it.


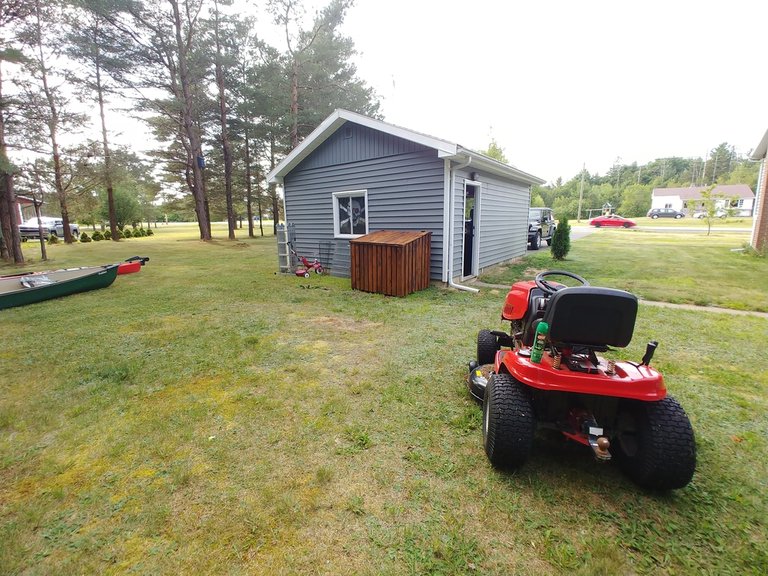
Step 5 - To The Yard
With the project complete, it's time to drag this out to the yard where it can finally start doing its job.
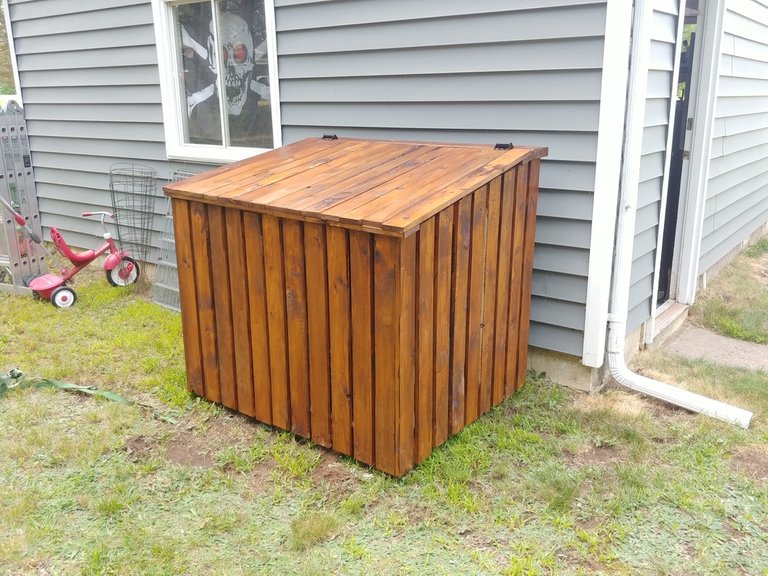
As an afterthought, I added a 24" wide piece of plywood as a sort of floor/shelf for putting beer bottle boxes on to keep them off the ground where they'd get soggy. I didn't want to add a complete floor because I want to easily be able to clean it out by tipping it up should the need arise.
Hopefully, this works for you as well as it's working for me. If you ever end up making one, let me know how it goes in the comments.
Brilliant.
Great idea. Observing the plan and steps helps me visualize how I would try something like this if needed one day. Turned out solid.
Thank you so much for participating in the Partiko Delegation Plan Round 1! We really appreciate your support! As part of the delegation benefits, we just gave you a 3.00% upvote! Together, let’s change the world!
Just not sure yet where. I hate to leave my home and family behind,
But as the youngest of 10 children, I have 4 older sisters and 2 bro's
Surviving, but getting very old now (I'm 64) and I don't relish
Being around to watch them suffer and die. I've never been
On a vacation, never been out of the country (USA, which
I barely recognize today) So I am thinking of Belize, or
New Zealand, or someplace like that where I can
Just relax and enjoy my remaining years. I have
A WHOLE LOT of nephews and nieces, but I'm
Not close to any of them and I doubt anyone
Would miss me much. I applaud your work
& ingenuity. Post upvoted and resteemed.
I wish you well, steem on my friend.
excellent project description and congrats on the new place
!SHADE 2
Learn more about SHADE here
Join the fun promoting your post at Pimp Your Post Thursday. Win SHADE or SBI, make friends. Every Thursday in The Ramble
Hi stephen.king989 the SHADE tokens are on the way.
Thanks for sharing SHADE
To view or Trade SHADE visit steem-engine.com
This post was shared in the Curation Collective Discord community for curators, and upvoted and resteemed by the @c-squared community account after manual review.
@c-squared runs a community witness. Please consider using one of your witness votes on us here
Congratulations! Your post has been selected as a daily Steemit truffle! It is listed on rank 6 of all contributions awarded today. You can find the TOP DAILY TRUFFLE PICKS HERE.
I upvoted your contribution because to my mind your post is at least 3 SBD worth and should receive 174 votes. It's now up to the lovely Steemit community to make this come true.
I am
TrufflePig, an Artificial Intelligence Bot that helps minnows and content curators using Machine Learning. If you are curious how I select content, you can find an explanation here!Have a nice day and sincerely yours,

TrufflePig