Makeup practice on my hand | Práctica de maquillaje en mi mano
Hello Makeup Power! Today I wanted to do a new body art on my hand area, I have been wanting to constantly practice my makeup and drawings on my hand and then when my skin gets better, recreate them on my face.
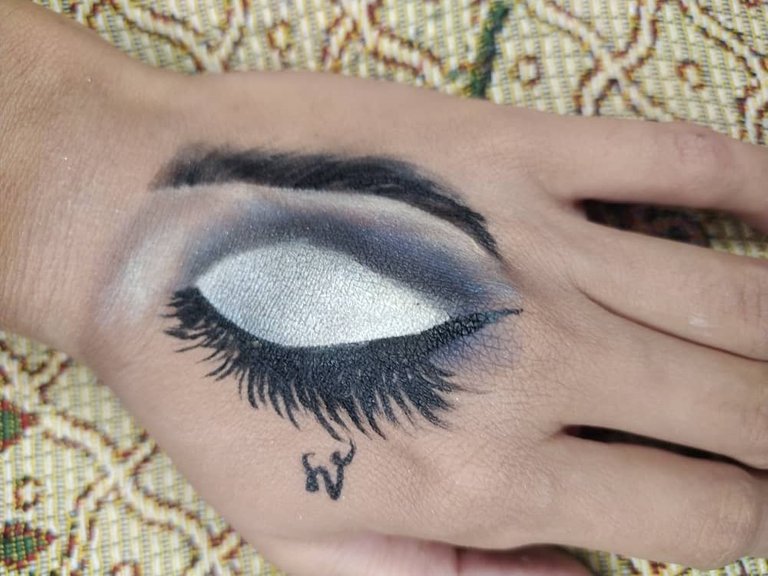
It was quick to do and it will be a short thing but it is an excellent way to practice and improve the drawing and makeup at the same time and then bring you some variety and many more drawings will come so I hope you like it a lot.
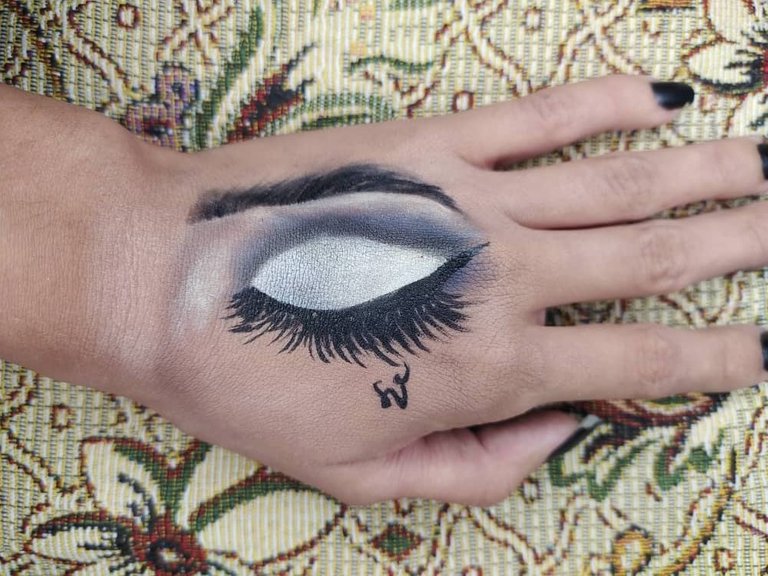
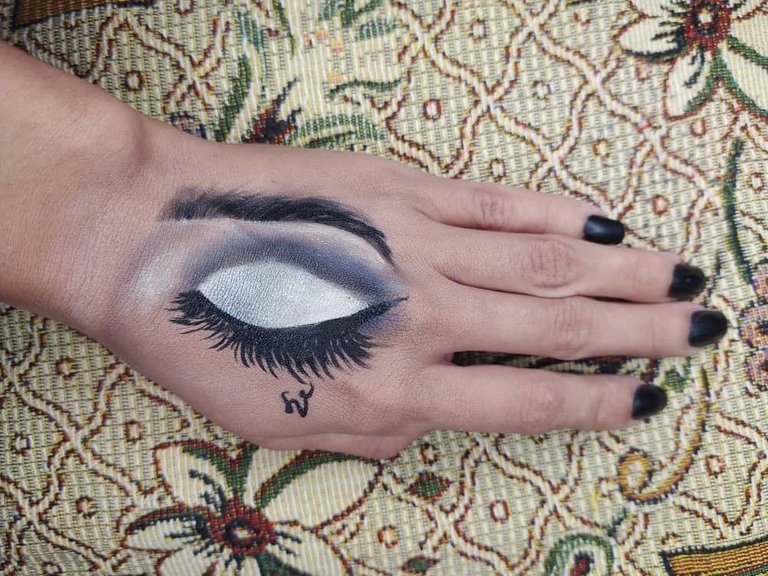
This time I wanted to do it in blue and bright white on the eyelid drawn finished with my signature haha I love it looks like done by an artist well let's start with the steps.
Hola Makeup Power! El día de hoy quise realizar un nuevo arte corporal en el área de mi mano, he querido practicar constantemente mi maquillaje y dibujos en mi mano para luego cuando mi piel mejore, recrearlos en mi rostro.
Fue rápido hacerlo y será algo corto pero es una excelente manera de practicar y ir mejorando el dibujo y el maquillaje a la par y así seguidamente traerles algo de variedad y vendrán muchos mas dibujos asi espero les guste mucho.
En esta oportunidad quise hacerlo en tonalidad azul y blanco brillante en el párpado dibujado terminado con mi firma jaja me encanta se ve como hecho por un artista bueno comencemos con los pasos.

I put some moisturizer on my hand and a little bit of a light foundation to even out the tone a bit.
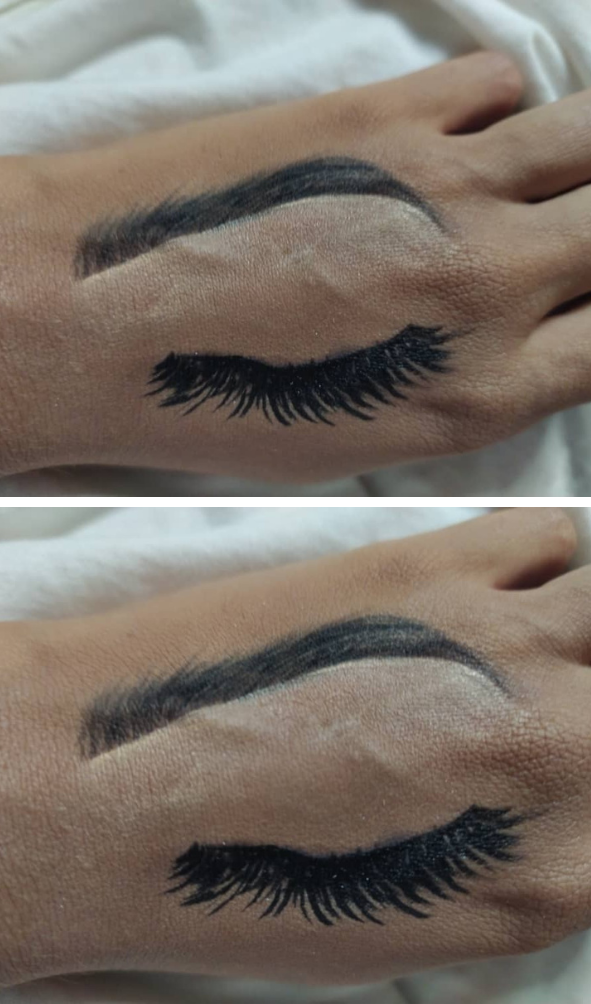
With some black eyeliner I did the eyebrows in "organic" style and corrected them using a drop of concealer and a flat brush.
Coloque un poco de crema hidratante en mi mano y un poco de una base ligera para unificar un poco el tono.
Con un poco de delineador negro hice las cejas en estilo "orgánico" Y las corregi usando una gota de corrector y una brocha plana.

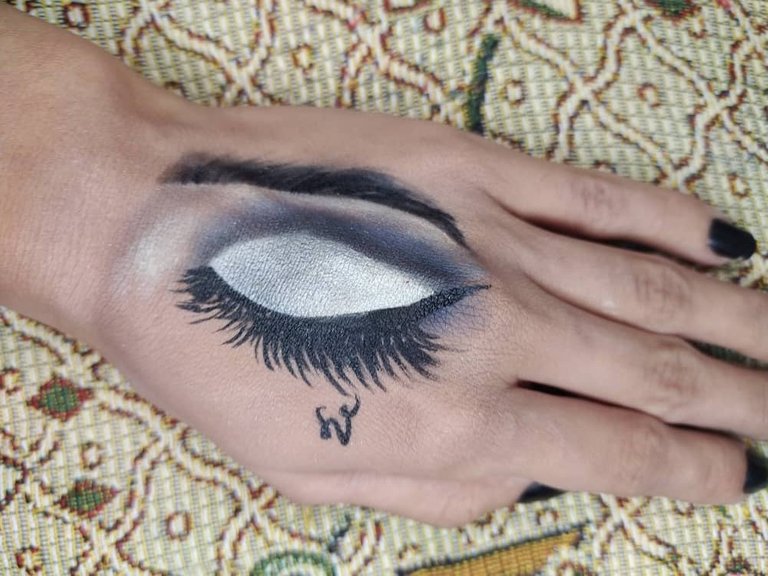
I made the shape of the closed eye along with the lashes using black liquid eyeliner.
Realicé la forma del ojo cerrado junto con las pestañas usando delineador líquido negro.
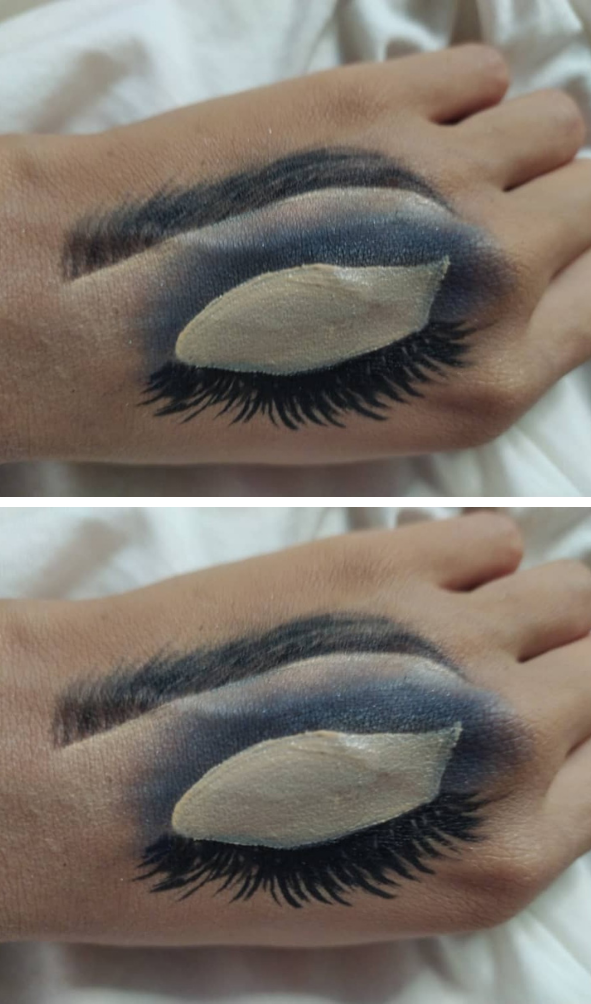
Continue by placing a blue shade around the socket and blending outwards. On the inner part of the socket I placed a dark almost black shade to simulate depth.
Then using a flat brush and concealer, I made a closed socket cut.
Continúe colocando una tonalidad azul al rededor de la cuenca y difuminado hacia afuera. En la parte interna de la cuenca coloque un tono oscuro casi negro para simular profundidad.
Luego tomando una brocha plana y corrector hice un corte de cuenca cerrado.
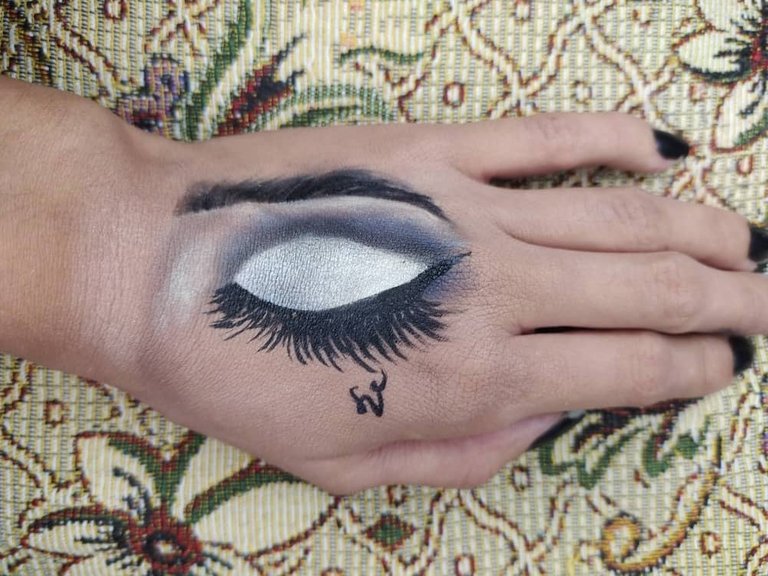
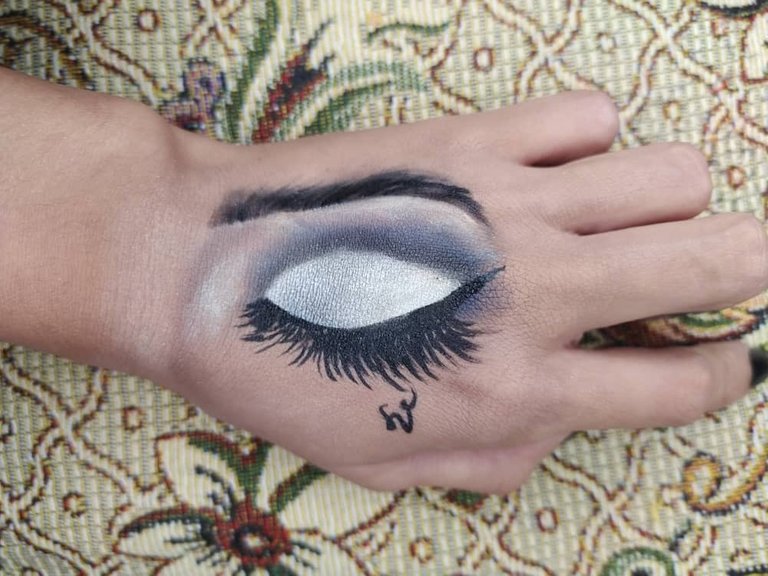
I finished by placing a shimmery white shadow in the socket area and did an eyeliner.
To give more detail I added a dark shadow to contour the nose as well as a little highlighter in the part of what would be the tear trough and the brow bone.
Continúe colocando una tonalidad azul al rededor de la cuenca y difuminado hacia afuera. En la parte interna de la cuenca coloque un tono oscuro casi negro para simular profundidad.
Luego tomando una brocha plana y corrector hice un corte de cuenca cerrado