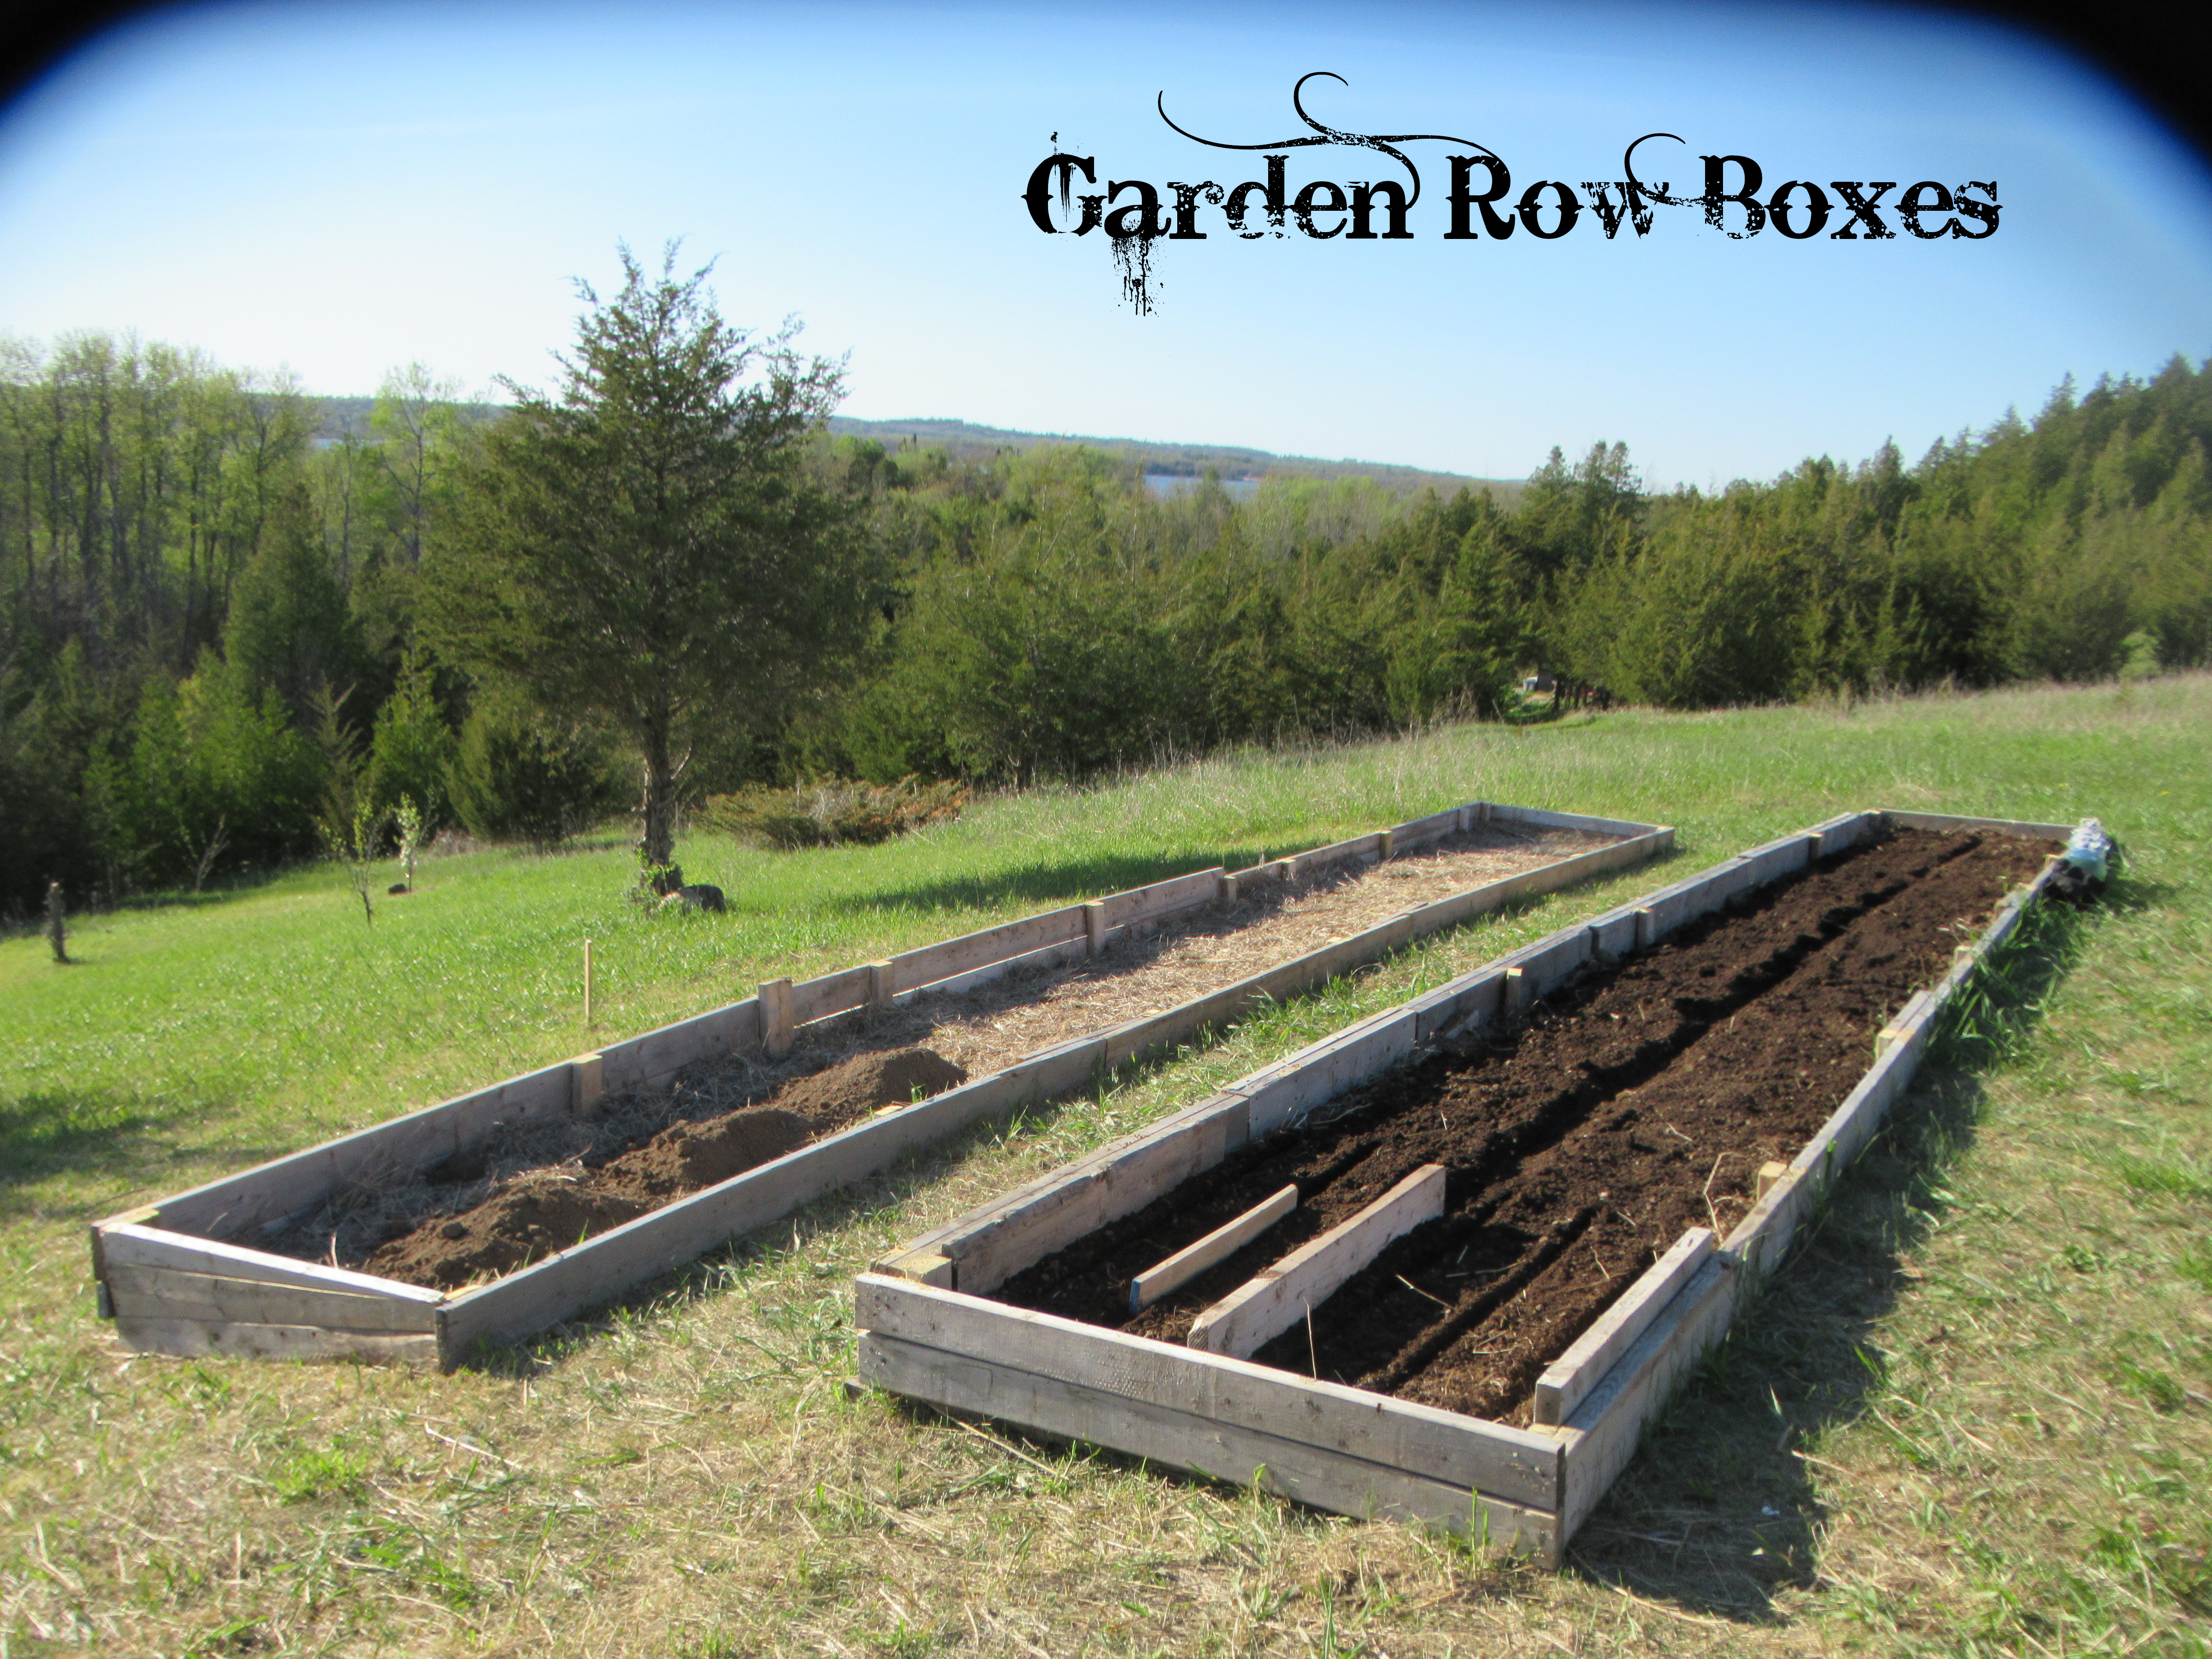
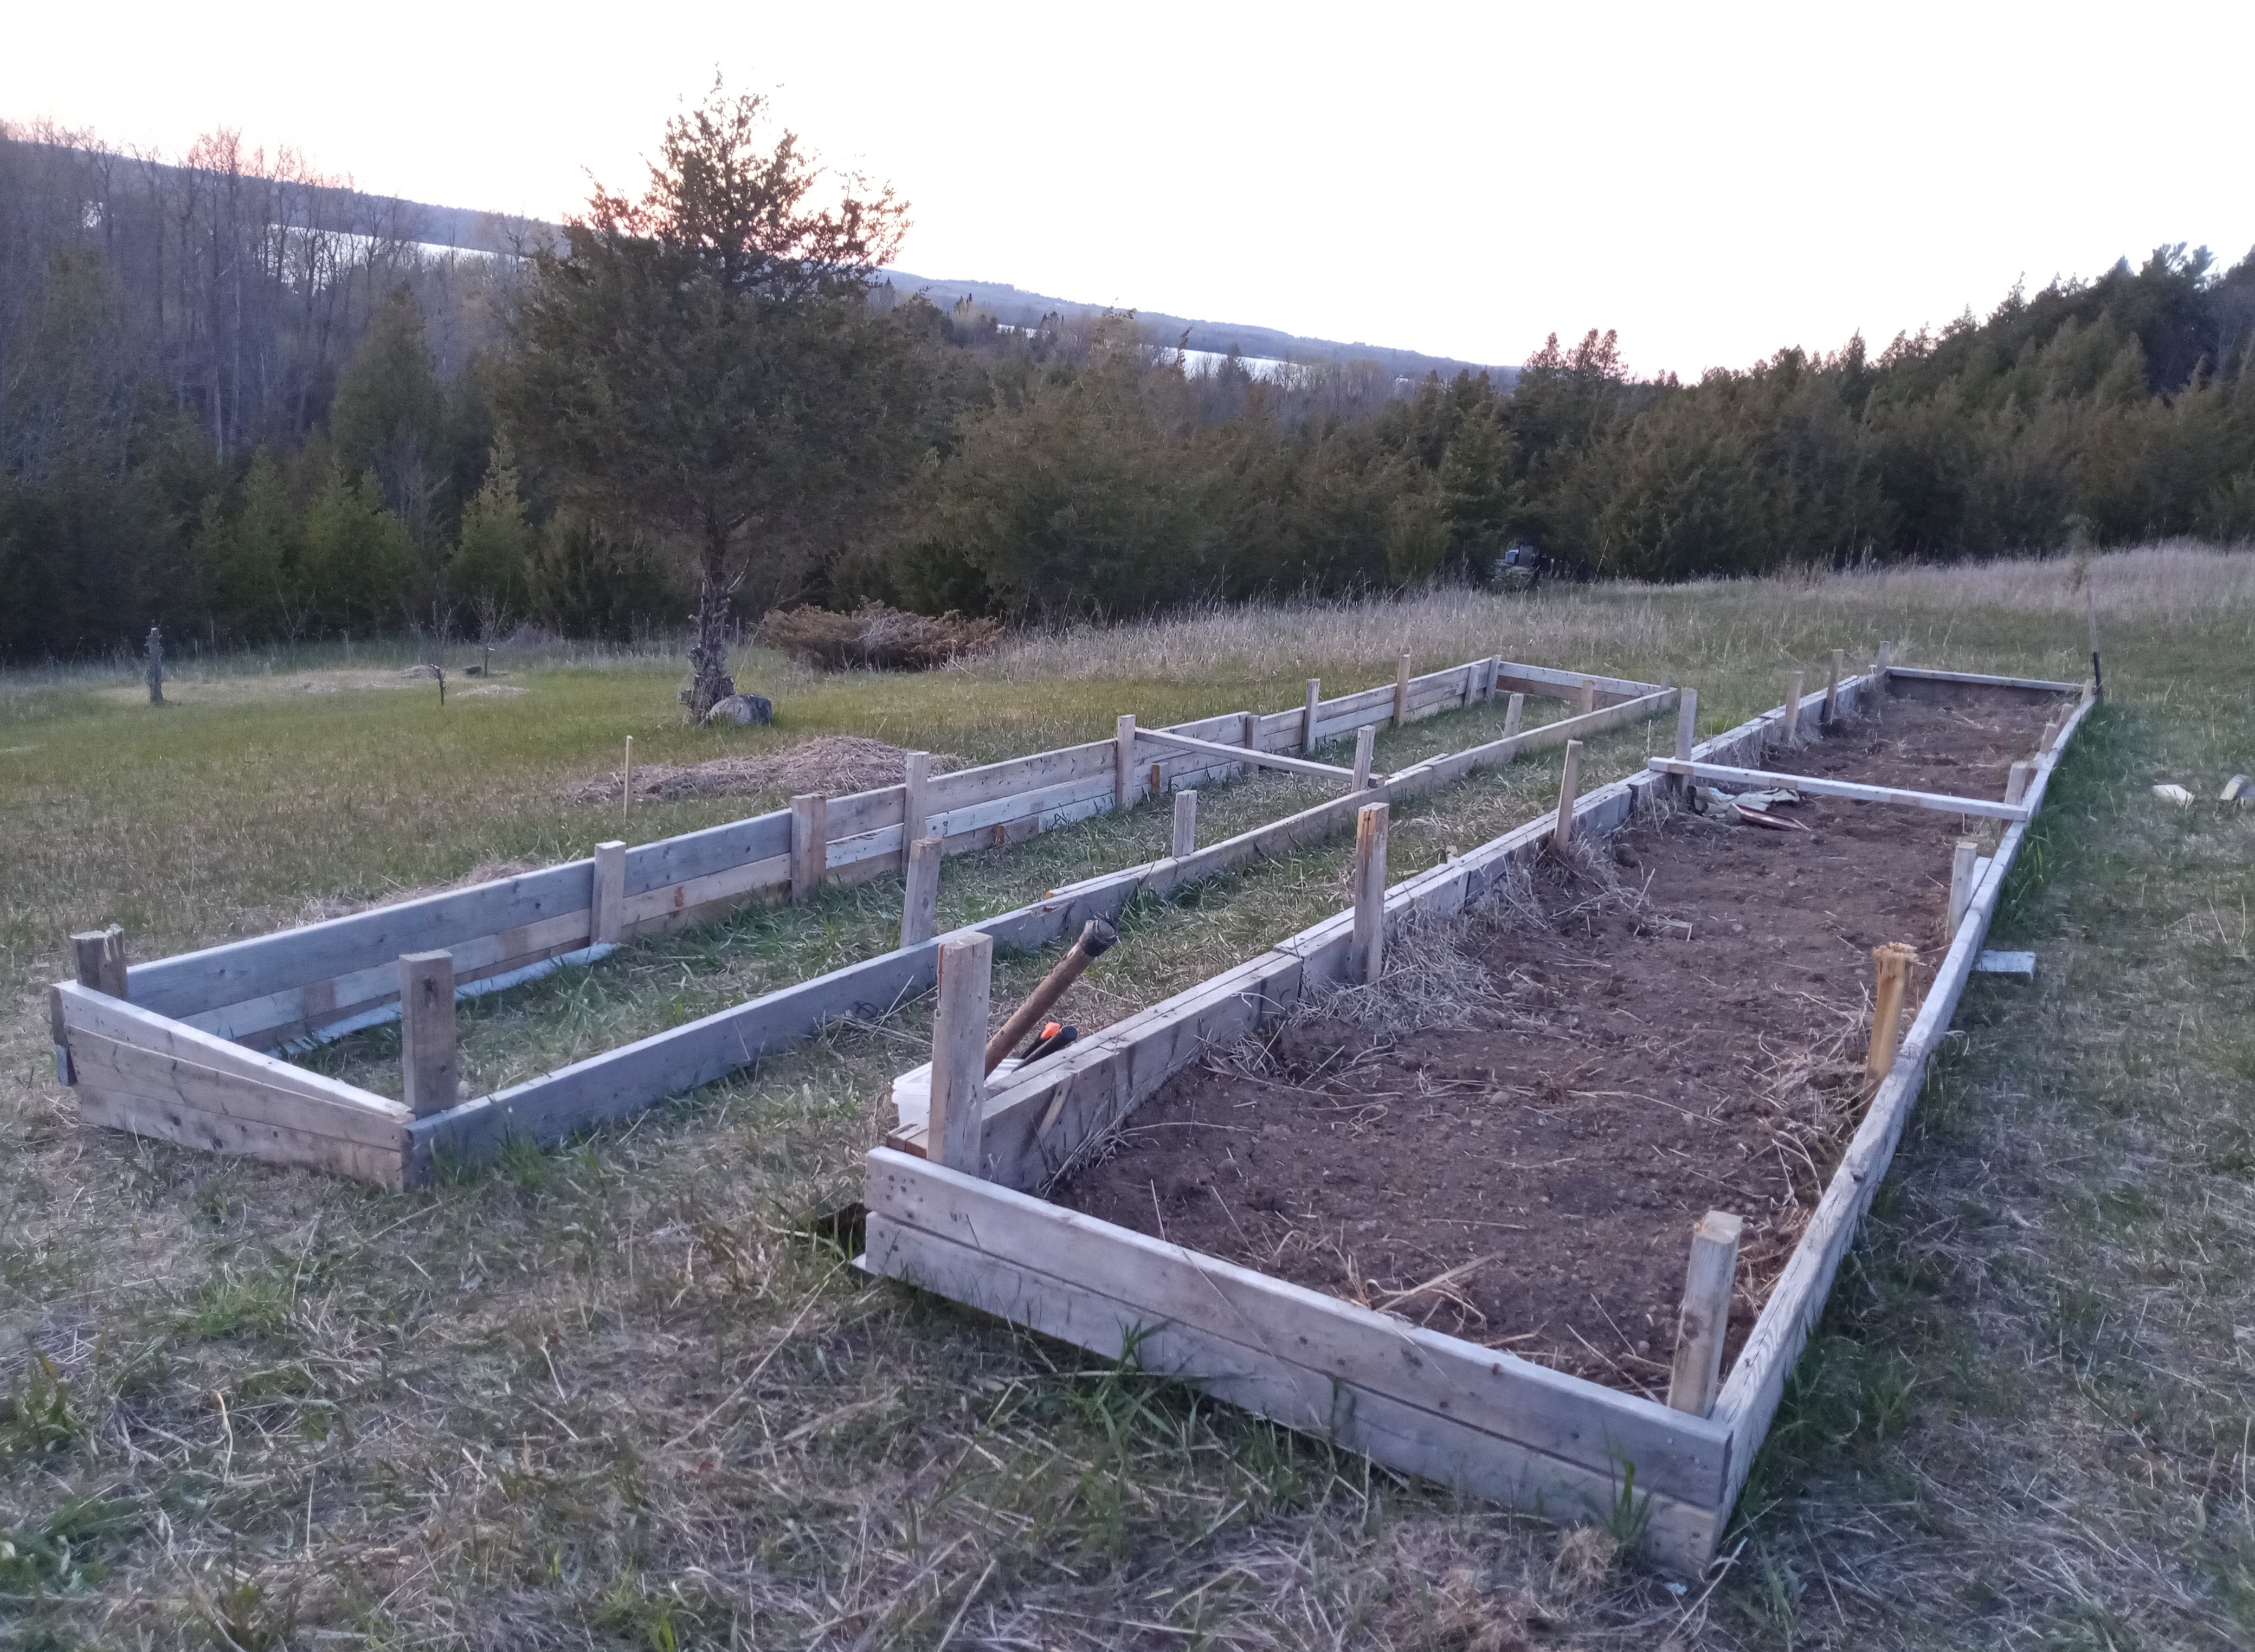
A Pair of Garden Row Boxes Built for Growing Veggies this Season
I built a pair of boxes for the garden rows this year. I'm planting rows of mixed lettuce and greens in the box that's already filled, and root veggies in the second box. Here in Southern Ontario, May 24th is considered past the danger of frost, and safe to transplant summer season plants outdoors. The boxes quickly define the garden rows, taller boxes can make working in and harvesting the garden by hand easier than at ground level, the extra dirt mass in the box helps hold additional water for the roots, and the box walls make it more difficult for people and animals to walk across the garden - in my case especially, it will help protect the garden from the steady wind that I have in my location, and it will make the garden easier to cover with poly or netting for added protection from wind and critters.
Garden Row Box Building
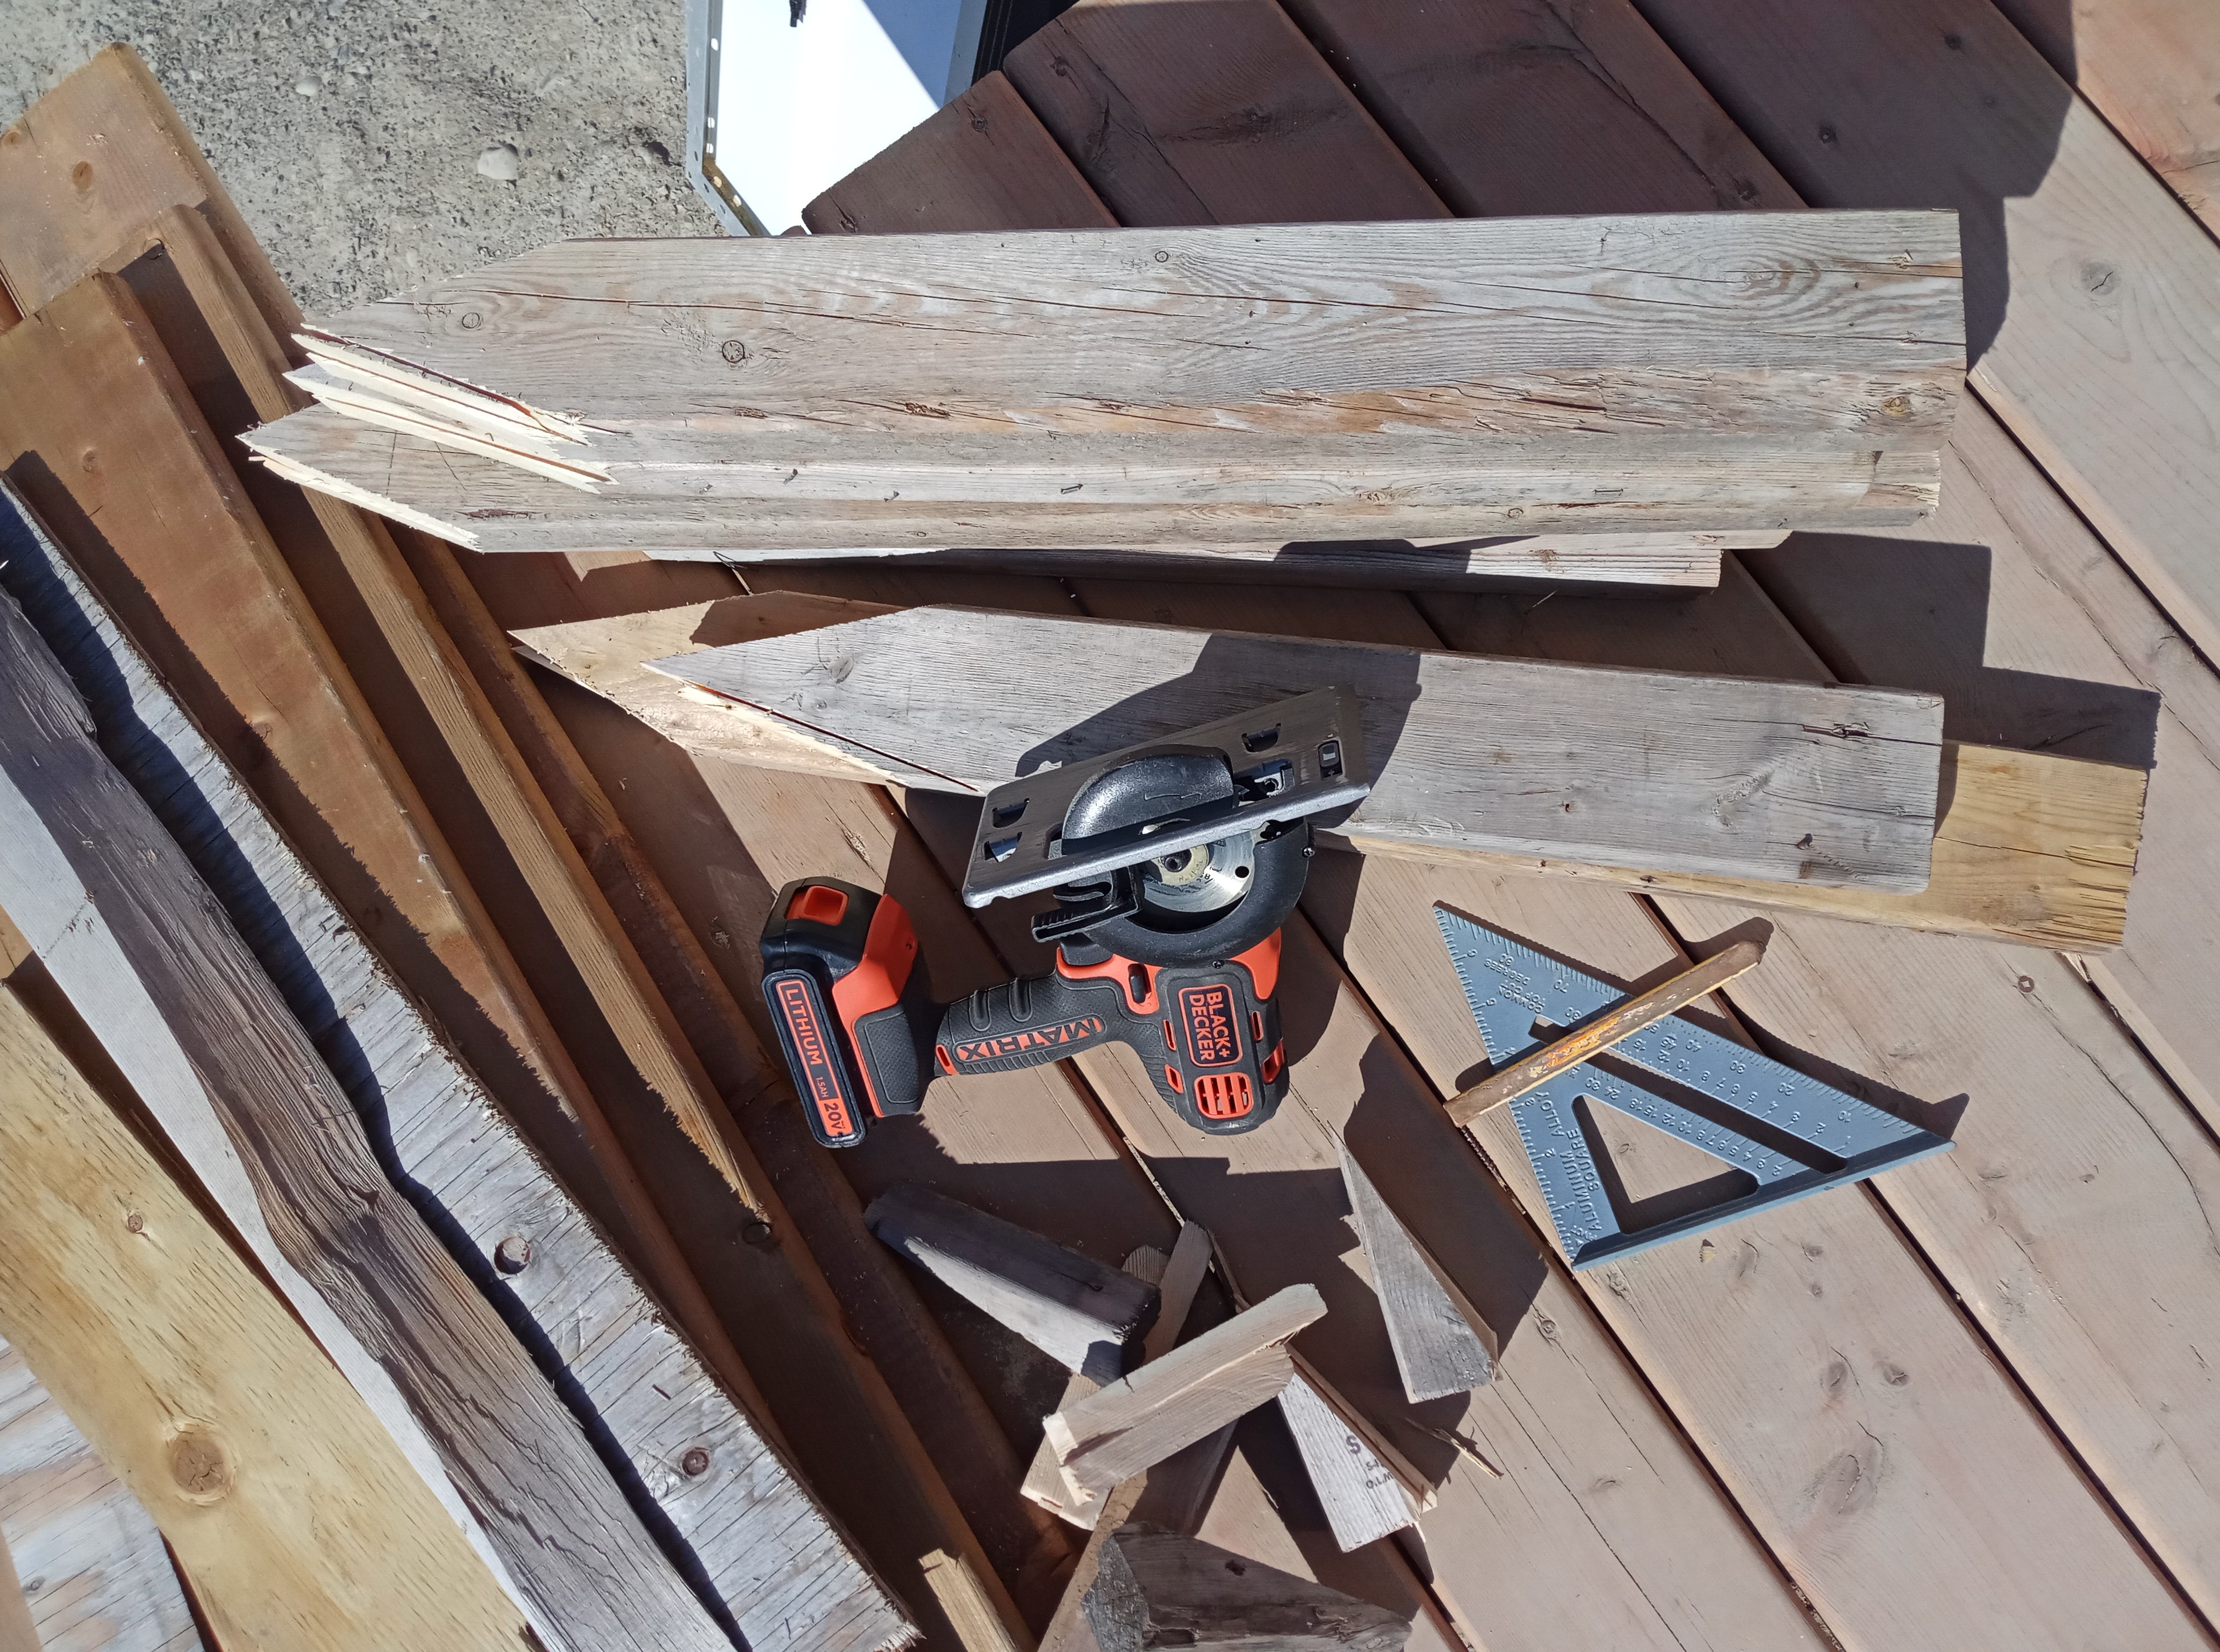
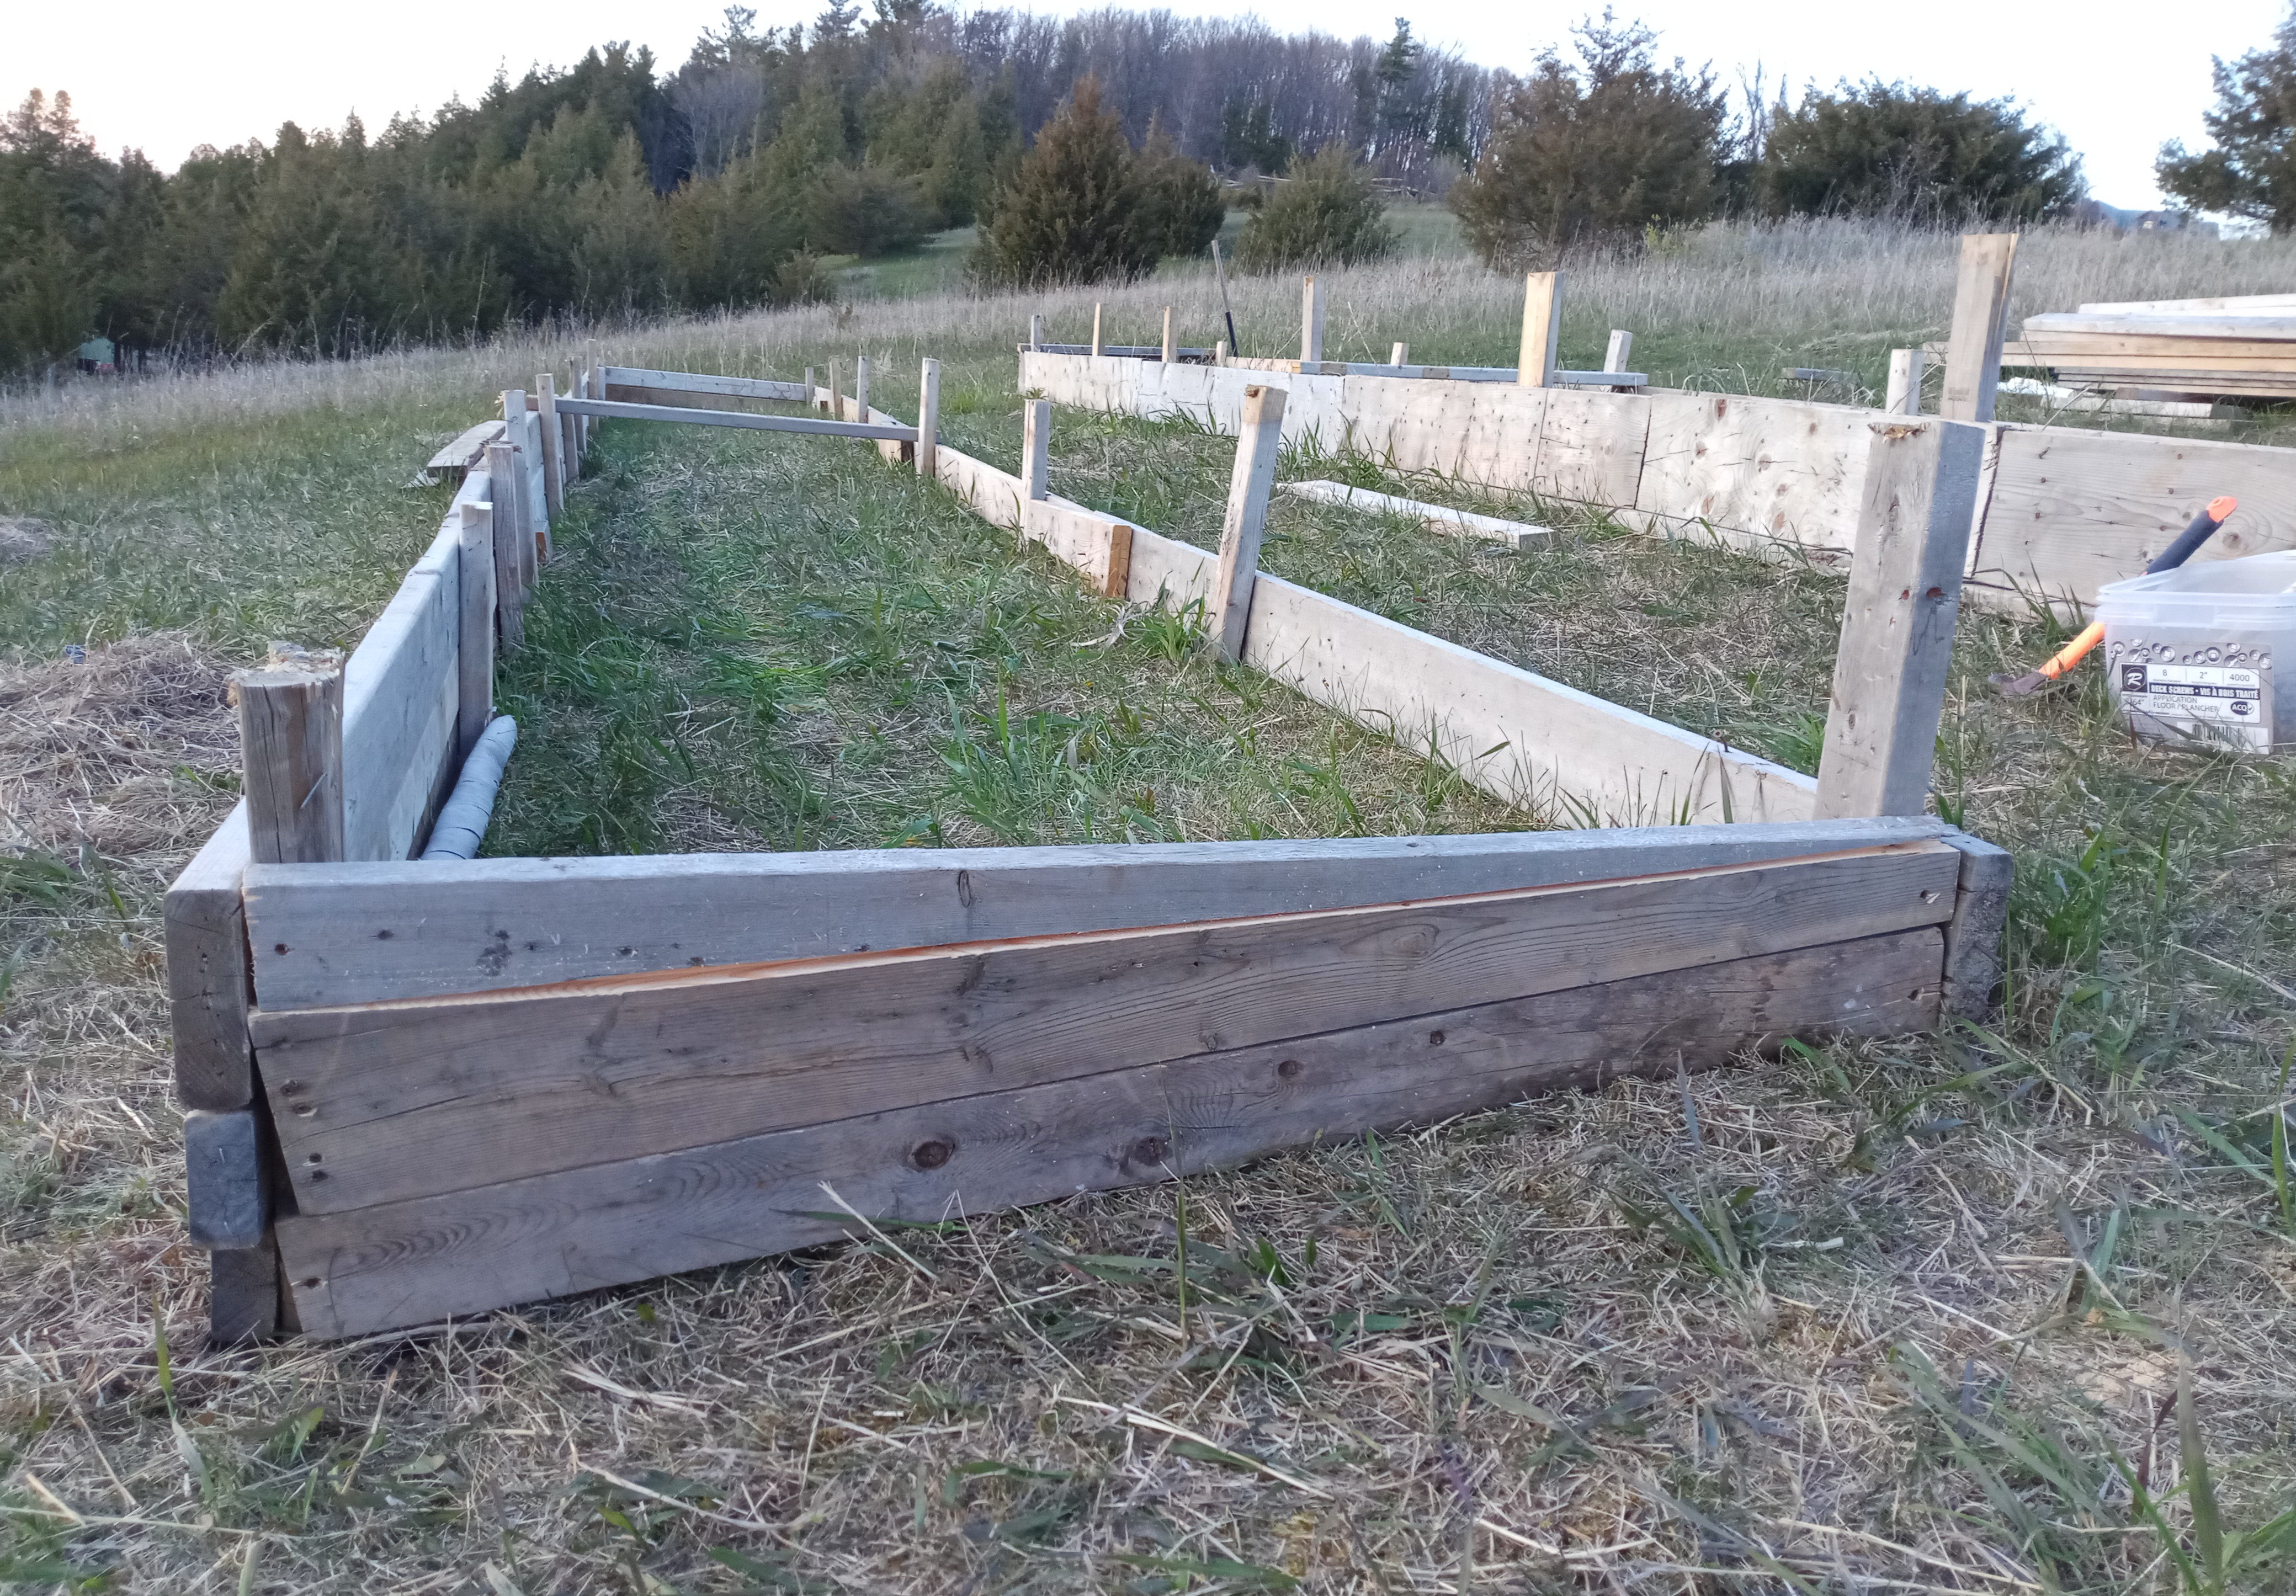
It's a simple design, a box with no top and no bottom, 3ft wide x 30ft long, built with supplies that I had on hand - wood 2x4s, 2x6s, 2x8s, nails, and screws, 2x4 stakes help hold the boxes in place. There are many ways to build a garden box, this is how I built mine.
2x4 Stakes
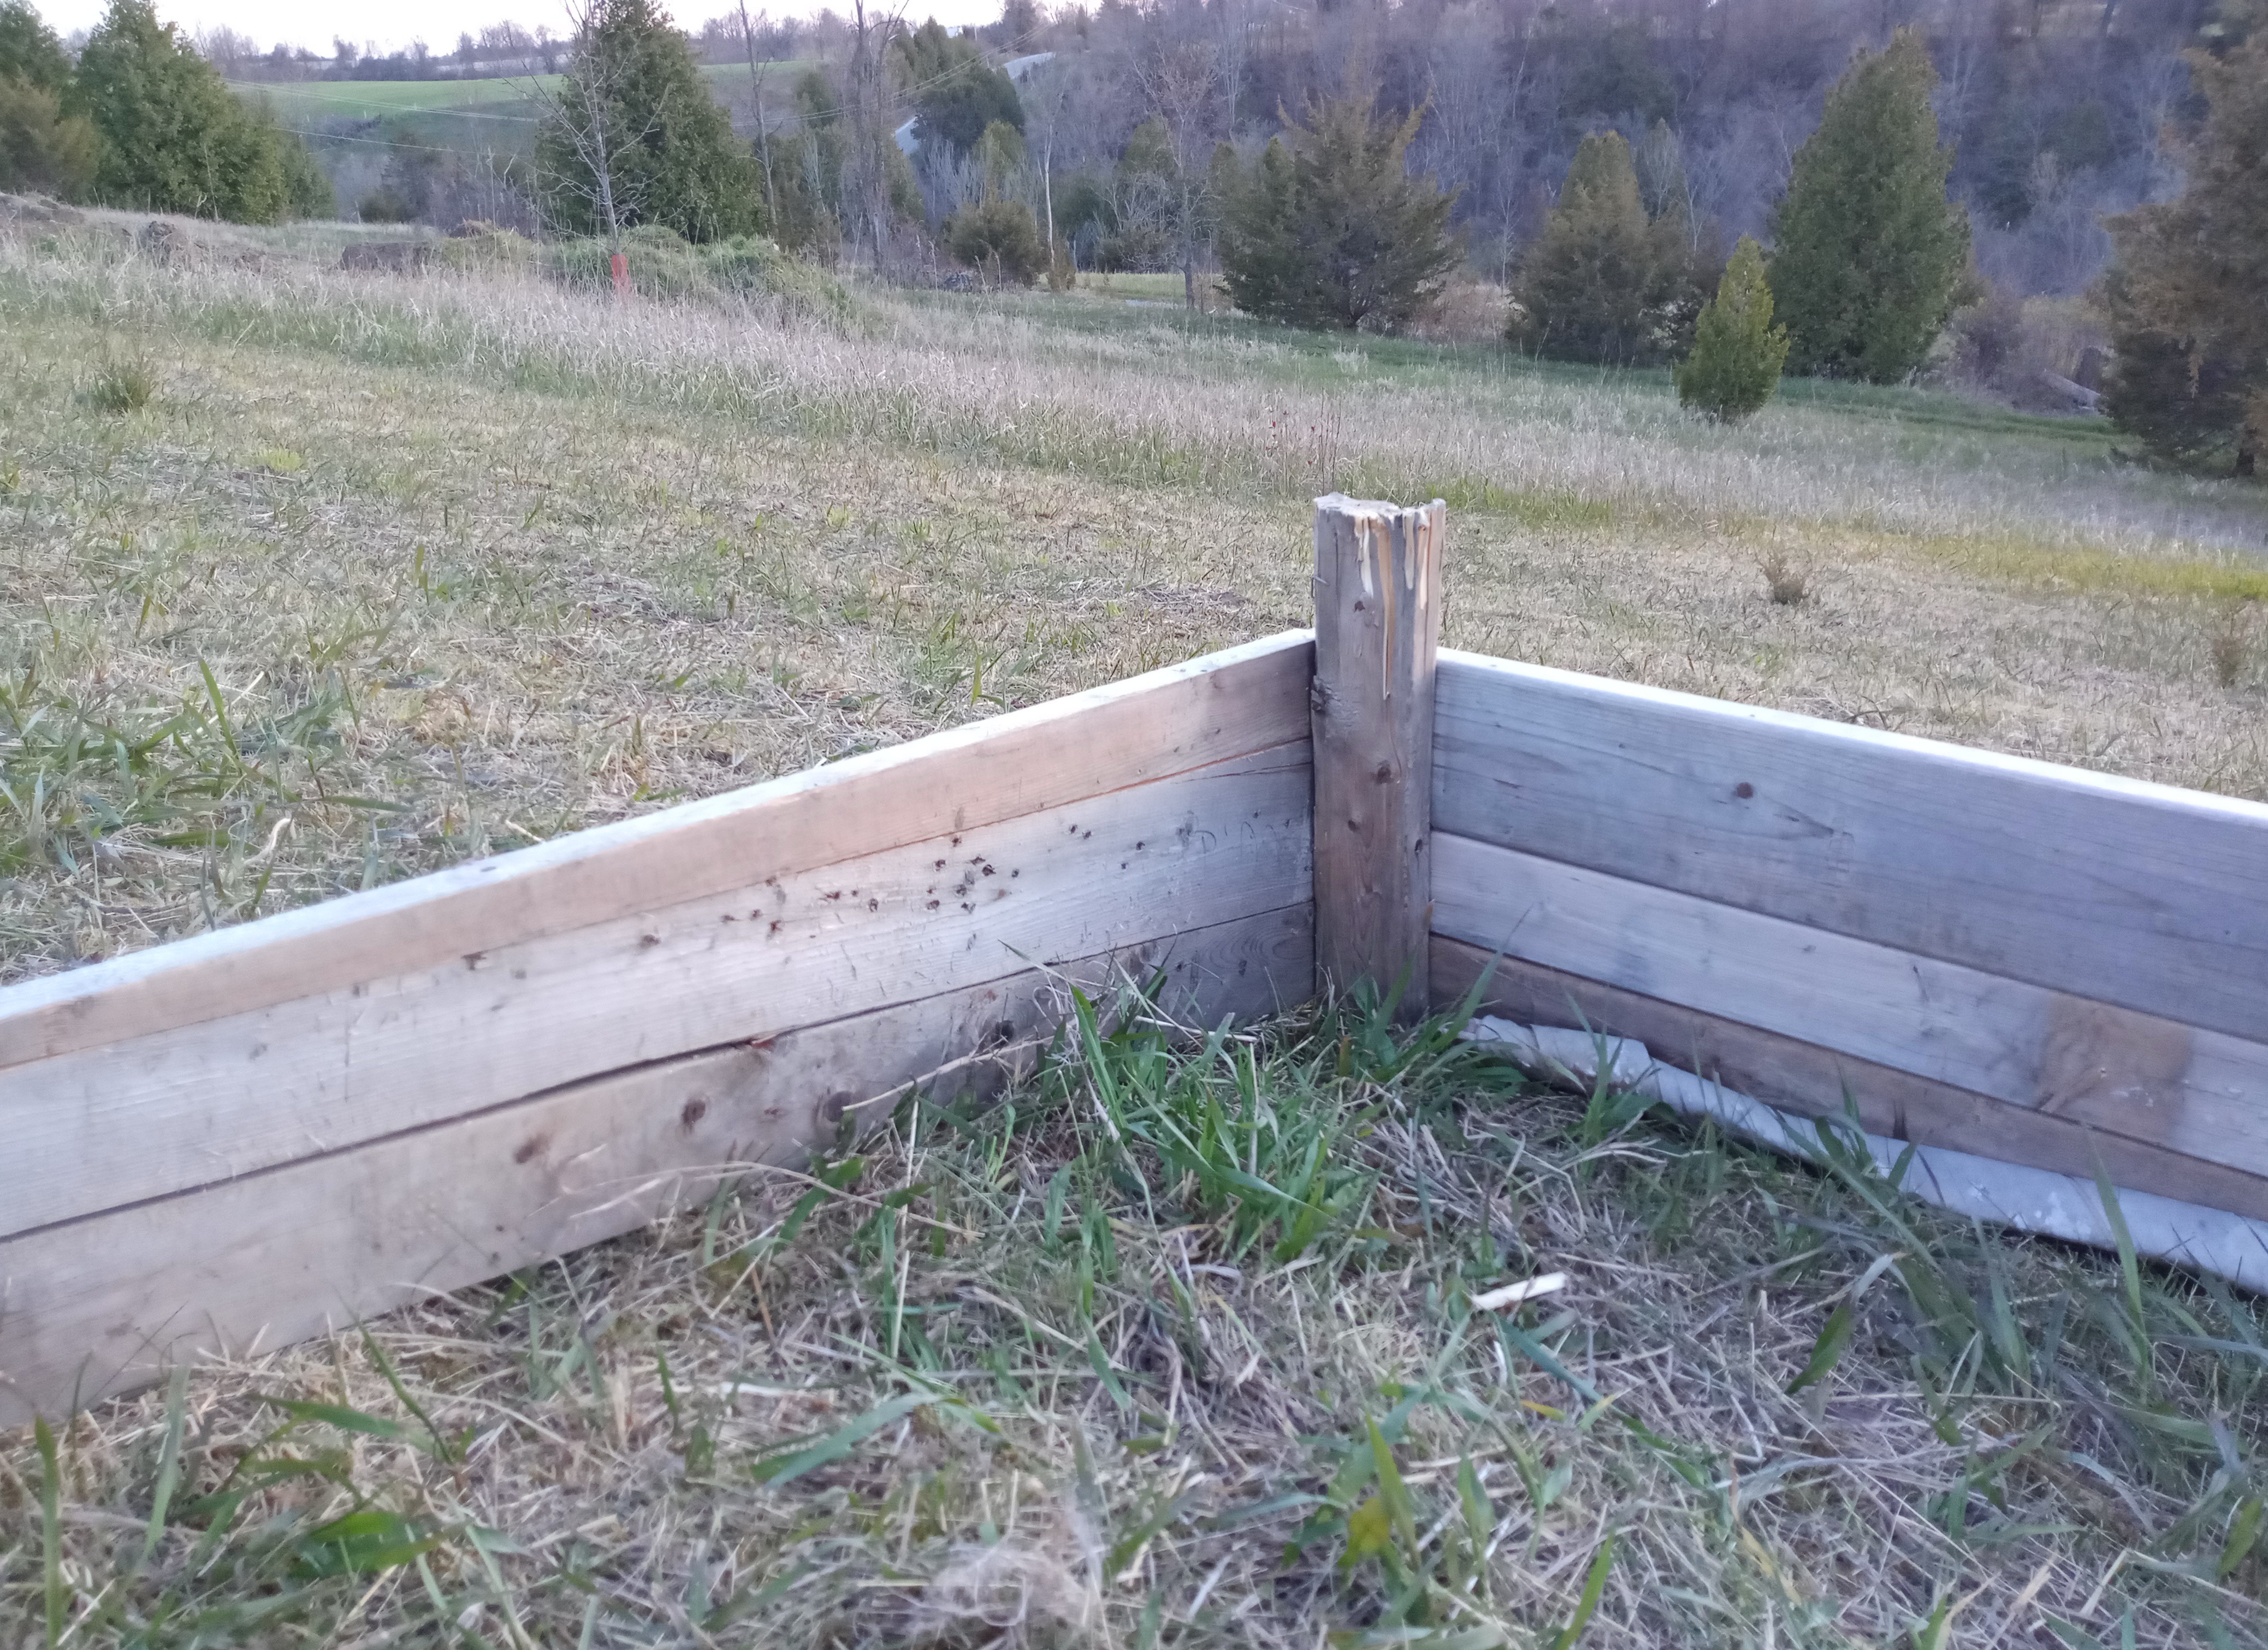
First I cut the 2x4 stakes - the walls of the garden box will be attached to these. The stakes on the high side of the hill were able to be cut a little shorter. My goal with the length was to have the stake deeper in the ground than the wall is tall, so if the wall was going to be 1 foot tall, then I wanted the stake to be driven at least 1 foot into the ground. This clay and rock hill side keeps well drained, I'm not worried about the freezing and thawing ground heaving it in the winter.
Staked
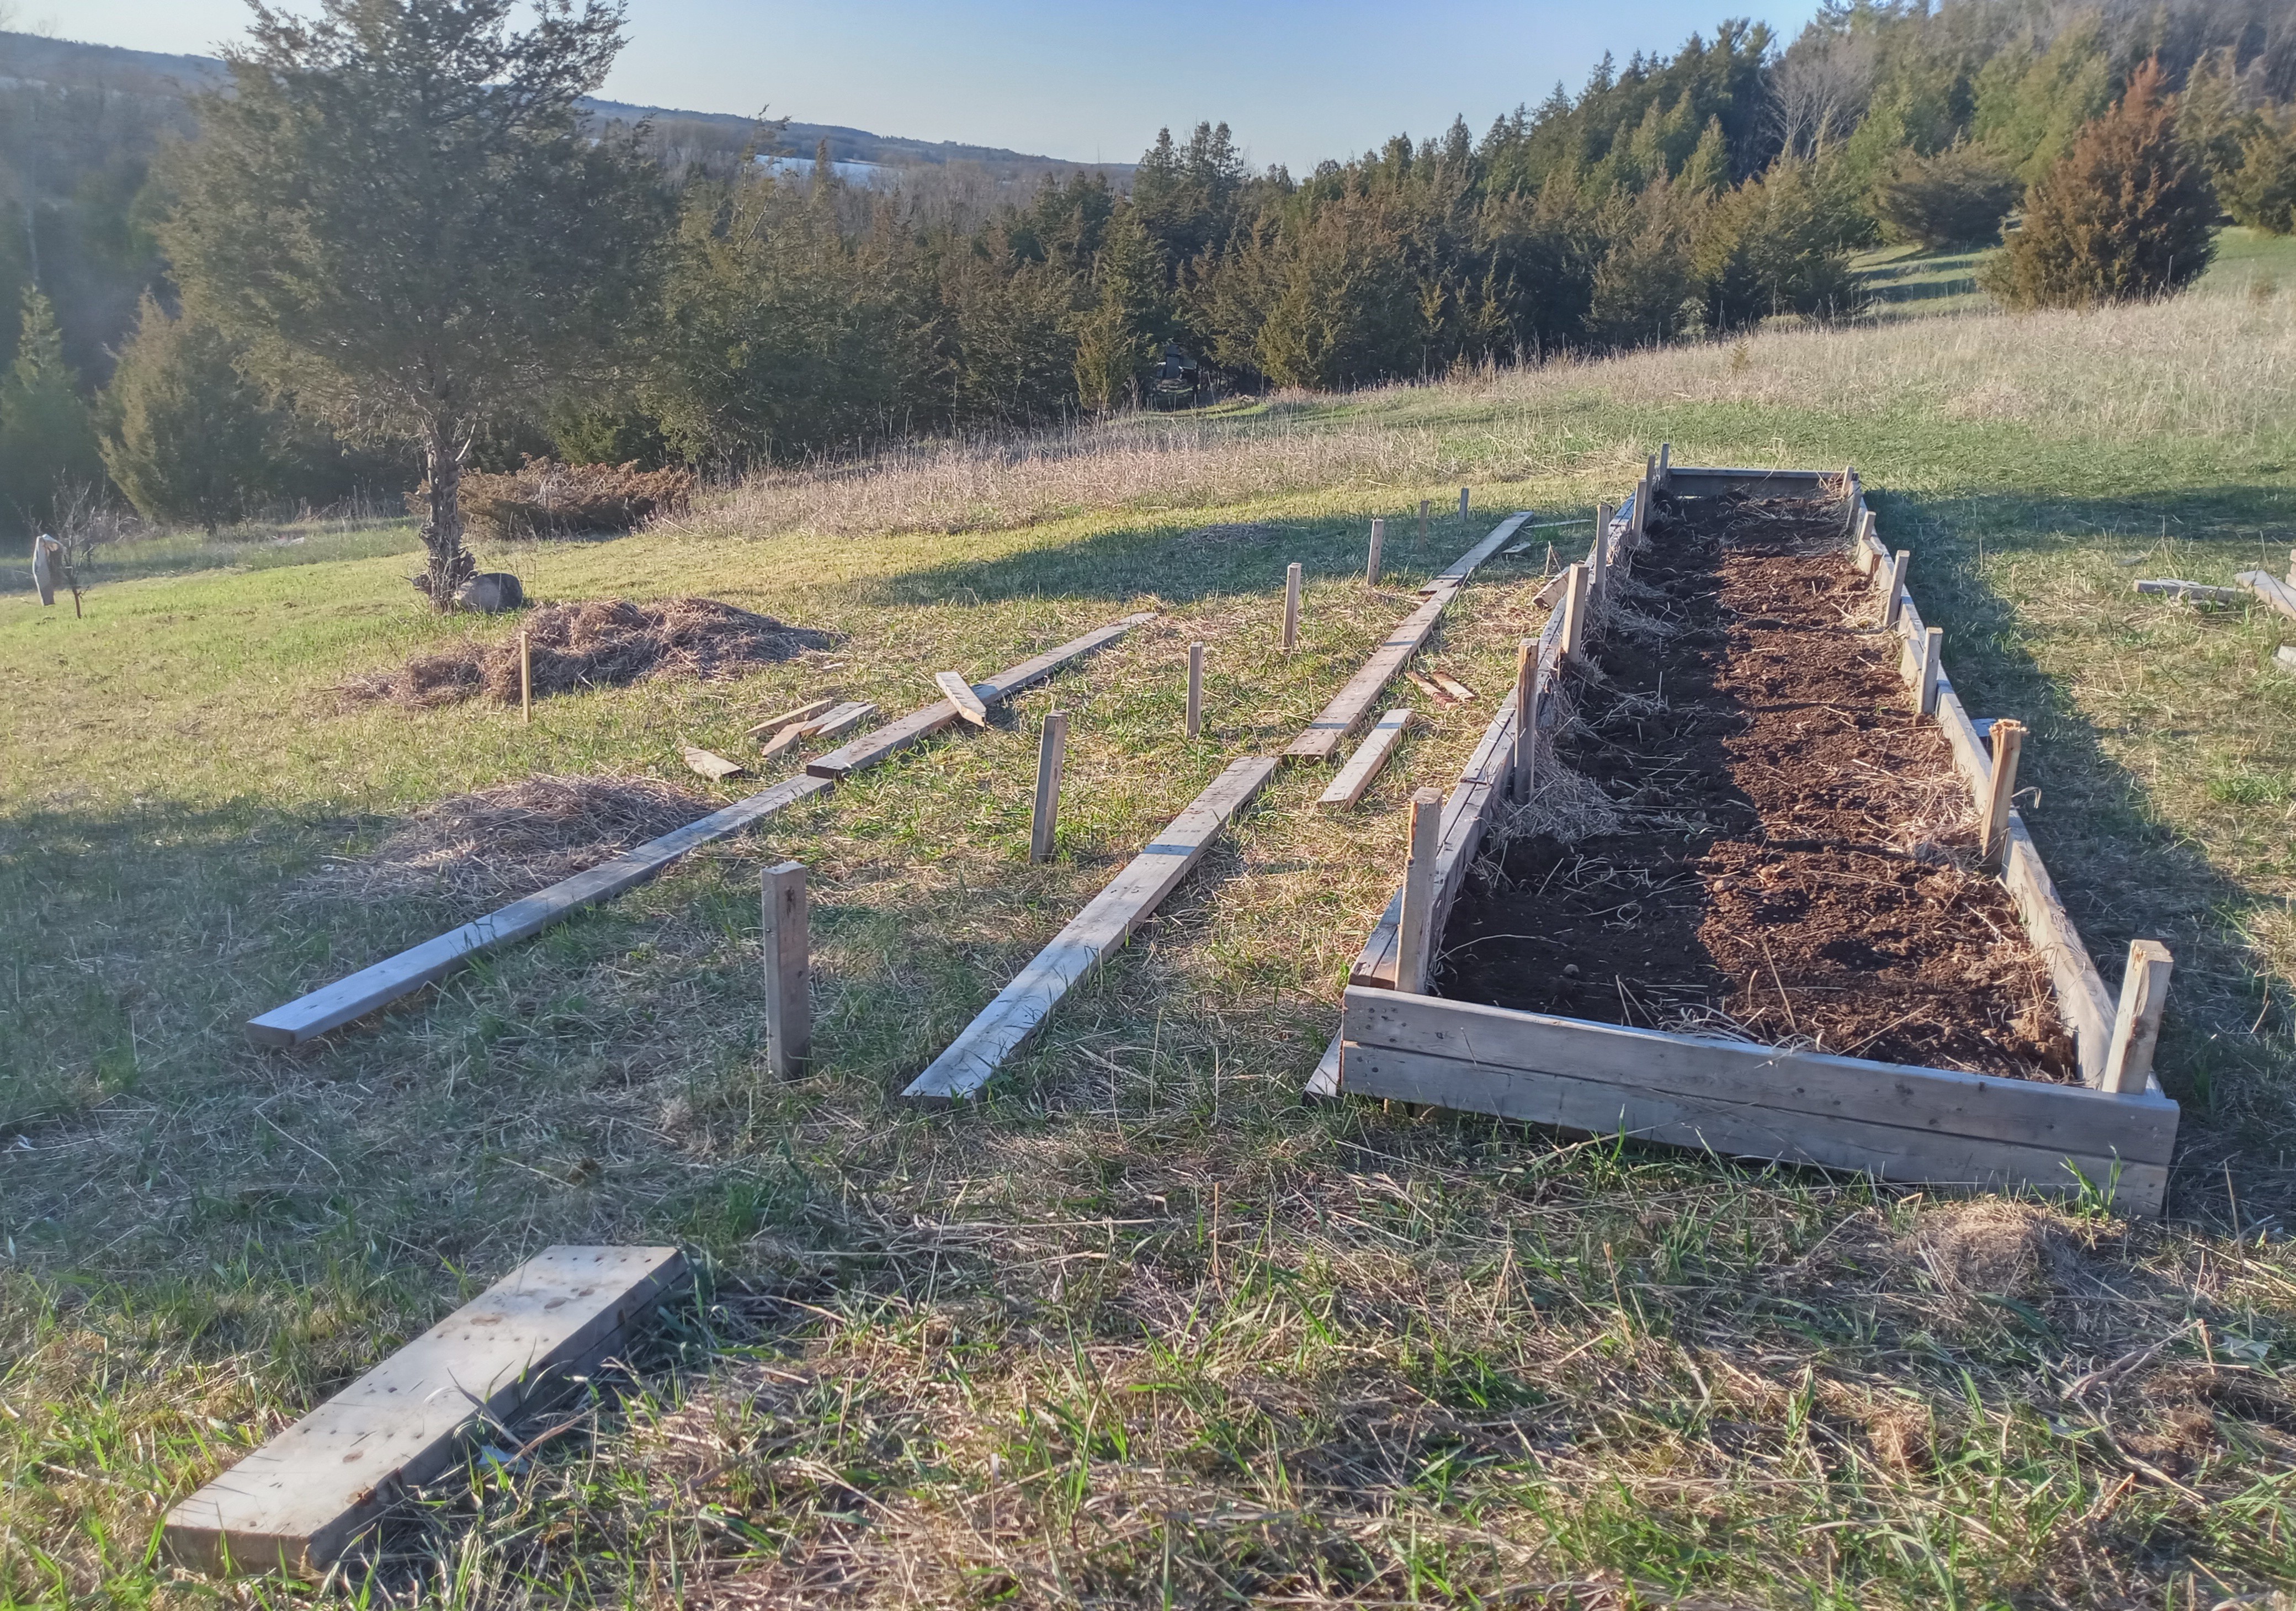
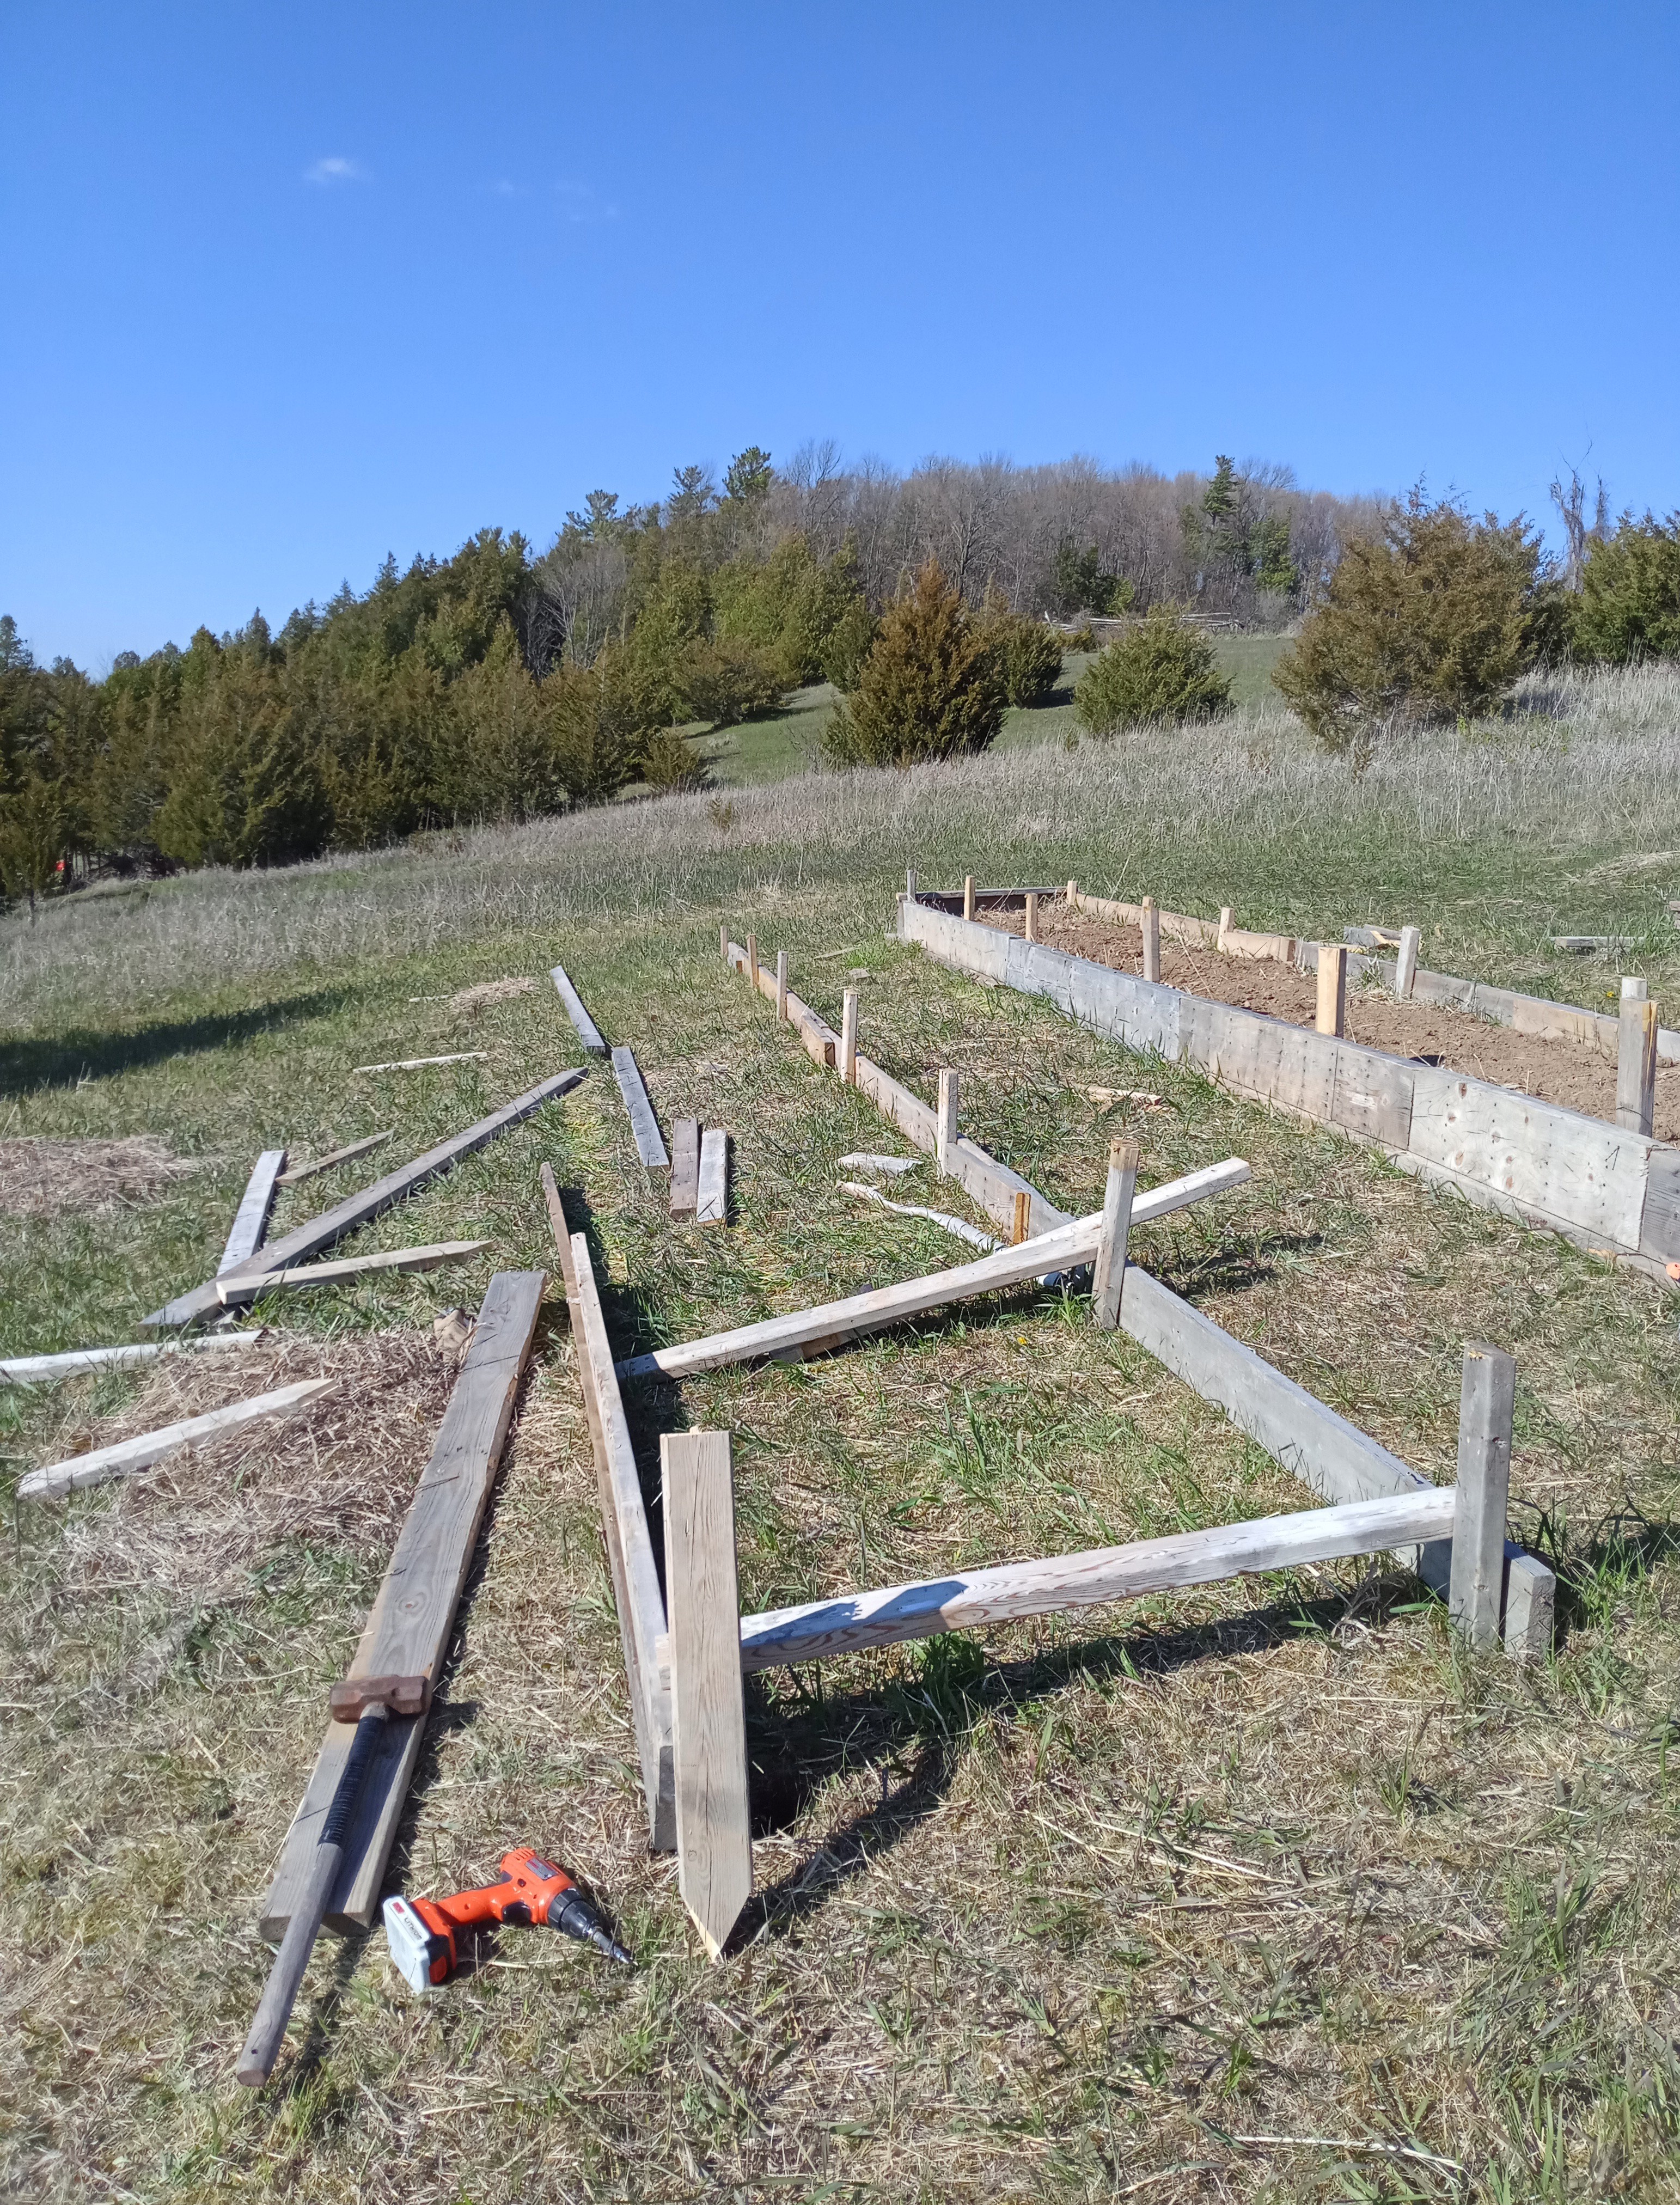
To start the box I staked the up hill side wall corners, then tightly connected a string between the two stakes for a straight line. With the sledge hammer I pounded the remaining stakes into the ground, along the string, every 5ft or so. To line up the stakes for the second wall, I worked my way down the wall with a 3ft 2x4 as a guide for where the second wall and stakes needed to go.
Box Wall
Next I attached the row of 2x6s for the box wall - the longer the lumber the better for these garden box walls, but when I had to add another 2x6, I would join them together on the inside of the box with screws and a short 2x6.
Box Wall Ends
I added 2x4s to the ends to finish the box - a slight length-wise angle to them to make up for the hill slope, with a tight enough fit to hold dirt. You can see the lower side of the hill wall ended up being two 2x4s + one 2x6 rows stacked tall, the upper side of the hill wall is only one row of 2x6s tall.
 |  |
|---|
Stakes Trimmed
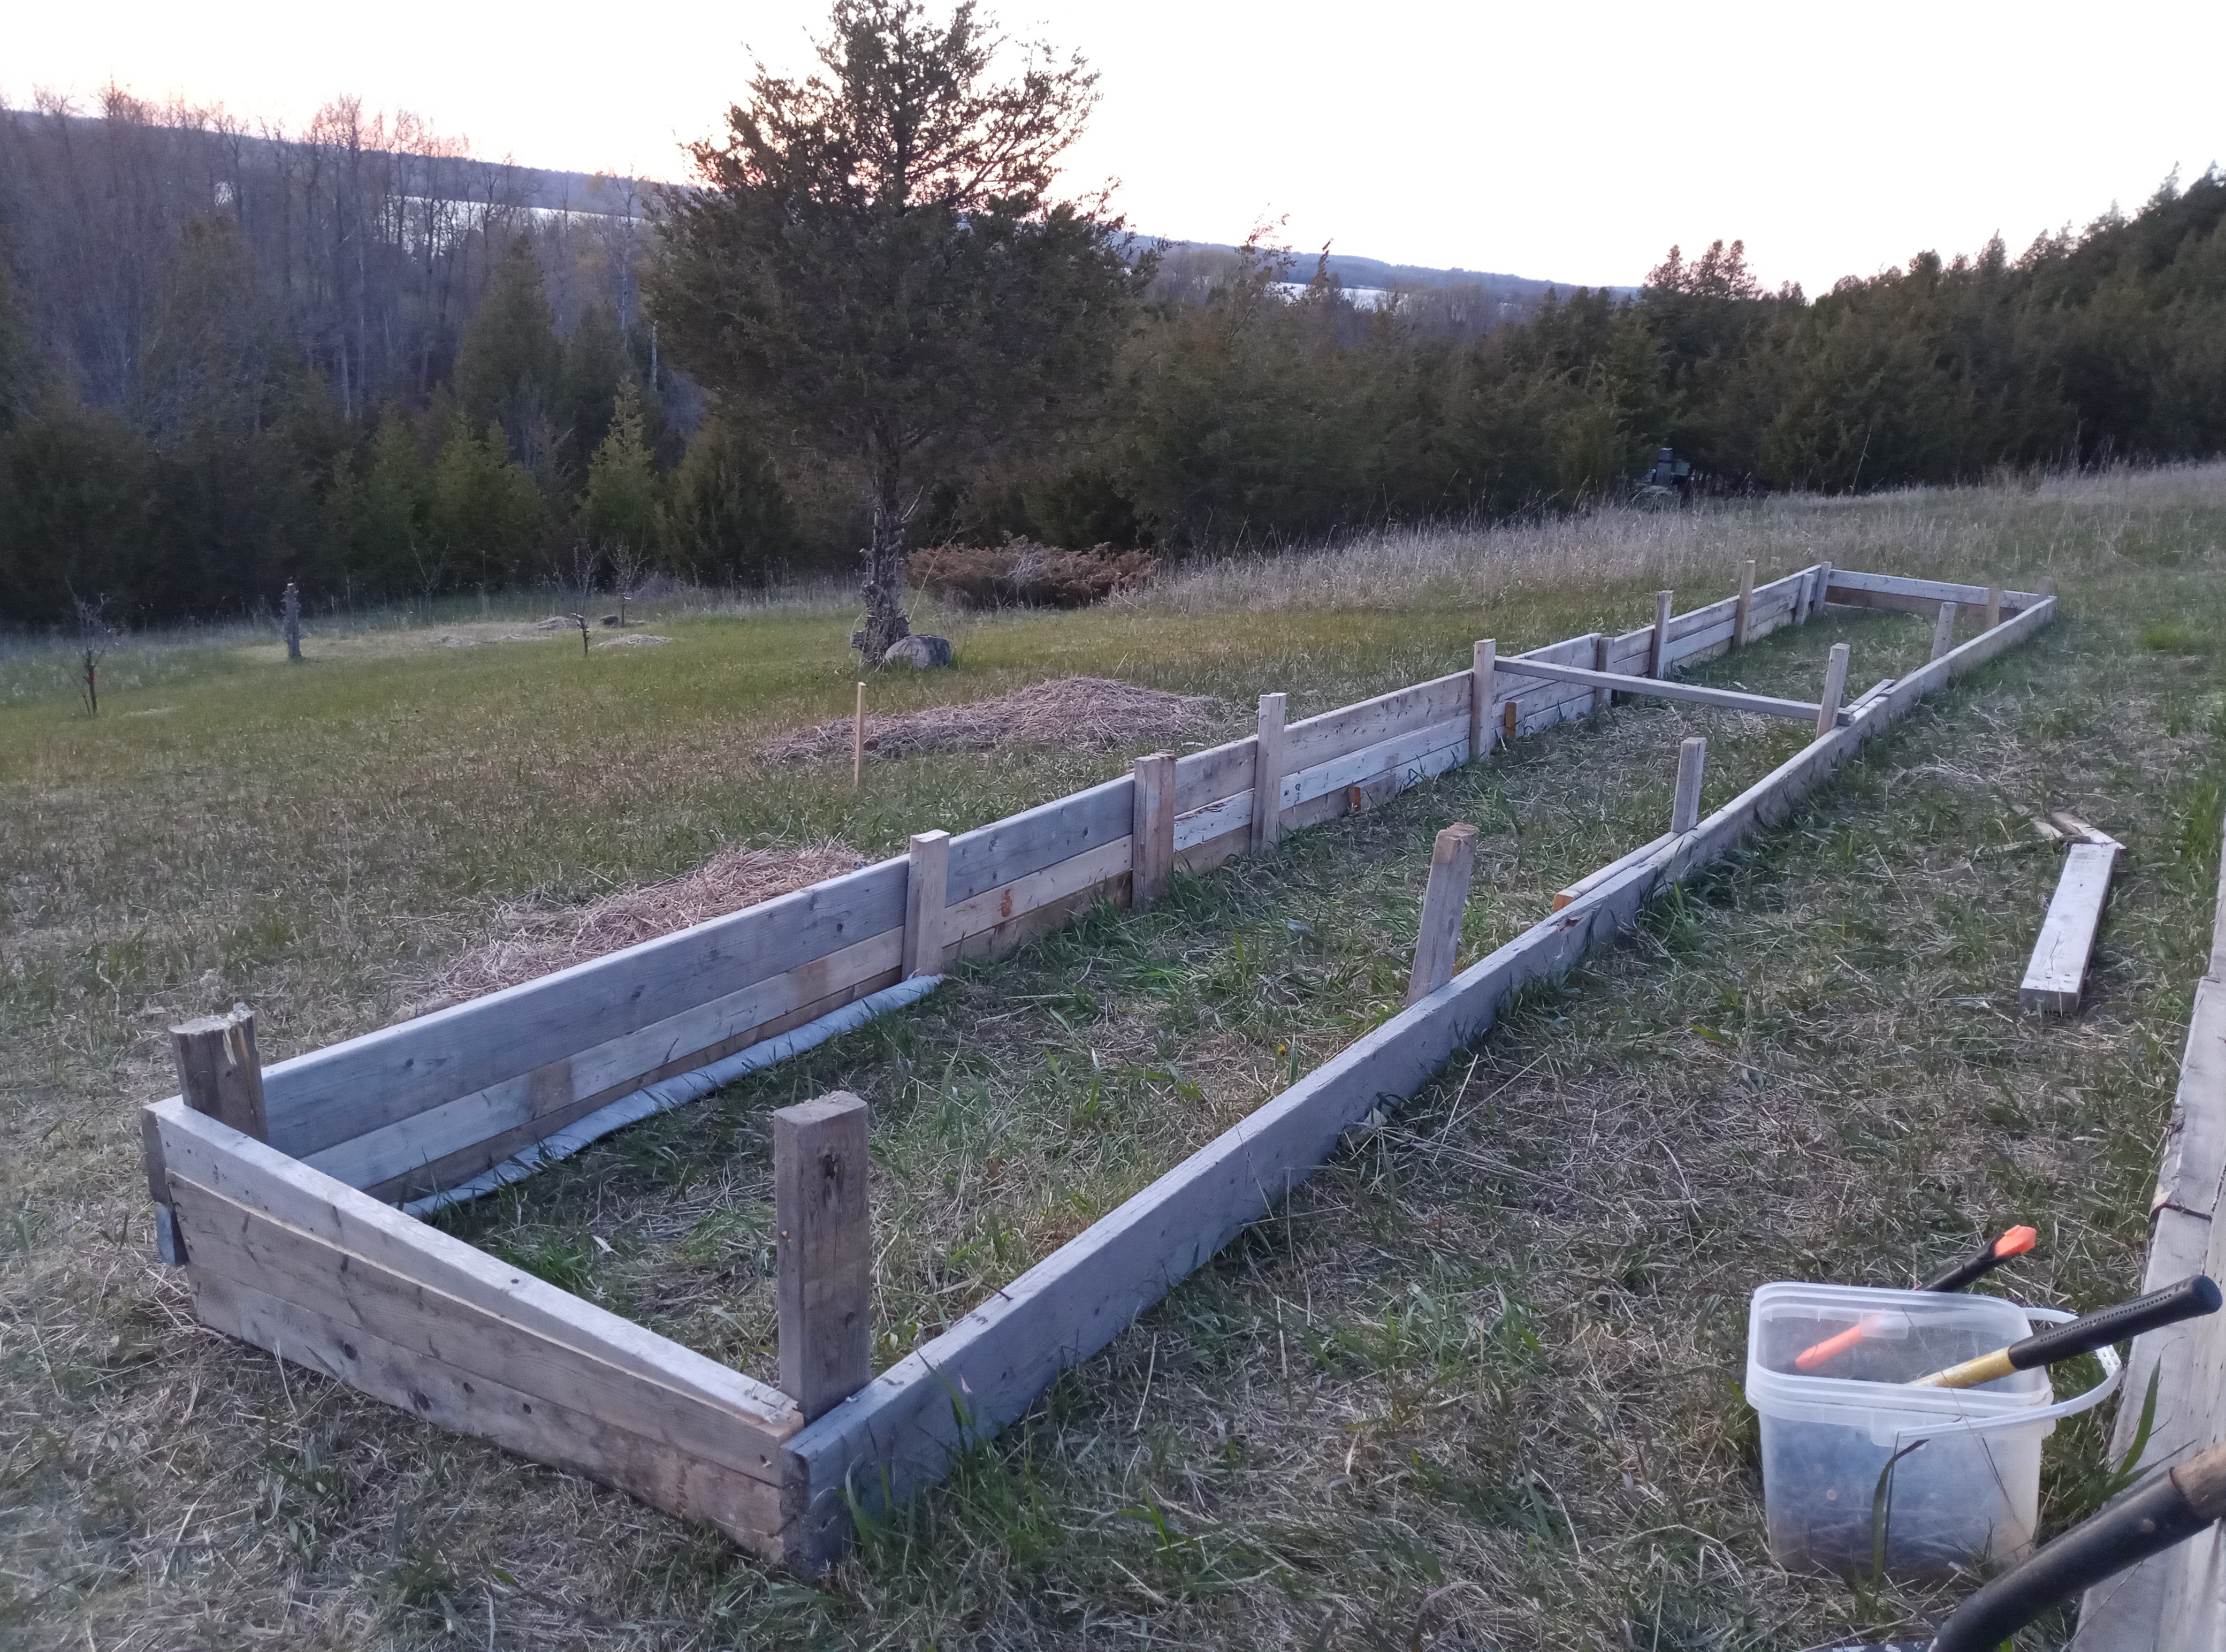
You can see in the picture below that I started sawing off the stakes, level with the top of the box walls - this looks much nicer, and will make it easier to pull a sheet of plastic over the whole garden box after seeding the rows.
Garden Row Box Filling
Filling Options
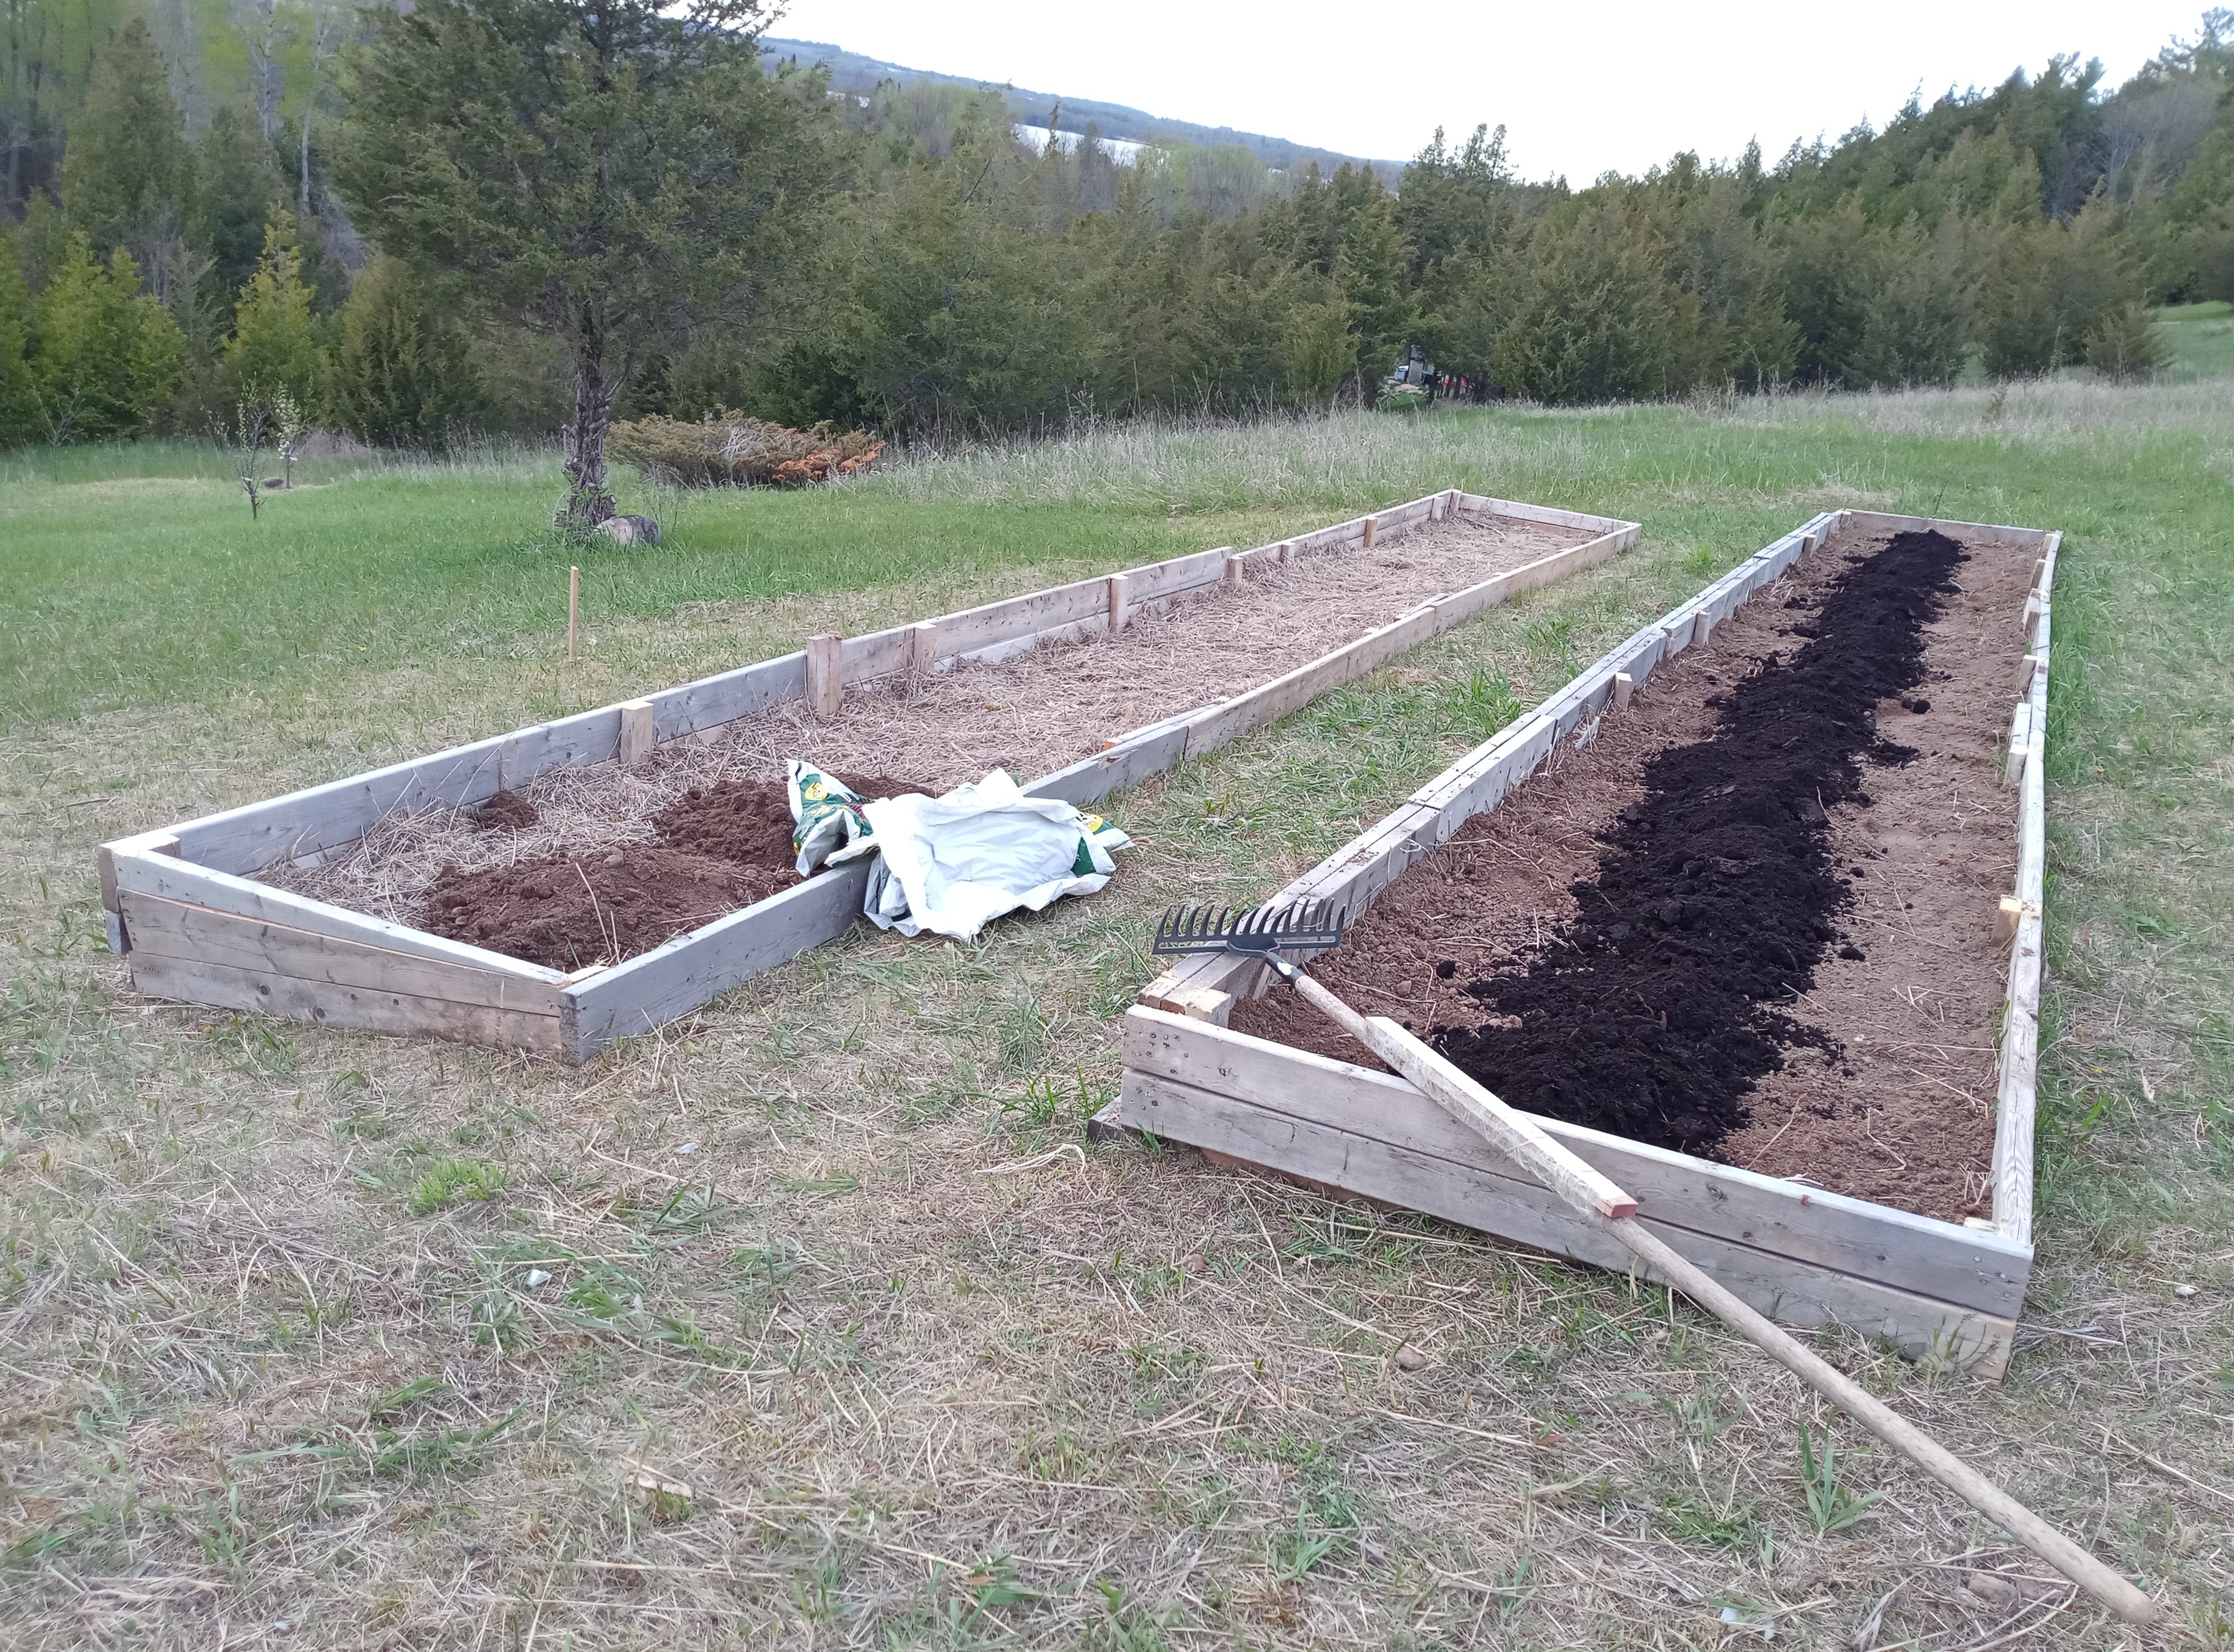
There are many ways to fill a garden box, depending on the crop, high quality compost is one of the best options. My garden row box planning took place at the start of the covid shutdown, at the time I had no access to the free pickup local community compost. Another option to fill garden boxes is to have the dirt delivered, triple mix is a good option, it usually consists of 1/3 top soil, 1/3 peat moss, 1/3 compost - triple mix is fluffy and holds lots of water and air for the roots.
 |  |
|---|
Garden Box Filling
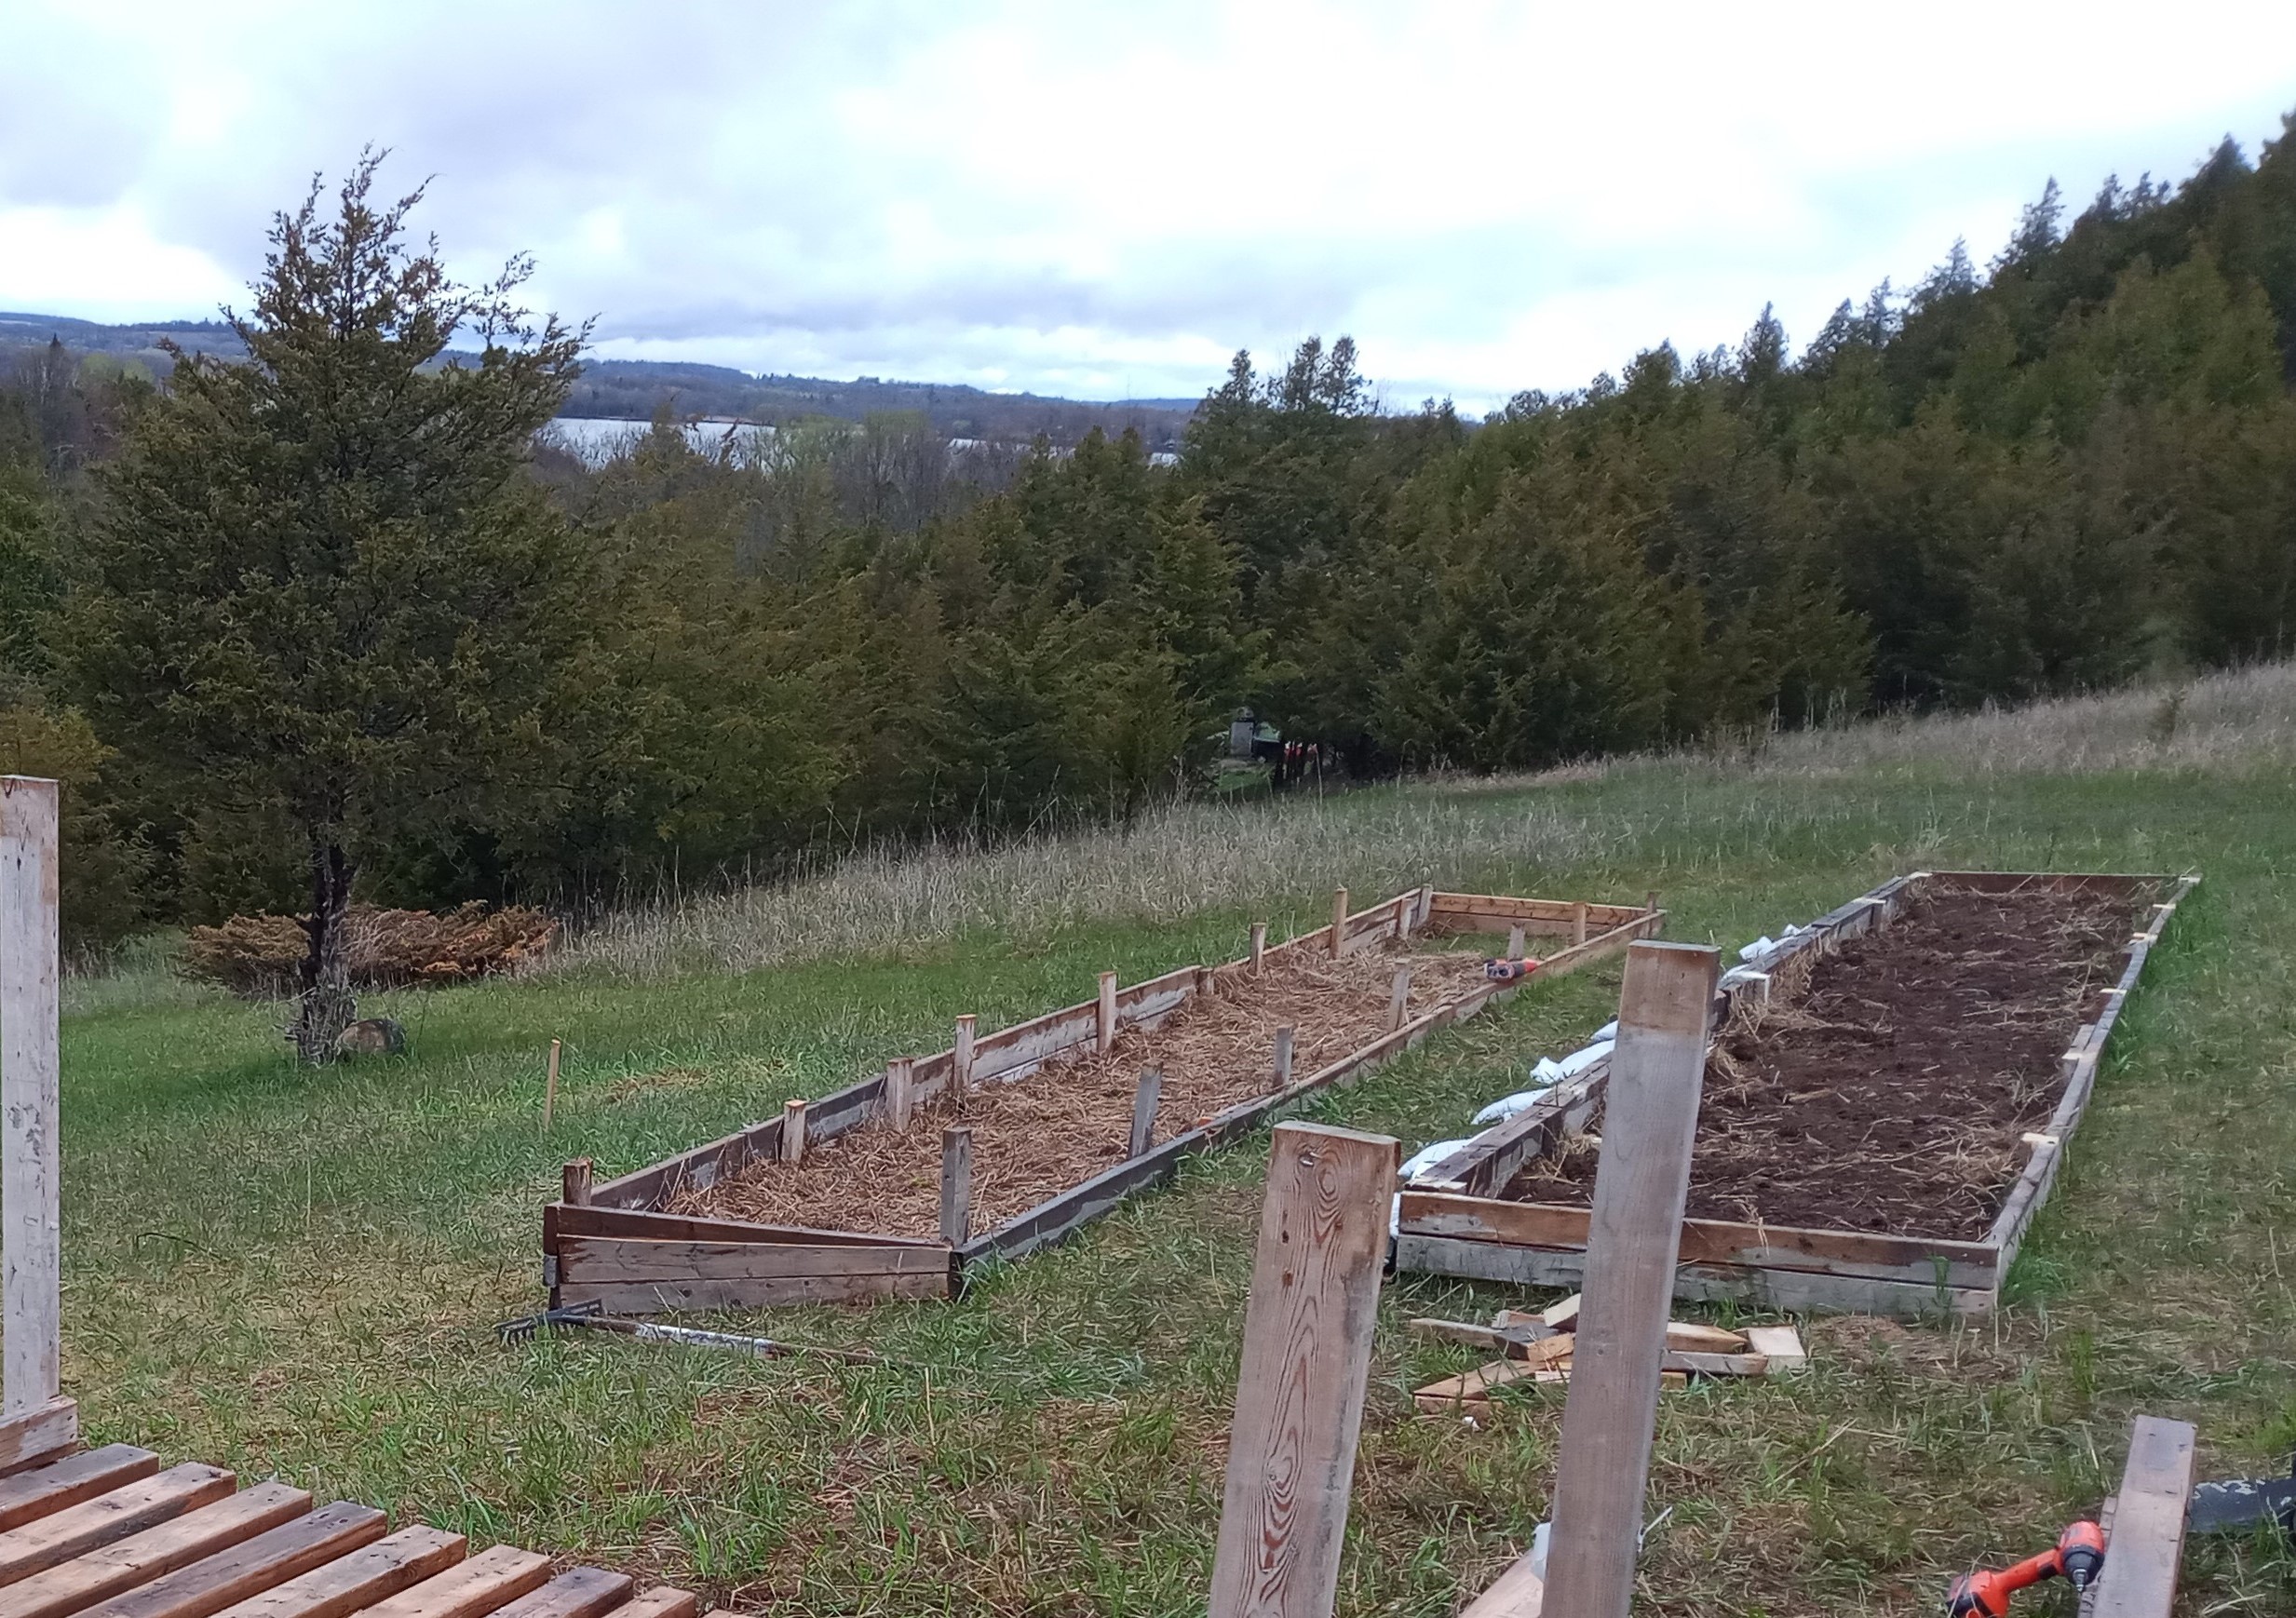
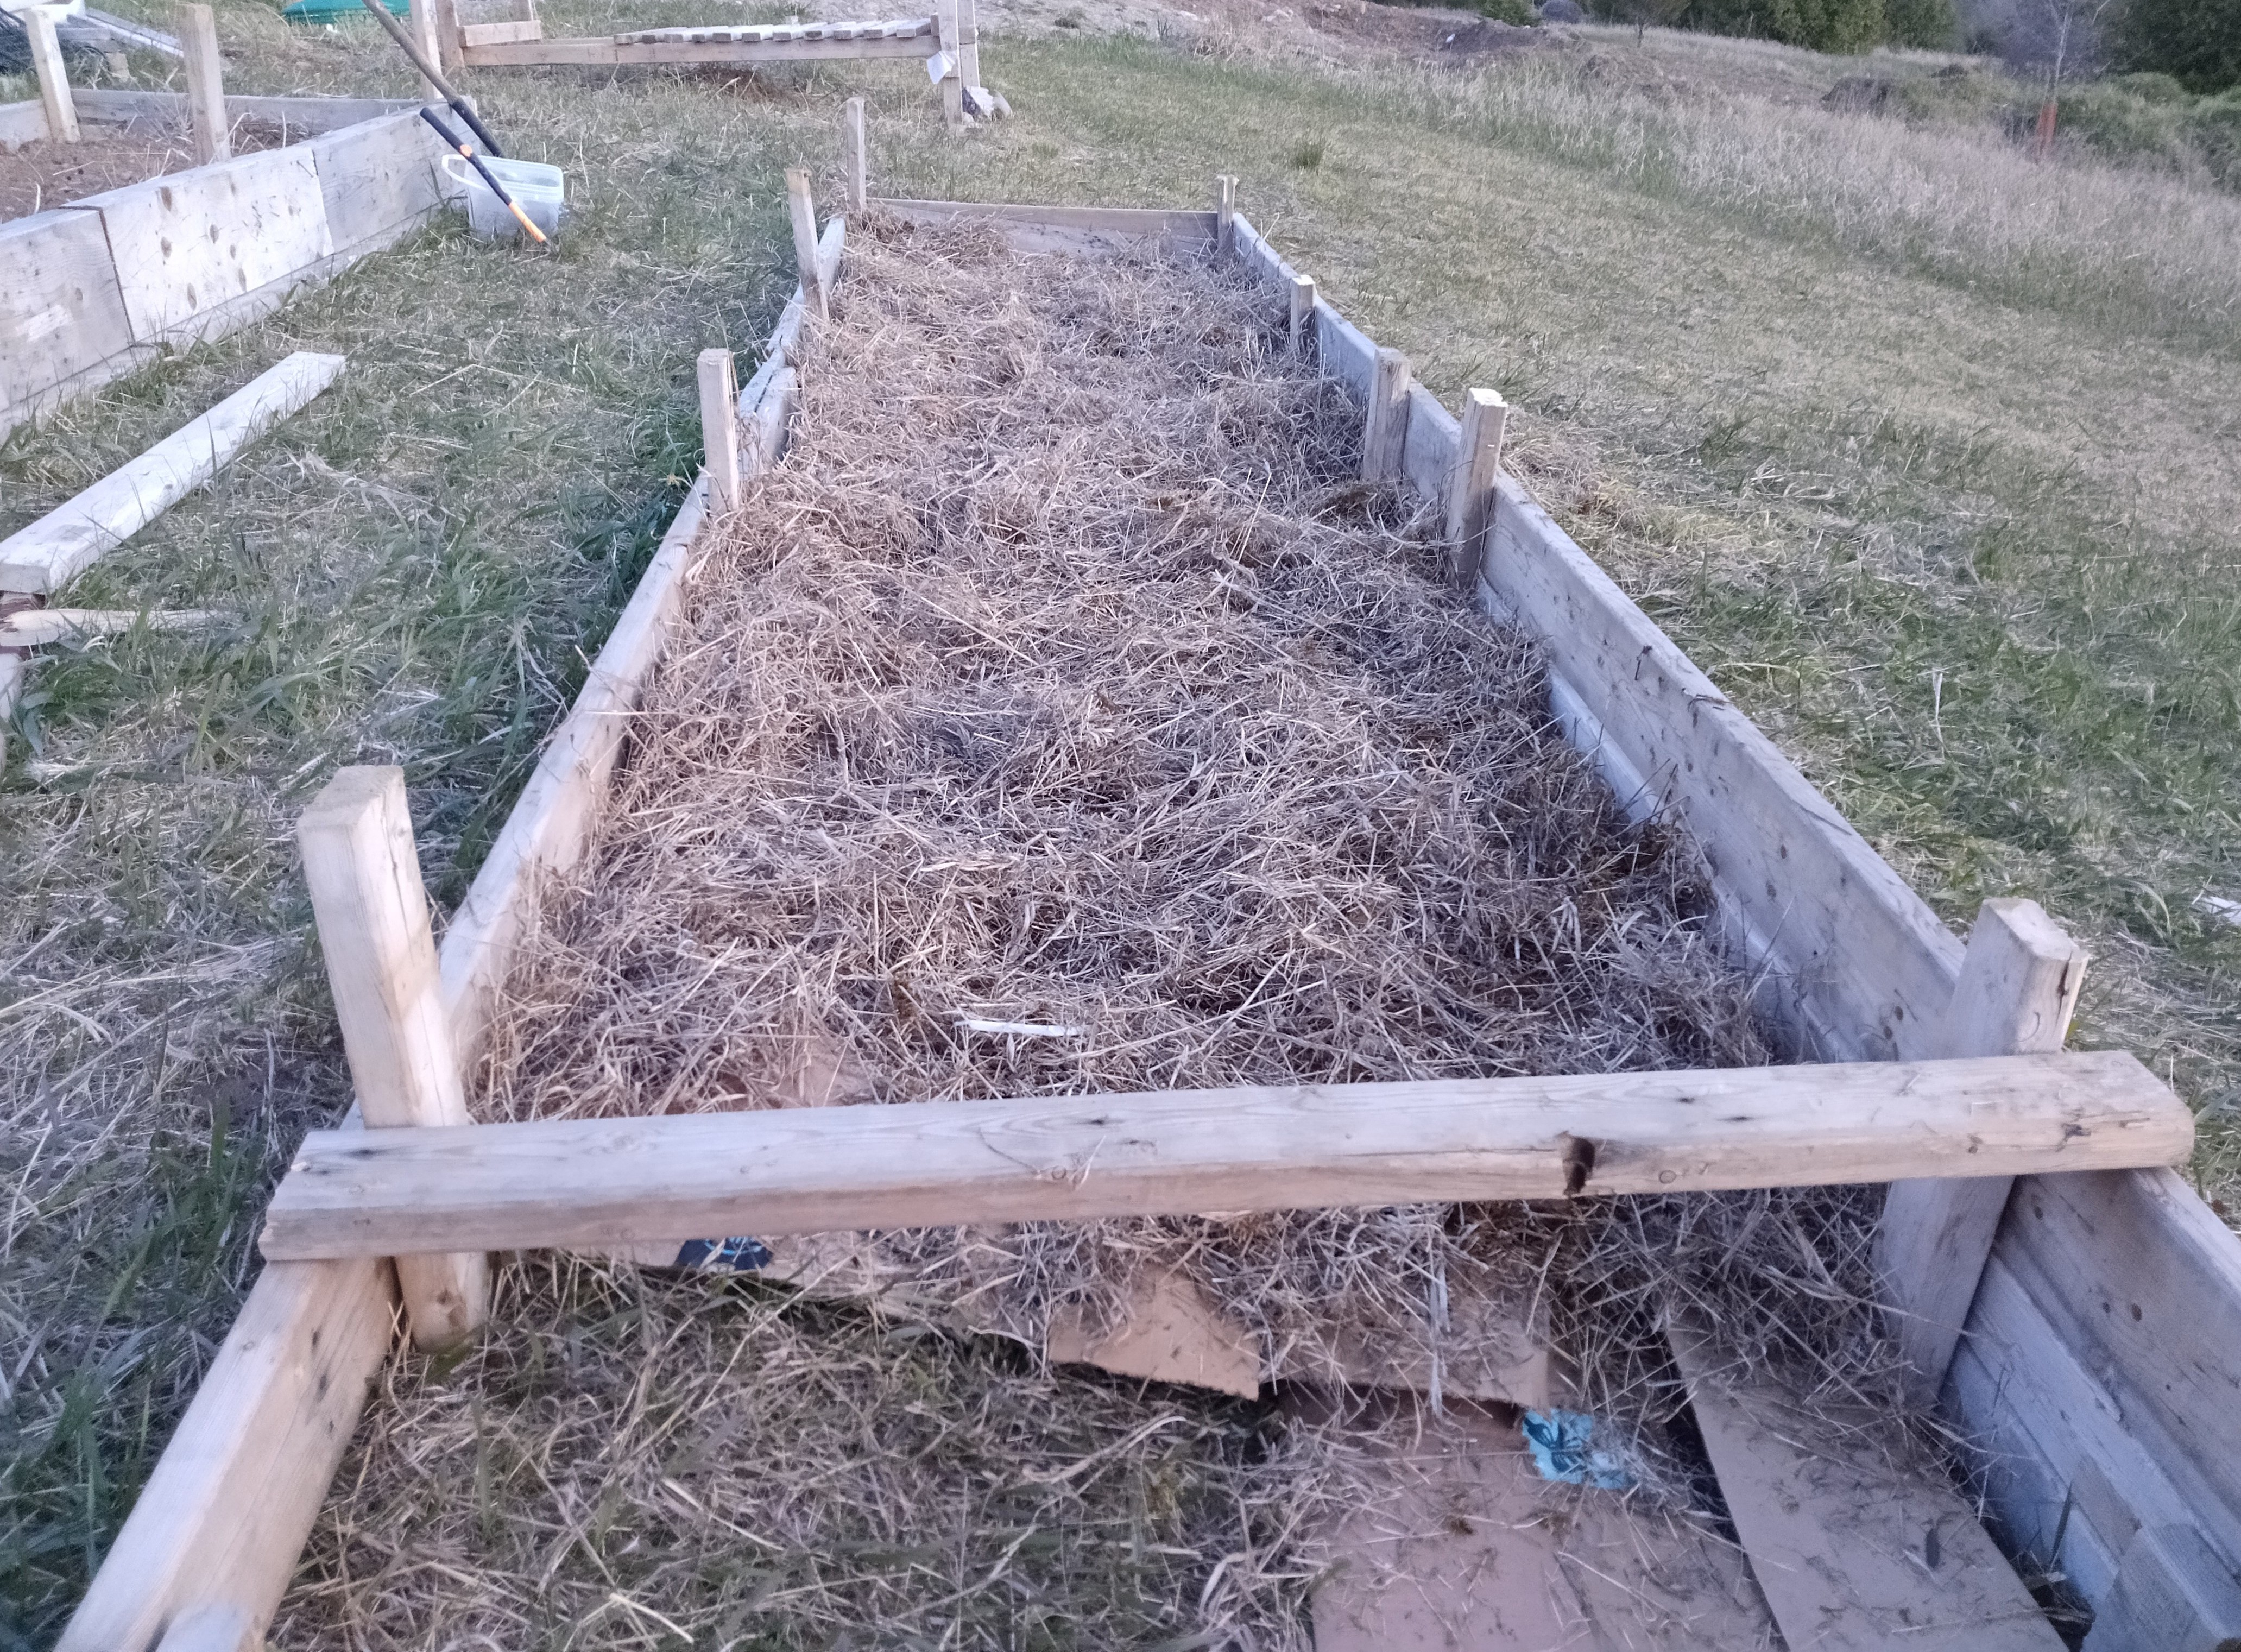
My garden box was filled with a variety of materials. As you can see above, first I laid down a layer of cardboard, so I wouldn't have to dig up the grass. The cardboard at first is tough enough to suppress the grass from growing through it, eventually the grass dies and composts. The cardboard eventually gets wet and starts to compost as well, the garden roots will grow down through it. I added a thick layer of hay (full grown dried out field grass from last year) on top of the cardboard - this will also help suppress the grass, add air pockets, hold water, and will eventually compost to provide more nutrients to the garden.
 |  |
|---|
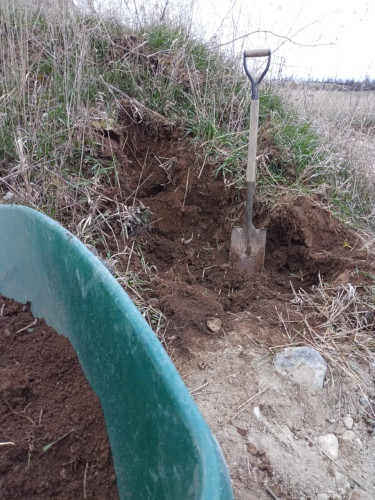
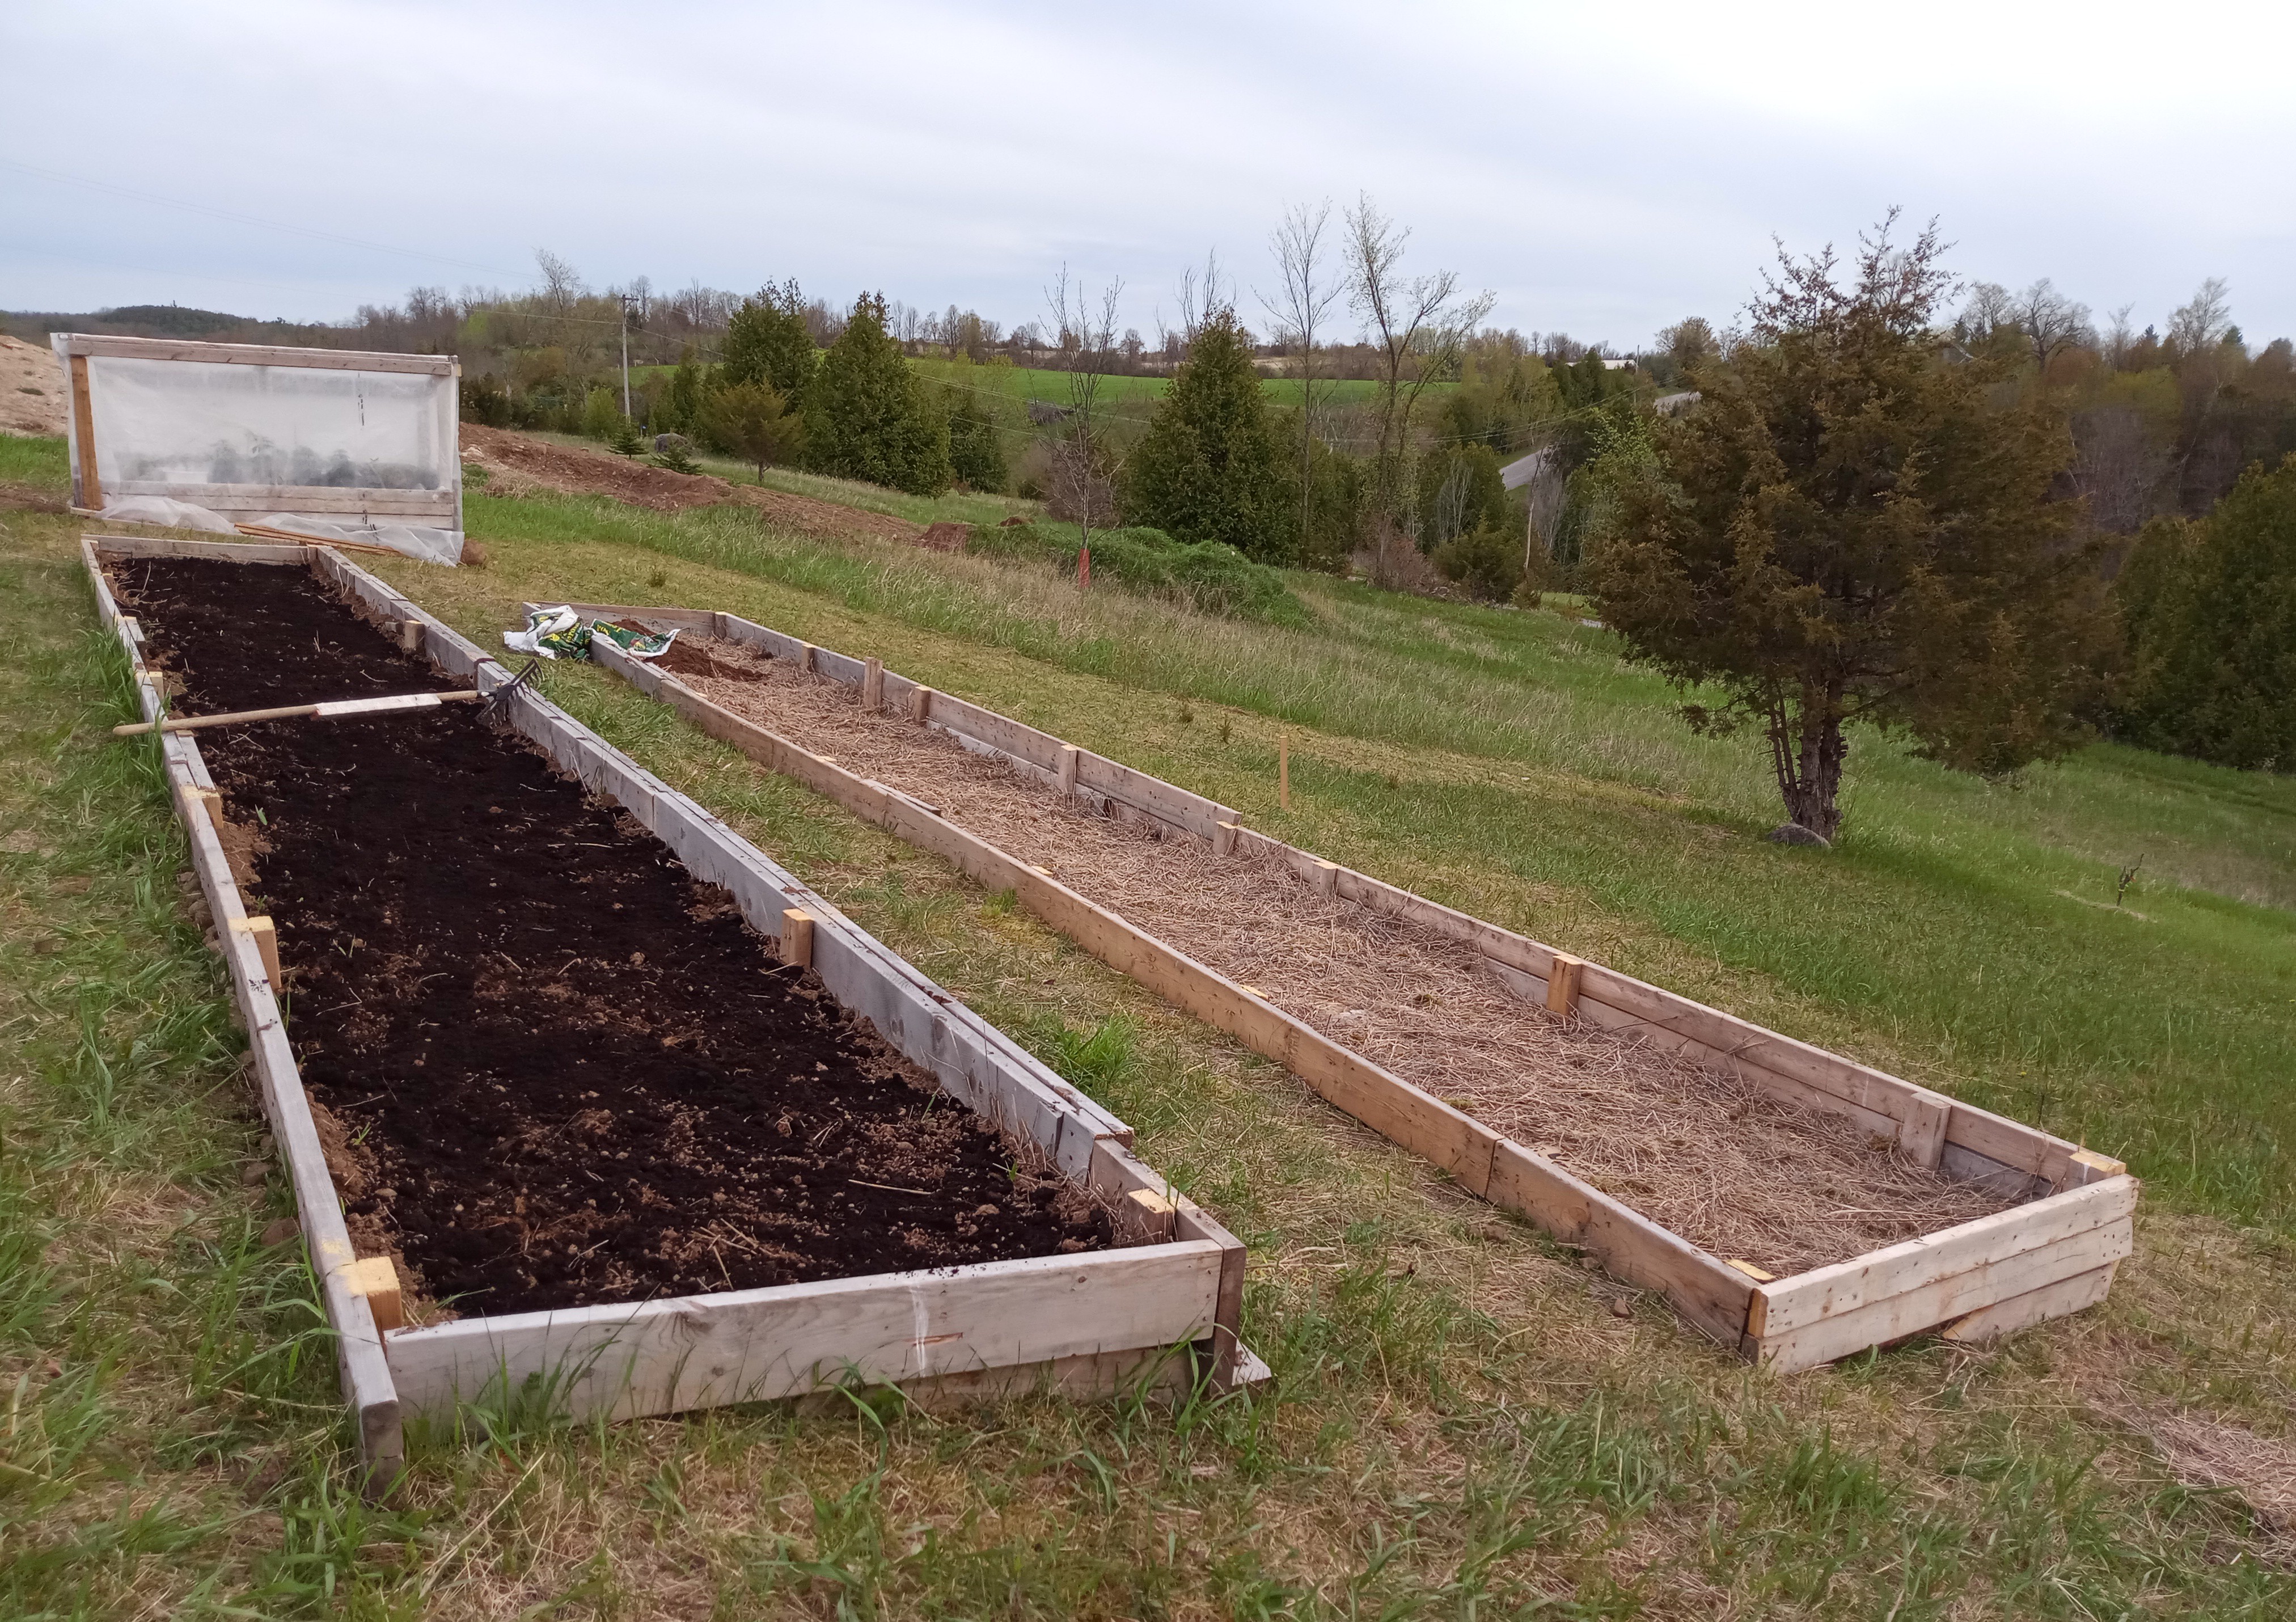
In the picture above you can see one of the mounds of top soil from my house construction - a borrowed some of this top soil and brought over apx. 15-20 wheel barrels full for the first layer of the garden box dirt. In the picture below are the 10 bags of potting soil for the second layer of garden box dirt.
 |  |
|---|
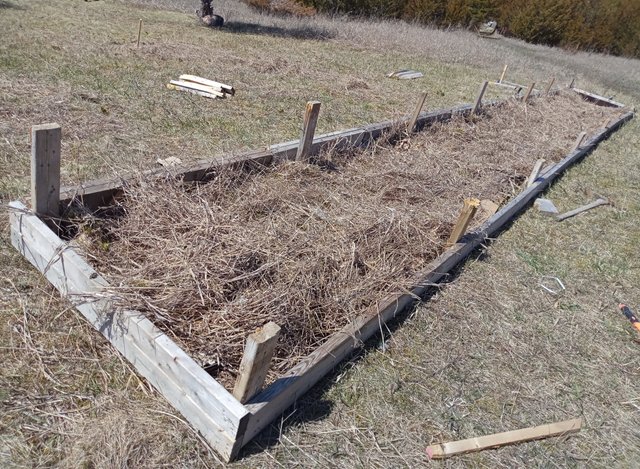
I raked out the dirt evenly, you can see the garden row box stakes have all been trimmed down flat with the box walls, that's nice.
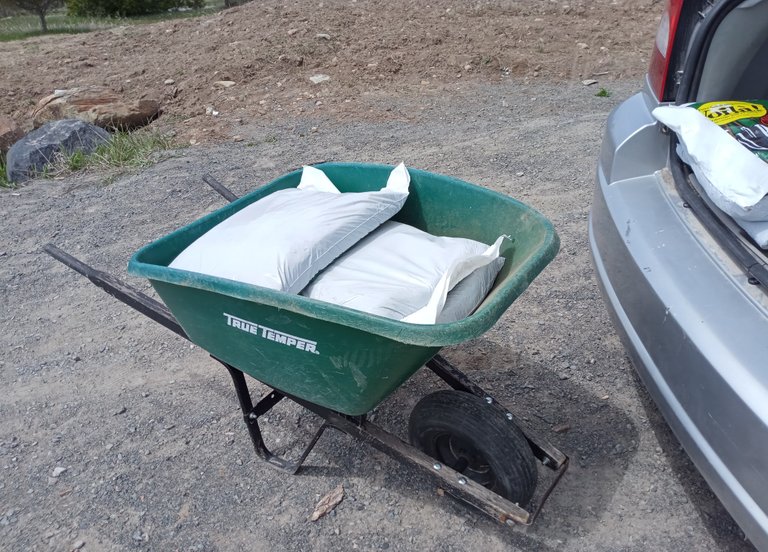
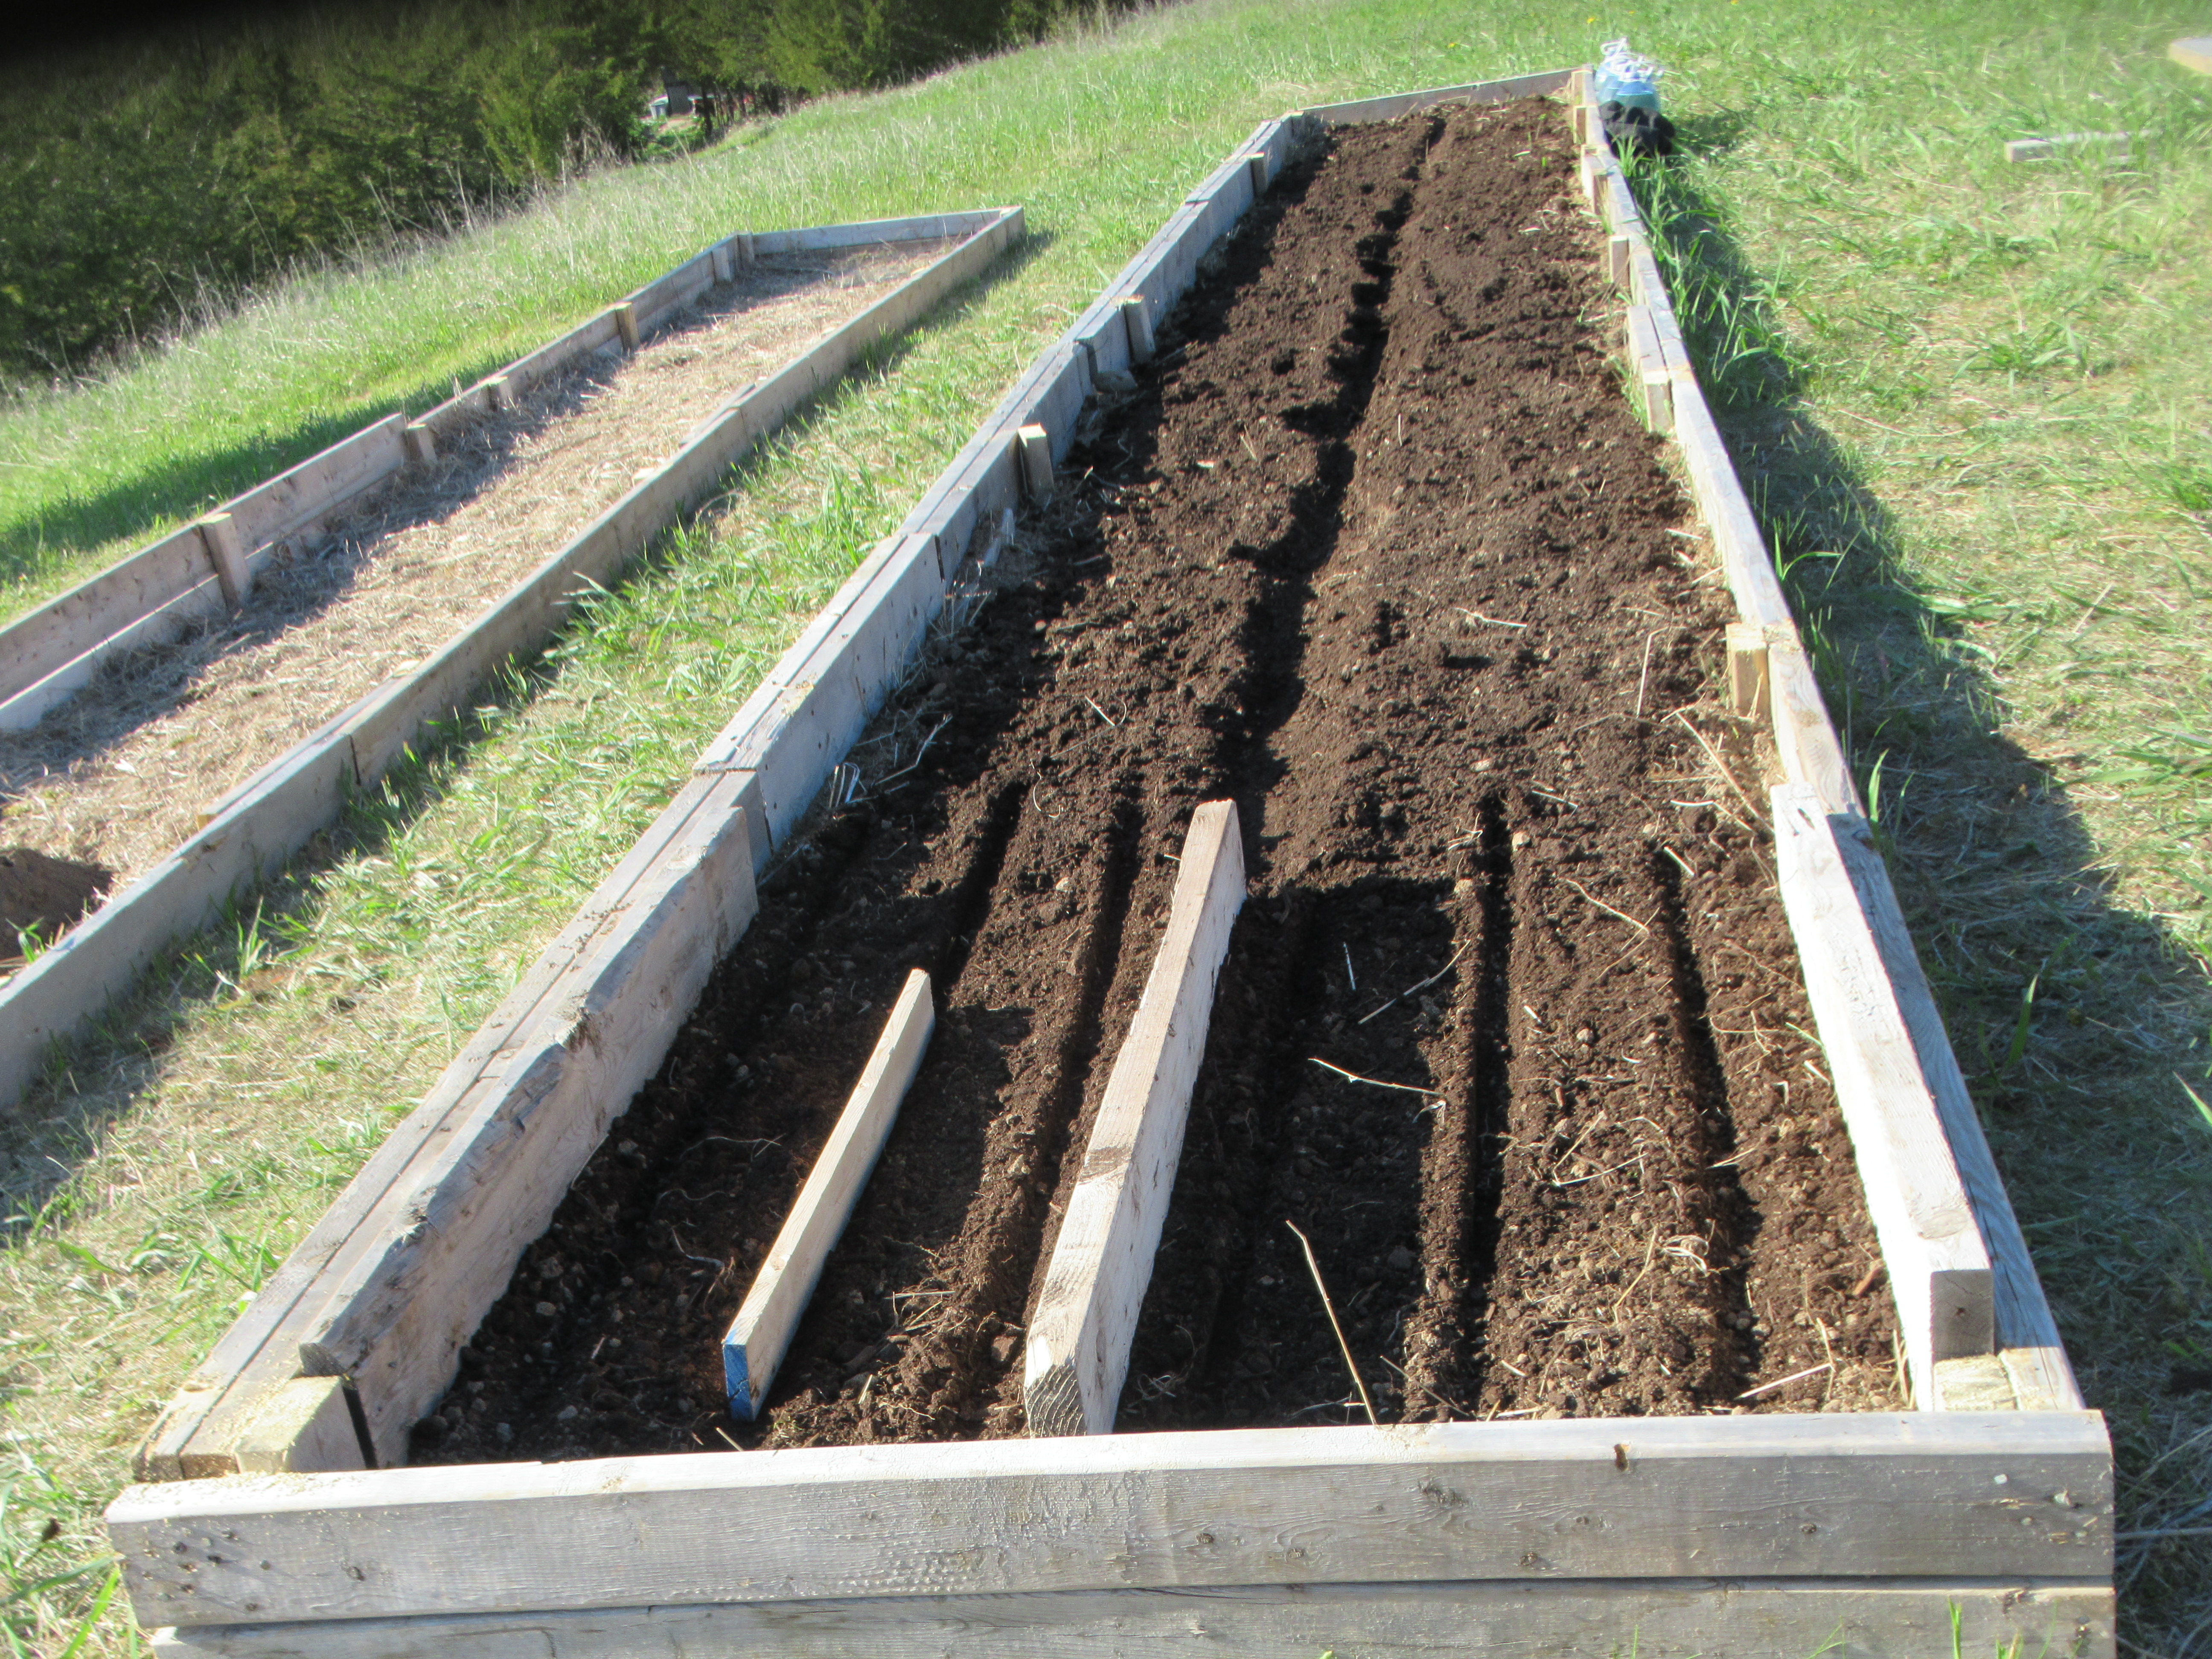
One more load of dirt for the last layer - 5 double sized bags, 17 kg each. Added it to the box, leaving a little ditch, length wise down the middle, and on the sides. I'll be adding compost to the ditches as the season goes on, to let the nutrients leech down to the roots, and to slowly build the garden soil to a higher quality.
 |  |
|---|