¿Cómo pintar la piel en Photoshop? (piel difusa) | How to paint skin in Photoshop? (fuzzy skin)
Arte Digital | Digital Art
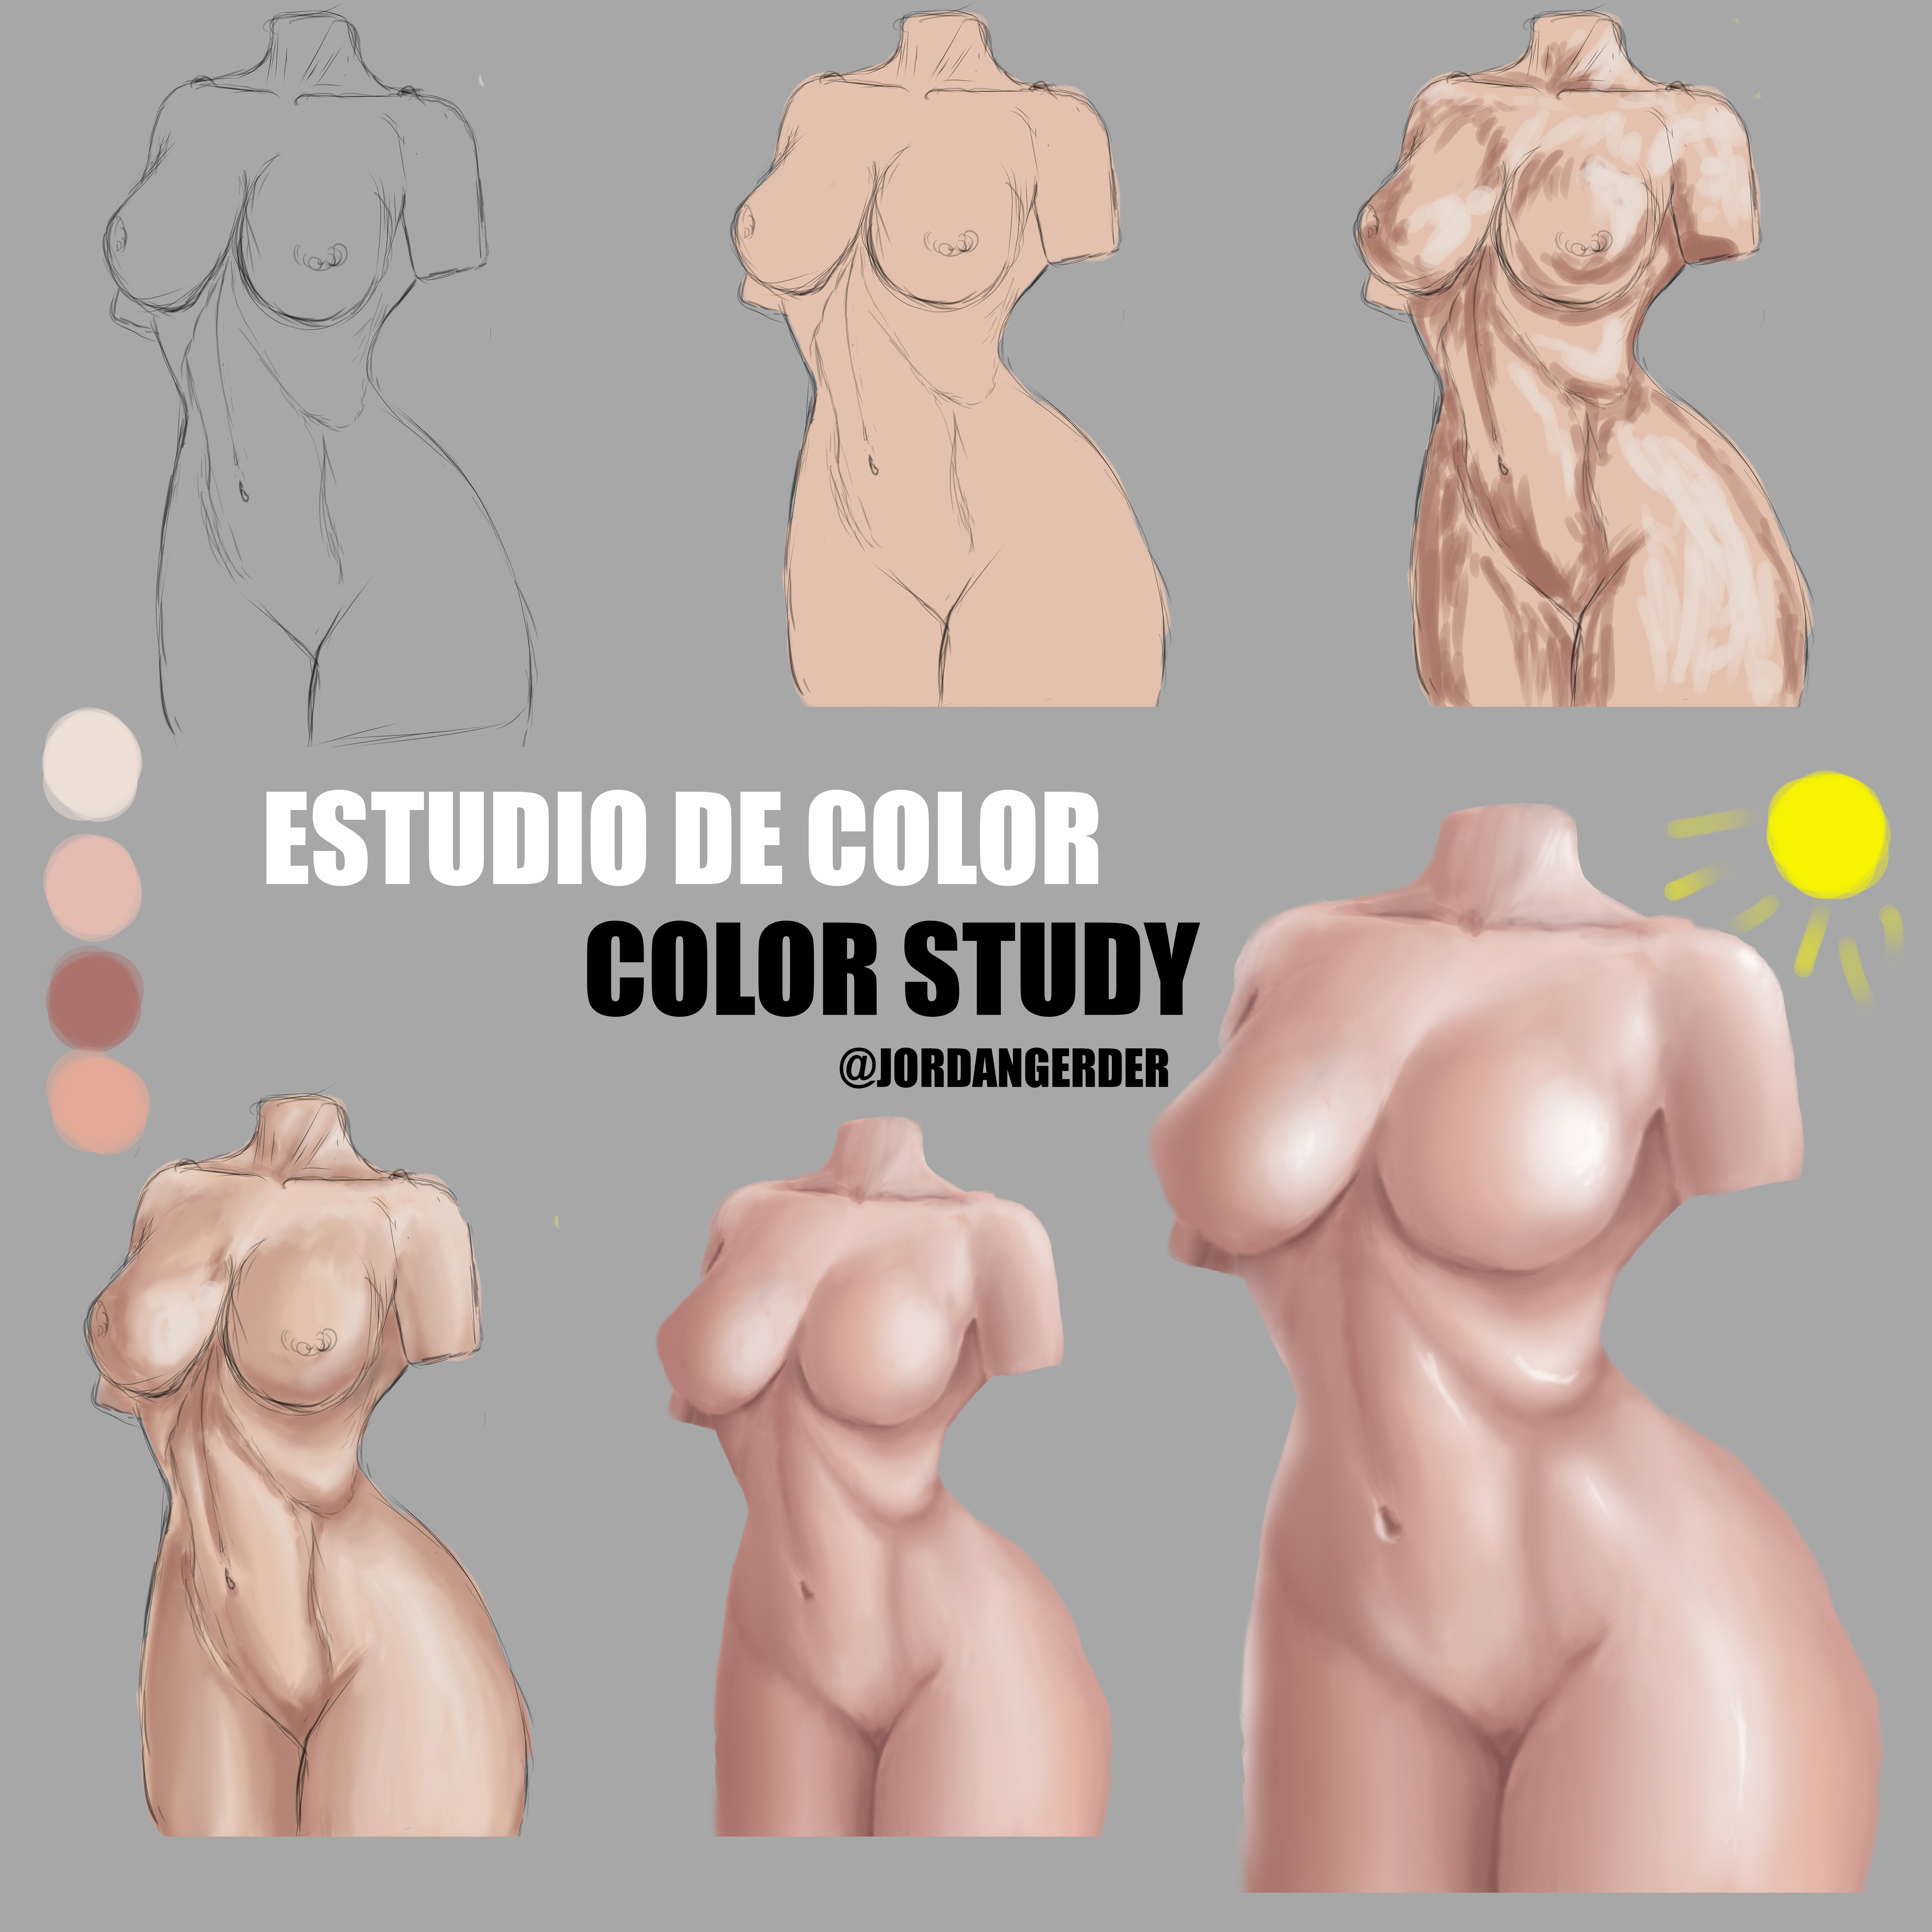
Hey, un cordial saludo para la comunidad en general, estoy de regreso con una práctica o estudio de color para la creación de piel en Photoshop, este tipo de prácticas pienso que me ayudará como artista digital, siempre ando aprendiendo sobre la marcha pero me he apartado un día para estudiar este tema en específico, en esta publicación te mostraré como es que @jordangerder dibuja la piel de sus personajes ❤️...
Hey, a cordial greeting to the community in general, I am back with a practice or study of color for creating skin in Photoshop, this type of practice I think would help me as a digital artist, I am always learning as I go but I have set aside one day to study this specific topic, in this post I will show you how @jordangerder draws the skin of his characters ❤️...
¡Espero te guste! | I hope you like!
Presentación del diseño | Desing presentación
Materiales | Materials
- Mini laptop
- Tableta Huion H950P
- Programa Adobe Photoshop cc
- Mini laptop
- Huion H950P tablet
- Adobe Photoshop cc program

Proceso | Process
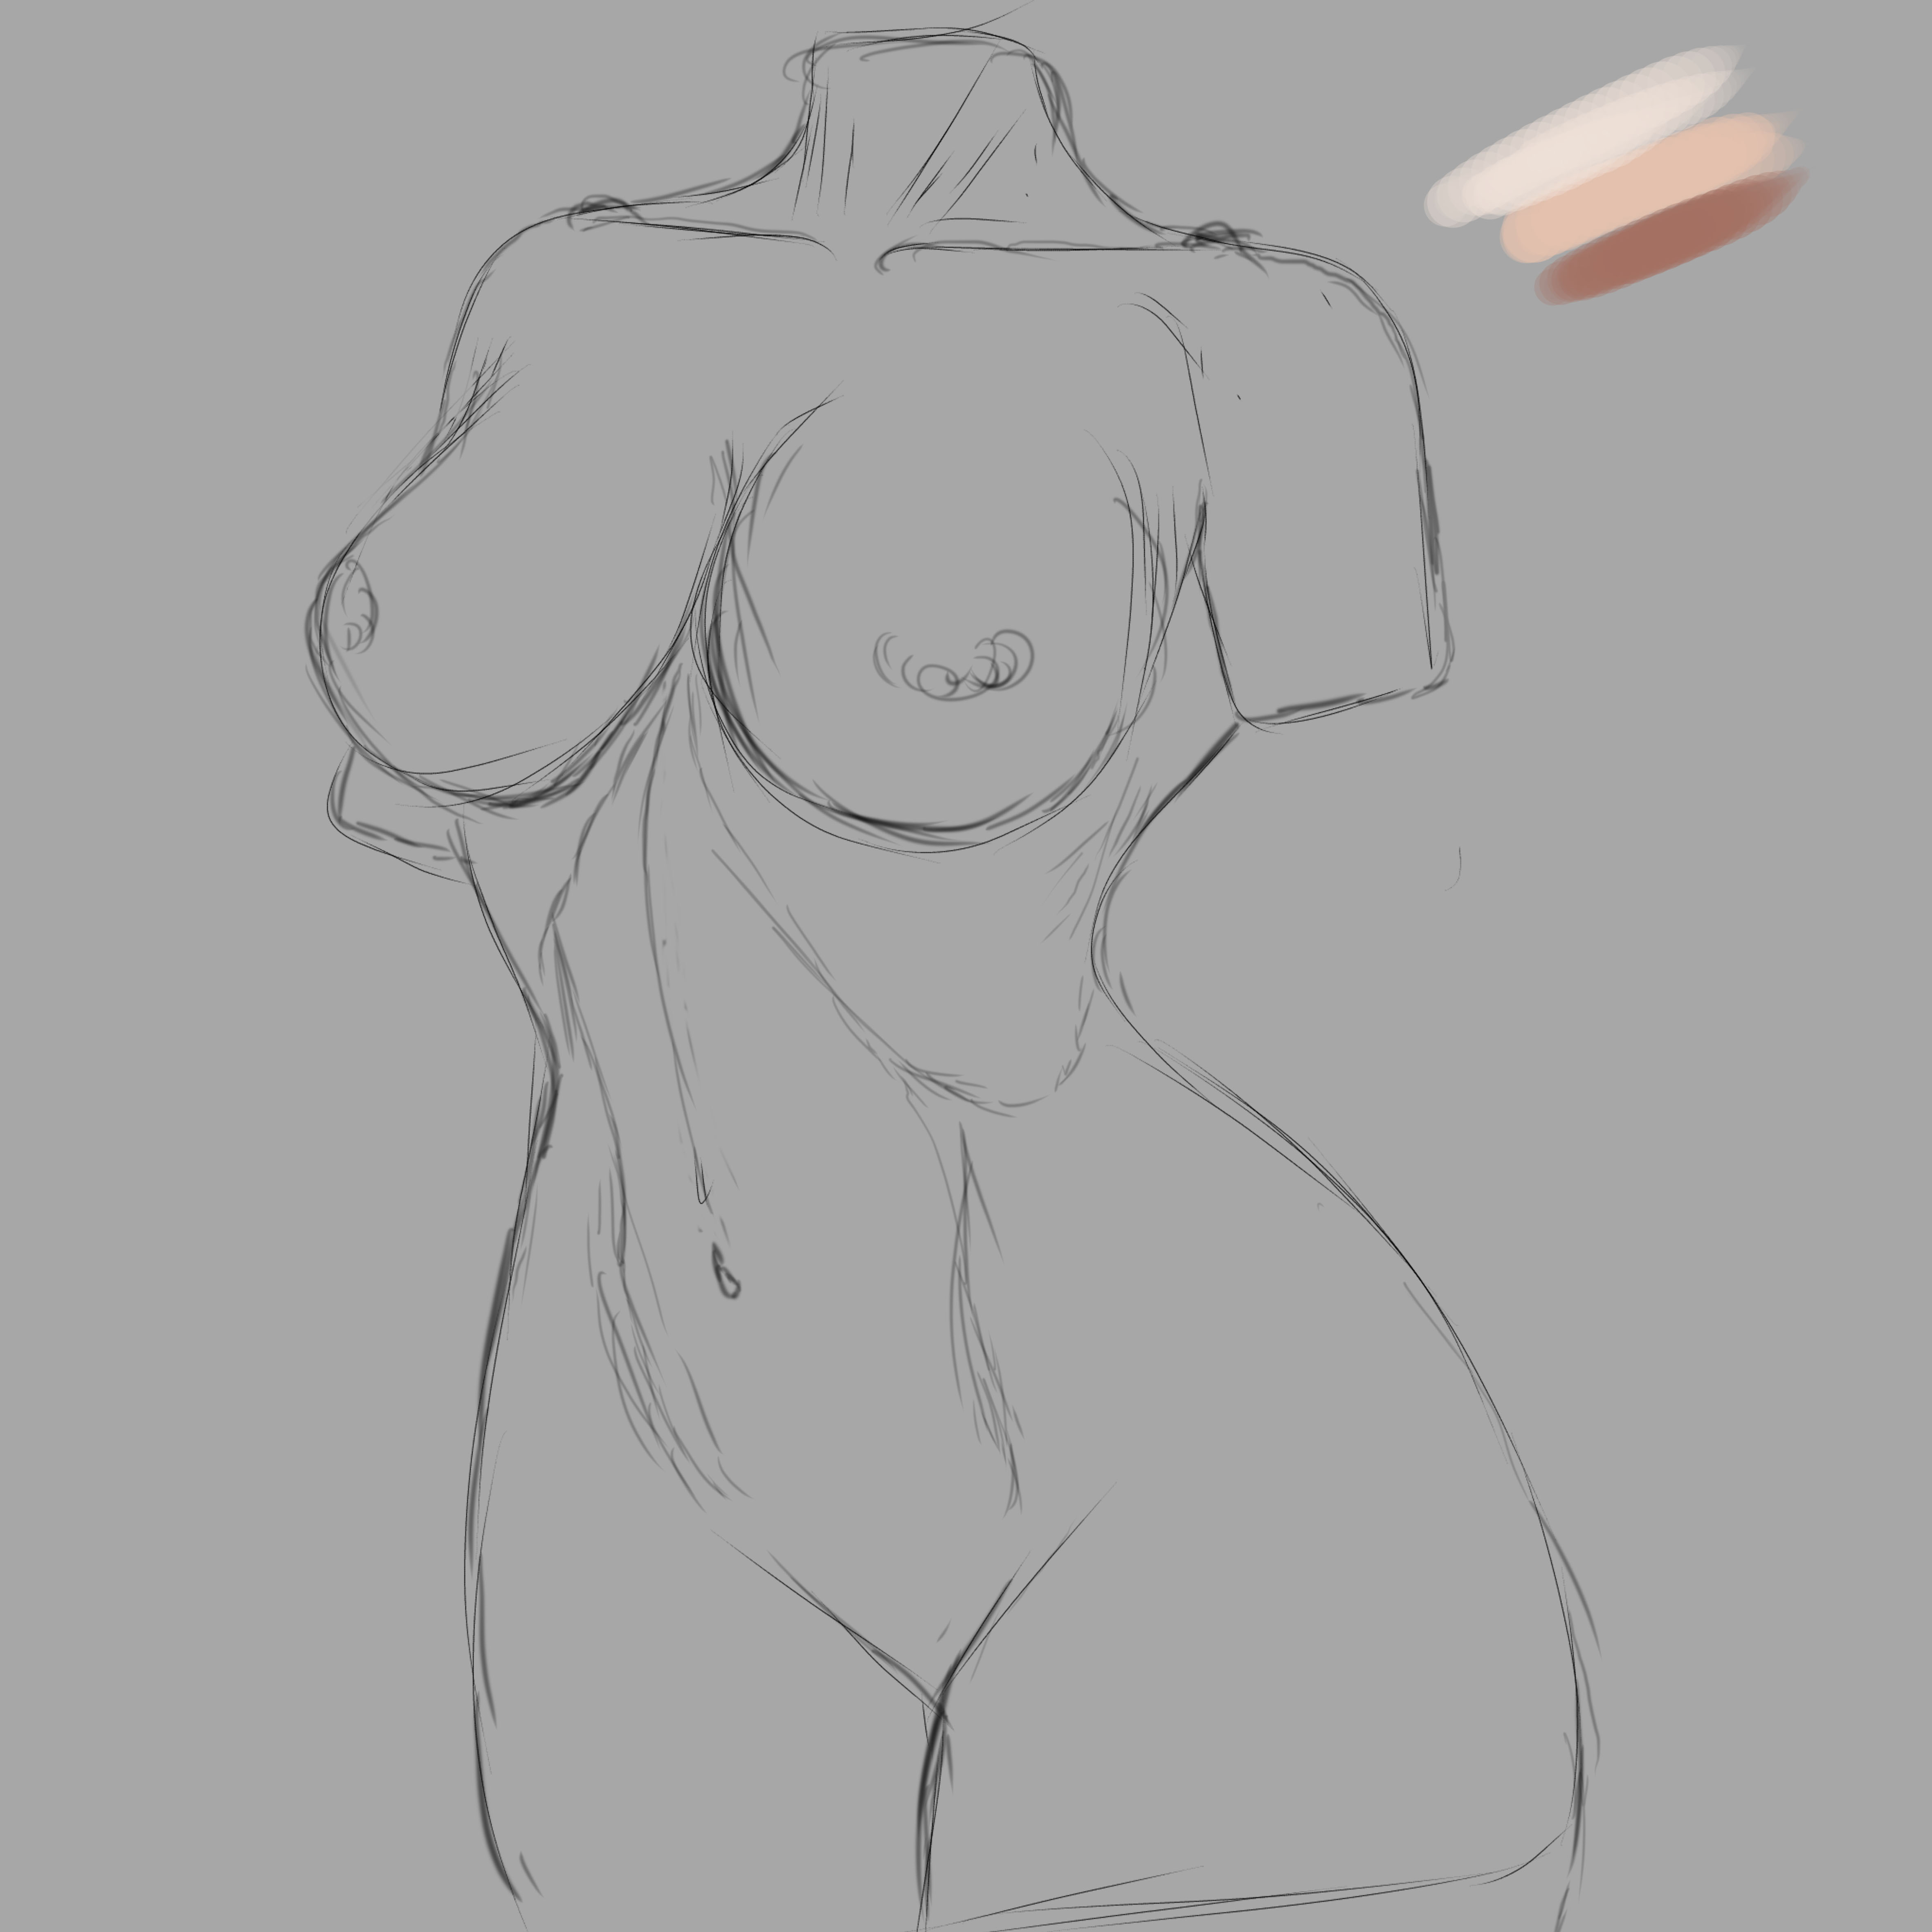
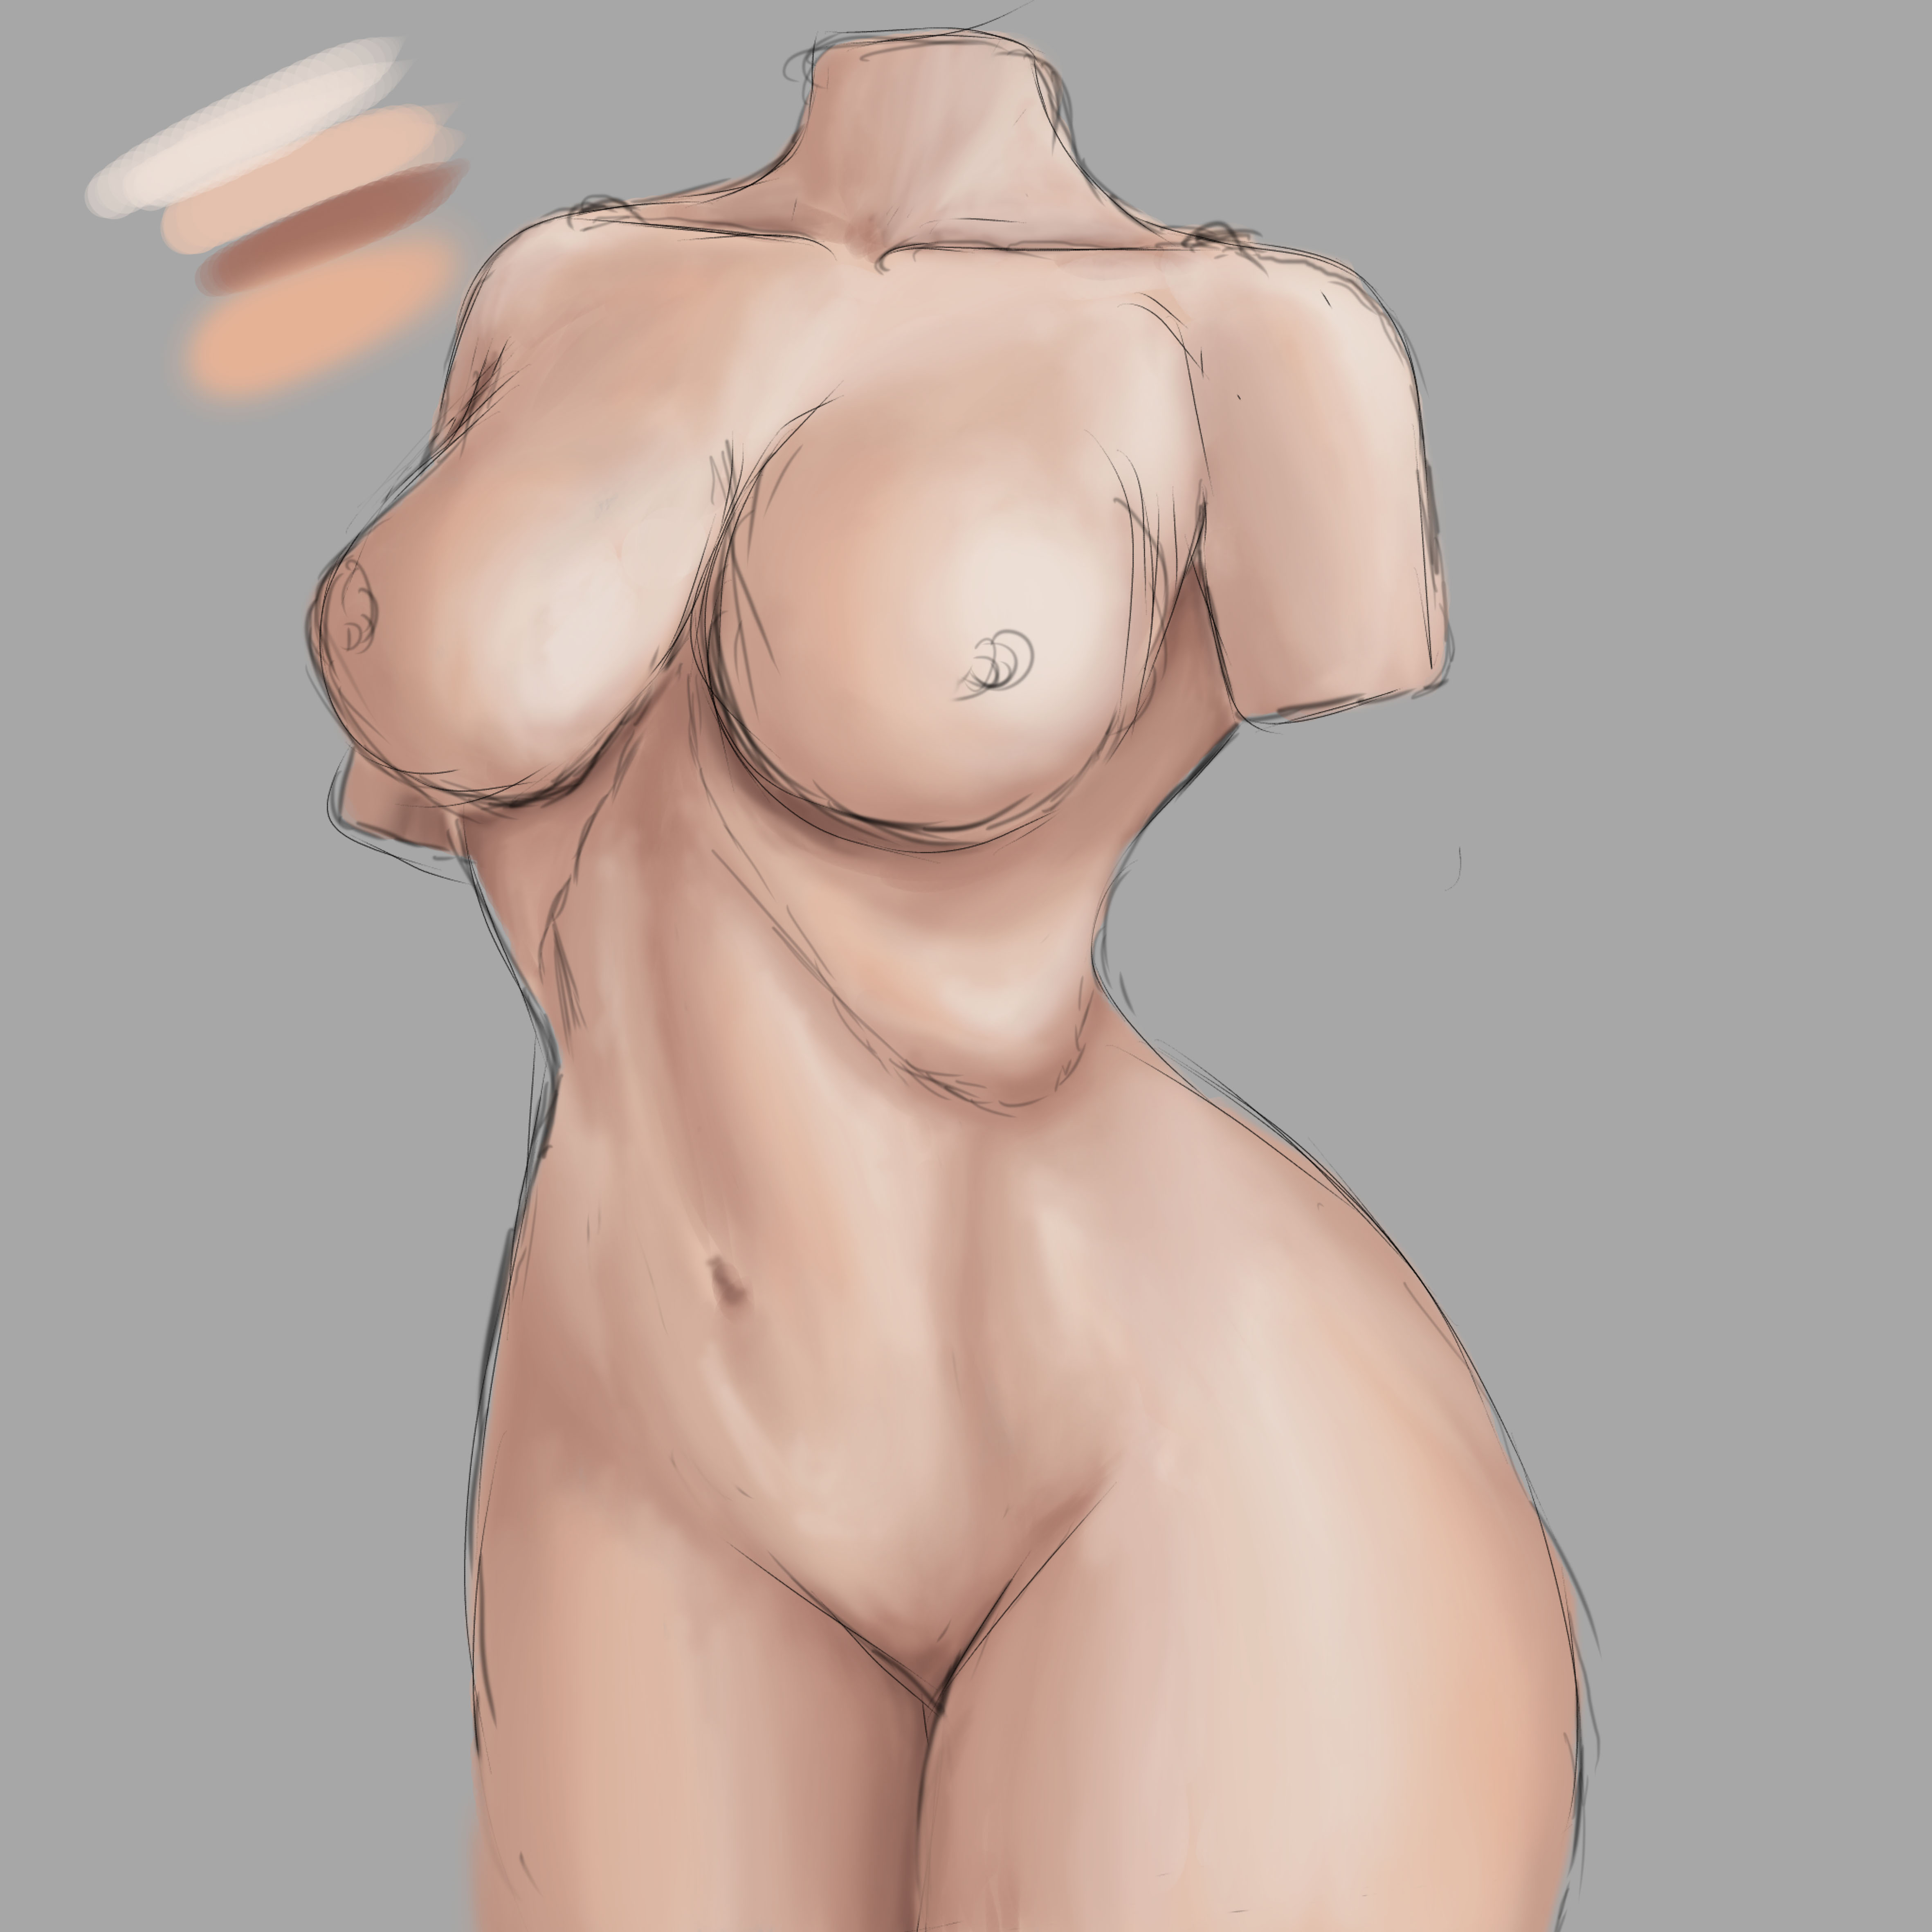
Primero lo primero, sobre un fondo gris realizaremos algunas líneas para dar orígen a un torso femenino, y de una vez escogeremos los colores con los que trabajaremos, un tono para la base, uno más oscuro para las sombras y finalmente un tono más claro para las partes luminosas o con altas luces de la piel:
First things first, on a gray background we will make some lines to give origin to a female torso, and at once we will choose the colors with which we will work, a tone for the base, a darker one for the shadows and finally a lighter tone for bright or bright parts of the skin:
Continuamos escogiendo el lugar de donde proviene la luz, este será un paso importante para la aplicación de color. Con un pincel de círculo definido empecé a añadir los colores base, sombra y luz, teniendo en cuenta la posición de dónde proviene la luz:
We continue to choose the place where the light comes from, this will be an important step for the application of color. With a defined circle brush I started to add the base colors, shadow and light, taking into account the position where the light comes from:
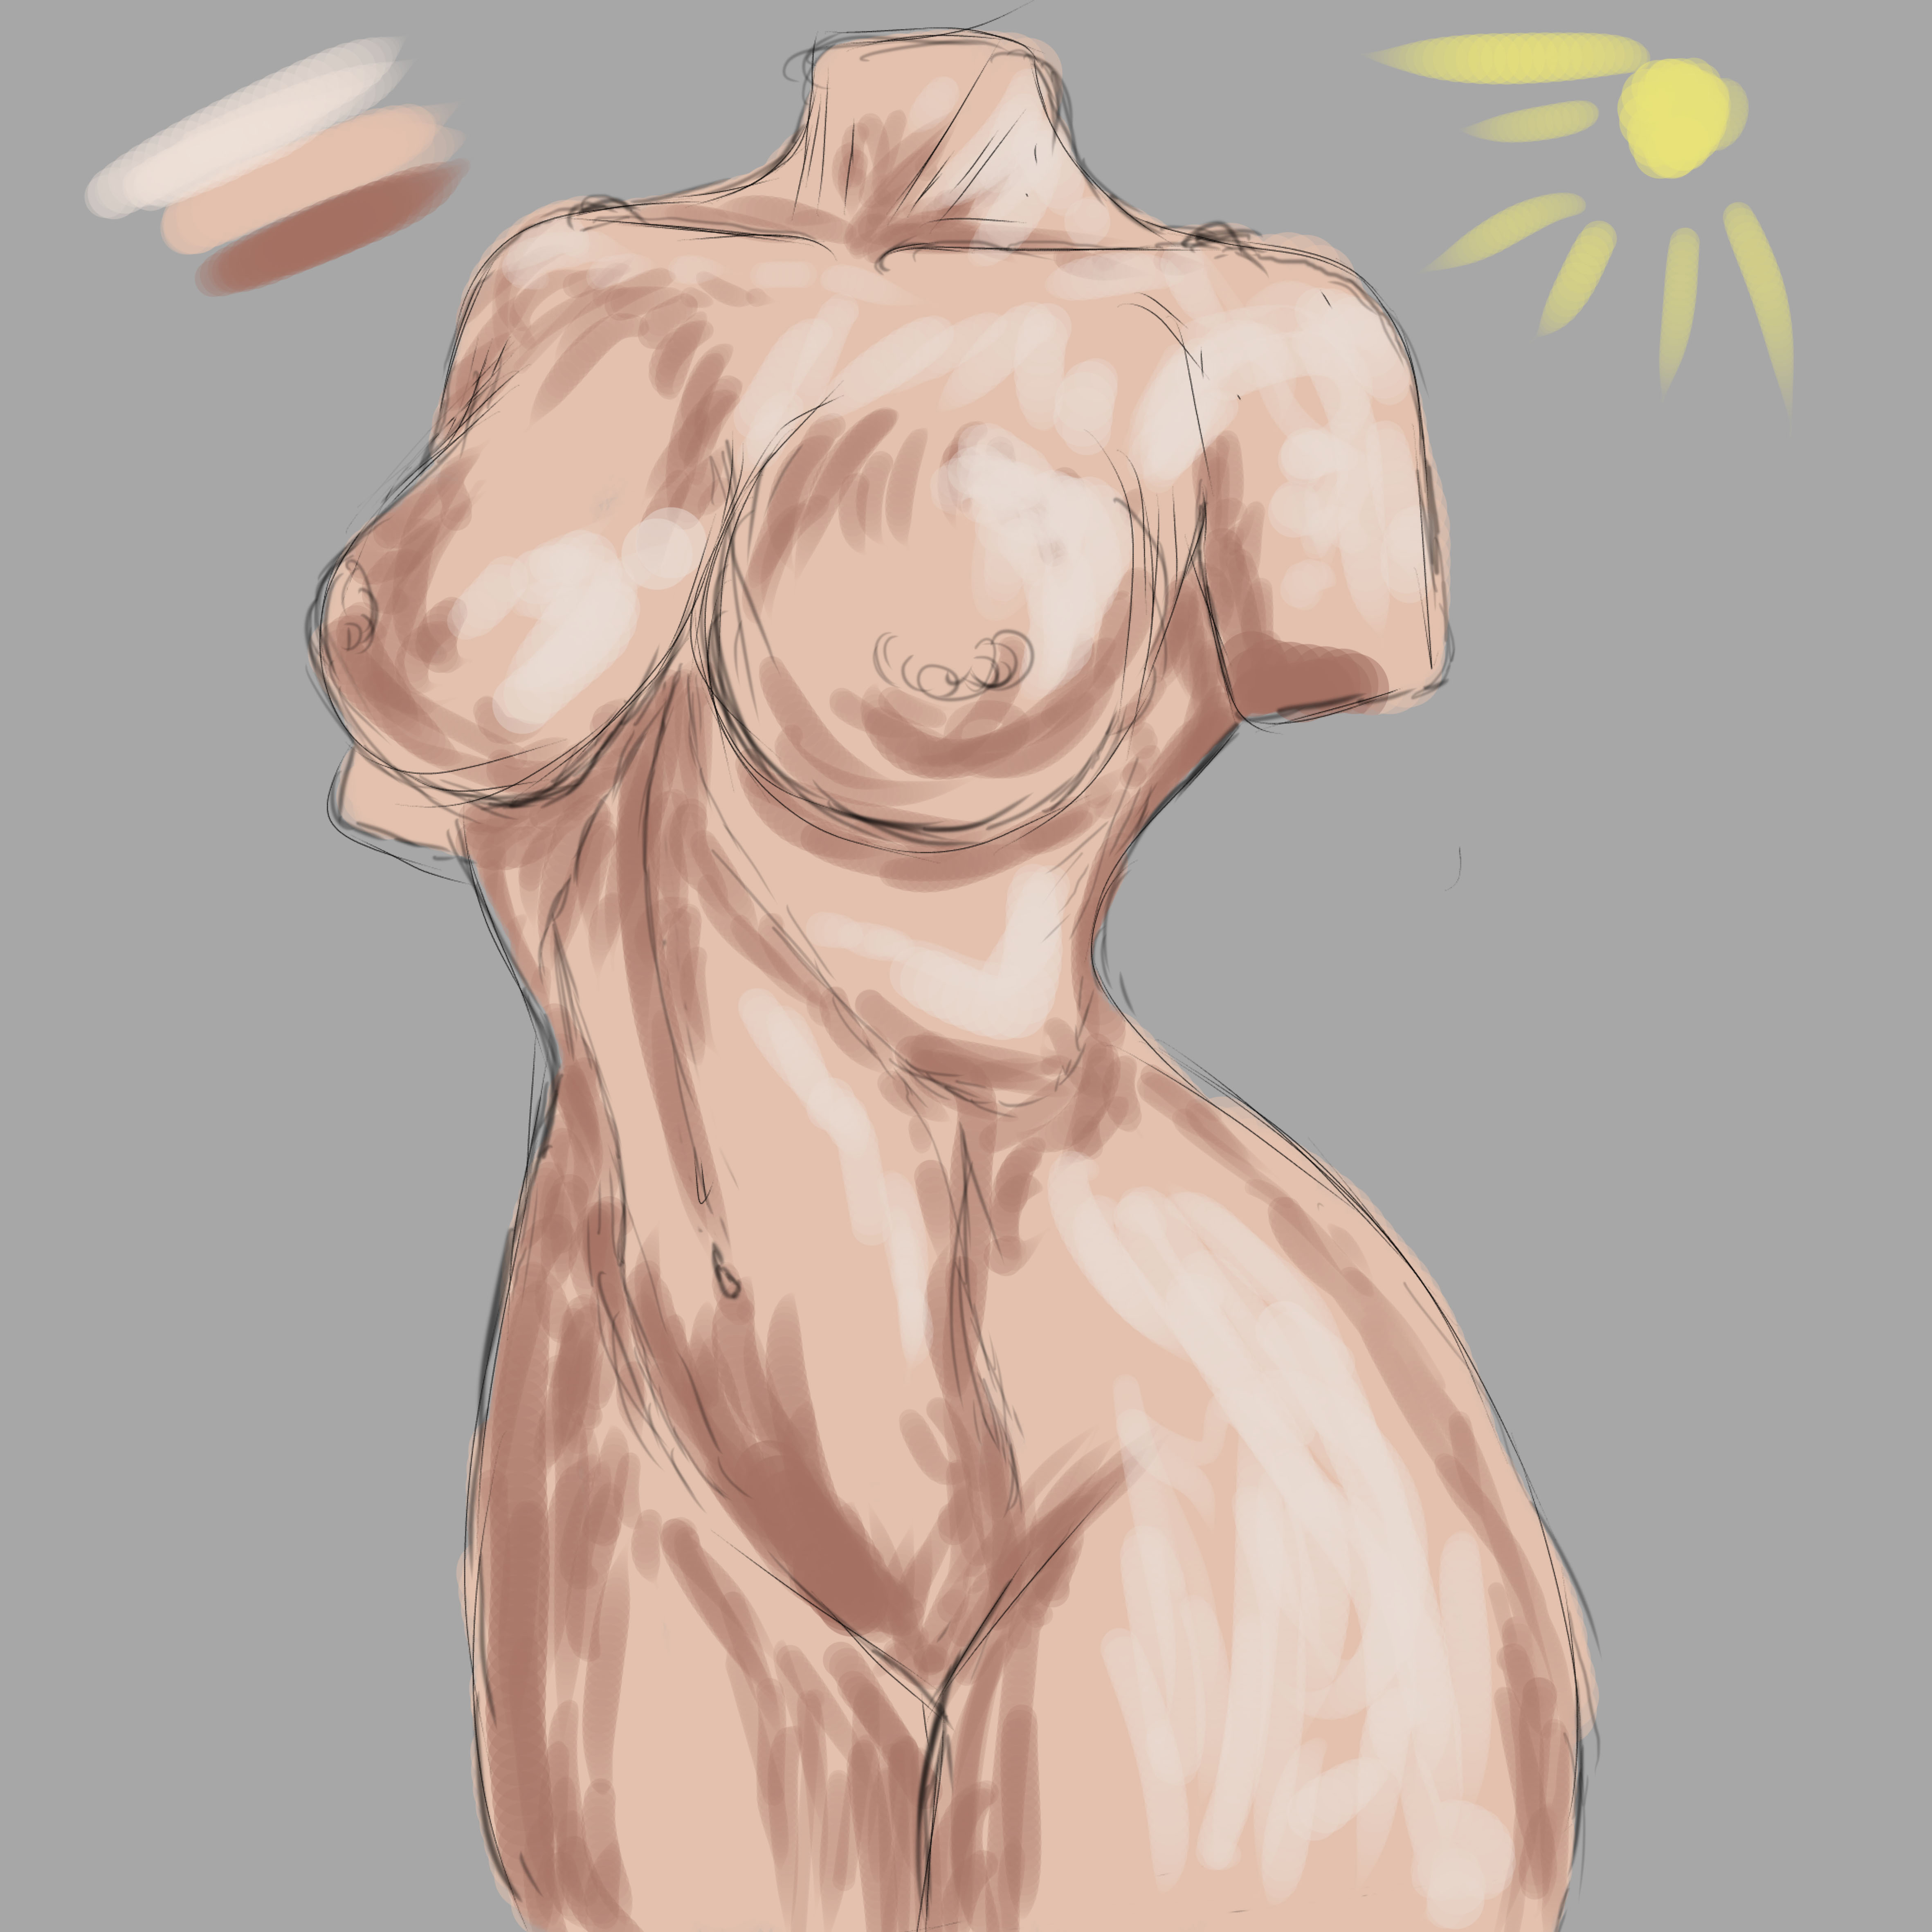
Es el turno de la integración o mezcla de colores, para este paso uso un pincel de bordes difusos que me permite obtener el tipo de piel que deseo, con distintos tamaños y niveles de opacidades el gotero me facilita el proceso para dicha integración :
It is the turn of the integration or mixing of colors, for this step I use a brush with fuzzy edges that allows me to obtain the type of skin I want, with different sizes and levels of opacities, the dropper facilitates the process for said integration:
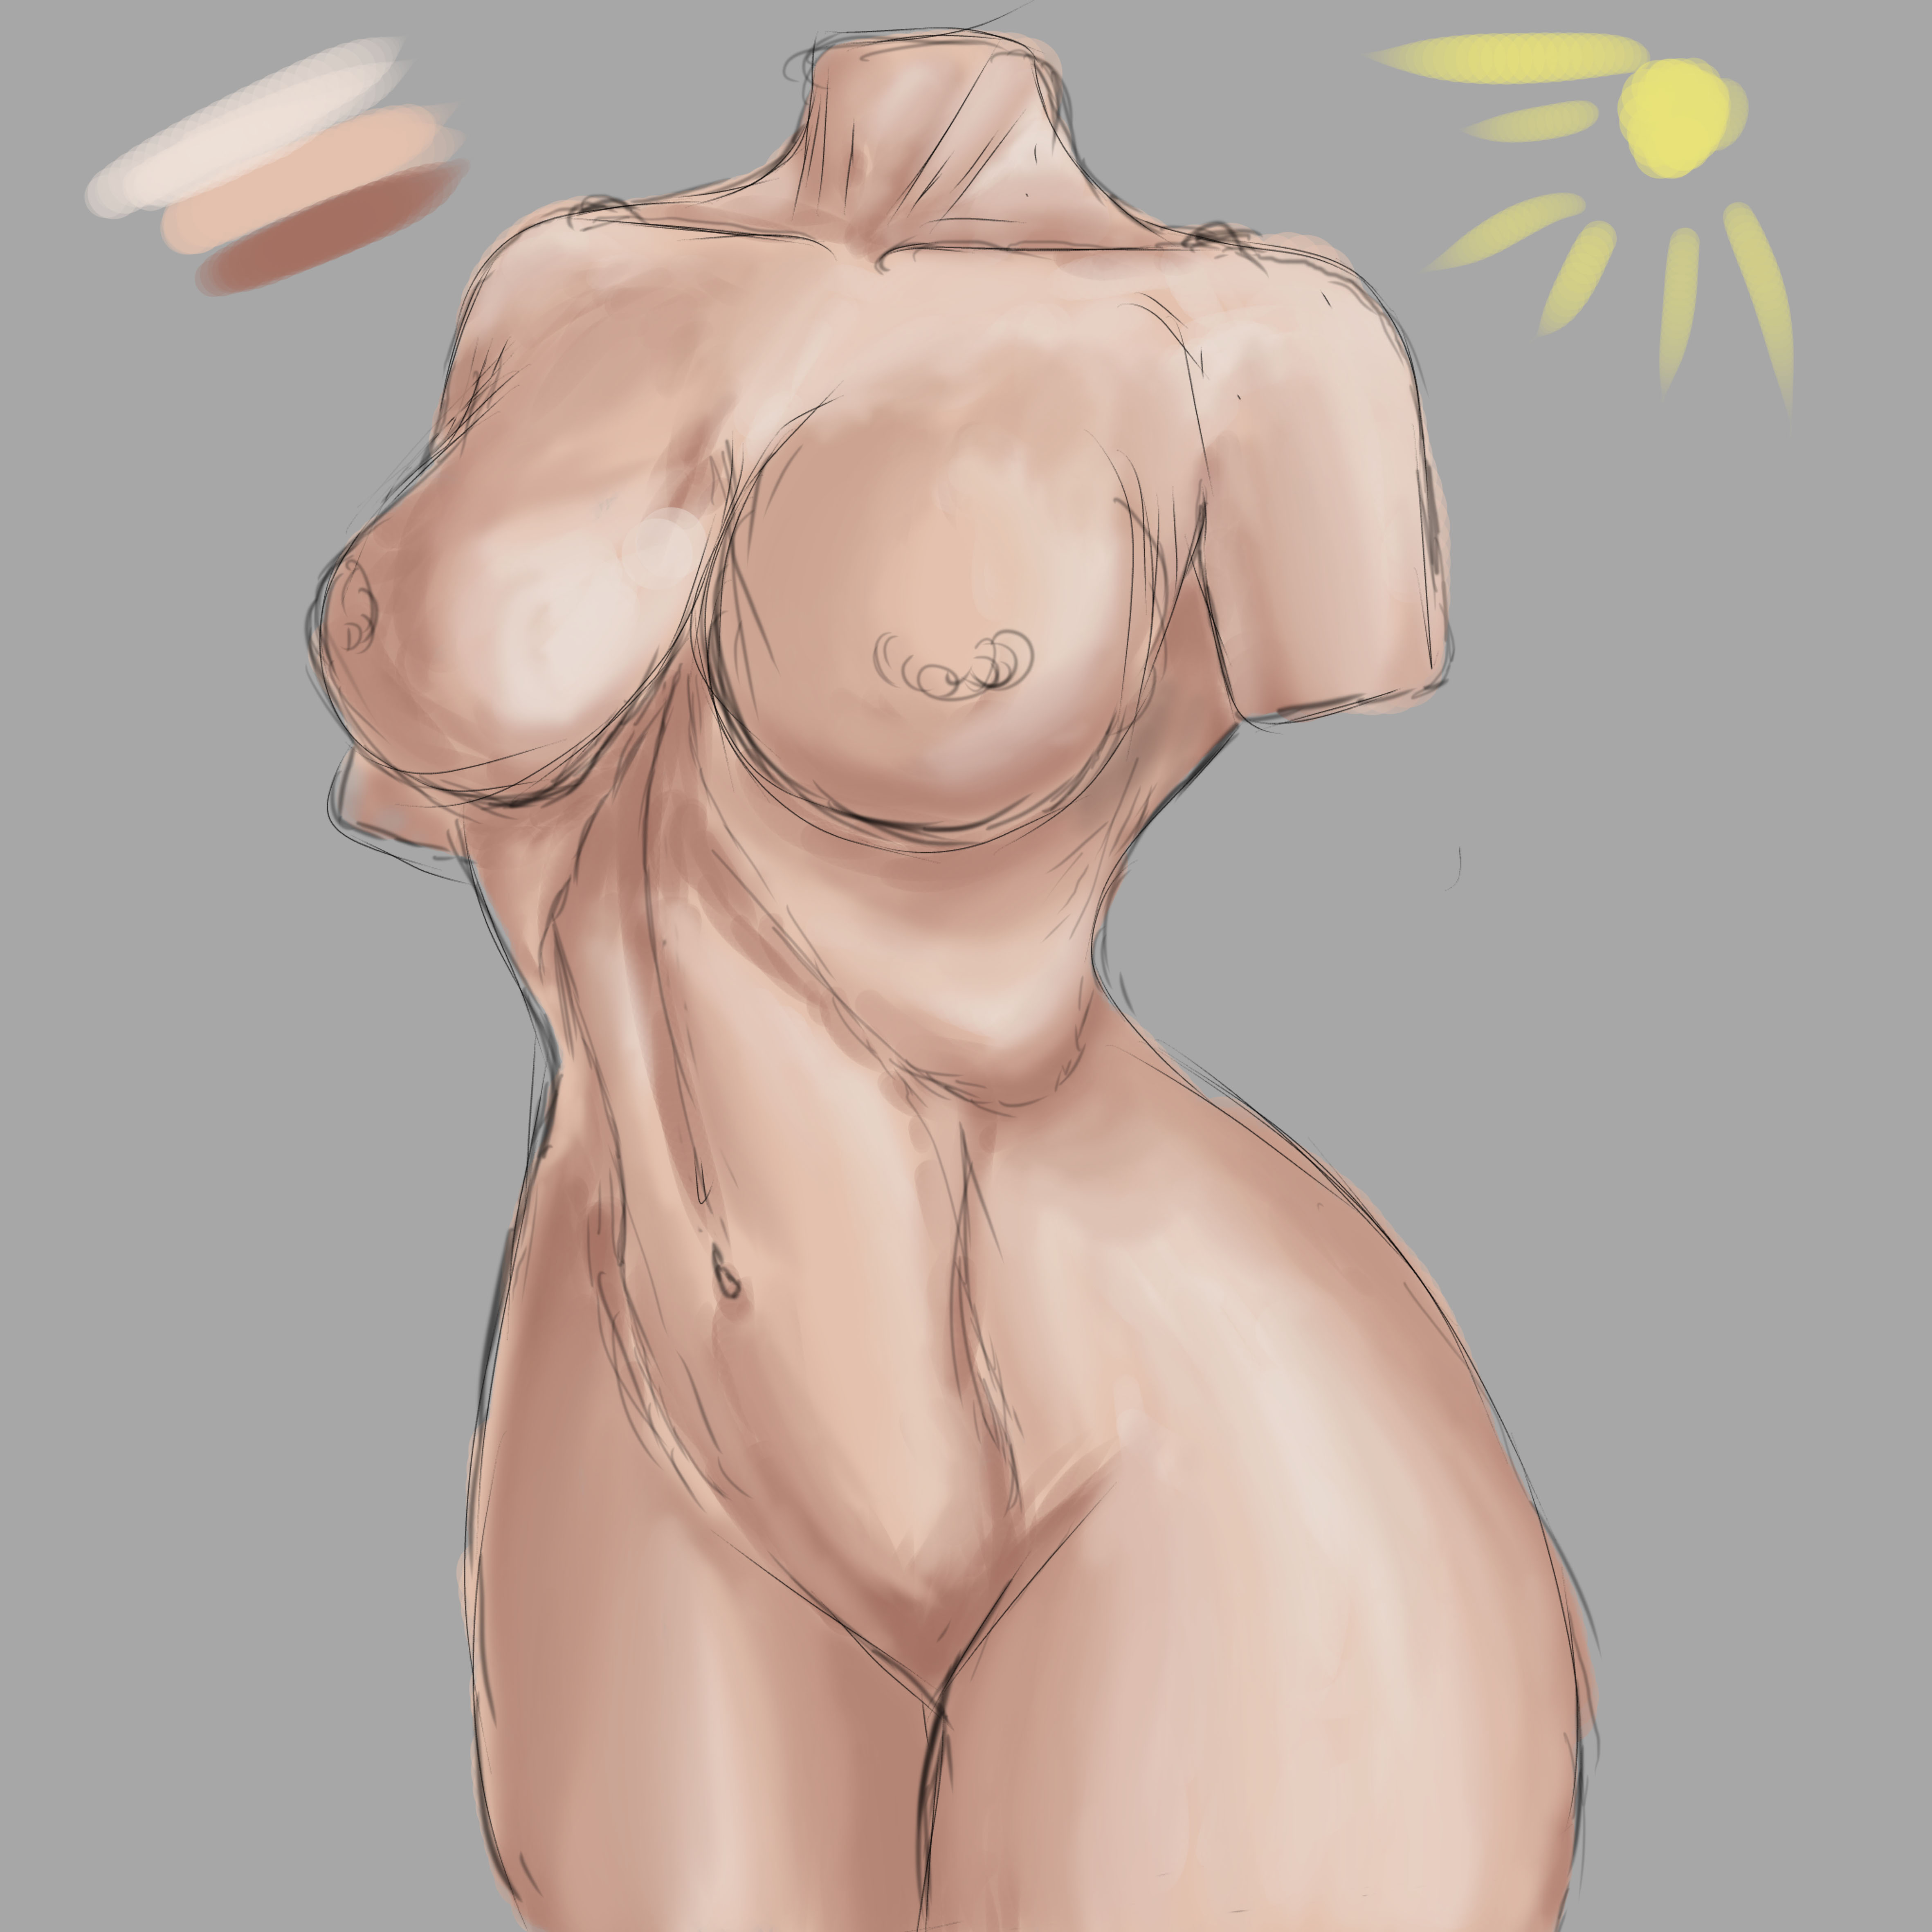
Después de haber integrado los colores anteriores base, sombra y luz nos damos cuenta que falta un tono que le de más vista y volumen al cuerpo, para ello tomaremos el tono que usamos como base y subiremos hacia los tonos saturados y así obtendremos un cuarto color que debemos aplicar justo en la transición entre el tono medio y la luz:
After having integrated the previous base, shadow and light colors, we realize that there is a lack of a tone that gives more sight and volume to the body, for this we will take the tone that we use as a base and we will go up towards the saturated tones and thus we will obtain a fourth color that we must apply right in the transition between the medium tone and the light:
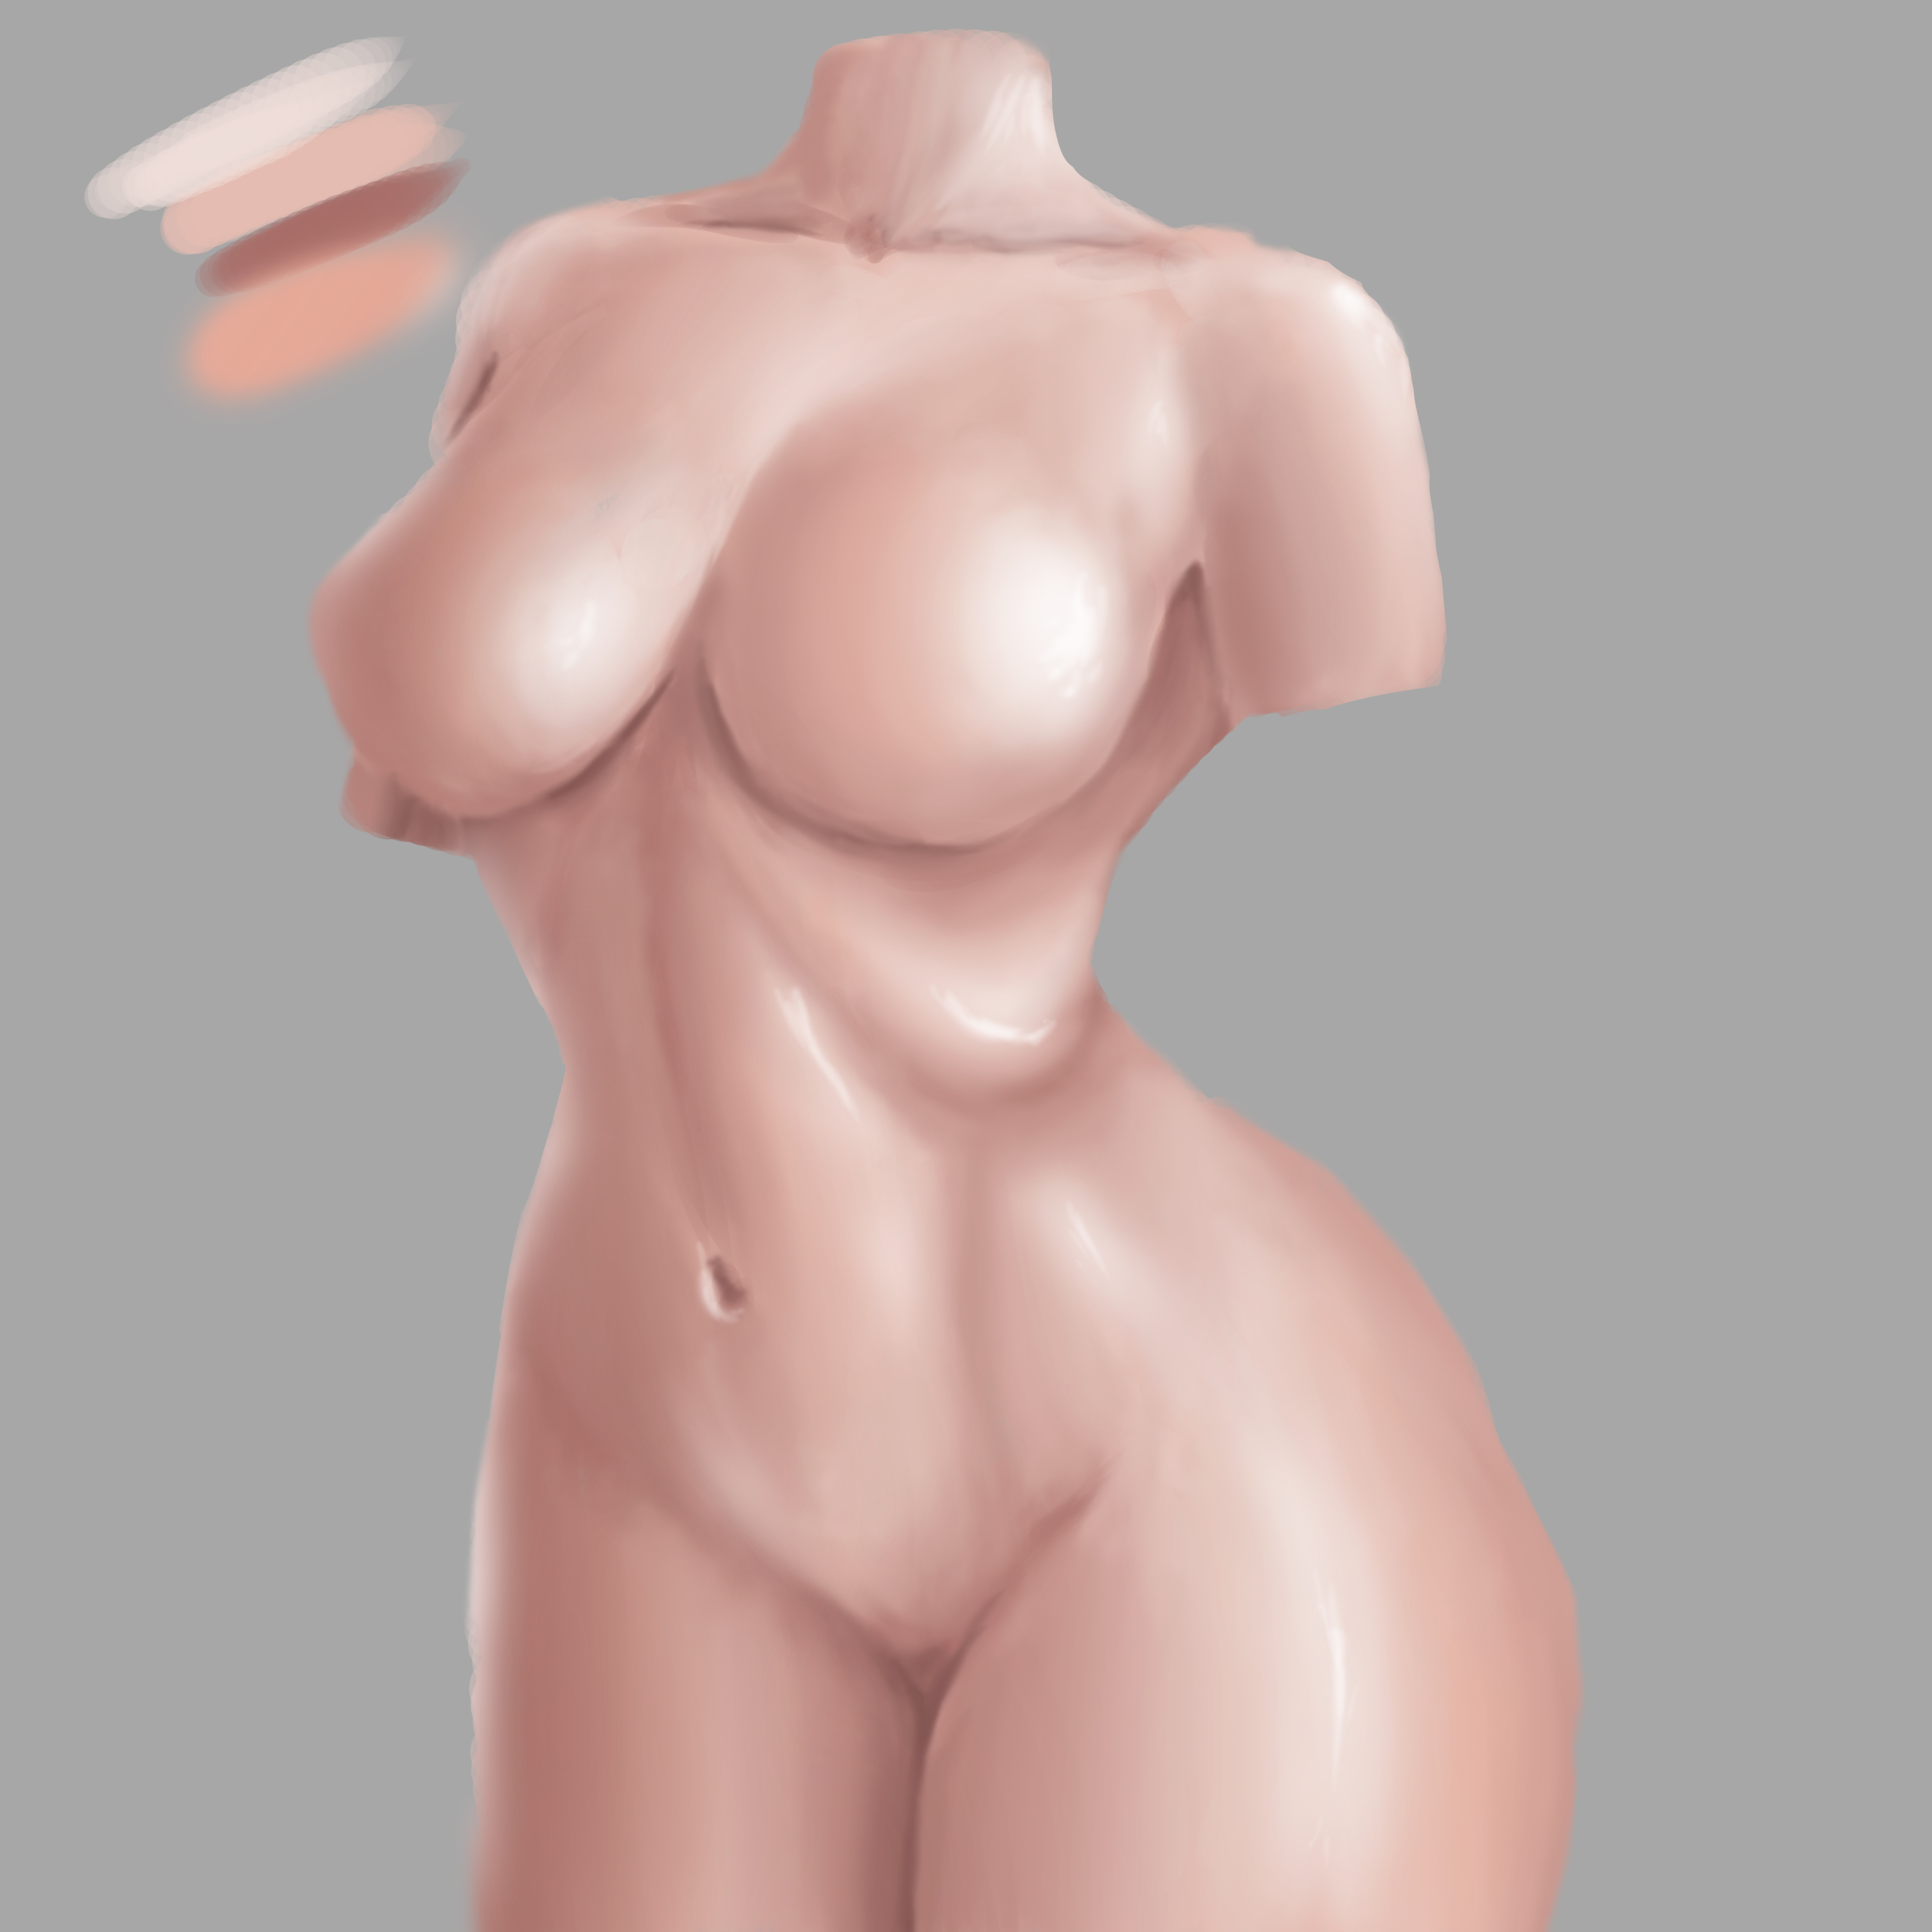
Bien, ya casi lo logramos, lo que obtuvimos en el paso anterior debemos ajustarle un poco los tonos de saturación color y luminosidad (me gusta aislarlo hacia los tonos rojos), Finalmente con una capa en modo añadir debemos realzar esas partes dónde se supone que la luz choca con más intensidad, yo aplico este proceso dos veces y le agrego un poco del efecto de difuminado, más intensidad difusa la primera vez y al final un poco menos intensa, y así es como obtengo la piel de que deseo:
Well, we almost achieved it, what we obtained in the previous step we must adjust a little the saturation tones, color and luminosity (I like to isolate it towards the red tones), Finally with a layer in add mode we must enhance those parts where it is supposed to the light collides with more intensity, I apply this process twice and add a little of the blur effect, more diffuse intensity the first time and at the end a little less intense, and this is how I get the skin
Espero te haya gustado lo he elaborado con cariño para ustedes, nos vemos en la próxima 😍
I hope you liked it, I have elaborated it with love for you, see you next time 😍

Presentación del diseño | Desing presentación
Materiales | Materials
- Mini laptop
- Tableta Huion H950P
- Programa Adobe Photoshop cc
- Mini laptop
- Huion H950P tablet
- Adobe Photoshop cc program
Proceso | Process
Primero lo primero, sobre un fondo gris realizaremos algunas líneas para dar orígen a un torso femenino, y de una vez escogeremos los colores con los que trabajaremos, un tono para la base, uno más oscuro para las sombras y finalmente un tono más claro para las partes luminosas o con altas luces de la piel:
First things first, on a gray background we will make some lines to give origin to a female torso, and at once we will choose the colors with which we will work, a tone for the base, a darker one for the shadows and finally a lighter tone for bright or bright parts of the skin:
Continuamos escogiendo el lugar de donde proviene la luz, este será un paso importante para la aplicación de color. Con un pincel de círculo definido empecé a añadir los colores base, sombra y luz, teniendo en cuenta la posición de dónde proviene la luz:
We continue to choose the place where the light comes from, this will be an important step for the application of color. With a defined circle brush I started to add the base colors, shadow and light, taking into account the position where the light comes from:
Es el turno de la integración o mezcla de colores, para este paso uso un pincel de bordes difusos que me permite obtener el tipo de piel que deseo, con distintos tamaños y niveles de opacidades el gotero me facilita el proceso para dicha integración :
It is the turn of the integration or mixing of colors, for this step I use a brush with fuzzy edges that allows me to obtain the type of skin I want, with different sizes and levels of opacities, the dropper facilitates the process for said integration:
Después de haber integrado los colores anteriores base, sombra y luz nos damos cuenta que falta un tono que le de más vista y volumen al cuerpo, para ello tomaremos el tono que usamos como base y subiremos hacia los tonos saturados y así obtendremos un cuarto color que debemos aplicar justo en la transición entre el tono medio y la luz:
After having integrated the previous base, shadow and light colors, we realize that there is a lack of a tone that gives more sight and volume to the body, for this we will take the tone that we use as a base and we will go up towards the saturated tones and thus we will obtain a fourth color that we must apply right in the transition between the medium tone and the light:
Bien, ya casi lo logramos, lo que obtuvimos en el paso anterior debemos ajustarle un poco los tonos de saturación color y luminosidad (me gusta aislarlo hacia los tonos rojos), Finalmente con una capa en modo añadir debemos realzar esas partes dónde se supone que la luz choca con más intensidad, yo aplico este proceso dos veces y le agrego un poco del efecto de difuminado, más intensidad difusa la primera vez y al final un poco menos intensa, y así es como obtengo la piel de que deseo:
Well, we almost achieved it, what we obtained in the previous step we must adjust a little the saturation tones, color and luminosity (I like to isolate it towards the red tones), Finally with a layer in add mode we must enhance those parts where it is supposed to the light collides with more intensity, I apply this process twice and add a little of the blur effect, more diffuse intensity the first time and at the end a little less intense, and this is how I get the skin
Espero te haya gustado lo he elaborado con cariño para ustedes, nos vemos en la próxima 😍
I hope you liked it, I have elaborated it with love for you, see you next time 😍
0
0
0.000
https://twitter.com/jordan_gerder/status/1305415963970592774
Awesome, thank You 😍
Hello my dear friend,
quite successful and instructive. it will be very useful to some. thanks and congratulations
Thank You so much 😉
Maestro <3 gracias por compartirnos tus conocimientos, asombroso tutorial. <3
Hey querida amiga, muchas gracias ❤️
Me gustó mucho la forma como ilustras y explicas el tutorial, muchas gracias por compartir tus conocimientos
Holaa, me alegra mucho que hayas entendido el Proceso, gracias a ti por estar aquí ❤️
Me gustó mucho la forma como lo explicas y resultado. Felicitaciones. 😊