Restoring a tin tent trailer, part 8
Hello, and welcome to my page, eh!
It's been a while since I wrote my last update for this series, so I thought it was about time to write the next update. I ended the last update with a picture of the trailer with one of the pieces of the aluminum skin fitted to the new wood frame.
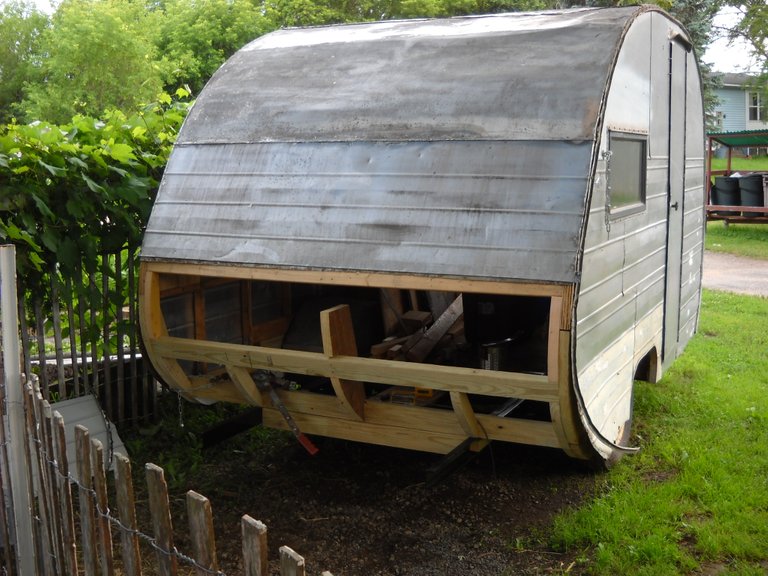
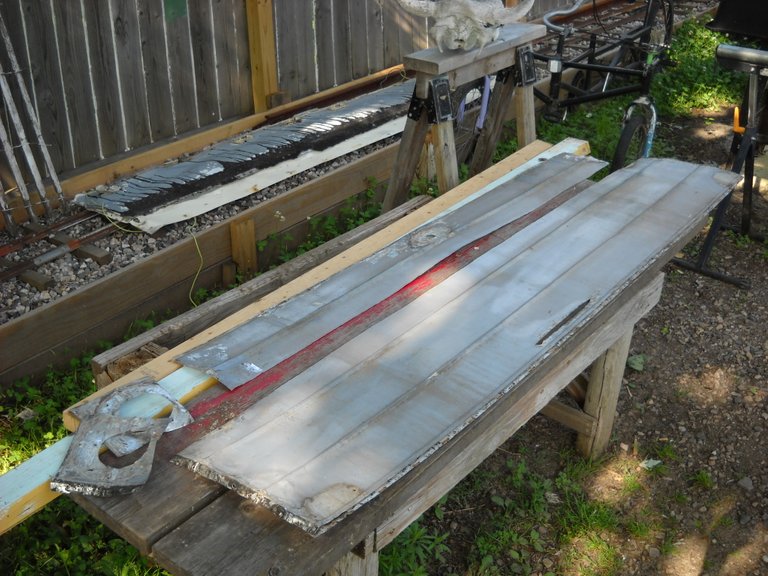
The next thing I had to do was to find another piece of aluminum to use for the next lower section of the back skin. The city has a large dumpster that it has set out by the city garage for people to put their scrap metal into to get rid of it, part of their voluntary recycling program. I check that bin for "goodies" a couple times a week and had noticed that someone seemed to be in the process of scrapping some kind of a trailer or RV or something of that nature. Most of the tin that ended up in the dumpster was too damaged to be useful, but I managed to recover 1 piece that had been folded up, but was otherwise undamaged. I managed to carefully unfold the piece and pounded out most of the creases with a hammer, using a piece of 2X4 on the creases so there wouldn't be a bunch of hammer dents. It actually came out better than I expected it to.
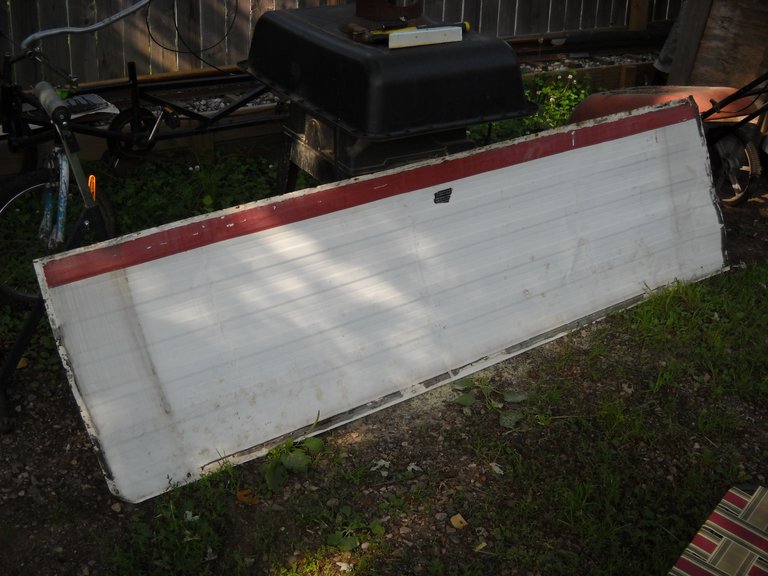
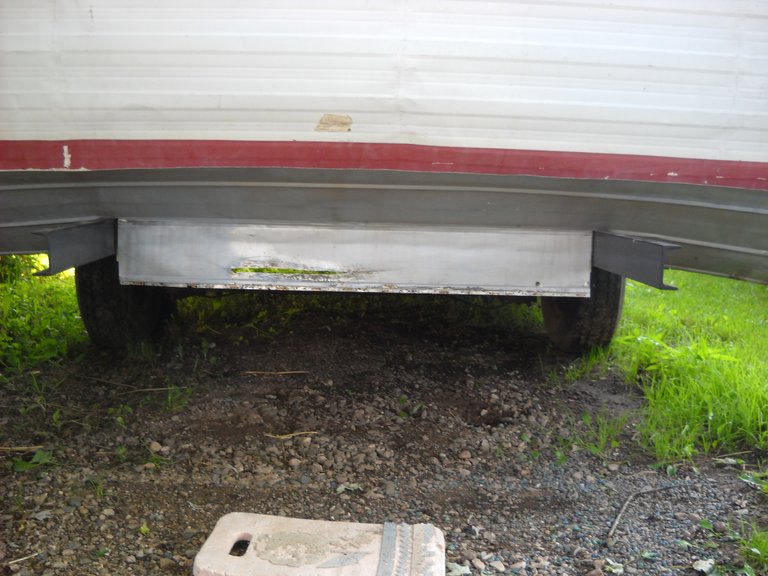
The piece of aluminum turned out to be longer than I needed it to be. I ended up cutting a couple of inches off each end of the piece to make it the right length to go across the back of my trailer. I did several test fittings until I got it the length that I needed, with just enough overhang on each side to match the piece of aluminum that had come off the back and was now back in place. I was able to get the edge of the piece into the folded seam of the piece above it, and mounted it temporarily in place.
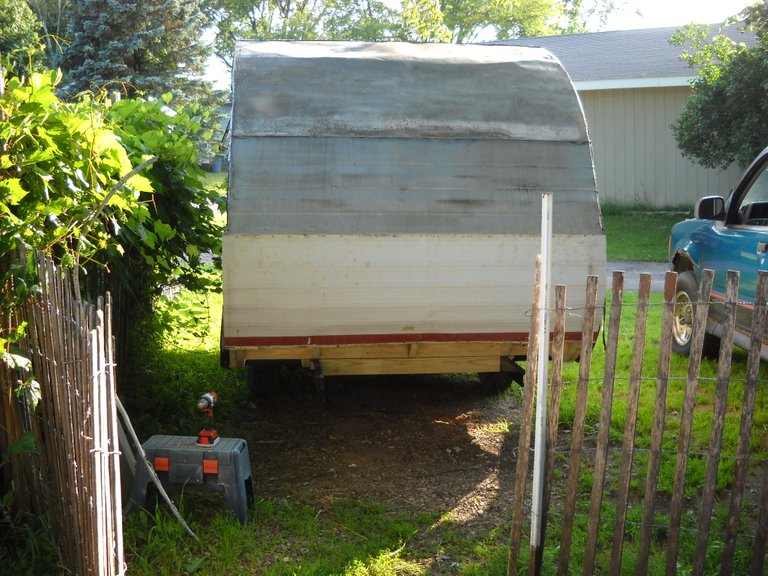
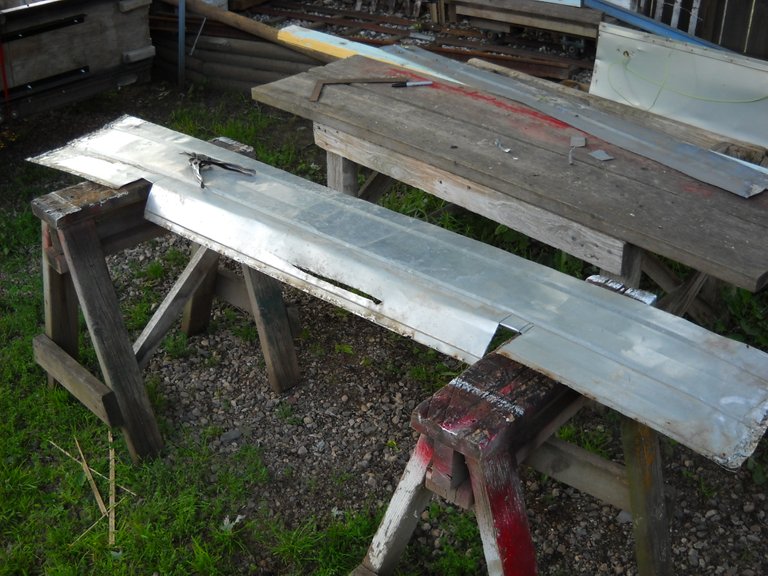
This left me with just the lower part of the back under the curve to cover. I had one piece of the original tin left from the back of the trailer, I had not planned on using it because it had several holes in it. There were the 2 tail light holes, and a long gash across part of it.I decided to cut the piece to get rid of the tail light holes, and then I decided that I might as well just cut that entire section off. I had done this before finding the big piece of aluminum, figuring that I might have to use it.
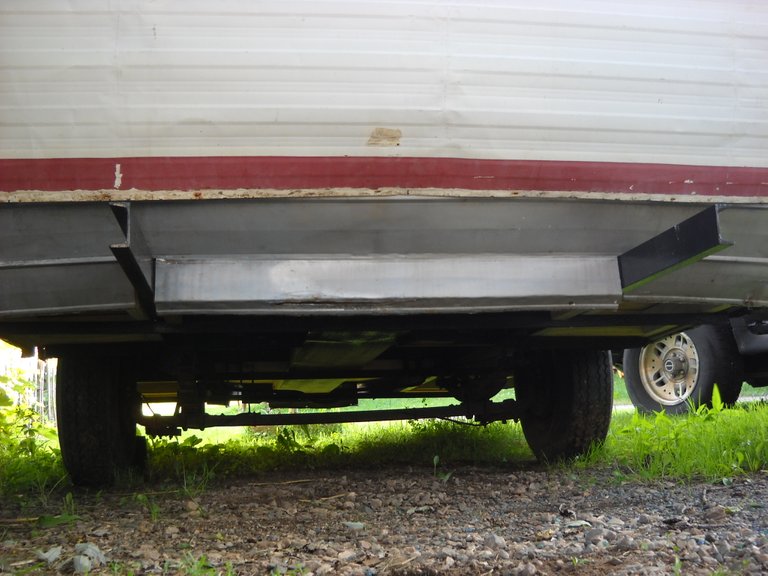
Since I already had this piece available, I decided to see if I could fit it to the bottom of the back of the trailer. As it turned out, the piece was big enough to cover the rest of the open space that needed to be covered. I had to cut and modify it to fit around the steel frame rails that are sticking out past the back end of the trailer, but that turned out to not be too difficult.
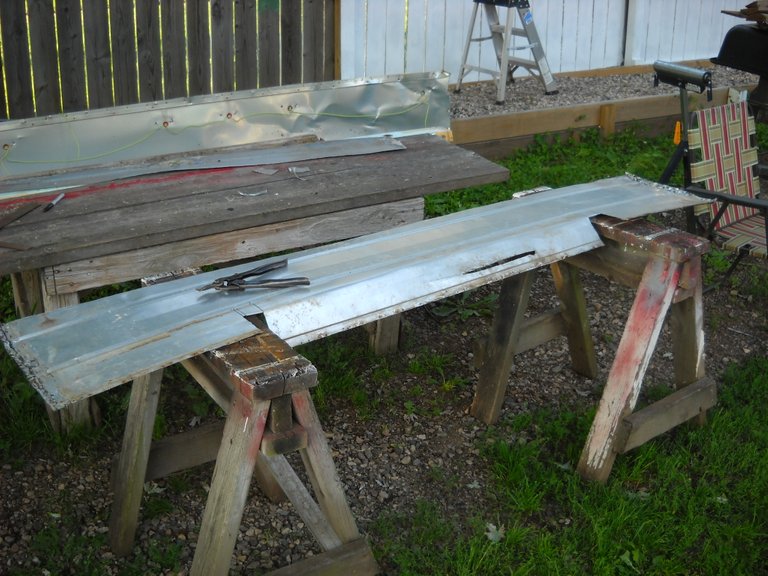
With a bit of fitting, I was able to get it into position on the bottom of the back end.
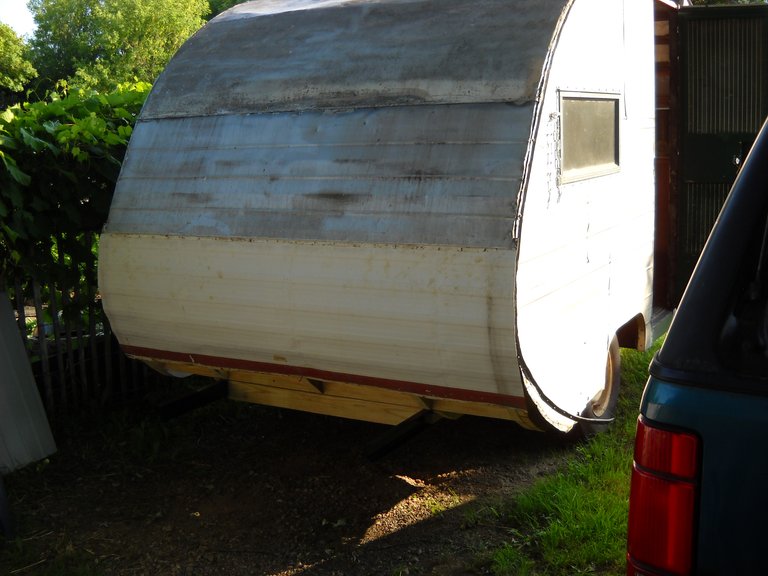
There was enough overlap between the two pieces that I was able to cut the slots for the frames deeper to get a better fit.
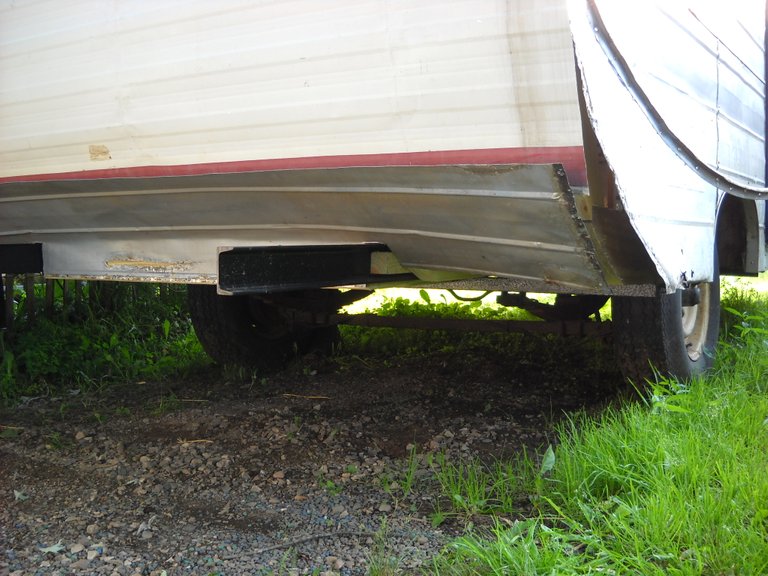
With a bit of bending, I was able to get the piece into place the way I wanted it.
That's as far as I've gotten on this project so far. I got distracted away from the trailer project by the need to start canning the garden produce as it got ripe, and we've had a fair amount of rainy days in the past 2 weeks, so I haven't been able to get back to working on the trailer. The next thing I'm going to have to do is cover the underneath of the floor in the back where I rebuilt it. Once I get that done, I can permanently attach all of the back skin to the trailer structure using a sealer on all the joints in the skin. Then I'll be able to insulate the floor in the back and put the floor plywood back on. Once that's done, I can move on to other parts of the trailer that need work.
That's all I have for this trailer rebuild project update.
Thanks for stopping by my page to check it out!


Nice one! Thats comming along really well 😀
Posted using Partiko Android
Thank you! :-)
Hello!
This post has been manually curated, resteemed
and gifted with some virtually delicious cake
from the @helpiecake curation team!
Much love to you from all of us at @helpie!
Keep up the great work!
Manually curated by @torico.
@helpie is a Community Witness.
For more information about our project,
please visit this month’s UPDATE post.
Thank you! :-)
This post was shared in the Curation Collective Discord community for curators, and upvoted and resteemed by the @c-squared community account after manual review.
@c-squared runs a community witness. Please consider using one of your witness votes on us here
Good, that is restoring that trailer, I am fascinated by that style that once has, few people give the courage to have ... I would like to see it finished ... success in your restoration
Thank you!
Good stuff Amber, glad to see the project moving along. Also, nice find in that recycle bin, that would be an expensive piece if bought new.
Yes, I got lucky with finding that piece of aluminum!