Restoring a tin tent trailer, part 6
Hello, people! Welcome to my page!
In part 5 of this series, I talked about extending the steel frame of the trailer so I could mount a back bumper, and then removing the lower rear aluminum skin and the back window from the trailer to continue the rebuild of the wood frame of the back end. You can read that post here.
https://steemit.com/trailer-repair/@amberyooper/restoring-a-tin-tent-trailer-part-5-extending-the-back-of-the-trailer-frame
To pick up where I left off, here's a picture of the back end of the trailer at the end of the last post.
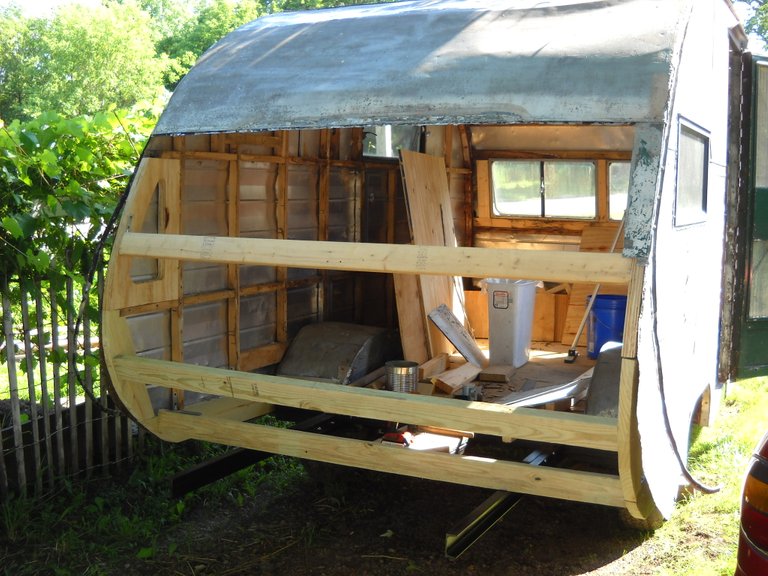
After all of that work was done, I had to make small gussets for the sides in the back above what I had already rebuilt. These are small triangular gussets that fill in an empty spot in the back wall curve. Before I put in the gussets.
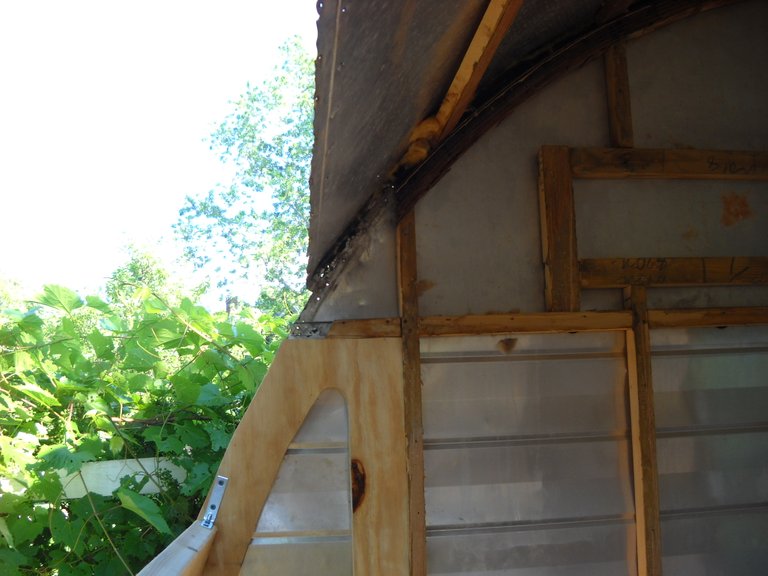
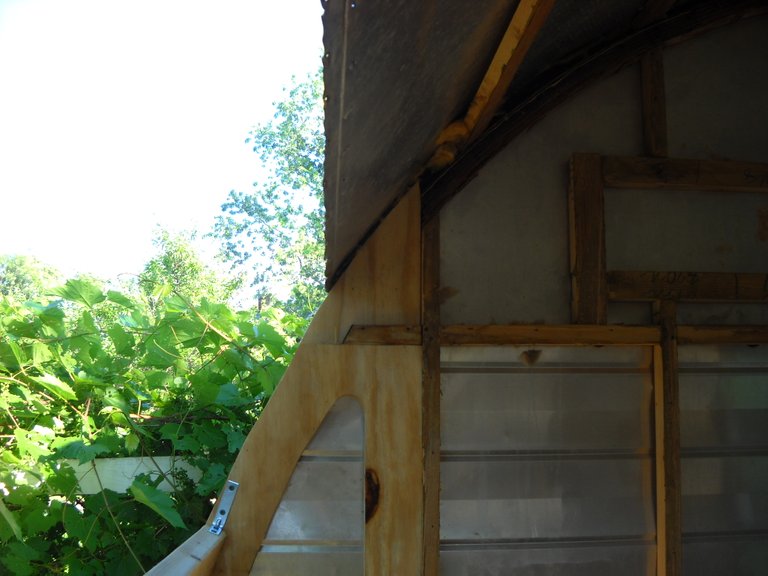
After putting in the gussets. That took care of the last bit of wood that needed to be replaced on the upper curve of the walls on both sides.
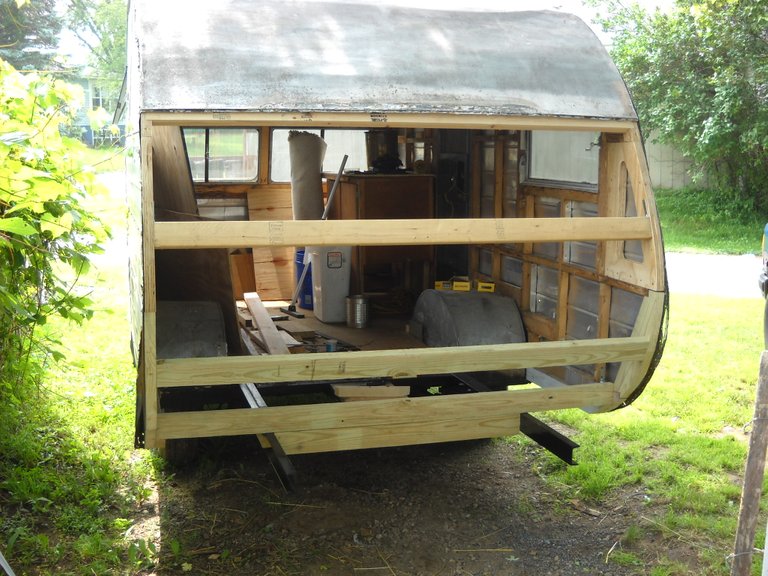
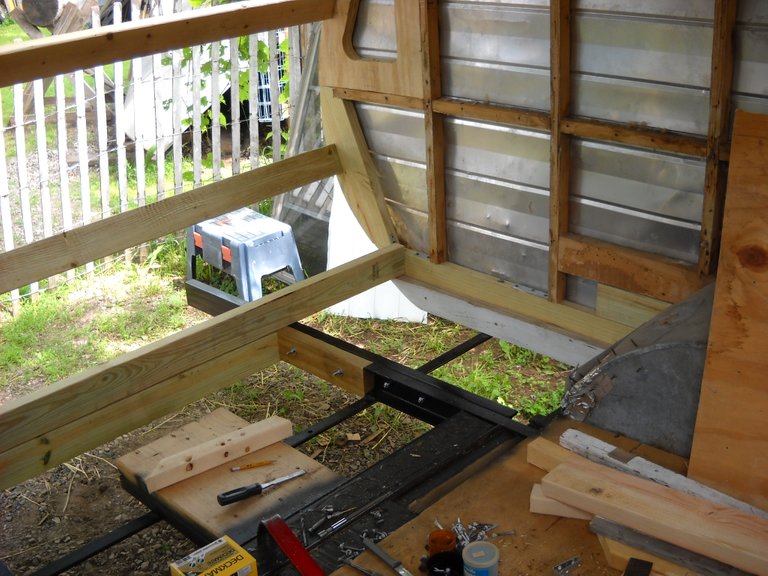
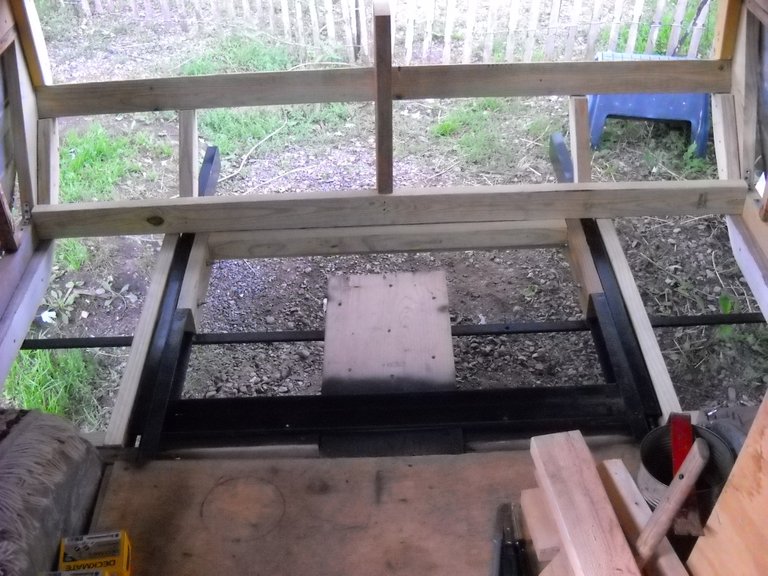
After the gussets were in place, I cut and fitted a 2X4 across the trailer at the joint where the next piece of the aluminum skin will be installed. Once that was done, I was able to start rebuilding the back end of the trailer. I started the process at the floor and the lower part of the back wall. I had to add in the wood to rebuild the lower structure. I also had to attach pieces of 2X4 to the steel frame to have a place to screw the floor plywood down to. I started by putting a piece of treated 2X4 between the steel frames to support the back edge of the floor across the middle.
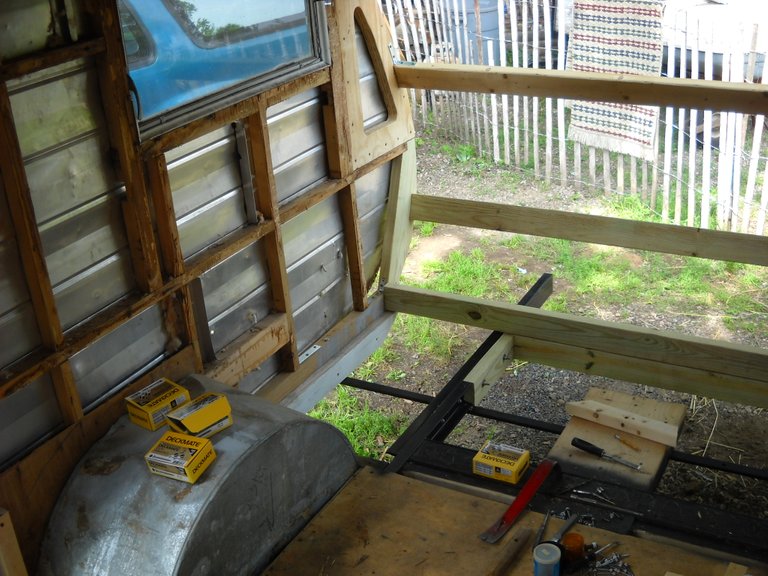
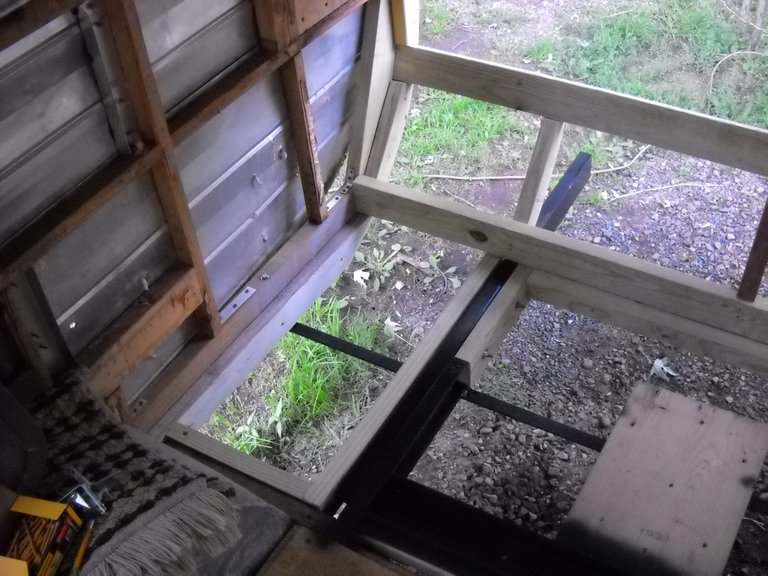
Here's a look at it from the inside. I had to bolt the wood onto the steel frame to support the board across the back.
After that, I cut and installed treated wood support pieces for the lower back end skin. These support pieces will define the shape of the lower back end of the trailer.
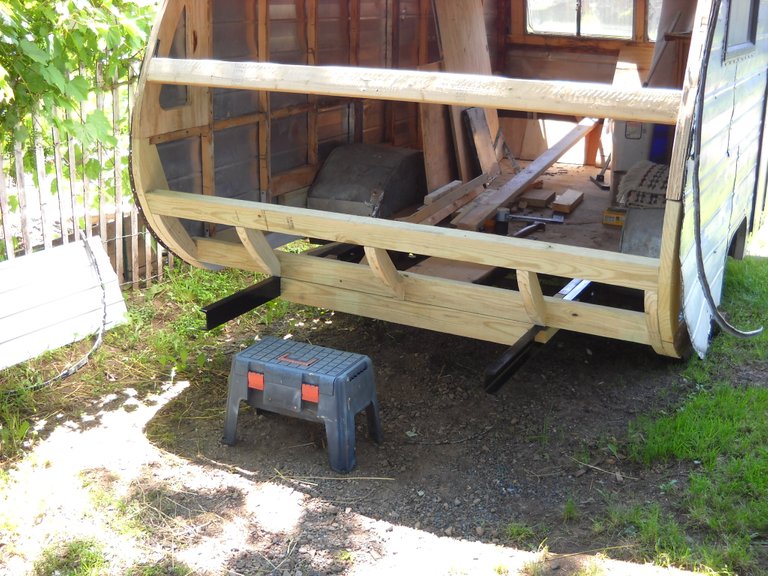
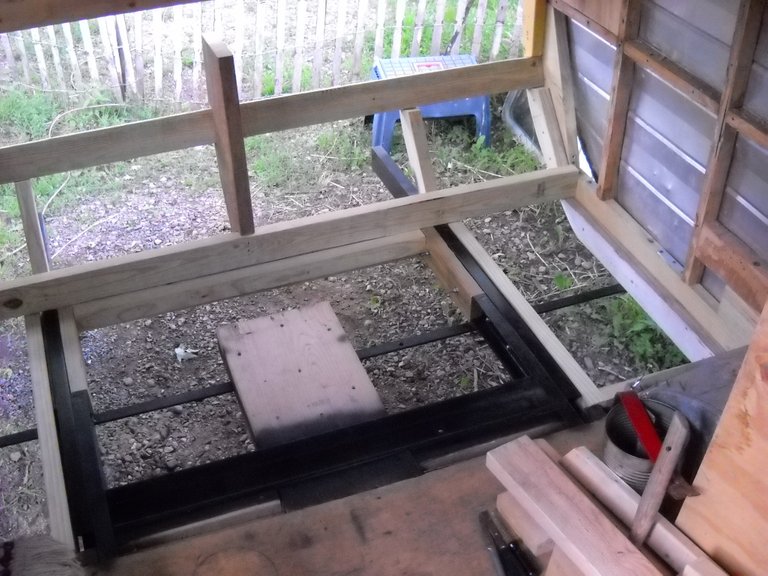
I decided to change the center support to make it a longer piece, and I notched it to better support the middle of the 2X4 that it was supposed to support. This will also provide some of the support to the bed shelf that will be put in across the back of the trailer once I start working on the interior.
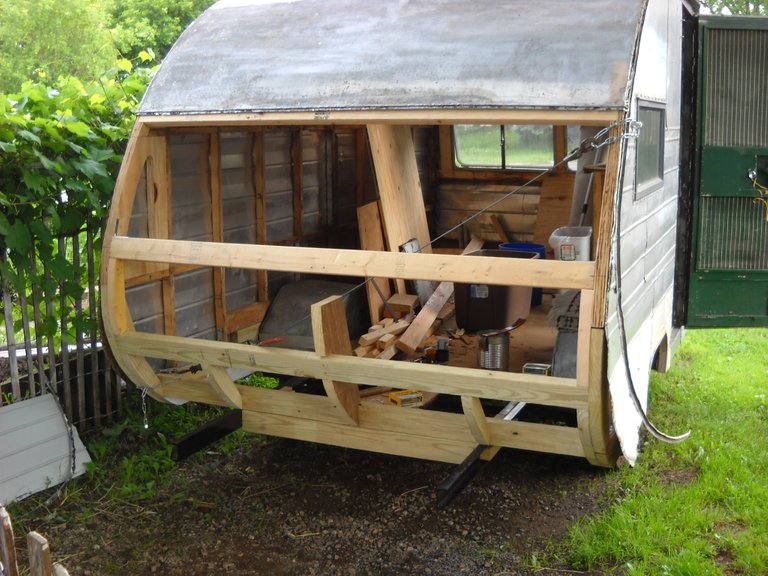
I also added more pieces of 2X4 for the floor plywood to sit on.
That's the end of this part of the rebuilding process. In the next post about the trailer, I'll be talking about the process of putting the aluminum skin back onto the back end of the trailer.
That's all I have for this post, thanks for stopping by to check it out!
I don't know if this qualifies as a creative work or not, but I'll use the tag just in case.


Good luck with the project, curious to see the end result... but sure it will turn out great!
Thanks!