My own stamp
A few weeks ago, I promised to make more resin related crafts. Unfortunately, resin takes awhile to harden up. While waiting for that, I needed to make other crafts to ease up the boredom. So, I made my very first polymer clay stamp! Why bear? Its just that bears- teddy bears make me happy- in case anyone out there is curious why I love making bears.
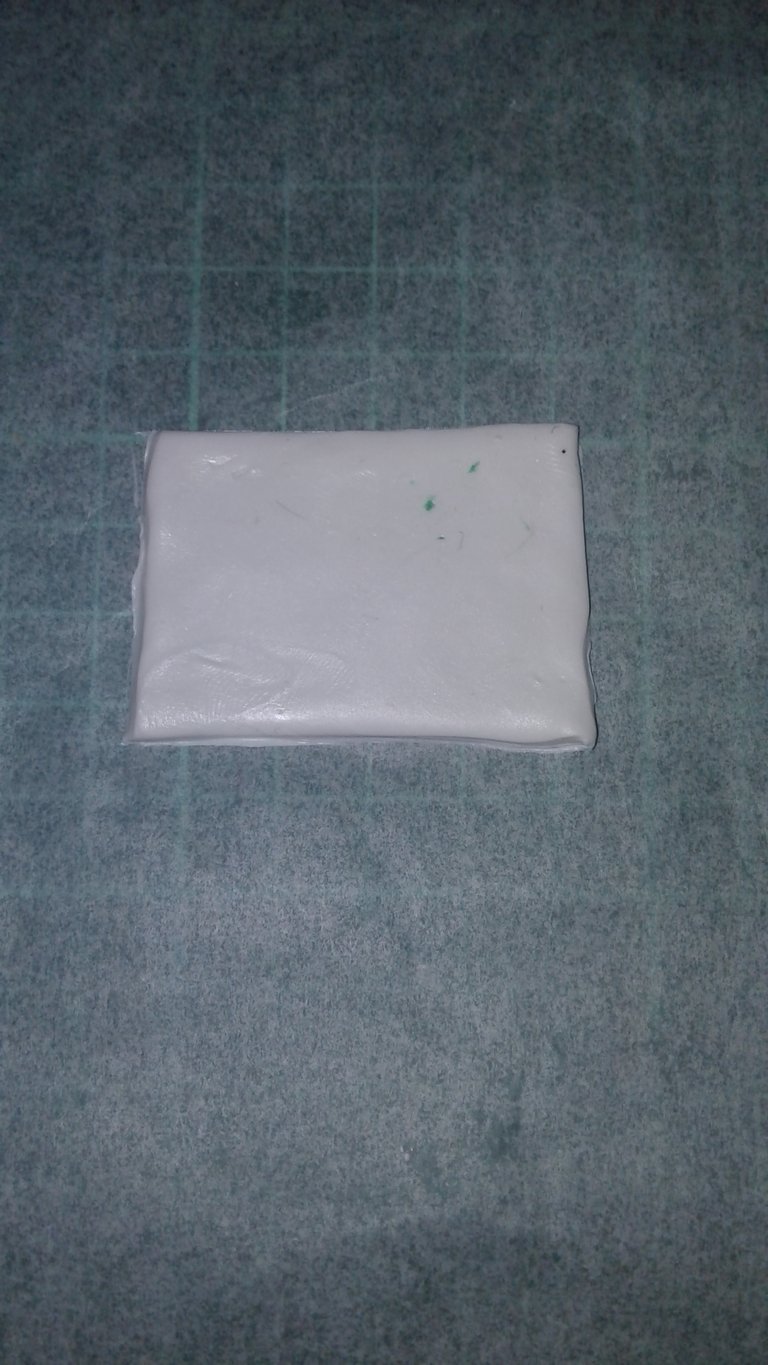
I started with a white clay.
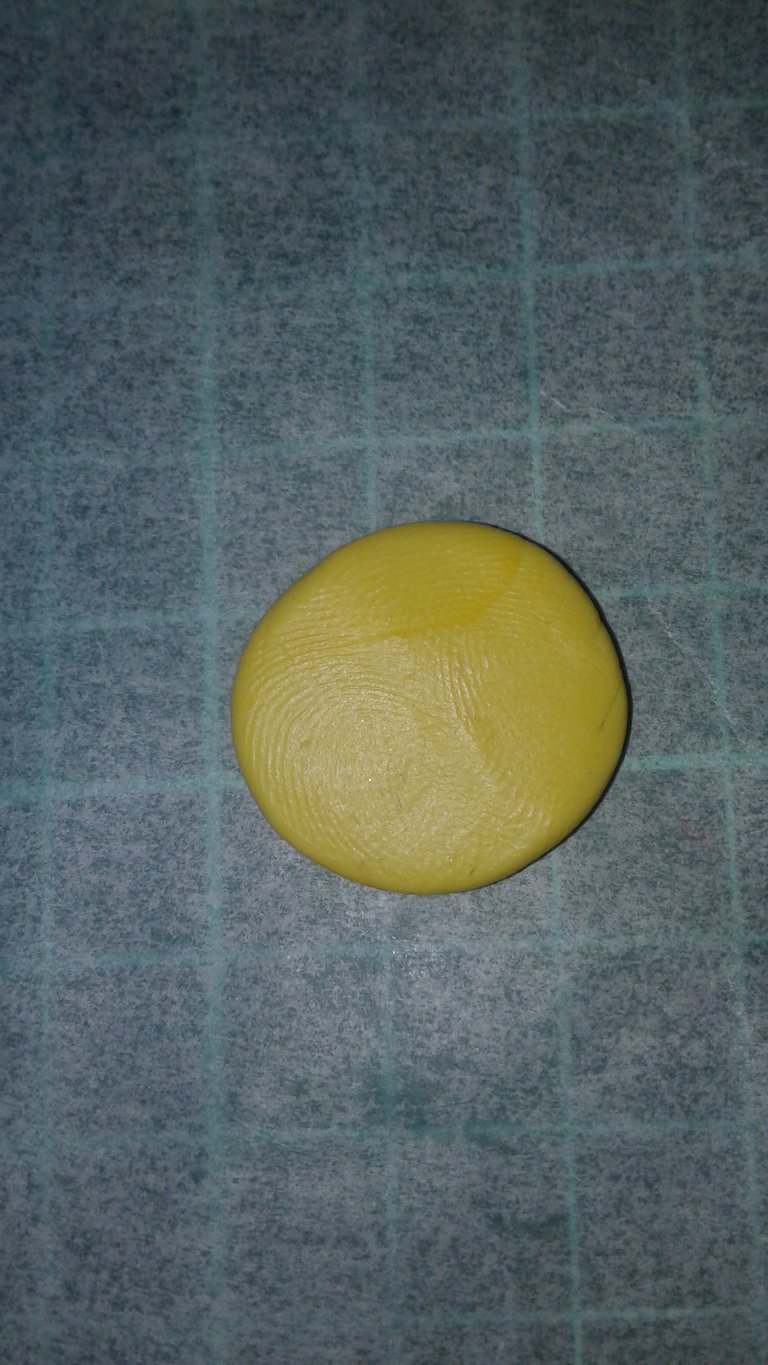
I mixed these:
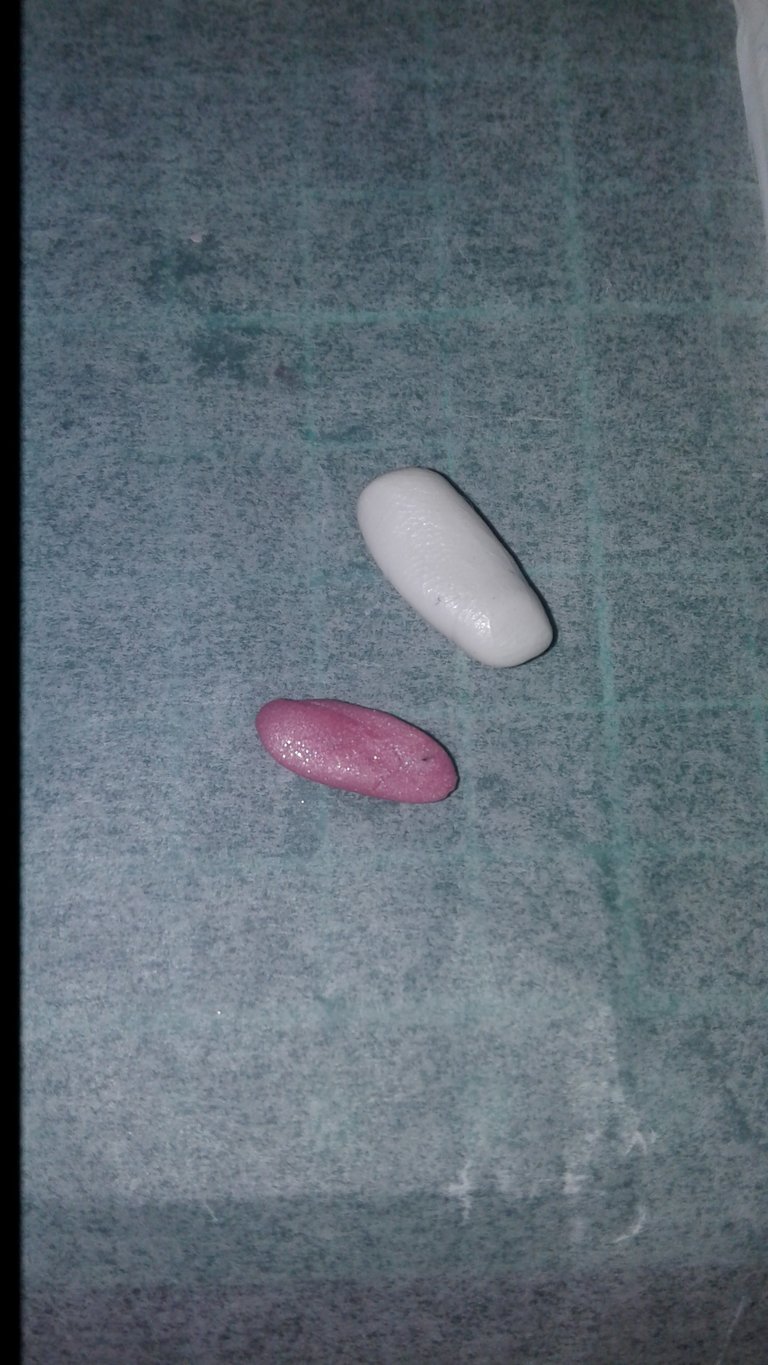
Roll it into thin sheet.
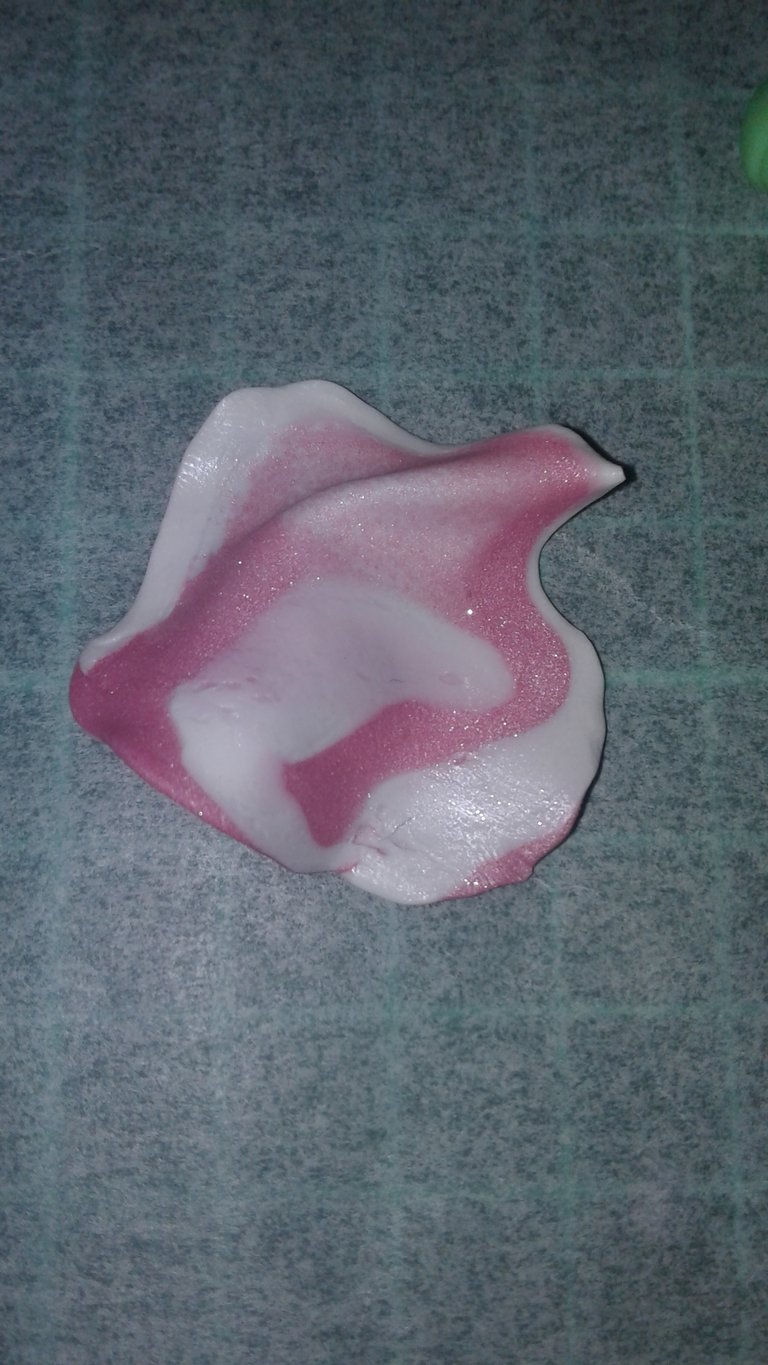
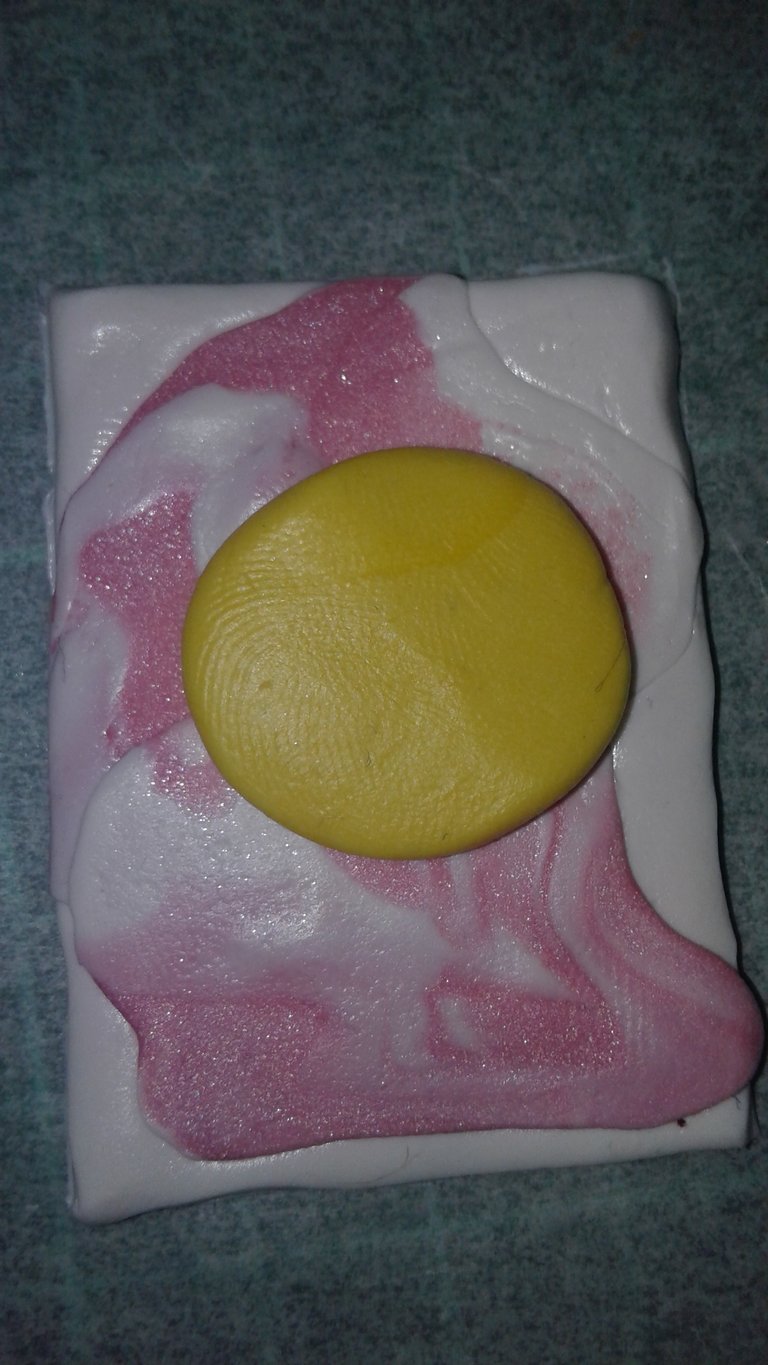
Place this on top of the white clay. this will serve as a "background."
Let's start making the details:
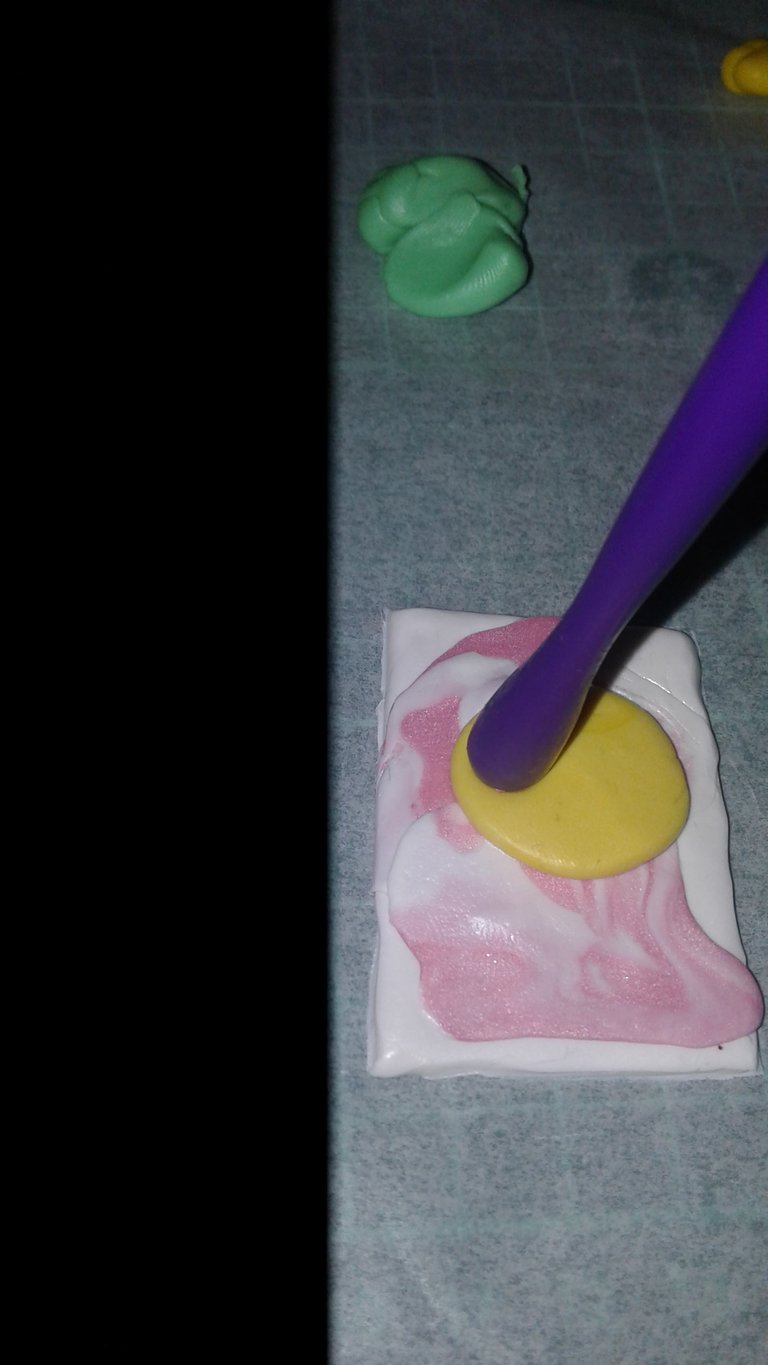
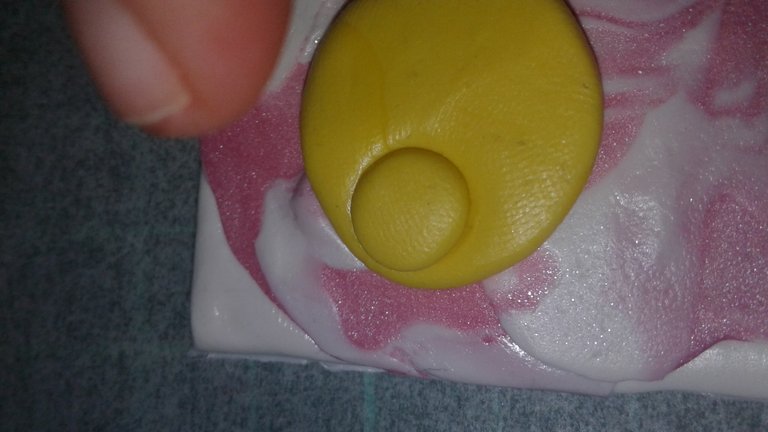

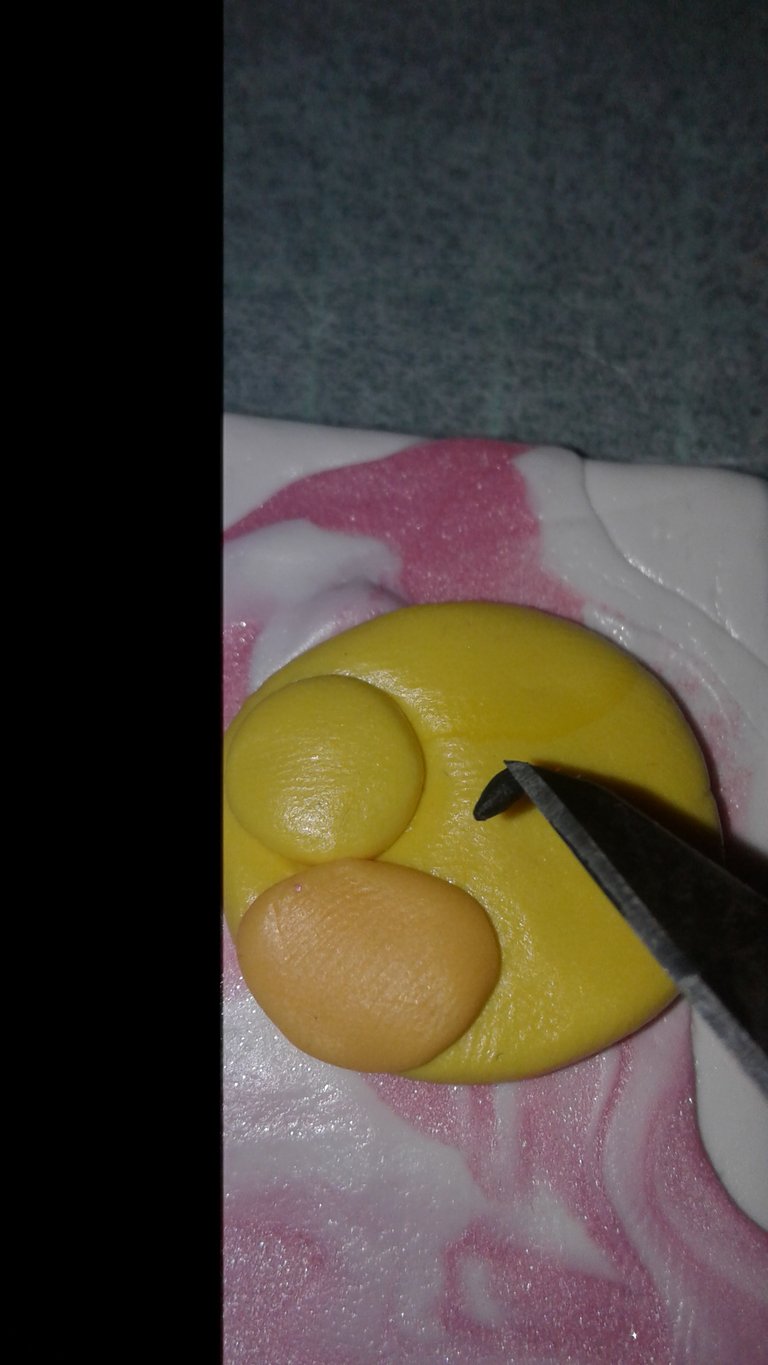
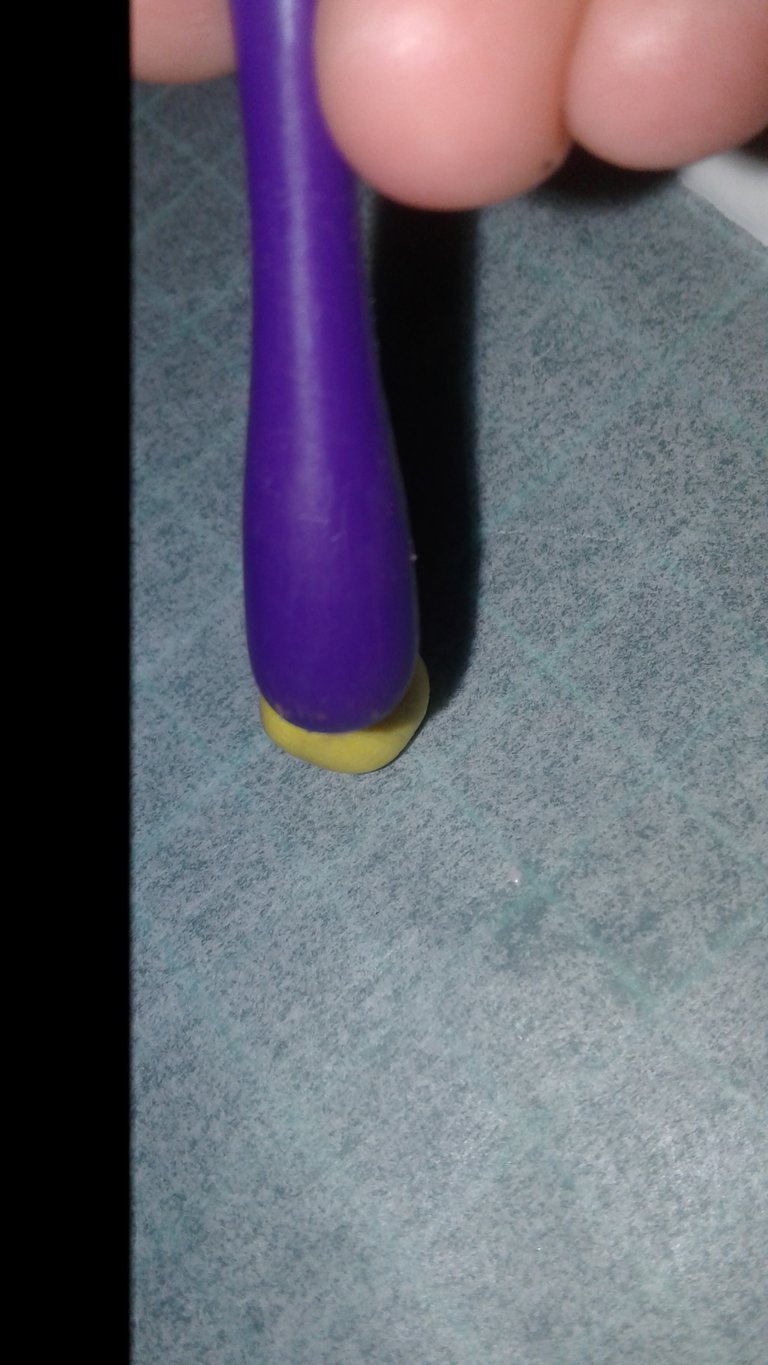
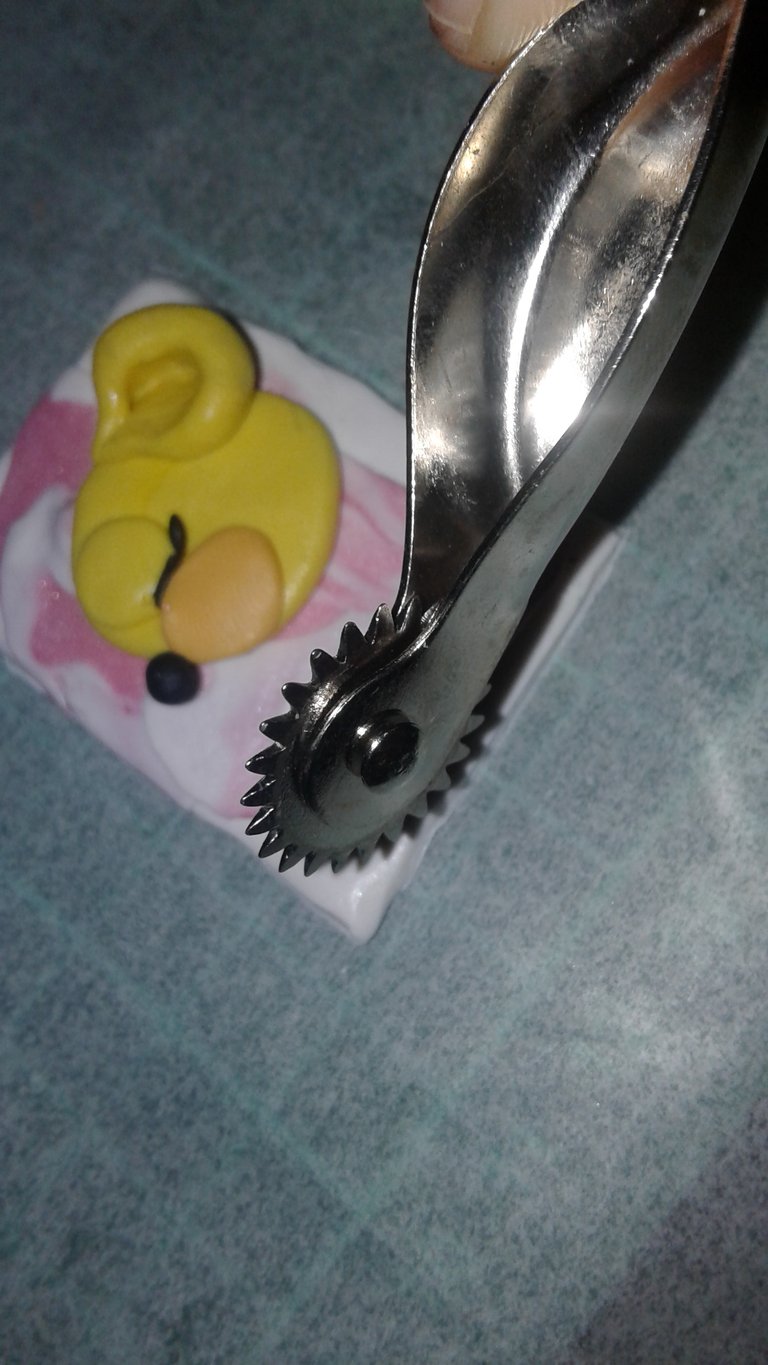
Again, this is not a "specialized" clay tool. I found this in a sewing kit and I thought it would make an interesting clay tool. Here it is proving its use!
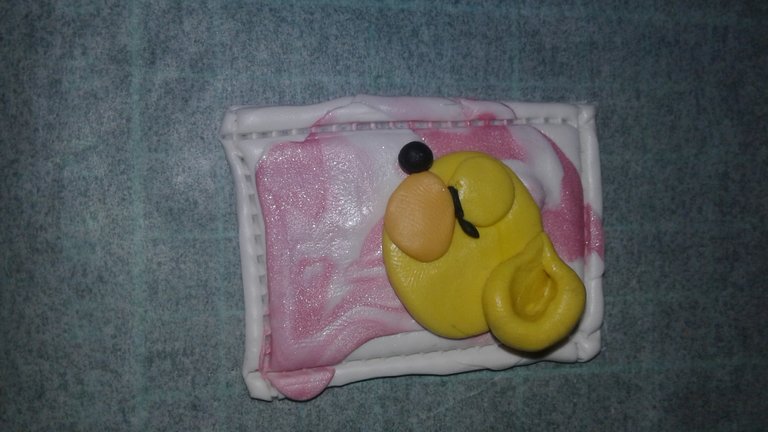
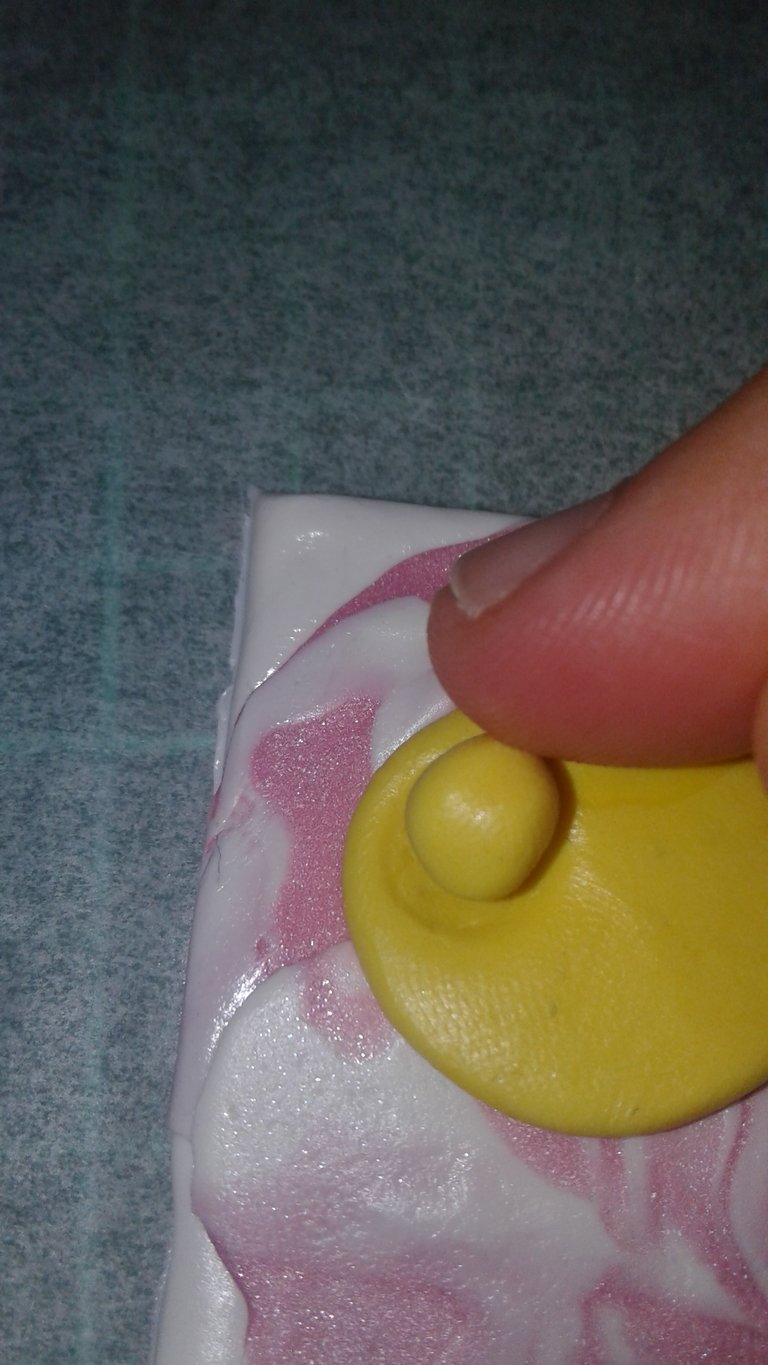
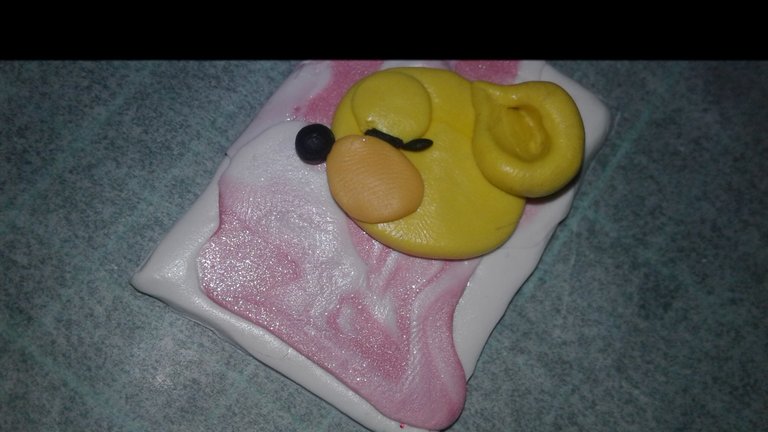
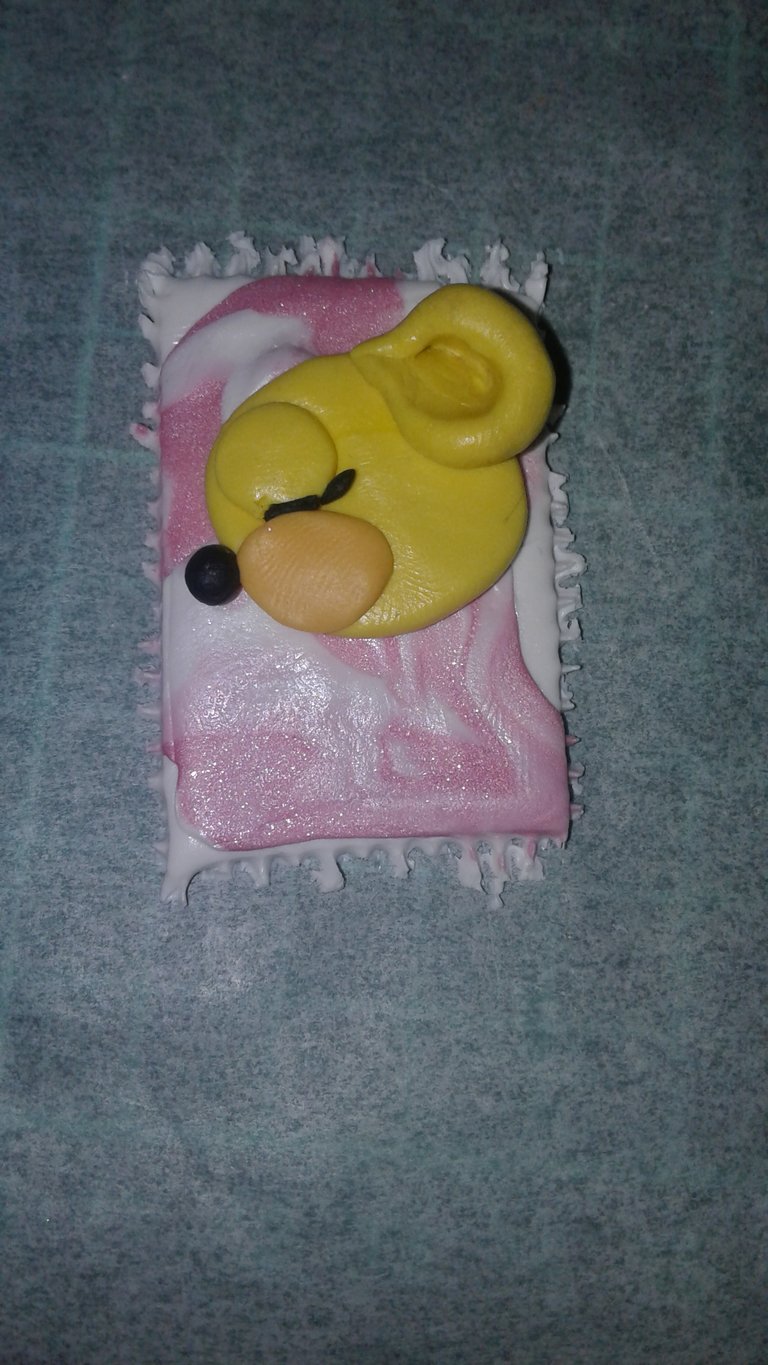
Slowly pull the sides off to create the "torn" effect. Bake.
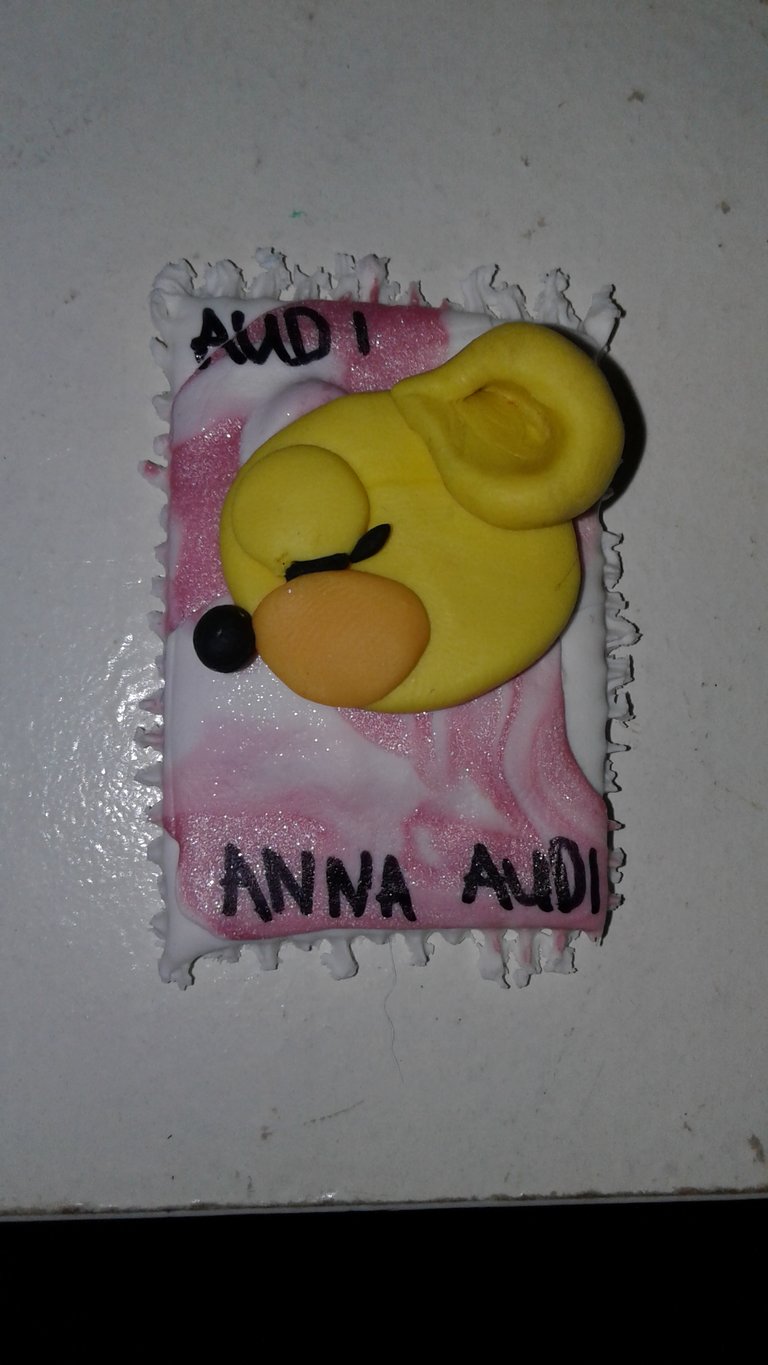
And this is the best part, Putting the finishing touches on my stamp. This is just a sharpie I bought in the grocery store. Get creative.Write what you wanted to write. Mine says ANNA. AUD 1- for 1 Australian dollar. I might even be making more "stamps" in the future.
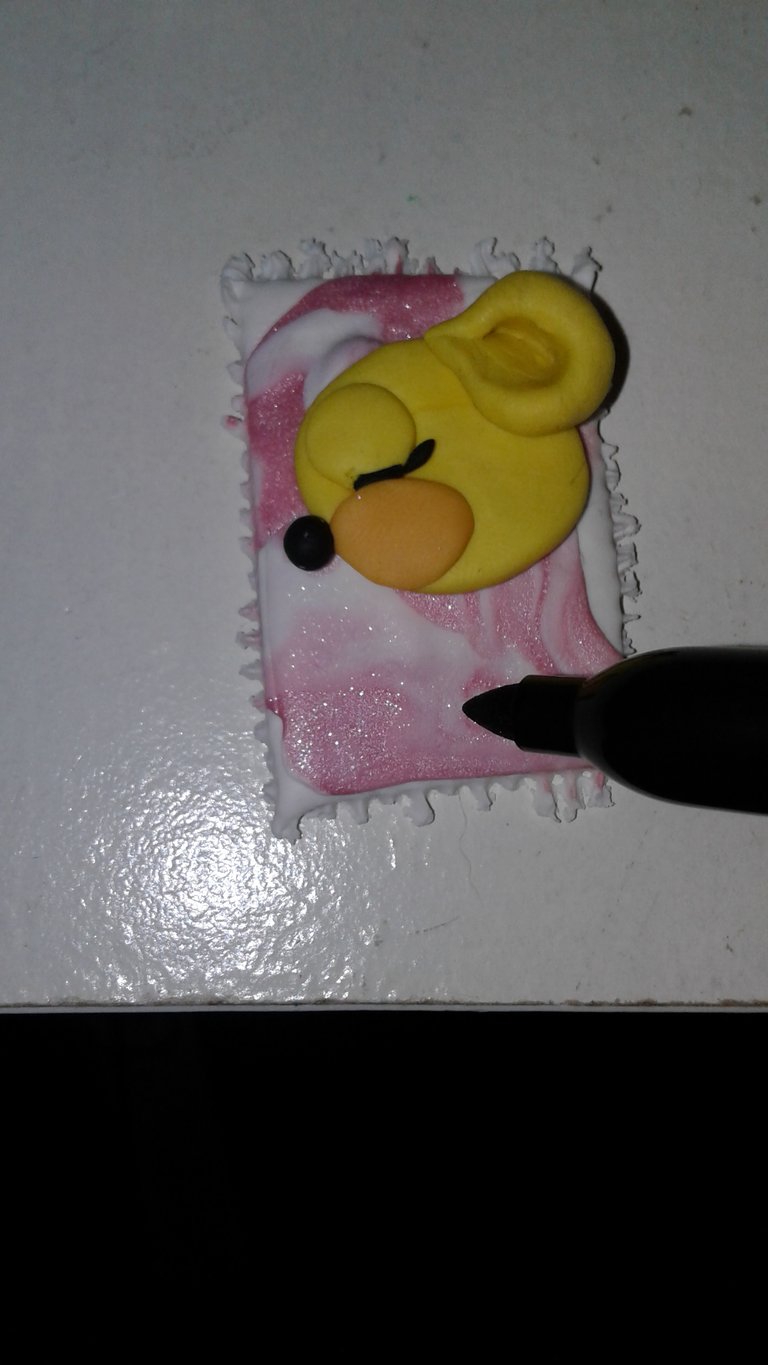
And you'll have something that looks like the picture above! I hope you guys enjoyed this post!
Very cute. So, how long does it take you to do the whole process, including taking photos for Hive?
it depends on how complicated the design is.For this it took me an hour(30 minutes baking/cooling).I usually just take a picture while I am crafting so its not that bad.The online editing (making the blog) is the longest because I need to be sure that everything is all right.