3D Printing a Regular Old Plumbus + How to Replace Bowden Tube!
What's going on?
Hope everyone is having a great day so far. As you can probably tell, I'm a huge Rick and Morty fan. I've been thinking to myself lately that everyone should have a Plumbus in their home. They're so useful for so many things. So off to thingiverse I went to find a model of a regular old plumbus. I found one that even has a little stand so your plumbus wont get knocked over or spilled. If I remember correctly it took around 17 hours to print.
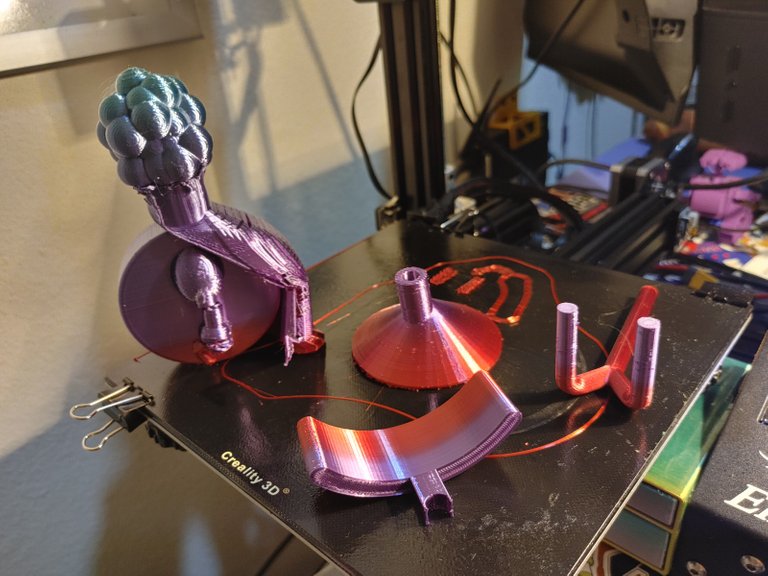
Here it is straight off the printer. Looks like the support under the dingle bop didn't hold up so I had to do some minor repairs. Tree supports have been moved out of the experimental settings with the new version of Cura 4.7 so they've been improved.
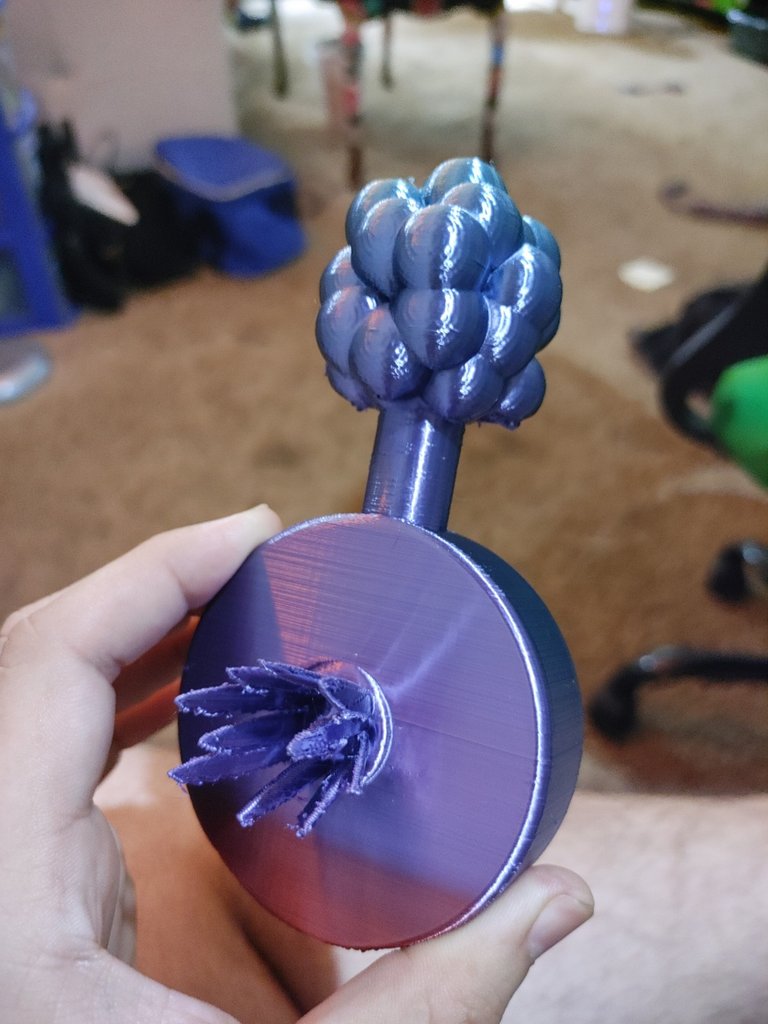
Here you can see the chumbles and the grumbo perfectly in tact. Take a look at that floob!
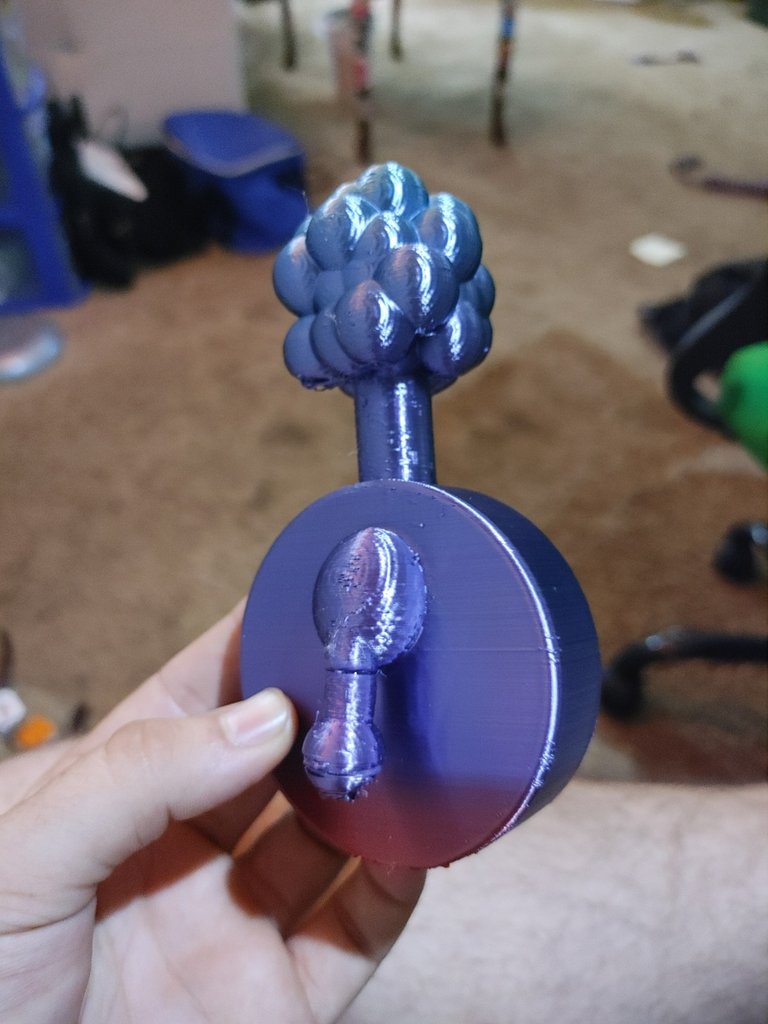
A shot of the repaired dingle bop. It isn't perfect, but no plumbus is.
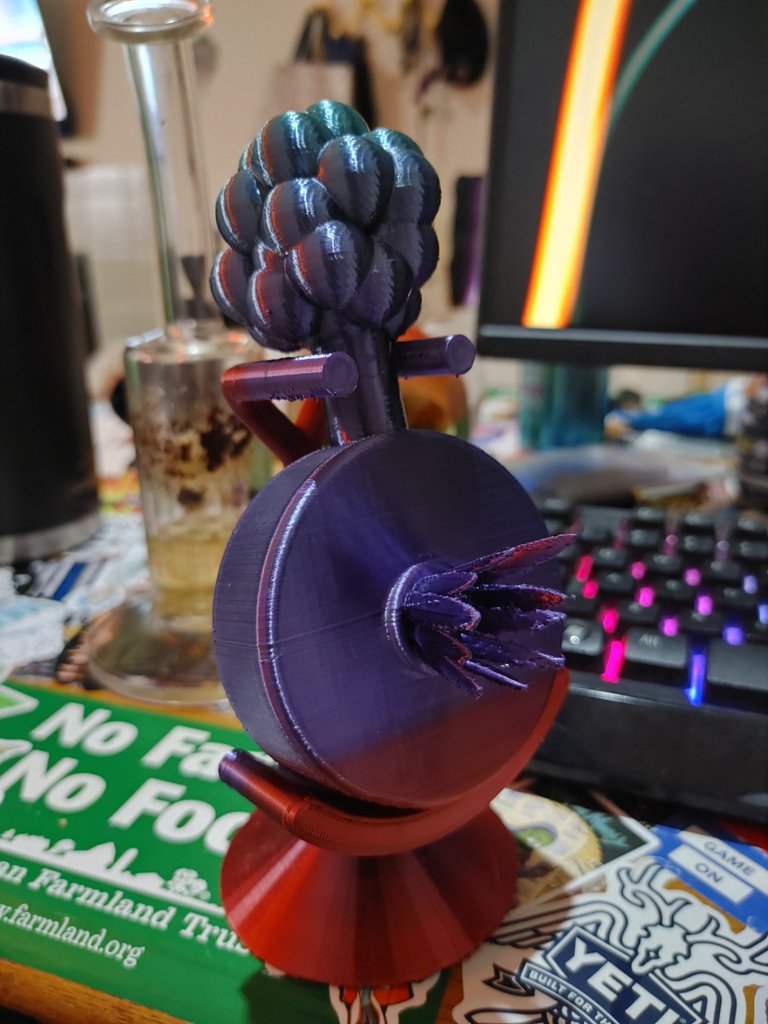
Finally, here's a shot of the assembled stand holding my brand new plumbus. Ignore the bong in the background, I know it's dirty.
Also, don't forget to rub the fleeb because it had all the fleeb juice.
How are plumbuses made? I'm glad you asked.
Enough about plumbuses.
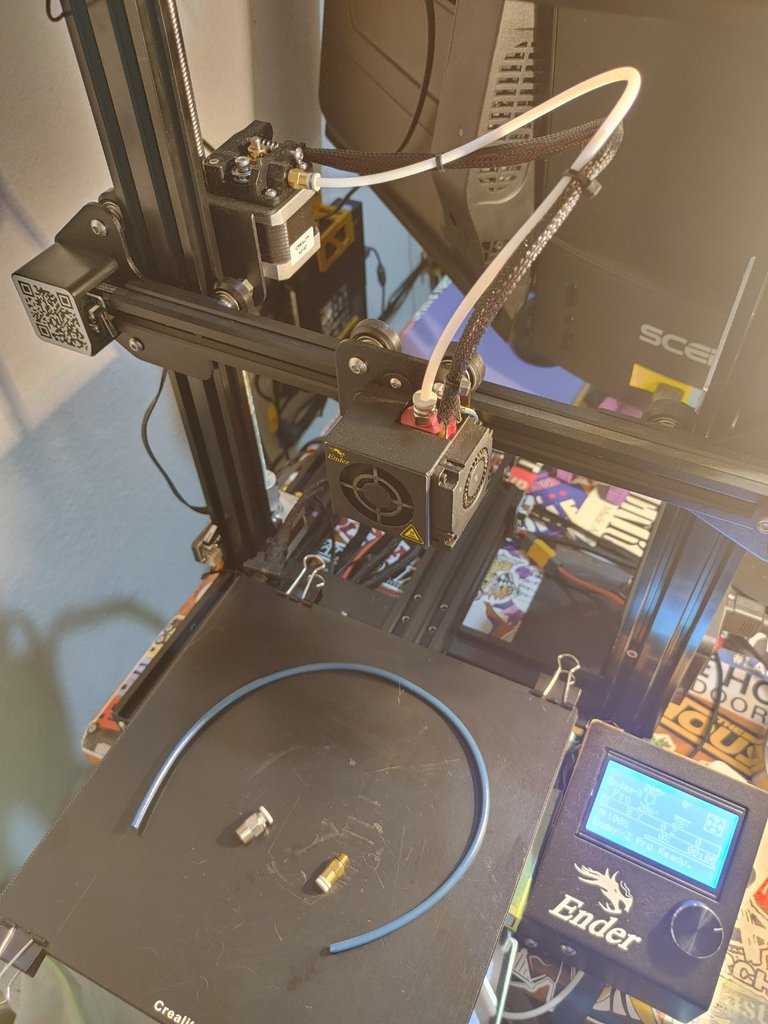
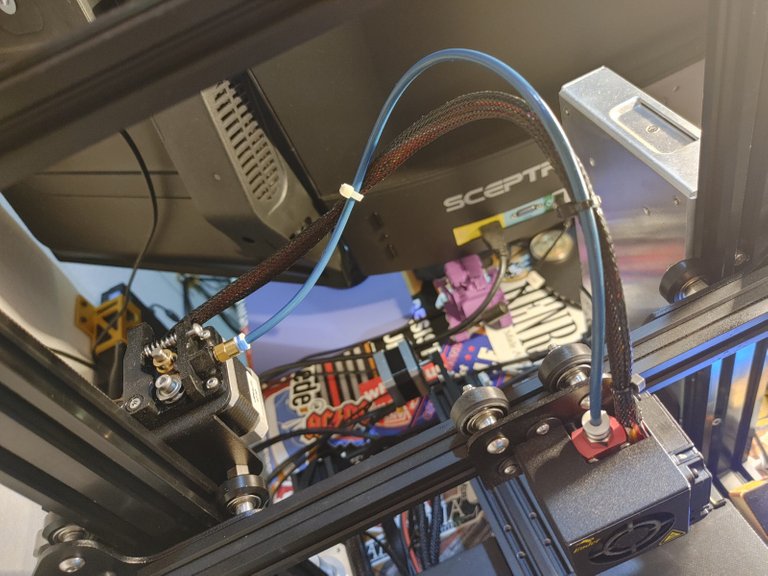
I also took the time to install one of the "upgrades" for my Ender 3 Pro I found on amazon. I'm not really sure how it's an upgrade because it appears to be just a different color tube. It claims to be higher quality. Anyway, here's how to replace your bowden tube in a few easy steps.
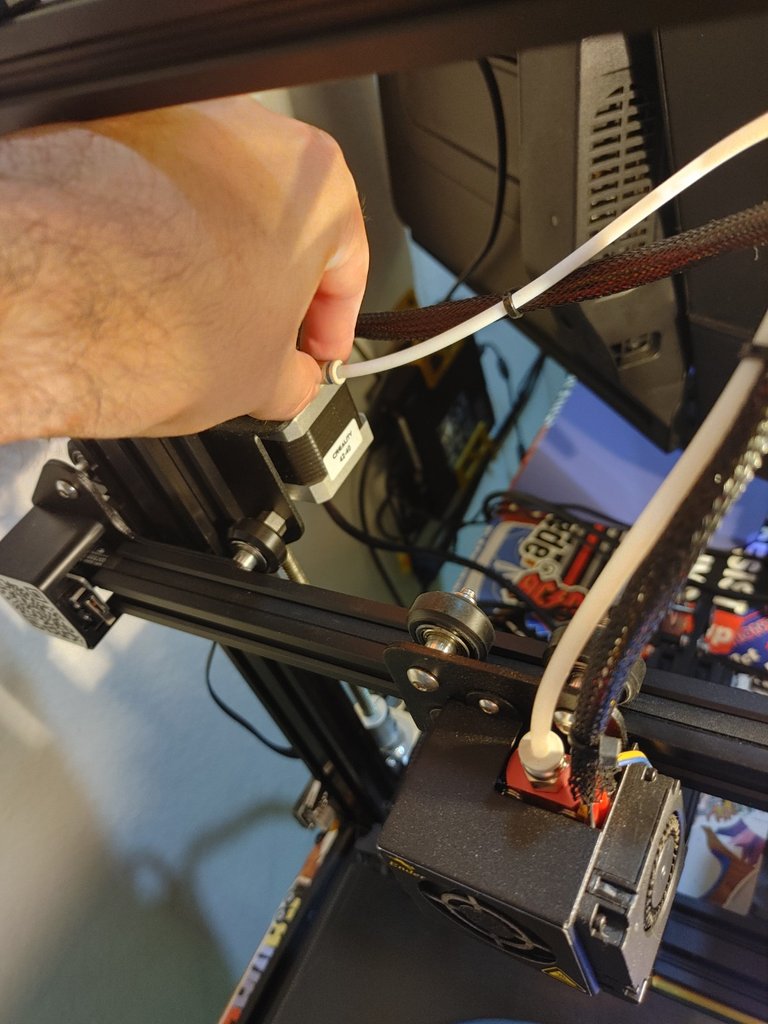
Step 1: Cut the tube to the same length as the old and unscrew the coupler from the motor. I did this with my fingers, but you can also use the factory wrench if it's too tight.
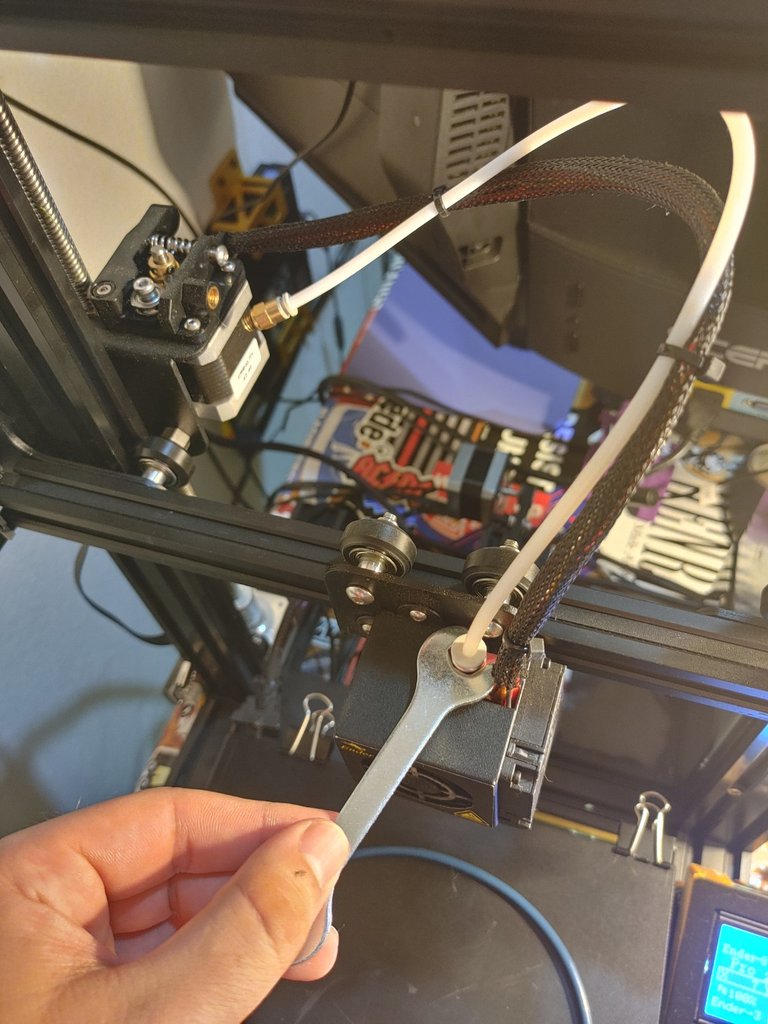
Step 2: Unscrew the coupler from the extruder and pull tube from extruder. It was in there pretty tight.
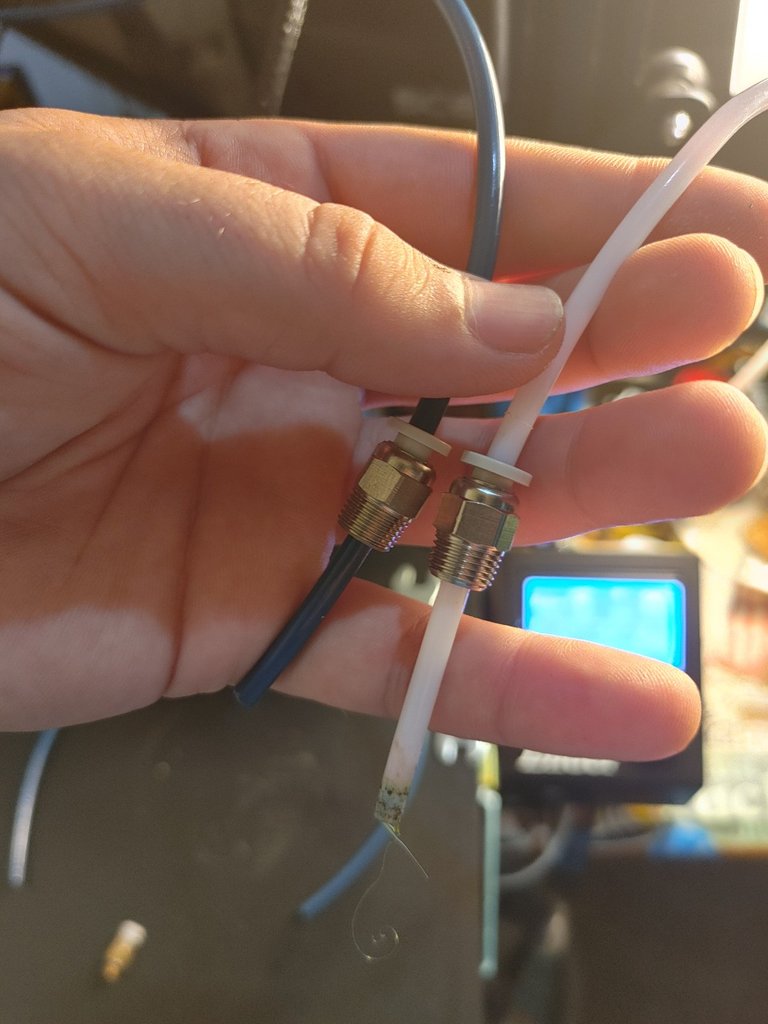
Step 3: Compare lengths of tubes and reposition coupler to match.
Step 4: Screw in both couplers and apply new zip ties for a nice and clean look. Don't tighten zip ties excessively tight.
When I got done I realized that my tube was lightly longer. This is totally fine, so go ahead and heat your extruder and insert filament to ensure it extrudes with no issues.
Of course I have a timelapse to share!
Luckily my cat decided to stay away from this one!
Thanks for reading/watching!
I hope this how to helps someone. Questions, comments, suggestions? Please leave a comment!
Your current Rank (123) in the battle Arena of Holybread has granted you an Upvote of 14%
Upvoted by GITPLAIT!
We have a curation trial on Hive.vote. you can earn a passive income by delegating to @gitplait
We share 80 % of the curation rewards with the delegators.
To delegate, use the links or adjust 10HIVE, 20HIVE, 50HIVE, 100HIVE, 200HIVE, 500HIVE, 1,000HIVE, 10,000HIVE, 100,000HIVE
Join the Community and chat with us on Discord let’s solve problems & build together.