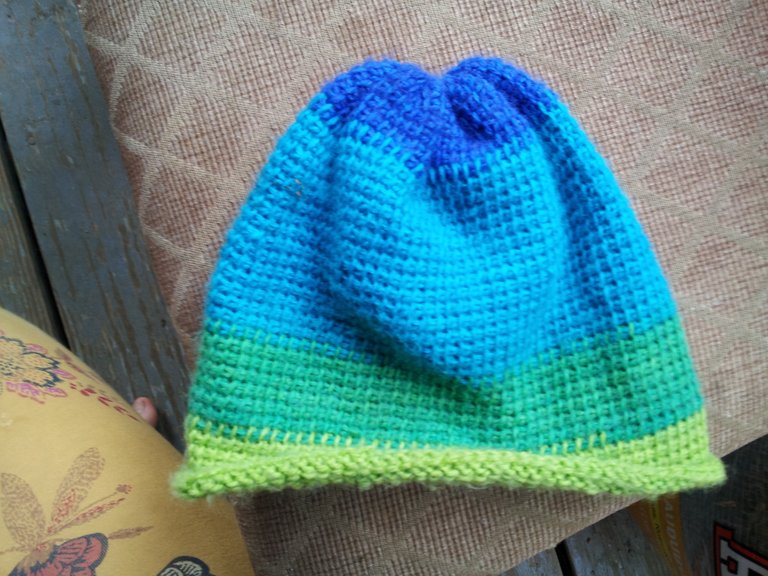
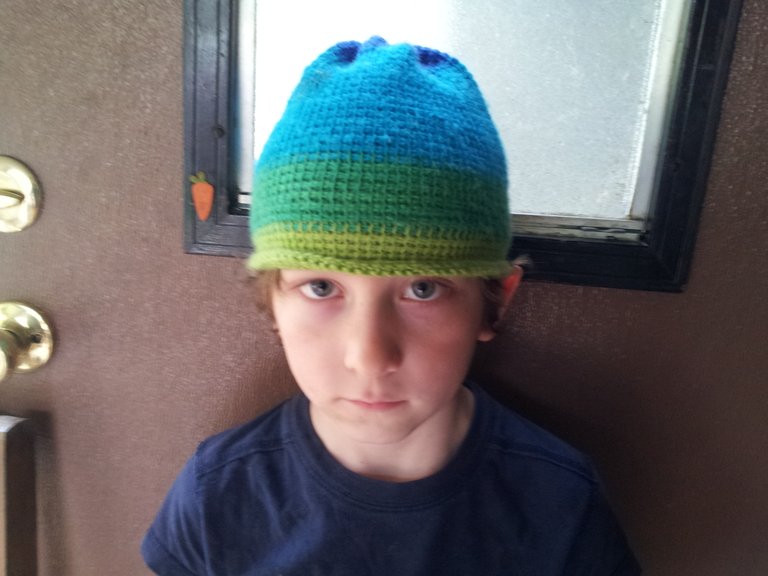
Tunisian Crochet Hat (For My Little Brother)
Firstly, I apologize for not posting in a while. I had to have a friend help me figure out the new Hive blockchain. Now that I am back to posting, I have some projects I have been working on lately that I am excited to share with you guys. I have been doing so much sewing lately, keeping myself busy at home. Today, I would like to show you guys my latest yarn project, a hat I made for my little brother in Tunisian crochet. He has been asking me to make him something for a while. I would like to apologize in advance for the photos not being super good, I am not the best photographer.
So, the first thing I did was make a rectangle to estimated measurements for my little brother’s head (I will explain what these are later). This style of hat could be made with knit, crochet, or any other yarn craft style that creates a flat fabric with a bit of a stretch to it. Lately, I have been into Tunisian crochet, so that is what I used. I crocheted it in a simple stitch using a rather thin, multi-color acrylic yarn.
The measurements to make the rectangle to, are the height and the circumference of your head. You want the rectangle to be long enough to fit in a loop around your head (plus seam allowance), and the width should be long enough to run from the center of your head to a bit past your ear (or however long you would like your hat to be on you). I also would like to say you might want to add what I like to call “wiggle room”, and make sure the hat won’t be too tight. Once you get your measurements and have your rectangle, its time to make it look like a hat.
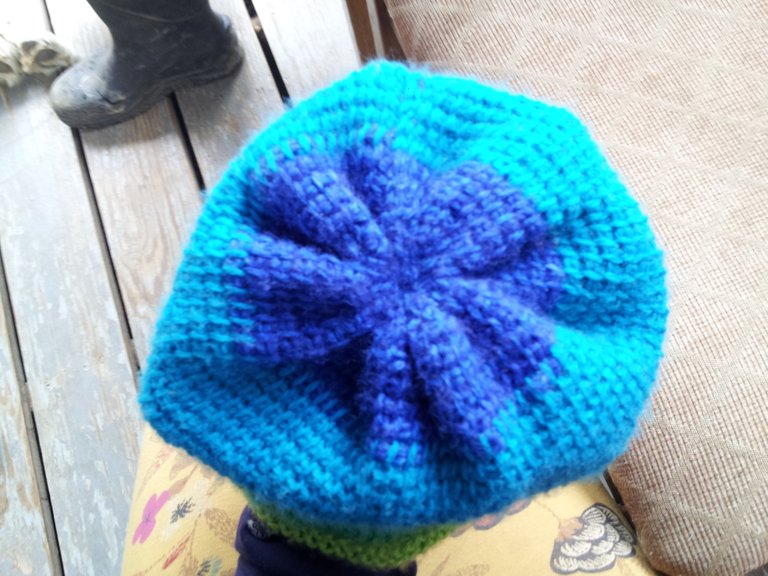
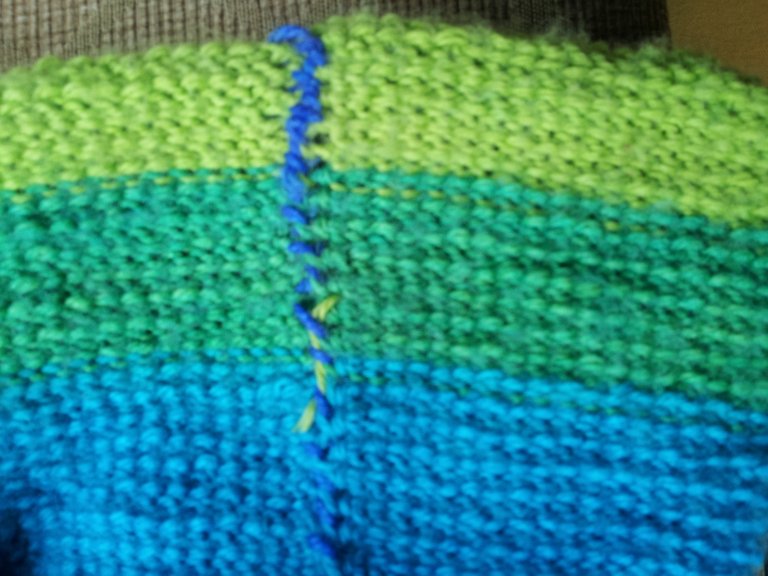
Lay your cloth down in front of you, right side up and with the long side towards you. Take both sides and fold them to the center. Sew down the middle of where they come together (I try to make my seams have some stretch to them for ease). It should now be a wide loop. It is time to pick which side is the top and which side is the bottom. Take a piece of yarn and sew it through the top edge using large stitches, pull the yarn tight to scrunch up the top. Keep sewing the top until the hole is all the way closed and you are happy with how it looks.
I hope you guys like this post, and you are staying safe. As always, experiment and play with the ideas, personalize your projects and have fun. Best wishes to all of you guys and happy crafting!
Another neat DIY post @cassidydawn! That hat looks really awesome!
Thank you @jacobpeacock!
You are very welcome @cassidydawn! 🤠