How To Make A Hyperrealistic Drawing Of A Human Portraiture

Hi,
I am done cooking another pencil portrait and i am here to start the full tutorial on pencil portrait sketch of human figures and bringing out the reality in it. It is no difficult task to explain the processes of my work and this is more reason why I will explain the step by step procedures.
My creative process is always interesting and amazing to me to be honest and this is because I derive pleasure and fun when I draw. It ease me of my worries and it's not a thing I do during my leisure times alone and also it doesn't define a mood for me to make portraiture which means, in any mood I find myself, I am able to draw anything to give it's resemblance. Passion for drawing brought this to me. It doesn't feel like I am doing a great deal; it feels like I am getting more knowledge to the ones I have before and improving on it. It's always an adventure, and I always learn something new in every steps I take.
In this post, I will be showing and explaining the step by step process of this work.
The process:
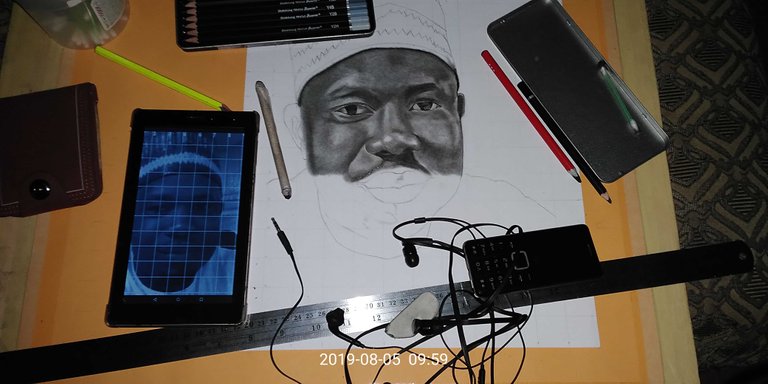
1
The first step I took in the production of this portrait is that, I took one of my grided sketchpad in the measurement 12 by 15inches. Then I made use of my mechanical pencil to draw lines box by box in my eggshell sketch pad. What I mean is that I represent every of the strokes and patterns I see in each box on the reference picture on the sketch pad just as I see it.
Following this, I was able to create the sketch outlining.
2
Here, this is where the shading of the outlining begins. In shading the sketch outlines, i picked the boxes one after the other so as to be able to represent exactly what I see on the reference picture on my drawing. Picking it box by box makes it easier to feel the sensation and have great connectivity with the shading of the portrait.
Below is shown the sequence of the shading:

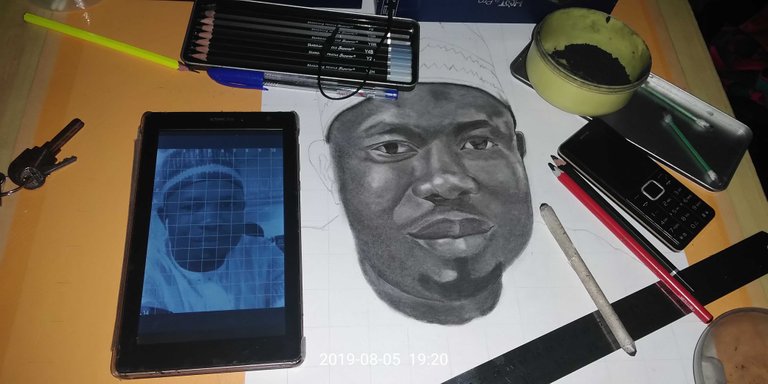
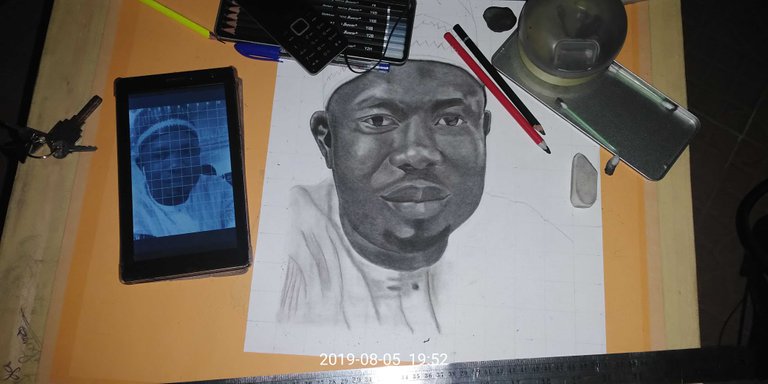
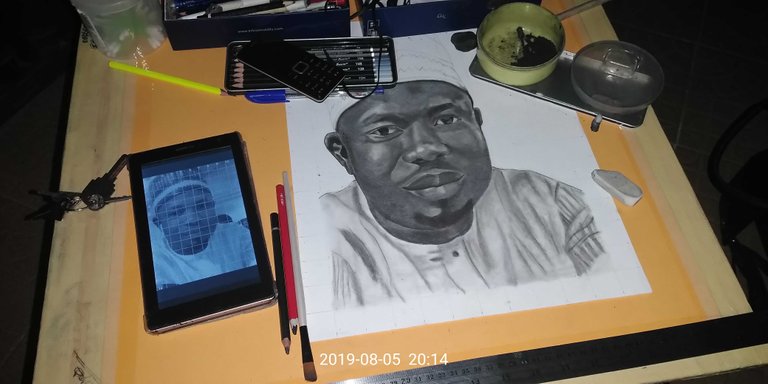
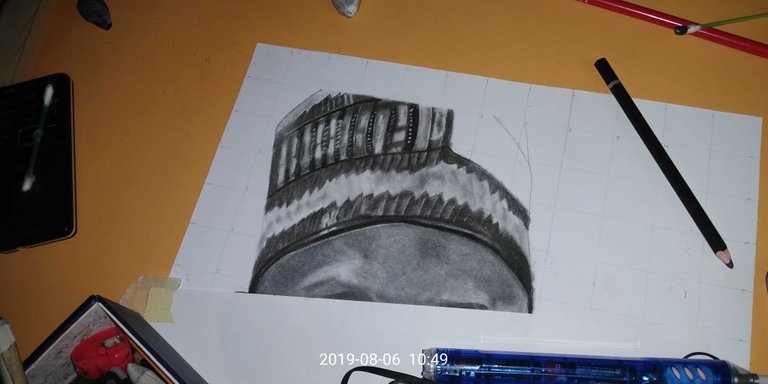
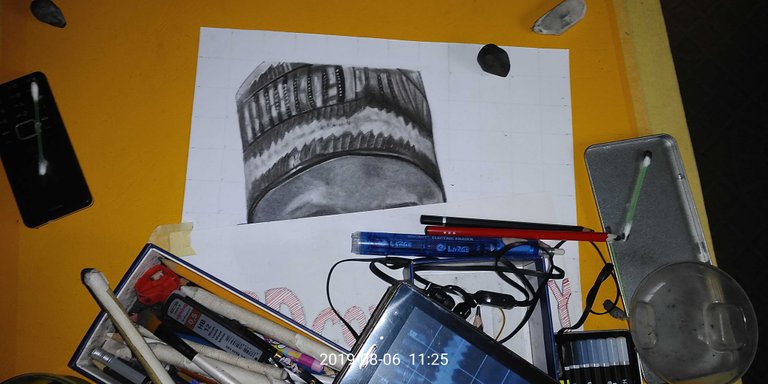
NOTE In creating the shades of the face, the rules of making progress of work box by box doesn't change. Here, much patience is required so as to differentiate between the sides that has dark shades and the side that possess light reflection. If following the shading box by box, it will be easy to create an awesome portrait looking exactly like your reference picture.
This is the basic steps required for the production of a good portraiture. If you have a question, feel free to ask.
More tutorials coming.
Thanks for reading through.
@Kayda-ventures
With love and an artistic view on life until next blog ,when I will be showing and giving more illustration though the making of a good 3D effect portraitures.
I will appreciate your love in upvotes /comments/resteems for my artistic view on Steemit life is highly appreciated.......and I really want to use my works to make impact.
Thanks for reading in my blog


Beautifully drawn and excellently described as well. Shared on reddit.
Have a nice day.
Thank you so much. I really appreciate
Posted using Partiko Android
Hello! I find your post valuable for the wafrica community! Thanks for the great post! We encourage and support quality contents and projects from the West African region.
Do you have a suggestion, concern or want to appear as a guest author on WAfrica, join our discord server and discuss with a member of our curation team.
Don't forget to join us every Sunday by 20:30GMT for our Sunday WAFRO party on our discord channel. Thank you.