The Process of Canning Beef
Hello, and welcome to my steem blog!
This post is about canning a batch of beef from the grocery store. Why can it when you can just freeze it, you might ask. The primary reason that I have for canning the meat instead of freezing it is that I don't have to worry about it spoiling if we lose electricity for a period of time. We don't get many power outages where I live right now, but where I used to live in the country, the power was less reliable. Canning is also a good way to preserve food for an off-grid living situation. Another thing about canned meat is that you don't have to thaw it out before cooking it, so you can cook a fast meal by just dumping the jar of meat into a pan and heating it up.
A jar of meat, a jar of potatoes, and a jar of carrots, a bit of your favorite spices, and you have a quick and filling meal.
The process of canning meat is not difficult, it just takes a bit of work and a fair amount of time. Most of the actual time involved in the process has to do with the processing time with the pressure canner.
I guess the best place to start this process is at the beginning, deciding what kind of meat you want to can, and getting the meat. My primary option for meat is the grocery store, so I bought the beef that I wanted to can.
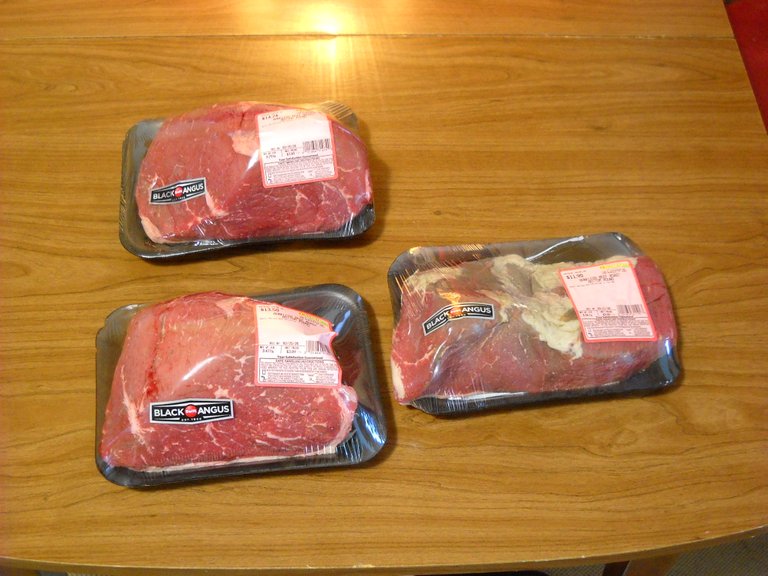
I bought a total of about 10 pounds of the beef that was on sale at the local grocery store. This is bottom round roast. I prefer chuck roast, but they don't put that on sale very often. I ended up with more meat than I could fit in the 7 jars that I canned, but I got a full canner and a couple of freezer containers full.
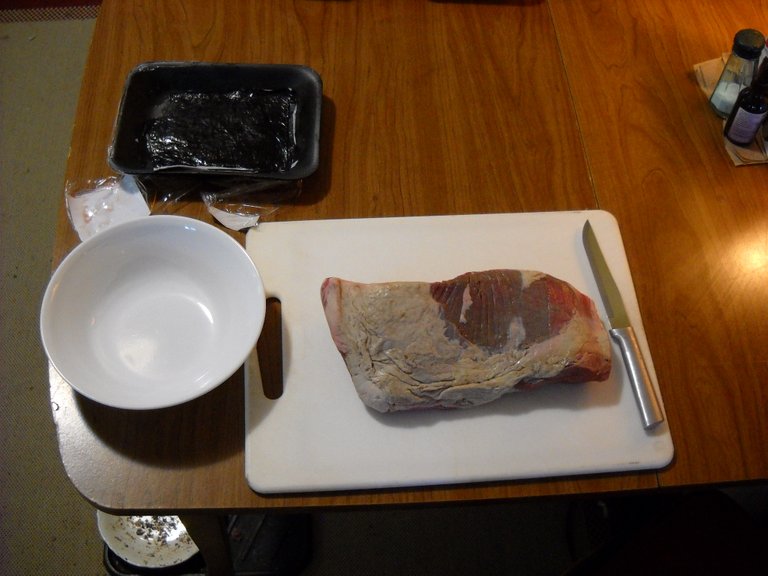
The next thing to do is trim as much fat off the meat as you can, and then cut up the meat.
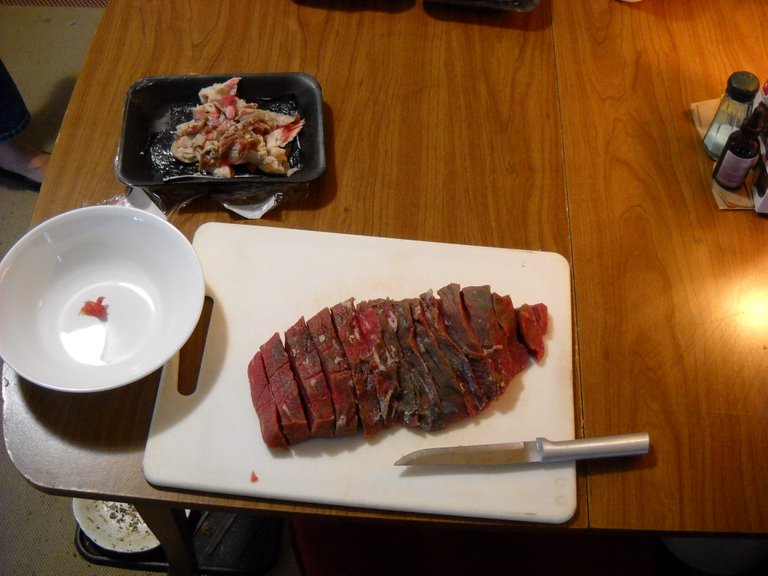
This is partly cut up. I generally cut the meat into strips and then cut those strips into chunks. The canning book recommends cutting the meat into 1-1/2 to 2 inch cubes for canning stew meat, but I tend to cut my chunks a bit smaller. The strips in the picture are no more than an inch wide.
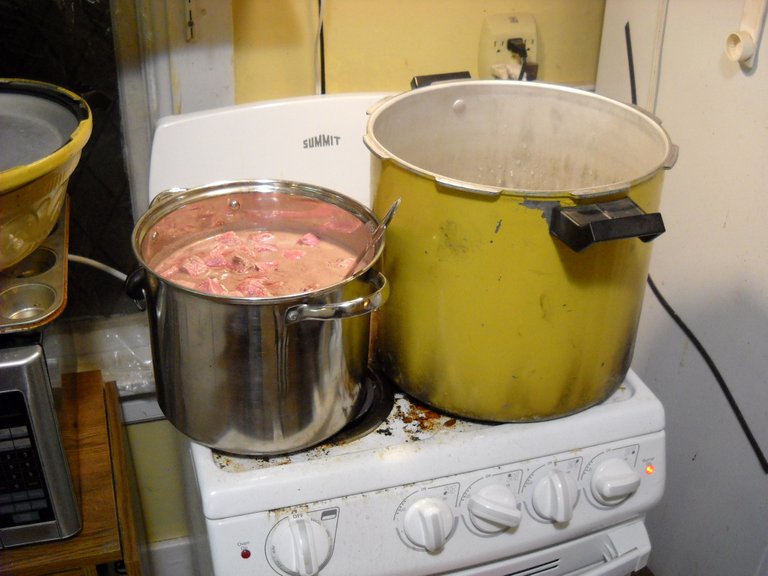
I put the meat into one of my stainless steel stock pots as I'm cutting it up. Once I have all the meat cut up, I add just enough water to the pot to bring it up almost to the level of the meat in the pot. Then I put the pot on the stove to heat up.
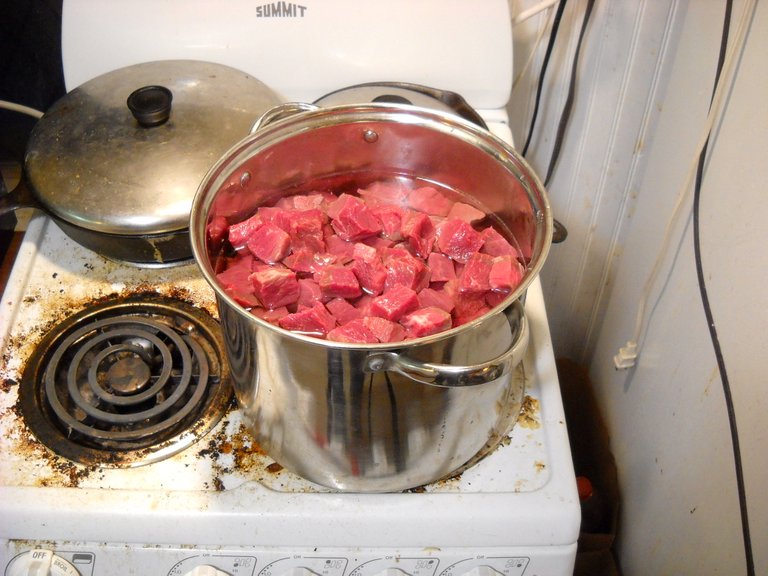
The goal is not to pre-cook the meat, but just to parboil it to heat it up so that it is hot when you put it into the jars.
At this point, I'm also starting to heat up the water in the pressure canner. The book calls for 2-3 inches of water in the bottom of the canner.
Once the beef is hot and doesn't look raw anymore, it's time to put it in the jars. To put the beef in the jars, I use a big spoon with holes in it to drain most of the water. The goal is to fill the jar to about 1 inch below the rim. That allows for expansion during the canning process.
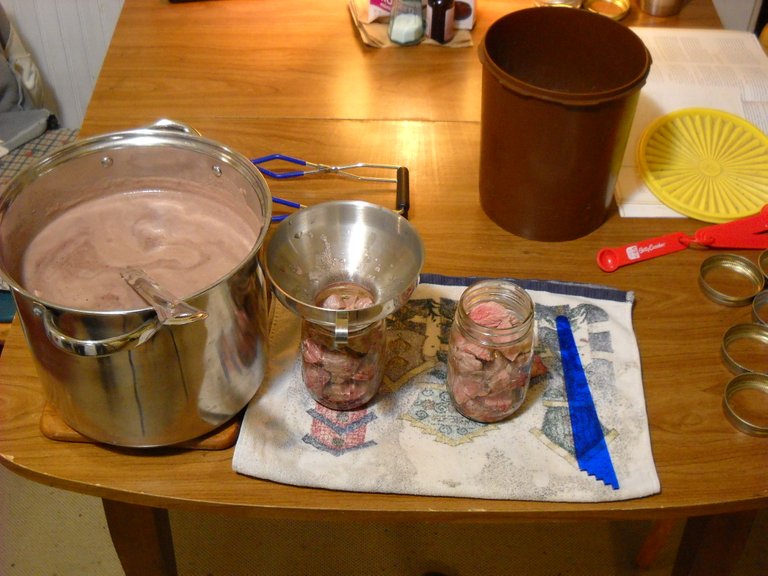
At this point, I have all 7 pint jars full of beef. 7 pints is all that my canner will hold at one time. I pit 1/2 teaspoon of canning salt into each jar, and then ladle hot water from the pot into each jar to fill it to about an inch below the rim. The salt is optional, but I prefer it. The blue plastic "stick" in the picture is for removing any air bubbles in the jars once they're filled.

Once all the jars are full, I put the lids and bands on them to prepare them for the canner. The lids are preheated in a small pan with about an inch of water in it. You don't want to boil the lids, just get them hot. There's a plastic stick with a small magnet on the end that you use to get each lid out of the hot water. Before you put the lids on the jars, you should wipe the rim of each jar to make sure it doesn't have stuff on it from filling the jar. Anything on the rim could interfere with getting the jar to seal.
Once all the jars are full, I put them into the hot water in the canner. Then I put the lid on the canner, making sure that it is locked in place. Then the heat is turned up on the stove, and the wait begins for the heat to make steam in the canner to bring the pressure up to at least 10 pounds pressure. My canner has a pressure gauge, some canners have a little weight that goes over the steam outlet that determines the pressure.
Here, the pressure is up to about 12 pounds. I find it more difficult to regulate the pressure on an electric stove because of the heat lag time. With gas, the heat is more quickly adjustable. The goal is to get the pressure to at least 10 PSI and hold it steady for the proper amount of time necessary to properly process the meat.
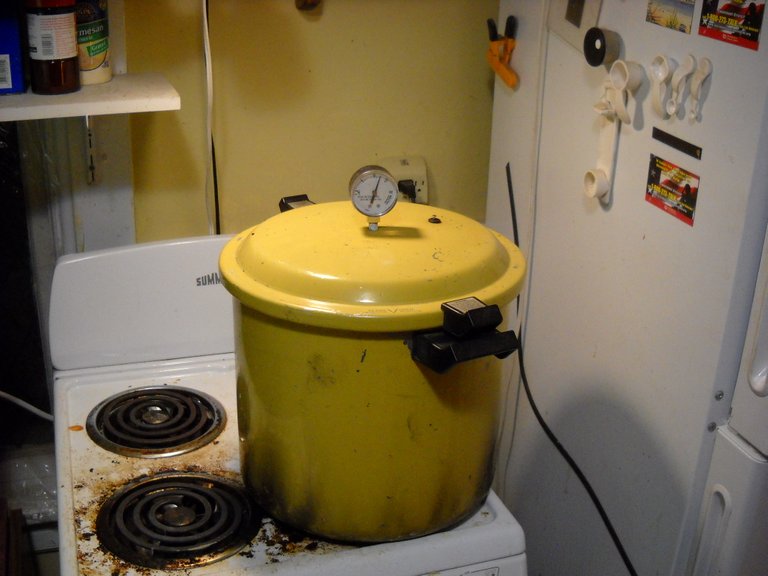
According to the canning books that I have, the canning time for pints of stew meat is 1 hour and 15 minutes, starting after the pressure reaches at least 10 PSI. If I was canning quarts, I would have to keep the pressure up for an hour and a half.
Once the pressure time is reached, you can turn the stove off and go find something to do for a while. You need to let the pressure fall naturally as the canner cools off. If you release the pressure too quickly, you can end up with jars not sealing. A sudden drop in pressure can cause some of the contents of the jars to be forced out of the jars, causing them to not seal. Once the pressure is down to zero, you can remove the lid of the canner. It's recommended that you leave the jars in the canner for another 5 minutes after you take the lid off to let them cool a bit further.
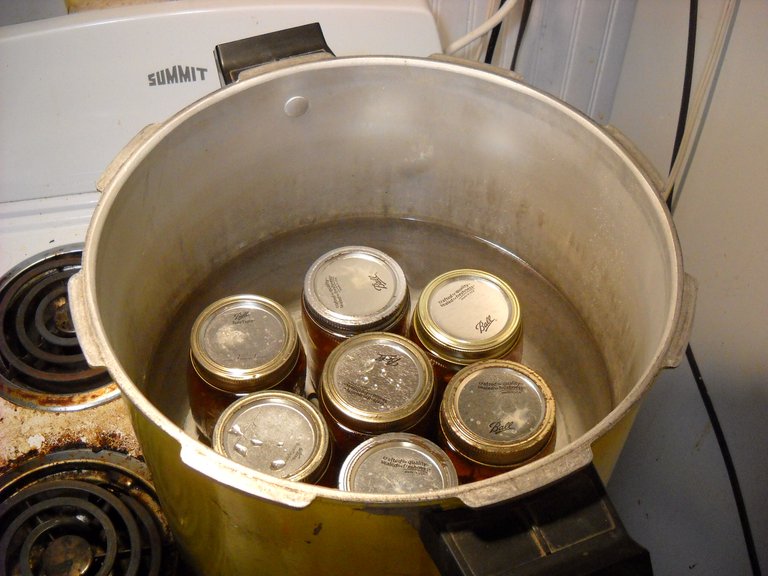
Once the jars are ready, you remove them from the canner with a jar lifter and put them on a towel to finish cooling off. Don't mess with the lids or bands while the jars are cooling off, that could possibly mess up the seal of the lid.
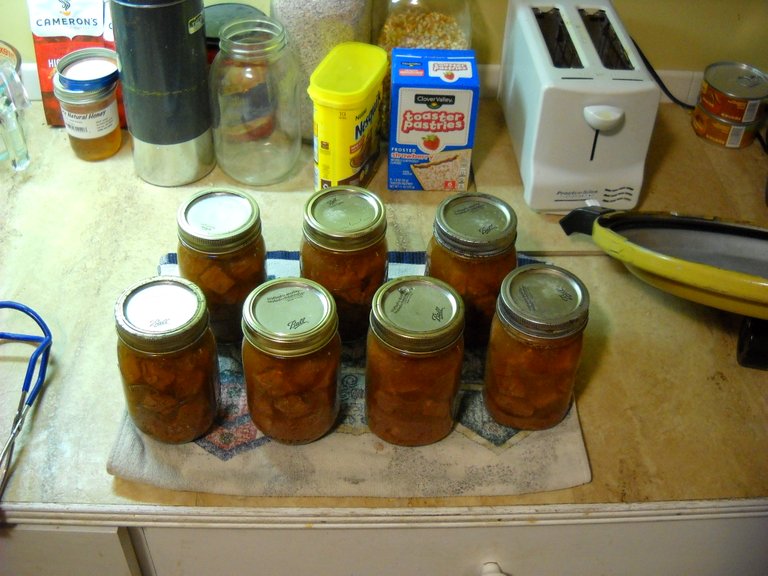
After the jars are fully cooled off, you can put them in your pantry. I usually wait until the next day before I mess with the jars. When you can beef or pork, you will end up with a bit of fat on the outside of the jars. It oozes out of the jar during the canning process. I wash the jars with dish soap in the sink to clean them off before I put them in my food storage area. I don't want to go get a jar and find stuff growing on the outside of the jar because I didn't wash it before putting it in storage. I write the date of canning, and the contents on the lid of the jar before I put it in the pantry so that I know what it is, and what to use first. I can't tell the difference between canned beef and venison unless I write it on the lid.
Well, that's all I have for this post, thanks for stopping by to check it out!

@tipu curate
Upvoted 👌 (Mana: 20/25 - need recharge?)
Thank you!
Never really thought of canned meat before. Was good to read about it!
Never really thought
Of canned meat before. Was good
To read about it!
- steemitadventure
I'm a bot. I detect haiku.
The only problem with canned meat is that you will never be able to brown it.
(although you can do that before the canning process)
So, you are left with dishes that work well with mushy meats.
Soup is of course my favorite.
Canned soup?
Well, you can preserve soup by pressure canning it if you want to. I've pressure canned home made bean soup and that turned out well. It's handy also, you don't have to thaw it out before heating it up to eat. :-)
mushy meat soup...hmmm, I might have to try making some of that. LOL
I've only canned chicken broth in a pressure canner, but a tip I got from a Master Homemaker canning class was to use vinegar to cut the grease on the rim. Supposed to help with the leakage problem. Not tried it but curious if it really does work...
That's an interesting idea, I'll have to see if I can find out a bit more about that.