CHAINSAW SAWMILL IS A GO!!(HOMESTEAD UPDATE)
(Edited)
THE HOMEMADE SAWMILL
If you've been following our progress, you may have seen my recent post concerning building a sawmill using my chainsaw as the milling device.
That was a few days ago, and I have rounded up the money for the rest of the stuff i needed to finish it...
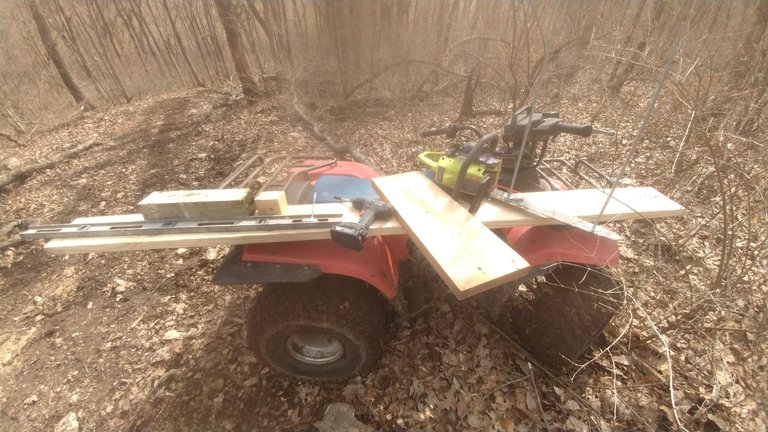
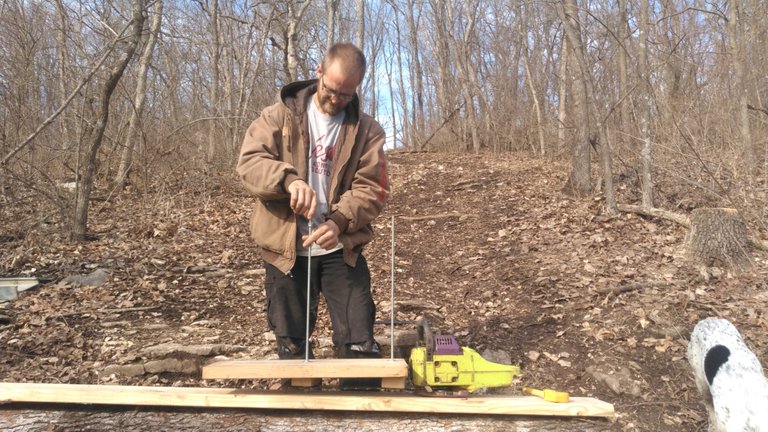
I know that by looking at the supplies there, it may not look like much, but it's all you need to turn a tree into usable lumber...
LET'S GET STARTED....
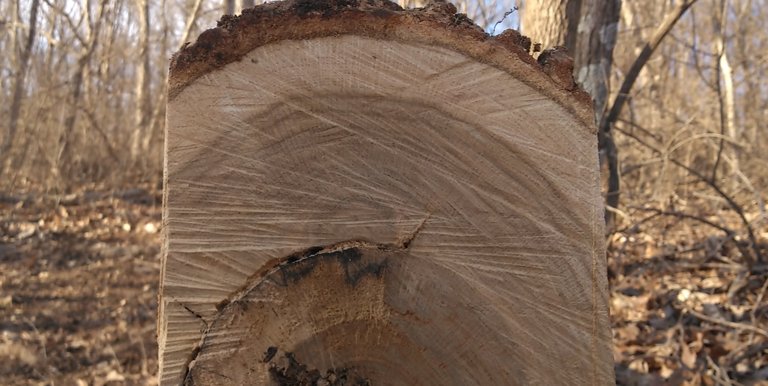
First, I needed to select a tree. I found one free of desease, cracks or other deformities. The tree selected must also be relatively straight. The one I found was a Post Oak with a diameter of about 13 inches.(0.3m)

After it was down, I measured 8 feet from the cut and cut it in half there as well, creating the log I would use in the sawmill.
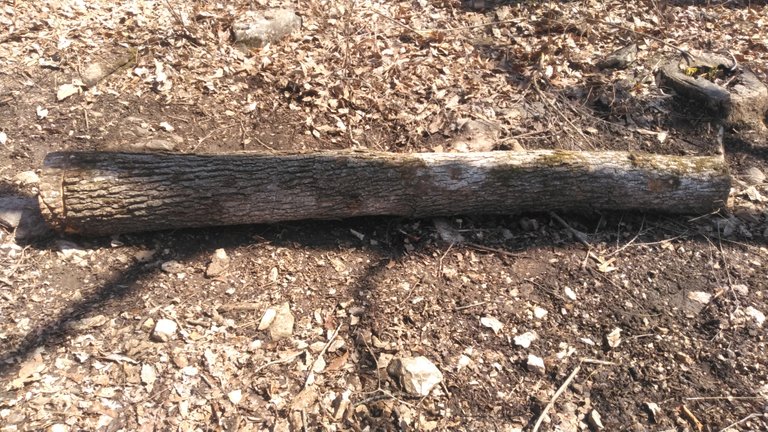
GETTING THE LOG PREPPED
Start by removing any little branches and then set the log somewhere that is relatively flat so the log/sawmill will be stable.
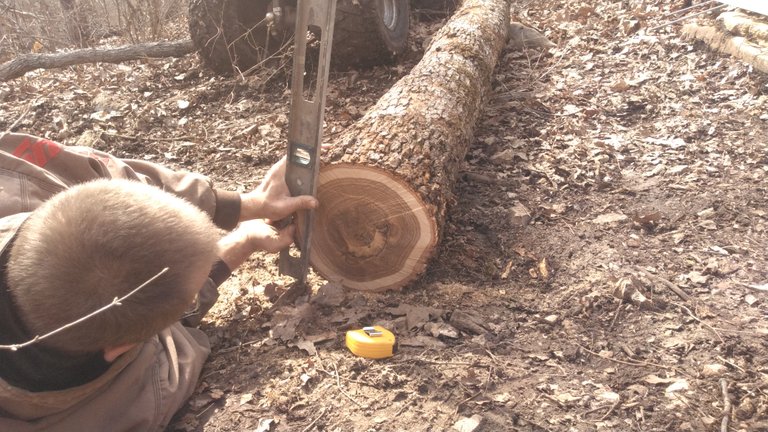
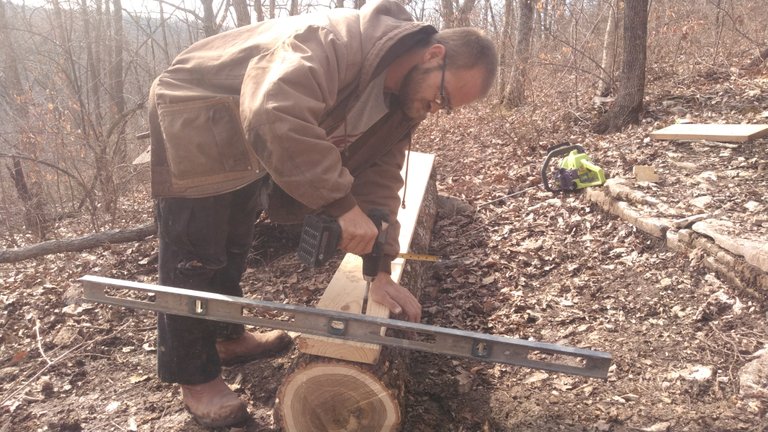
Then you'll need to establish a level plane surface for milling. This is pretty easy and only involves a couple of tools. A level, a tape measure and a marking device is all that's needed.
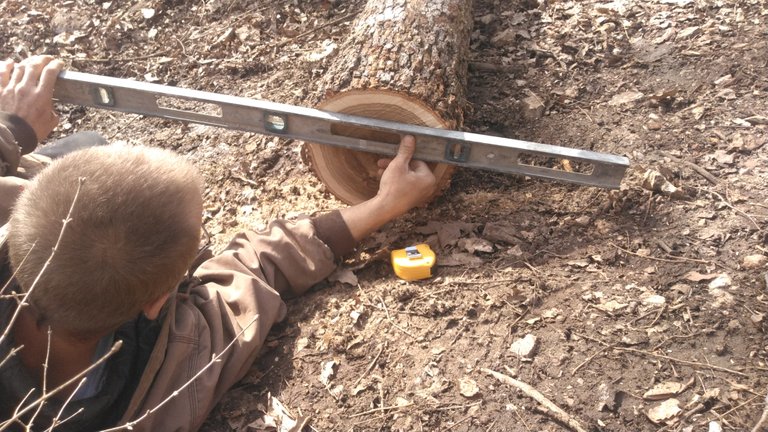
All that is needed to start, is a level line drawn across the end of the log, as seen in the picture above. Next, measure across the log and Mark where your vertical lines will go and using the level(to ensure they are straight) mark those as well.
NOW FOR THE SAWMILL
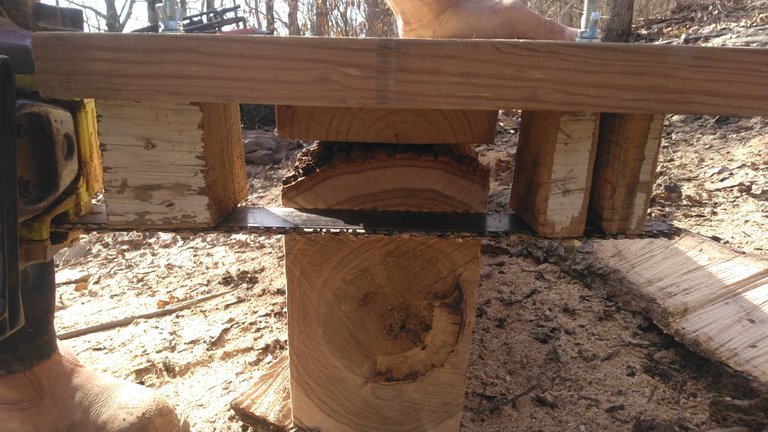
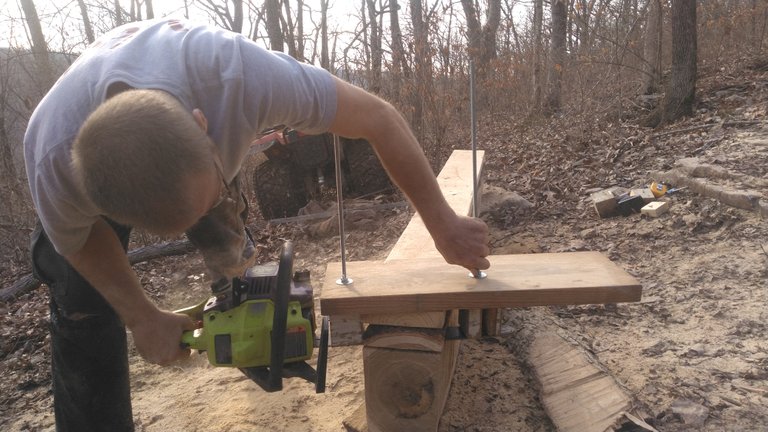
Okay, since we have now drawn outour dimensions on the end of the log, we can begin the milling process. We will begin by fastening a 2x8 board to the top of the log and ensuring it is level across the board(not end to end as that doesn't matter.)
I will use little shims on each side of the board then screw the board in place to ensure it doesn't move.(This board will be the guide board for the saw so it must be level and also smooth)
*It's a bad camera angle, but I promise the board is level.😁
After getting the board leveled and fastened, it time to remove the sides of the log. To do this, I will use the board as my guide and simply rip both sides from one end to the other. This will be what gives us the start of our dimensioned boards.
Once the sides are removed, you are left with something like this...
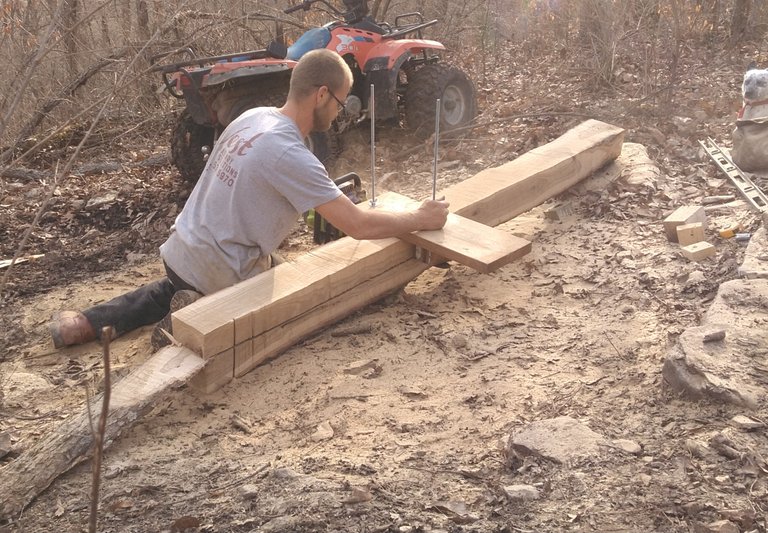
We now install the milling jig onto the chainsaw to continue the process.
The saw is started and set onto the guide board like this.....
And the actual milling begins!
This first cut will only remove the bark and create our first board face, but will not produce a usable board.(However,not to let it go to waste,we will be turning it into a shelf.)
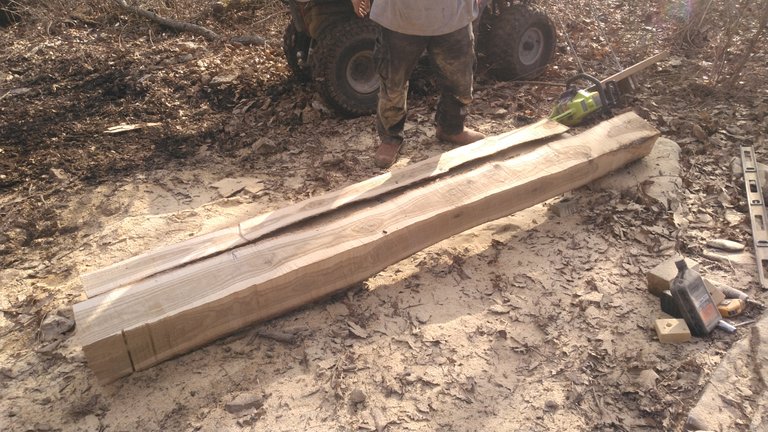
*Nice a flat...
*The slab(with guide board still attached) that we will make into a shelf.
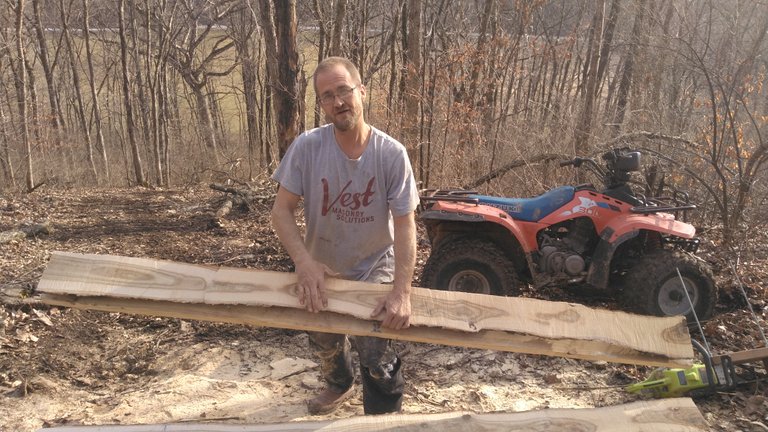
As you saw in the picture above, we now have a log with three planed sides...time to make usable boards. This time(since our log top is flat and level) we will use the top of the log as the guide board itself, instead of the previous used board. We set the saw and jig to the log just like last time and begin our cut.
Upon completion of the cut, I now have my first usable piece of lumber.(And the knowledge that this homemade sawmill will work!!) It is a 4x8 post 8 feet long. Nothing left to do now but set it flat and allow it to dry.

WHAT THIS MEANS
Well, it means I know it will work, which was a big step before making the financial decision to buy a better more capable chainsaw. We have a tight budget and each expense has to be justified. So, I will now go about looking for a good used chainsaw.
It also means I know I will be able to mill lumber to build our temporary house and any fencing or animals pens that may need made. Some lumber I can get free on occasion, but this mill will allow me the ability to make anything I may need and will save me from buying a lot of lumber.
As we get closer to our end goal,every bit of money saved is money that can be put into the homestead and in return be used to help the less fortunate amongst us. While being self sufficient is great, it will be even more important for us to have the ability to help others.
My grandpa always said, "Helping yourself can be great...but it is no good, if you don't help others."
Thanks for coming along, and I hope you enjoyed this adventure, and maybe you learned something as well. We truly appreciate everyone's continued love and support, and we can't thank yous all enough. We send our love...oh and a puppy picture to make you smile...
*All pictures are own taken with my Kyocera phone.
0
0
0.000
According to the Bible, Charity Means Love (4 of 5)
(Sorry for sending this comment. We are not looking for our self profit, our intentions is to preach the words of God in any means possible.)
Comment what you understand of our Youtube Video to receive our full votes. We have 30,000 #SteemPower. It's our little way to Thank you, our beloved friend.
Check our Discord Chat
Join our Official Community: https://beta.steemit.com/trending/hive-182074
Awesome Stuff ...
!ENGAGE 50
Thanks brother! For the compliments and for the engage tokens...as they are one of my favorites!
@johndoer123 you have received
50 ENGAGEfrom @rentmoney!View and trade the tokens on Steem Engine.
Inspiring stuff mate. Personally I'm about as handy as an ashtray on a motorcycle so seeing this kind of thing is awesome.
😂🤣😂 that's funny. But i bet you're handier then you realize. And I'm glad you enjoyed my friend. I hope all is well for you.🤗
I have picked your post for my daily voting initiative! Keep it up and Steem on!
Well thank you very much!! I hope you enjoyed the read and maybe learned a bit as well. Have a great day, and we send you our love.🤗