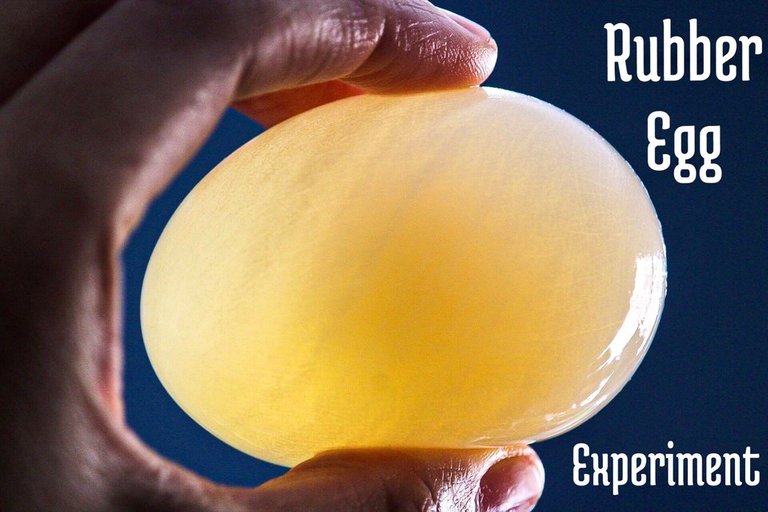
The Rubber Egg Experiment
I’ve been hearing a lot lately about this rubber egg experiment. It’s also referred to as the naked egg, dissolving egg shell, bouncy egg or transparent egg. Some of you may have heard of it too or even have performed the experiment during your school days. I thought it would be neat if the kids could paint them afterwards but instead we decided to color one using food coloring.
Today I’m egg-cited to share with you step by step how we achieved the Rubber Egg!

The Science Behind it All
So what causes an egg to turn into a rubber-like bouncy ball? When you place an egg in vinegar the shell dissolves because it contains calcium carbonate. Although the acidic vinegar eats through the shell it cannot eat through the egg’s membrane which is how the egg retains it’s rubbery apperance.

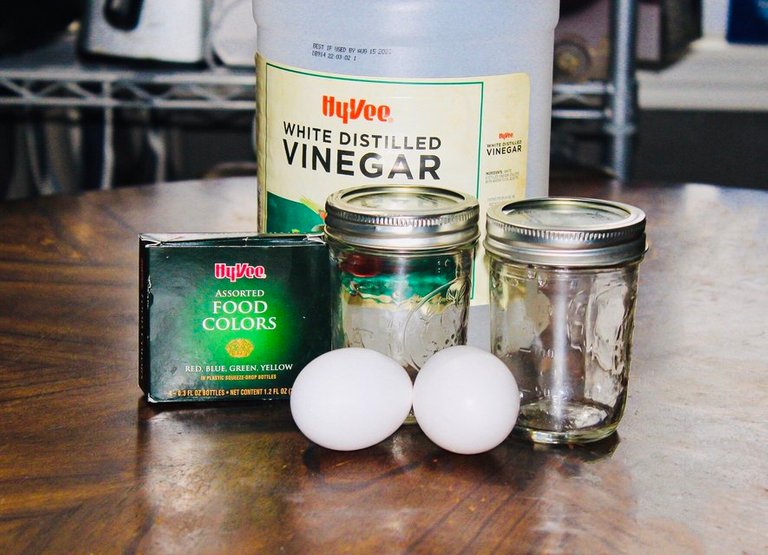
What You’ll Need:
• fresh eggs (preferably white if you plan on using food coloring)
• 16 oz mason jars with lid and ring
• white vinegar
• food coloring (optional)
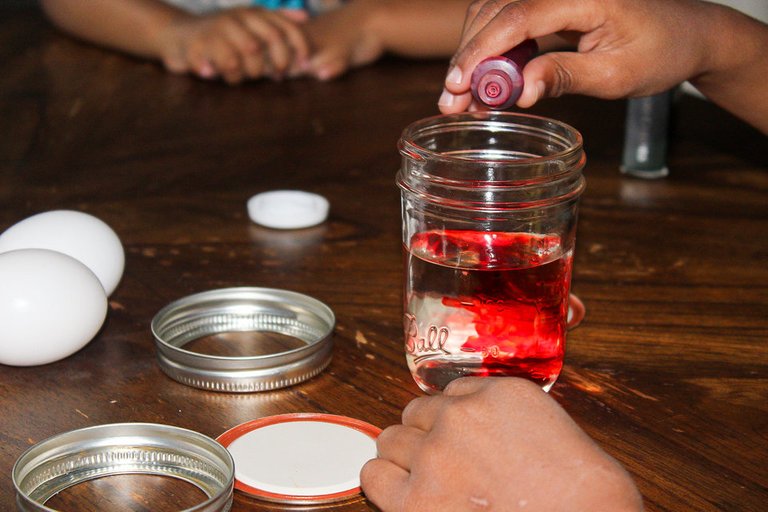
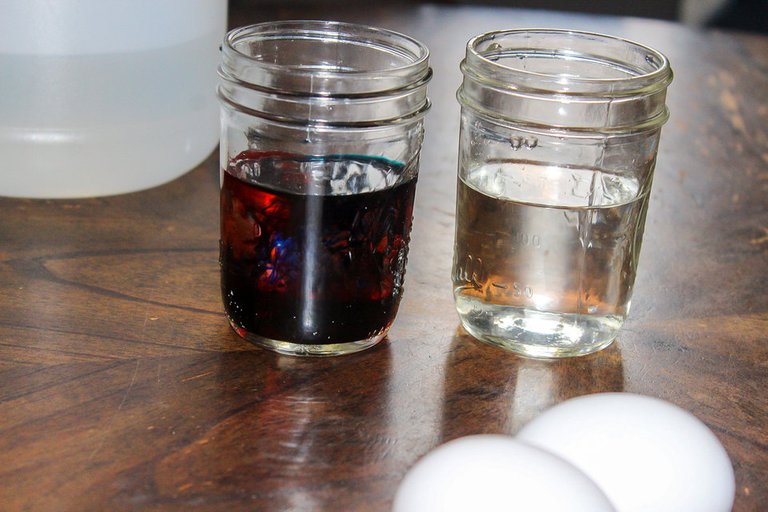
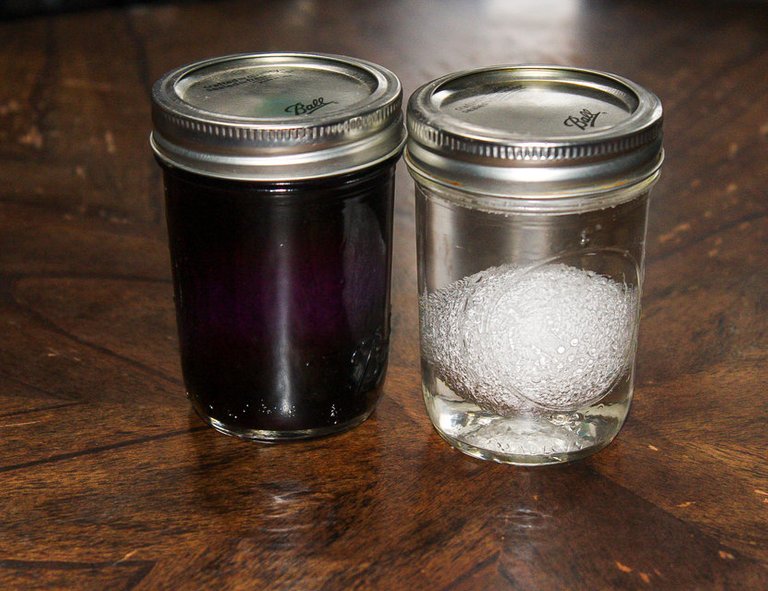
First we filled each jar half way with vinegar. In one of the jars we added five drops each of blue and red since everyone voted for a purple rubber egg. Carefully place the eggs in the jar and close the lids.
You’ll want to make sure there is a little gap (at least 1/2”) between the vinegar and the top of the jar (meaning the vinegar shouldn’t be filled to the very top). Also do not close the lid too tightly, close it loosely. We’ll talk about why here shortly.
Let the jars sit for a minimum of two days on your kitchen counter. We decided to let ours sit for three days.

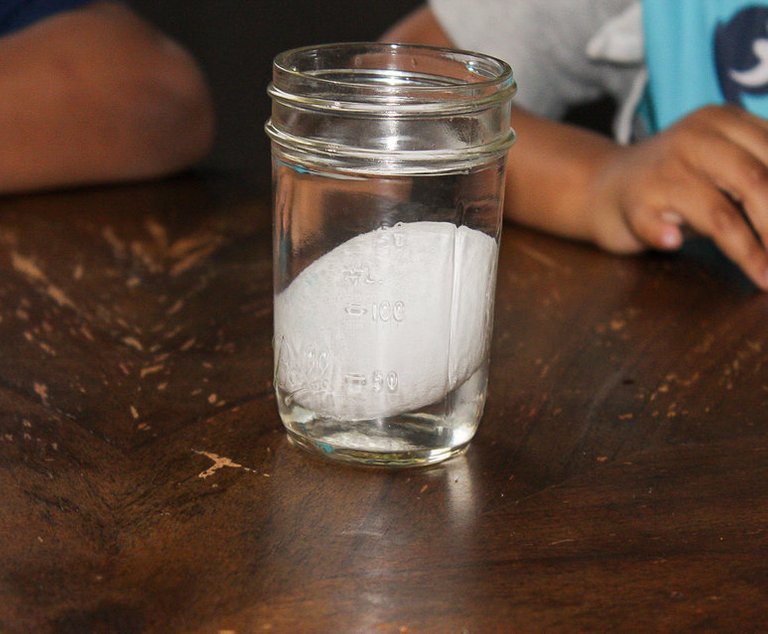

Day 2 Observation
After two days passed we decided to have a look inside the jars to see if we could see any transformation taking place.
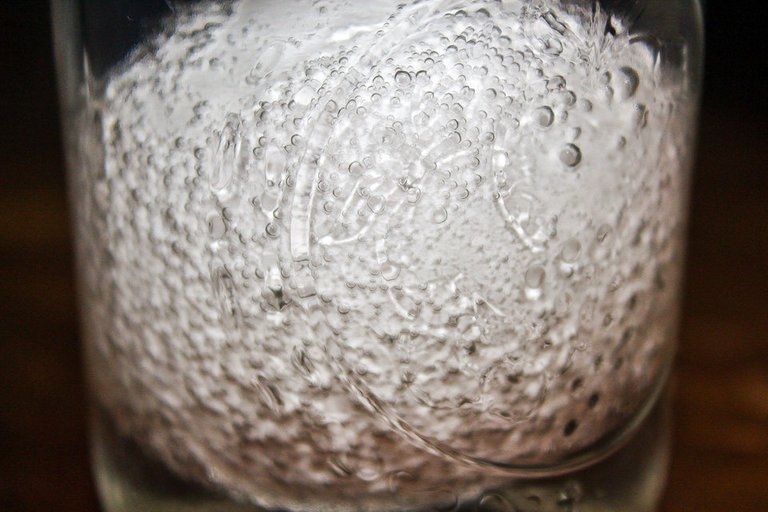
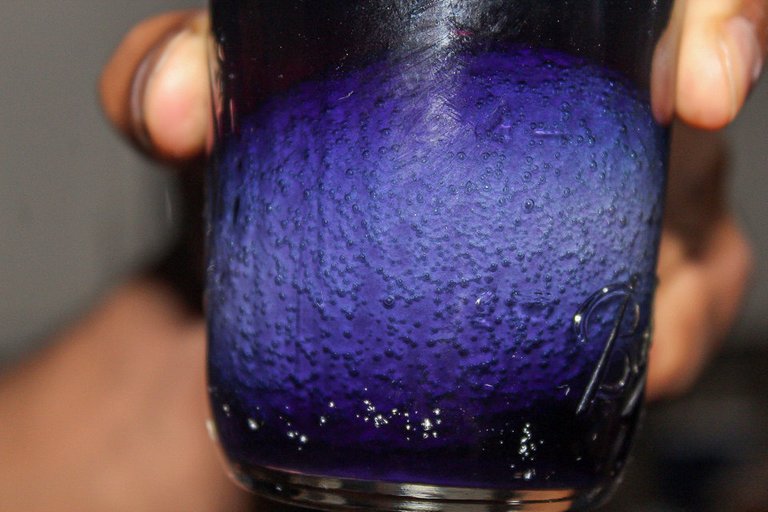
We could definitely see the eggs had enlarged! Vinegar also causes the eggs to expand as they sit. Those bubbles you see are a chemical reaction between the acid in the vinegar and the base in the calcium carbonate of the eggshells. When an acid and a base mix they form the gas carbon dioxide.
This is why we wanted to leave room at the top of our jar and not close it too tightly in order for the gas to escape.

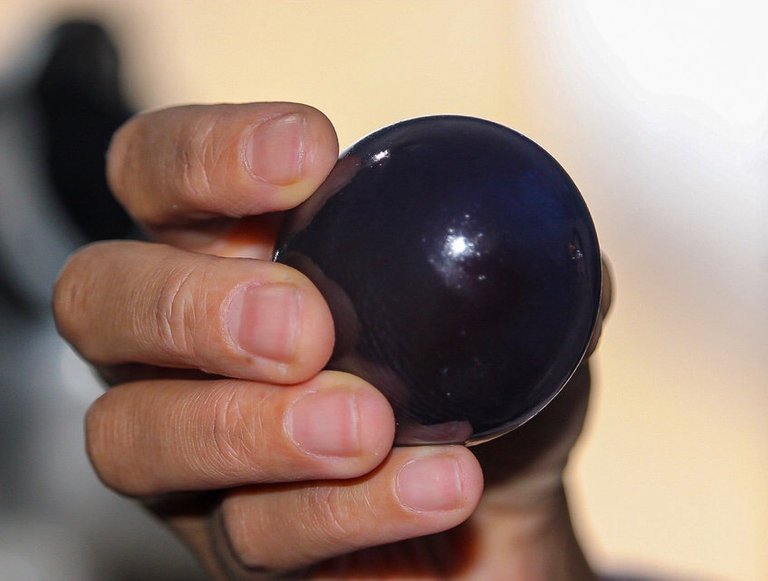
Day 3 Reveal
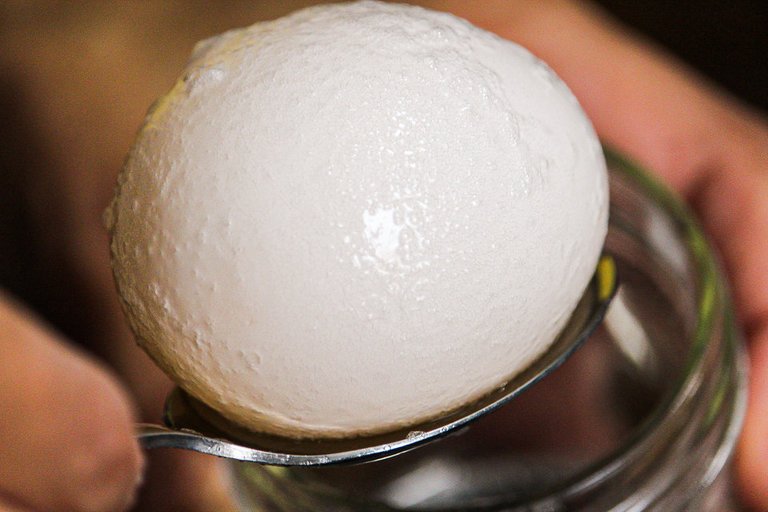
Look how much it expanded. It is so squishy now, no more hard shell on the outer layer.
Next we ran cold water over the egg as we rubbed off the thin white layer that was left.
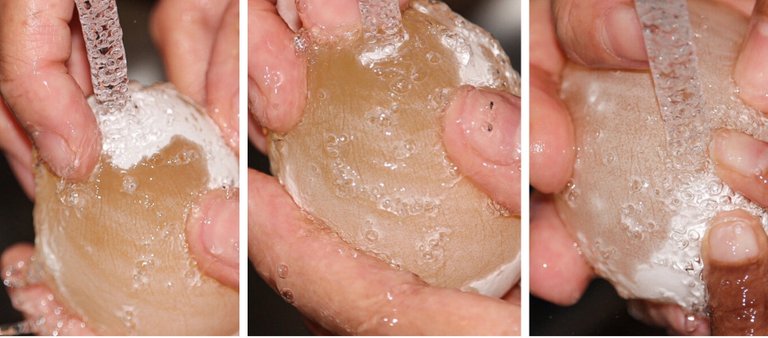
The hard outer shell is gone and the egg white and yolk are surrounded by a thin membrane.
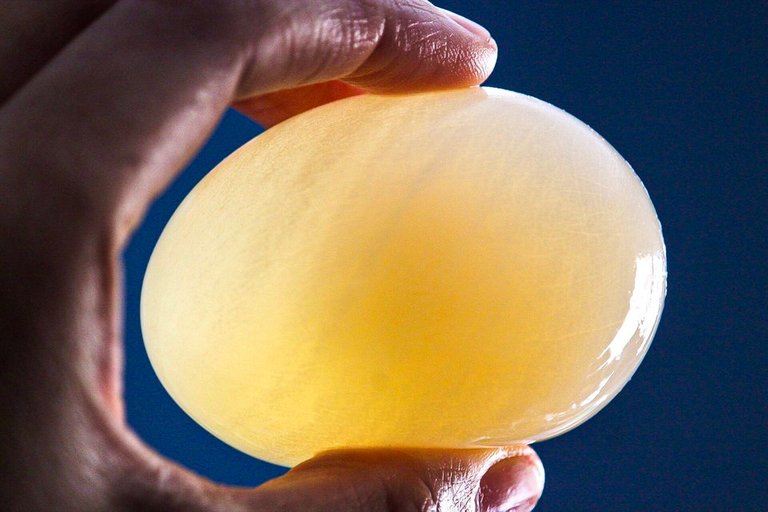
All clean! Can you see the egg yolk?
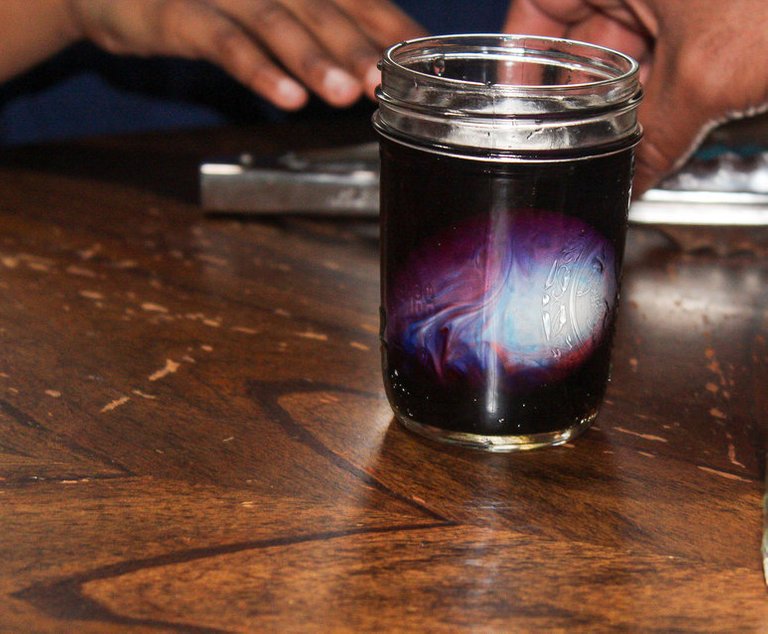
Now onto the purple egg...
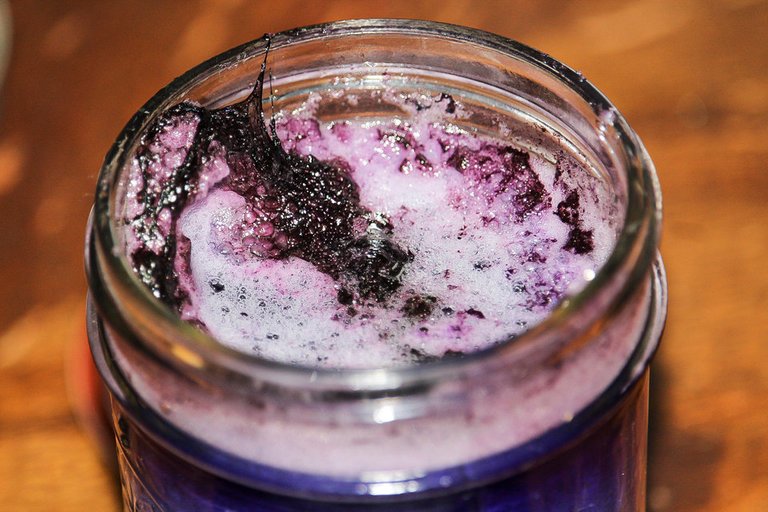
When the vinegar is dyed, the dye and the vinegar seep into the egg white, creating the color you see. The mixture made a goop at the top of the jar.
Repeat the same cleaning process as the first egg...

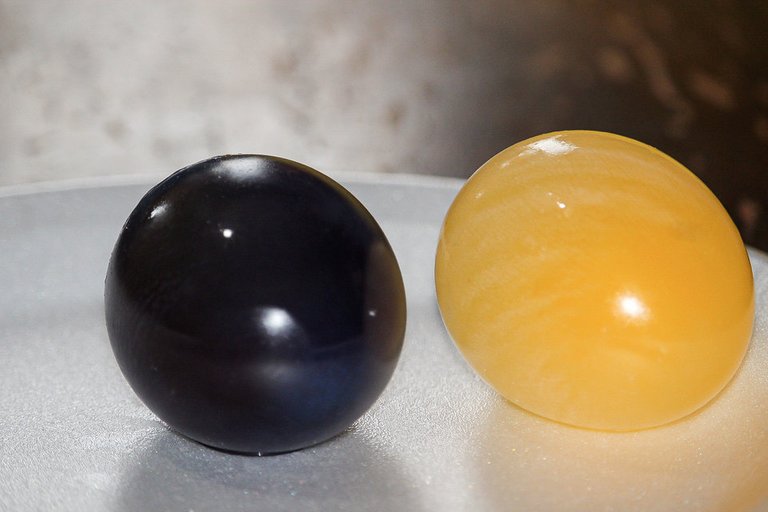
Here they chill together...
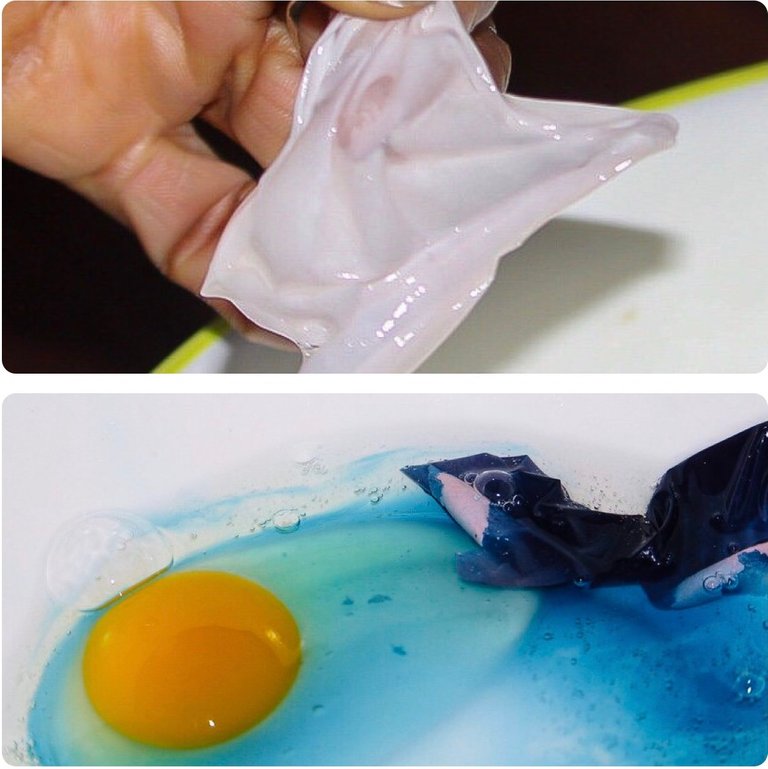
The kids had fun bouncing them around until they burst. What were we left with?
The thin membrane...

This experiment was eggs-tremely fun! The kids want to experiment a bit more with eggs perhaps soaking them in coffee or soda. There was so much science and learning involved in this activity, I definitely recommend you give this egg-cellent experiment a try!
Thanks so much for reading ~


Logo/Banner created by @rigaronib!

@tipu curate
Upvoted 👌 (Mana: 10/20 - need recharge?)
Thank you so much for your support @girolamomarotta! It is very much appreciated :)
Welcome, really a good job ✌️
I love how well the dyed egg came out.
Sometimes our chickens lay ready made rubber eggs for us. They usually look a bit deflated, though.
We were all pleased with the results too! I didn’t expect the egg to come out so purple or at least dark purple.
That’s really neat. I was just looking at a shrinking egg experiment that is performed with corn syrup.
Oh wow that is so cool! We have never done it is school :D
Isn’t it cool?!! Never knew an egg could be so much fun! 😃👌🏽
Thanks for stopping by!
This post was shared in the Curation Collective Discord community for curators, and upvoted and resteemed by the @c-squared community account after manual review.
@c-squared runs a community witness. Please consider using one of your witness votes on us here
Awesome thank you so much!
That is pretty cool!
I’m glad you liked it! Thanks for checking it out :D
This is such a cool experiment @crosheille! I love how the colours turned out. They looked like gemstones! Can you cook the egg yolk after they burst?
Posted using Partiko iOS
Thanks for reading, I’m glad you thought it was cool too! 🤓
We discarded ours after reading you shouldn’t eat them after performing this experiment. Also the strong smell of vinegar and the food coloring made the egg yolk less appealing afterwards. 😂
Hi, thanks for the post! I have included a link and a short description in my daily Science and technology digest, and you'll receive a 10% share of that post's rewards.
How awesome! Thank you so much I feel so honored! ☺️
Congratulations @crosheille!
Your post was featured on our daily build newsletter! We've sent 100 liquid BUILD tokens to your wallet upon which you can sell, trade or buy on steem engine or SteemLeo. We've also shared your work on our Instagram, and Facebook pages for more exposure.
Keep sharing your awesome DIY and How-to tutorials together with the recommended tags #diy, #build-it, #how-to, #doityourself, #build as well as posting from our website
Wow so exciting! Thank you so kindly ~
Ahh I remember doing this one with youngest XD The dye was a good idea, didn't think about that :D He was so fascinated by his soft egg that I didn't have time to get a photo before he accidentally broke it XD
Thank you! We now want to do more colors :D
It was a lot of fun and fascinating. That’s awesome your son got to do it too!
This post has been voted on by the SteemSTEM curation team and voting trail. It is elligible for support from @minnowbooster.
If you appreciate the work we are doing, then consider supporting our witness @stem.witness!
For additional information please join us on the SteemSTEM discord and to get to know the rest of the community!
Please consider using the steemstem.io app and/or including @steemstem in the list of beneficiaries of this post. This could yield a stronger support from SteemSTEM.
Thank you very much for your support :)