Basic Steps To Install A Pi Network Node On A Laptop Running On Microsoft Windows 10 Pro
Pi Network today released the software to all applicants for the opportunity to run a node on its blockchain.
For those who are new to Pi Network, it currently allows members to mine the Pi cryptocurrency on their mobile phones.
Below are the basic steps to install a Pi node on a laptop running on Microsoft Windows 10 Pro:
Step 1: Make the selection for 'Node' on the Pi Node app (Note: If your Pi Node app is still at Version 0.0.17, just delete the app and download the latest Version 0.1.0)

Step 2: Click 'CONTINUE'
.PNG)
Step 3: Select 'Install Docker'
.PNG)
Step 4: After you Install Docker, run it on your PC or laptop (Tip: If the Docker prompts you that your computer has insufficient memory, adjust the virtual memory under advanced system settings)
.PNG)
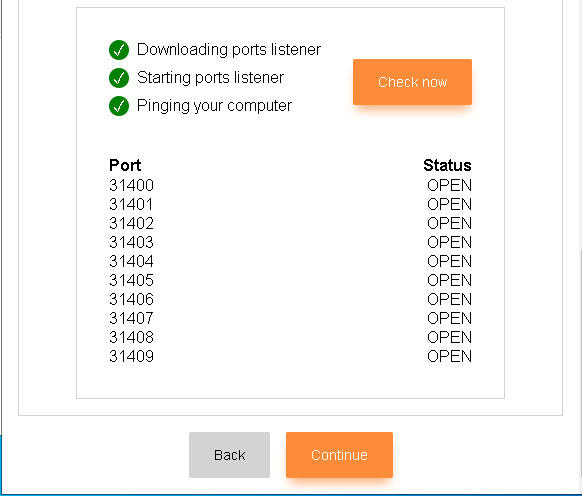
Step 5: Open the below router ports on your computer's firewall and forward the ports from your router
.PNG)
.PNG)
Firewall inbound and outbound rules
.PNG)
Forwarding ports on router settings page
Step 6: Check the ports' connection
Step 7: Turn the node on
.PNG)
I wish all Pi miners a bountiful harvest ahead, regardless of whether you are successful in your application to run a Pi node!