Color correction of photos with Harry's filters (part 5)
The most fun filter in the Color group is a filter called Twilight
Results may vary depending on the color of the subject and the brightness of the light.
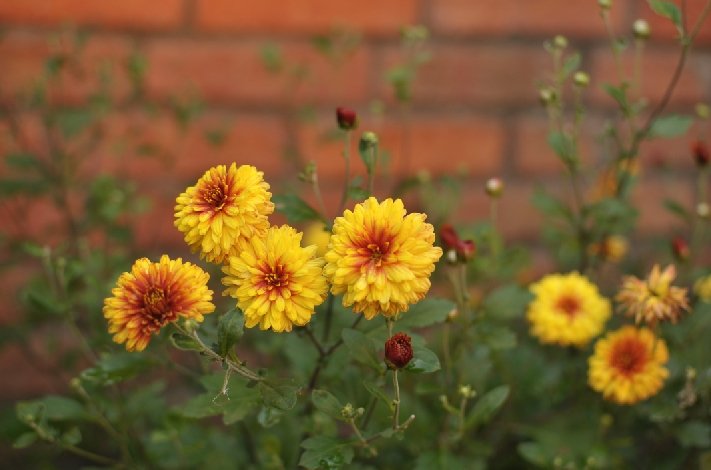
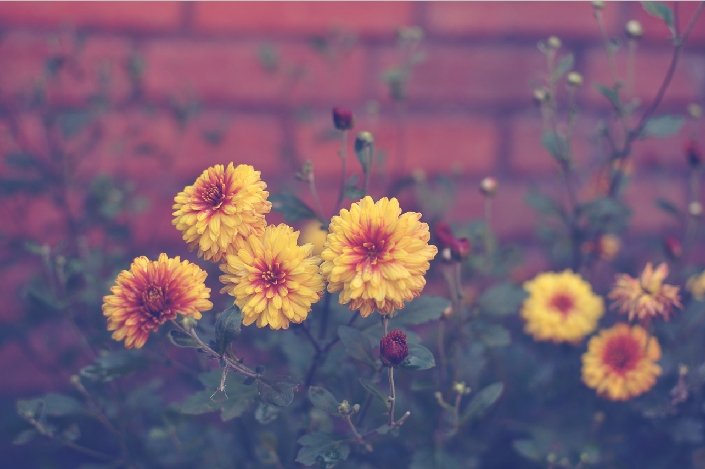
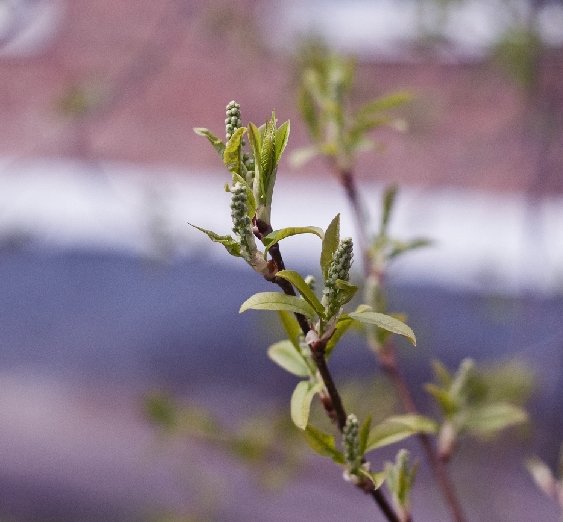
At example, choose a photo with colorful flowers and diffused lighting.
And duplicate layer
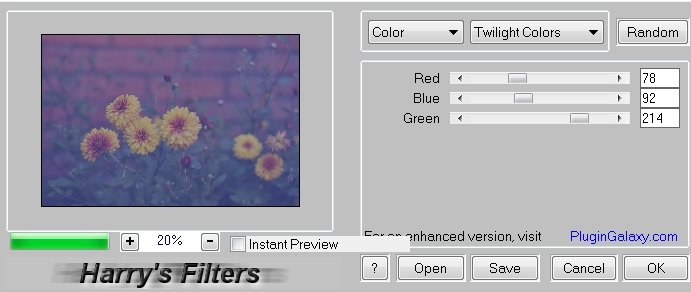
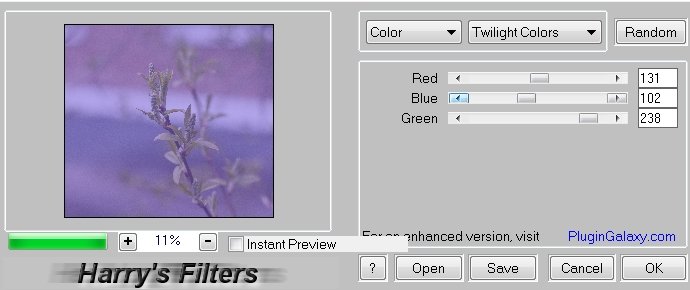
Lunch the Harry's filters in menu Filters in Photoshop and seltct an options we want
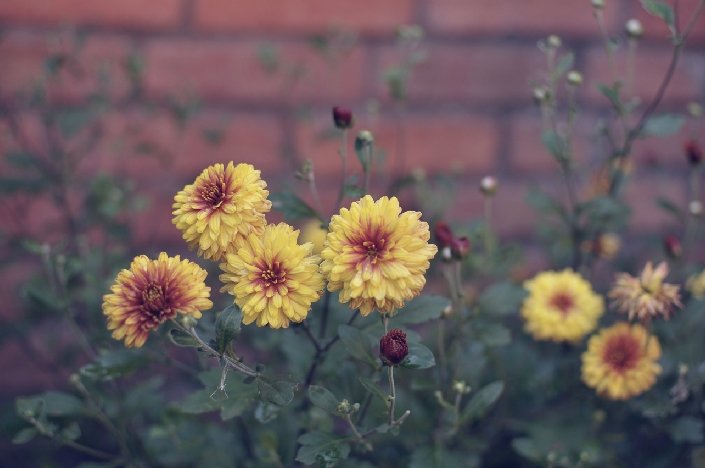
The result (Normal blend mode)

Excellent variations are obtained in Color blend mode with 60% opacity
and Lighten blend mode
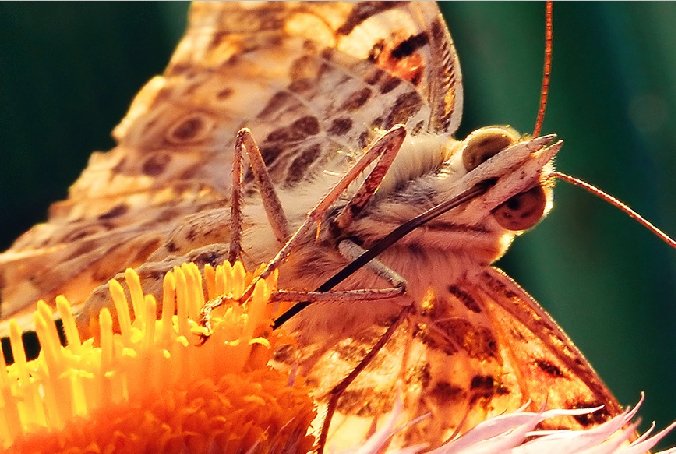
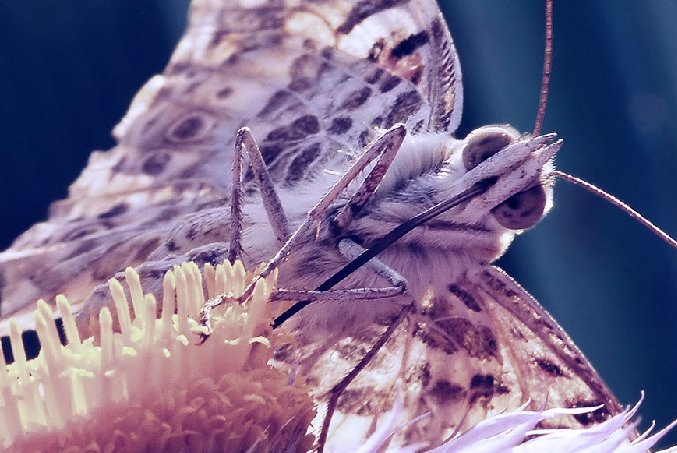
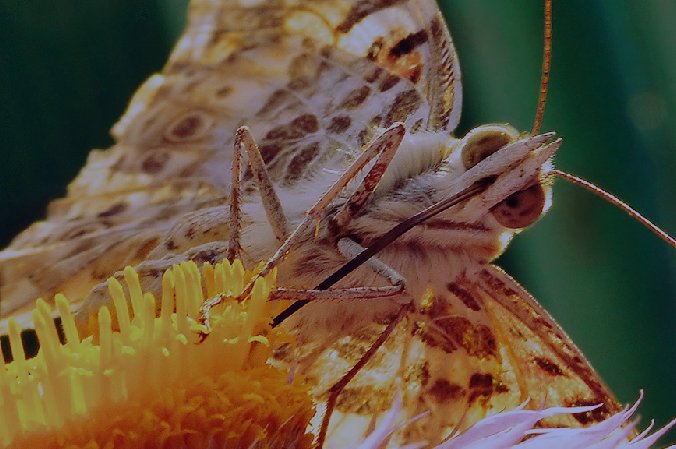
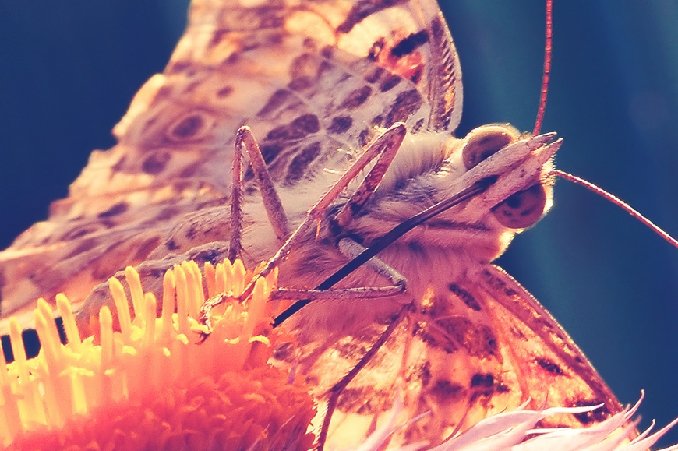
If we choose a photo with a bright, colorful subject and contrasting lighting, then with the same correction options, there will be more variations.
Source shot
Normal blend mode
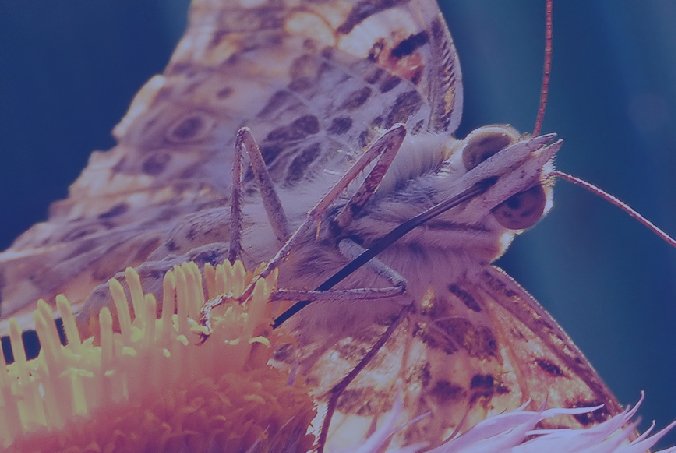
Color blend mode
Darken blend mode
Lighten blend mode
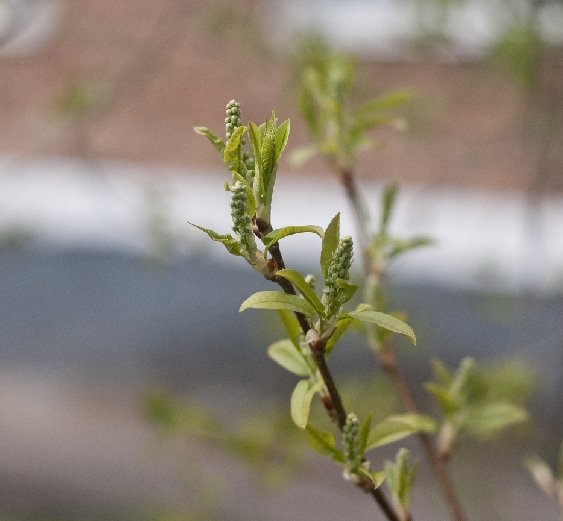
And a photo with diffused light and a dim subject.
An options with Random button
Soft Light blend mode
To be continued...
Thanks a lot for your attention by my tutorials!
Have a nice and creative day!
Regards.
Thanks for your sharing ^^
@lanngoc, You're welcome!
Thanks for visit!))