Color correction of photos in Photoshop using the third-party plugin Topaz ReStyle (part 2)
Hi friends!
I continue the story about working with the plugin Topaz ReStyle and its capabilities I started in last tutorial

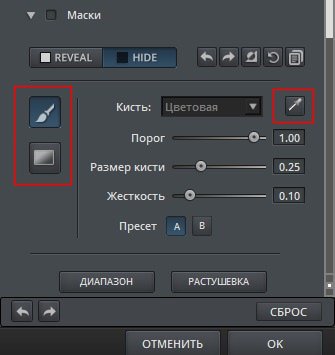
There, on the right panel, if you scroll down, there is also such a tool as a mask (the settings panel is opened by clicking on the white triangle on the left)
In this plug-in, it has a slightly different function than the usual mask in Photoshop: first, a change is made to the photo, and then the selected area of the photo is restored to its original value using the mask.

Masking can be done either with a brush or by overlaying a gradient mask on the photo (two corresponding icons on the left). If you need to make masking based on some one color, then for this case there is an eyedropper (a button with a corresponding icon)
Let's see how it works.
Choose a photo and open it in ReStyle
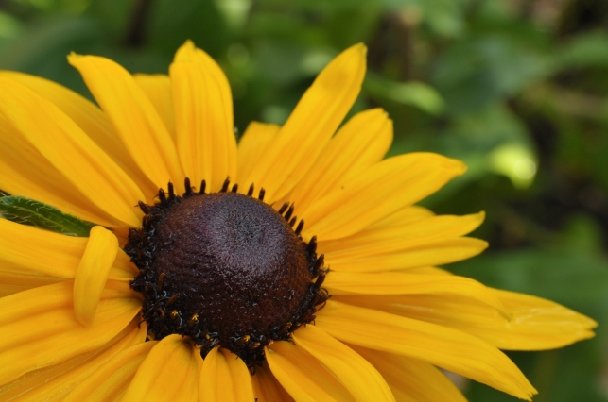
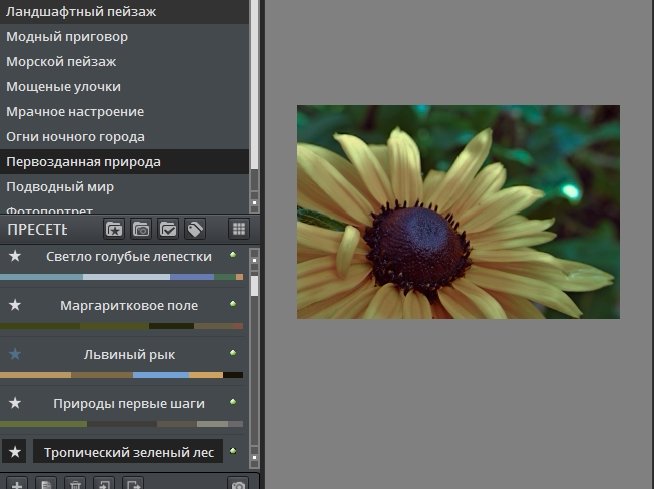
I chose a bright flower and a contrasting preset - "Tropical green forest" from the set "Primordial nature"
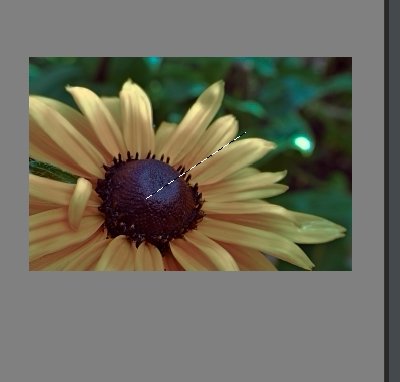
Setting up the gradient mask
Gradient View - Radial
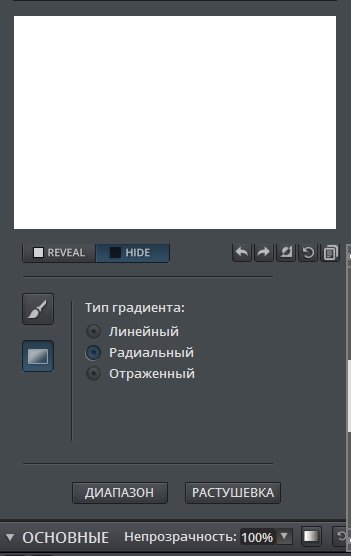
Draw a gradient from the middle of the flower, as shown in the screenshot
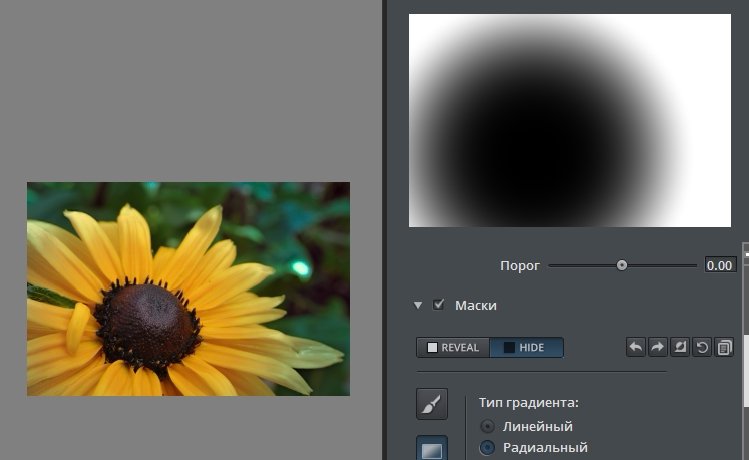
View with mask
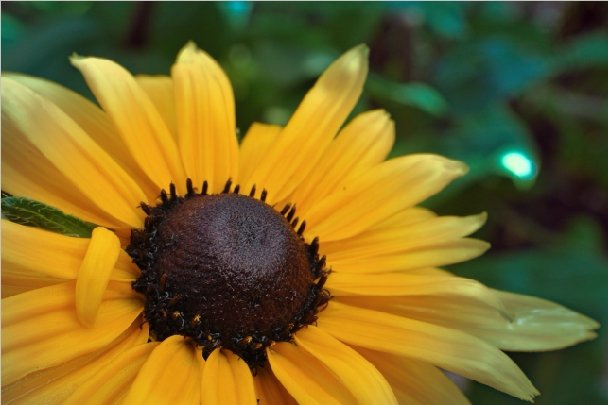
And this is what happened in the end
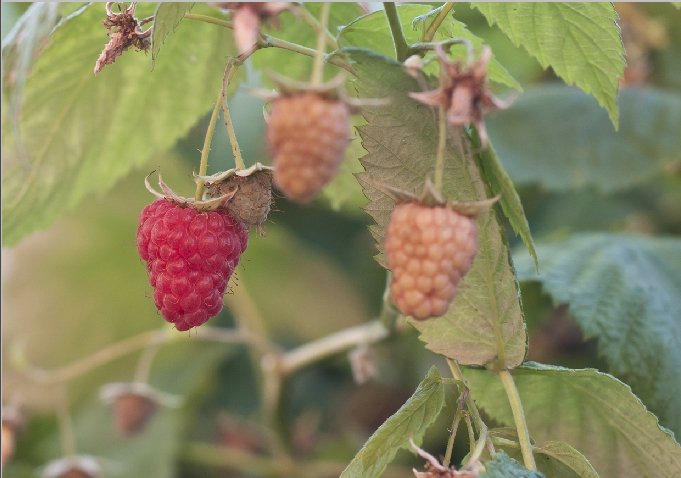
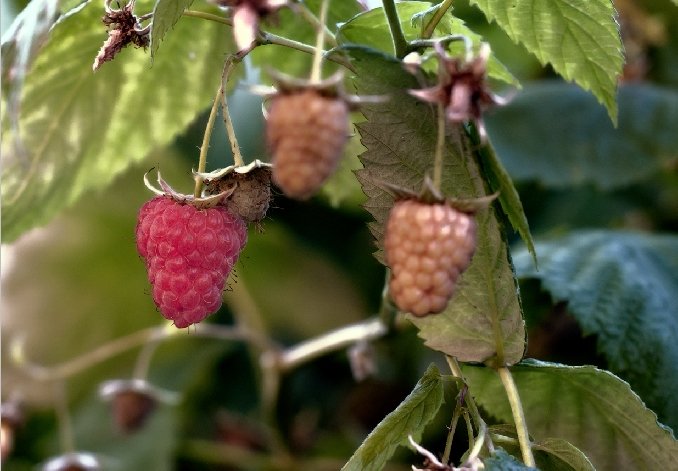
And this is a variant of point masking with a brush.
Original shot
Correction view
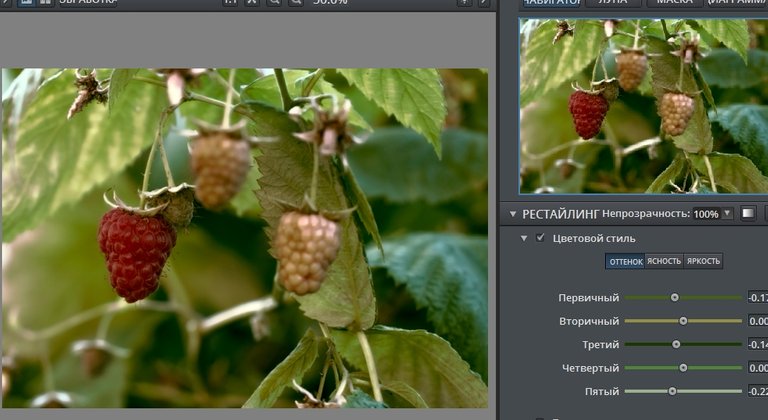
Result with mask applied
To be continued...
Thanks for your attention!
Have a nice day!
Congratulations @daring-celt! You received a personal badge!
You can view your badges on your board and compare yourself to others in the Ranking
Check out the last post from @hivebuzz:
Support the HiveBuzz project. Vote for our proposal!