Color correction of photos in Photoshop using the third-party plugin Viveza (part 2)
Hi friends!
I continue the story about working with the Viveza plugin from Nick Color Efex Pro set.

Today we'll consider an option of color correction, when we need to correct the entire image as a whole, and one specific selected area.
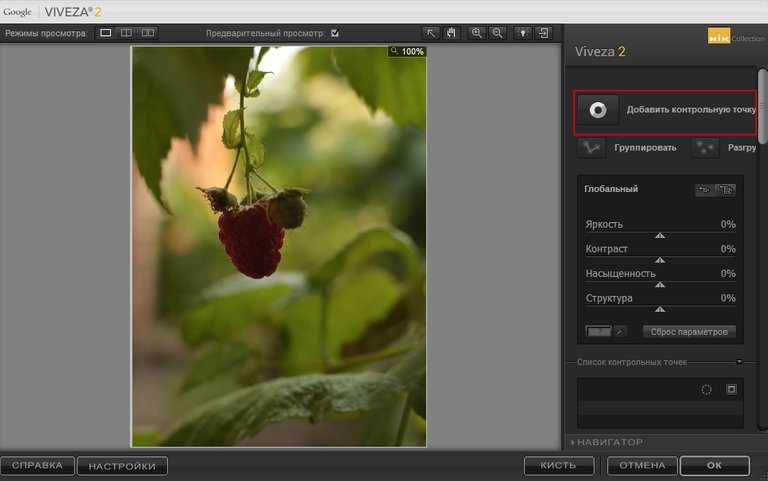
Viveza has a function called "Add control point"
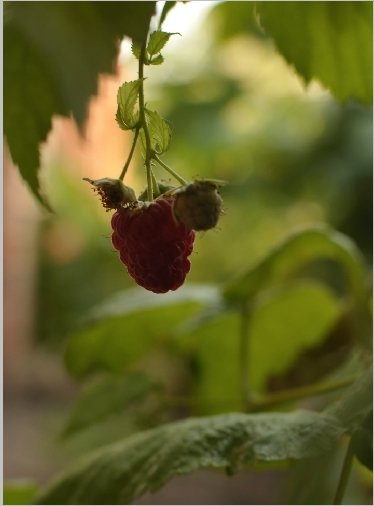
I choose a photo with uneven lighting.
It can be seen that the berry fell into the shade and lost its structure.
I open the photo in Photoshop and launch Viveza.
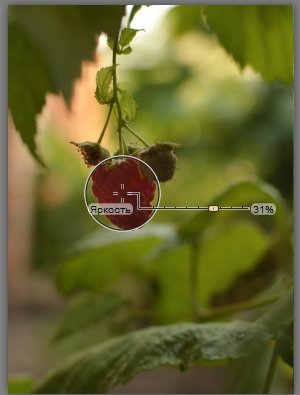
Then I click on the "Add control point" button and put a point right in the middle of the berry
We will see a dot with several sliders.
They duplicate the sliders in the right panel (brightness, contrast, saturation and structure).
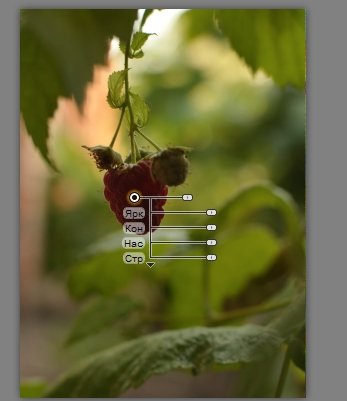
But the uppermost one adjusts the area of effect.
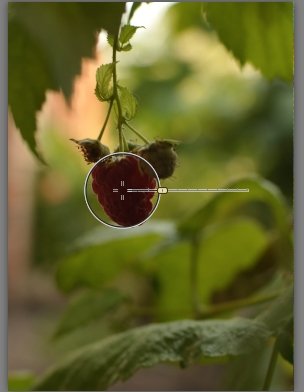
Now that the desired correction area is set, we can work with the individual sliders.
In this case, I decided to add Brightness and then slightly increased the value of the structure for the berry.
It turned out to be a perfectly lit volumetric berry that does not stand out in color from the general color range.
To be continued...
Many thanks for your attention!
Have a nice and creative day to all!
Regards
This pretty
@jerrystitches, thsnks a lot!
It my pleasure 😍