LMAC School - How to blur the background (GIMP)
Hi Hivian 🖖
If you want to make an object more prominent in a photo, the things in the background and surrounding the object need to appear less interesting. One way to achieve this is to simply blur all those other things.
In this tutorial I would like to show you how to do this in GIMP.
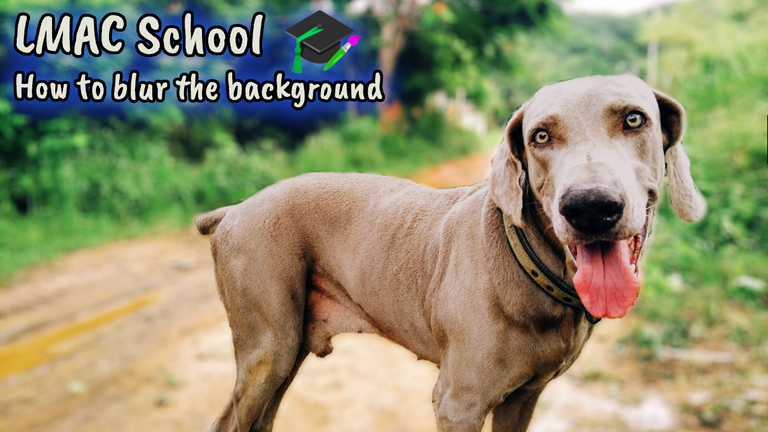
Thank you @hernleon74 for the nice dog photo that I had the opportunity to use from the #LIL.
LMAC School - How to blur the background
1. Requirements
You may need to have a copy of the GIMP software to understand this tutorial. GIMP is a free, open source tool for image processing of all kinds. Lots of people say GIMP is the open source Photoshop. I agree with this statement at least for the functionality I personally need.
You can download GIMP here: Click
I created this tutorial for GIMP version 2.10.x (and newer).
We work with layers in this tutorial. If you do not yet know how to work with layers, just take a look into the LMAC School - How to work with layers post.
Since this tutorial is for advanced GIMP users and is focused on a specific topic, I won't explain every GIMP tool in detail.
2. Basics
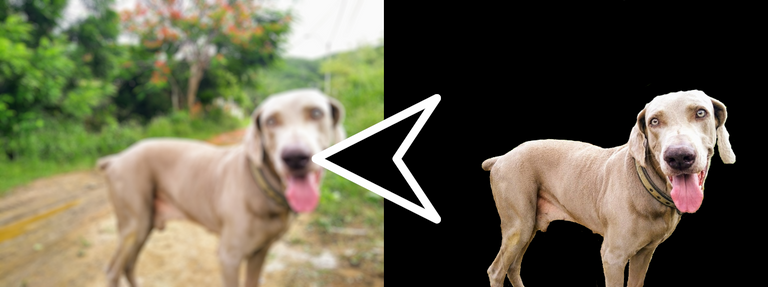
To blur the background, you first need to make sure that the object in the photo that you want to highlight in this way is safe. You could easily do this by using the Free Selection tool around the object and simply blur the inverted selection. However, this would lead to negative side effects such as blurred edges where the transparency or active background colour shows through the layer.
So it is better to get the object of desire completely out of the way. To do this, simply duplicate the photo layer and use a mask to hide any areas around the object you don't want to highlight. Then you can blur the photo layer separately and the object of desire was completely safe.
Of course, you could also simply erase the background using the Eraser Tool instead of using a mask. However, the mask has the advantage that you can selectively paint areas back to their original state at any time by using the inverted painting color (white).
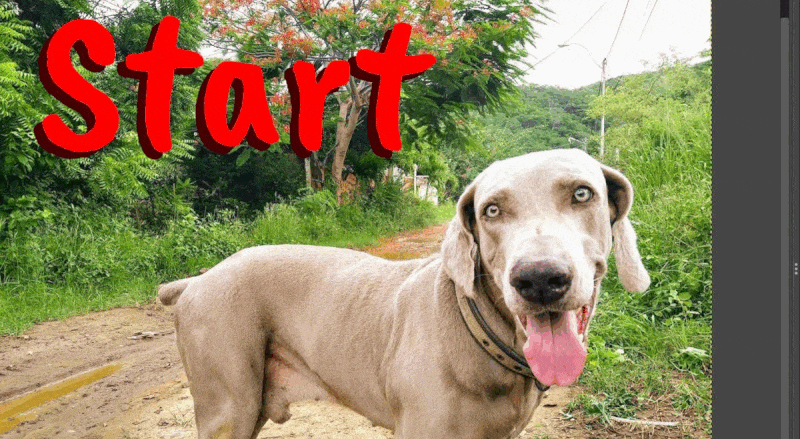
3. Example
This example shows step by step how to blur the background of a photo.
Below you will find a GIF that also shows the necessary steps.
- Open the image in GIMP.
- Duplicate the photo layer and make sure that the duplicated layer is above the photo layer.
- Make sure the duplicated layer has an Alpha Channel.
- Add a layer mask. Choose the "White" layer mask.
- Hide the photo layer.
- Activate the layer mask in the duplicated layer by clicking on it.
- Activate the brush tool and set it to a hardness of about 90%.
- In the Color tool, choose black.
- Paint all areas of the image except the object you want to highlight. This will make these areas transparent.
- Make the original photo layer visible again.
- Open the Lens Blur tool. (Menu: Filters/Blur/Lens Blur)
- Adjust the blur factor to your desire.
Tip: The highlighted object (the dog) now seems to have a kind of corona around it. This is because the dog is now very diffused in the photo layer. You can fix this by carefully moving the corona behind the dog in the duplicated layer using the Warp "Move" tool.
If you have still questions, I would be very happy to hear from you in the comments section.
Best regards
QuantumG
╭━━━━━━━━━━━━━━━━━━━━━━━━━━━━━╮
╭━⋞ ☙ My NFT artworks ≻≺ ♖ My dCity ⋟━╮
╭━⋞ ֎ My LMAC collages and LIL posts ⋟━━╮
╰━━━━━━━━━⋞ 👽 My Alien Art ⋟━━━━━━━━━╯
╰━━━━━━━━━━━━━━━━━━╯
So Master Teacher, I have begun to manipulate layers, which I did not do before. I have been playing with the little eye that allows me to increase or decrease opacity. Baby steps. This is such a good tutorial. For all the steps I go through that are laborious, you teach a 'short cut'. More than a short cut, you teach a method that insures a 'cleaner' outcome.
Thank you for sharing your expertise with the community (with me!).
:-) Thank you, @agmoore. I'm glad when I be of any help.
Otra habilidad aprendida de tus clases, querido maestro. ¡Agradecida!