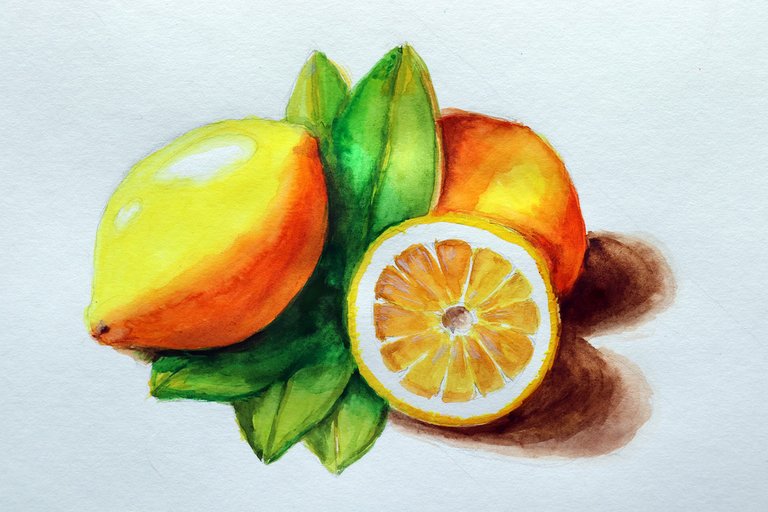
"LEMONS" Watercolor ORIGINAL Painting Tutorial for beginners
My Original watercolor tutorial (full & free!):
HOW TO PAINT
LESSON “LEMONS”
Watercolor painting supplies
• Watercolor paint
• Watercolor round paint brushes (size: small, middle)
• Watercolor paper
• A paper towel
• A jar of clean water
The missing colors will be obtained by mixing the available ones.

Remember: the main thing is the pleasure of the process!
So let's get started:
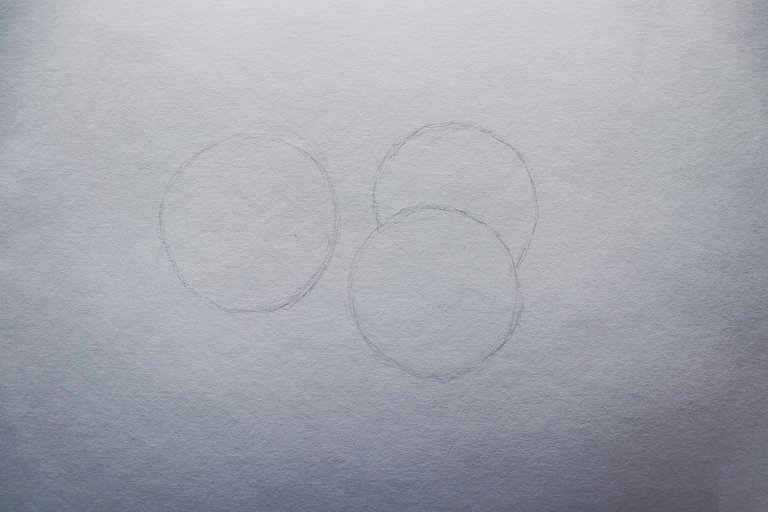
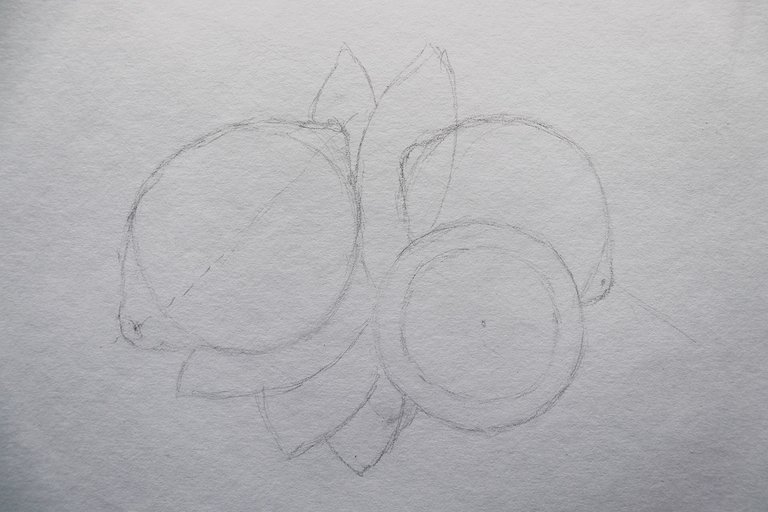
Draw three circles, this will be our lemons.
How to draw a circle?
Swipe with a light touch of the pencil in a circle until the shape is aligned. Do not press hard! In watercolor drawing, the pencil is only easy to outline, and the basis of the drawing is paints.
And in any case, we will need to erase the borders further.
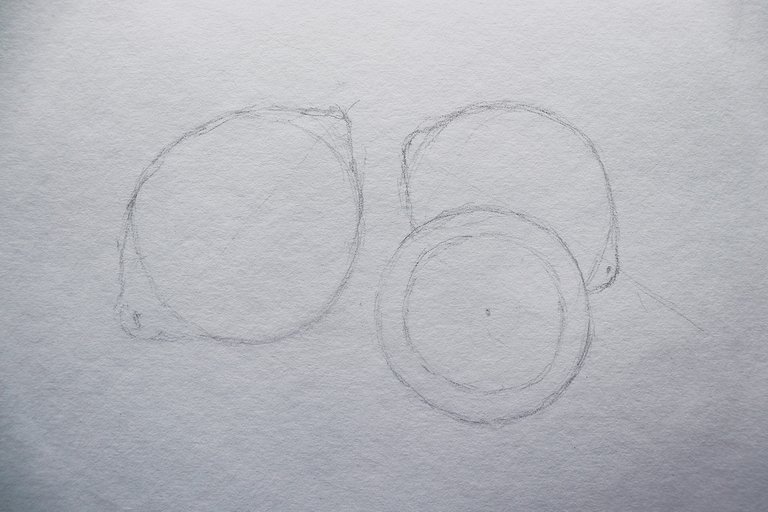
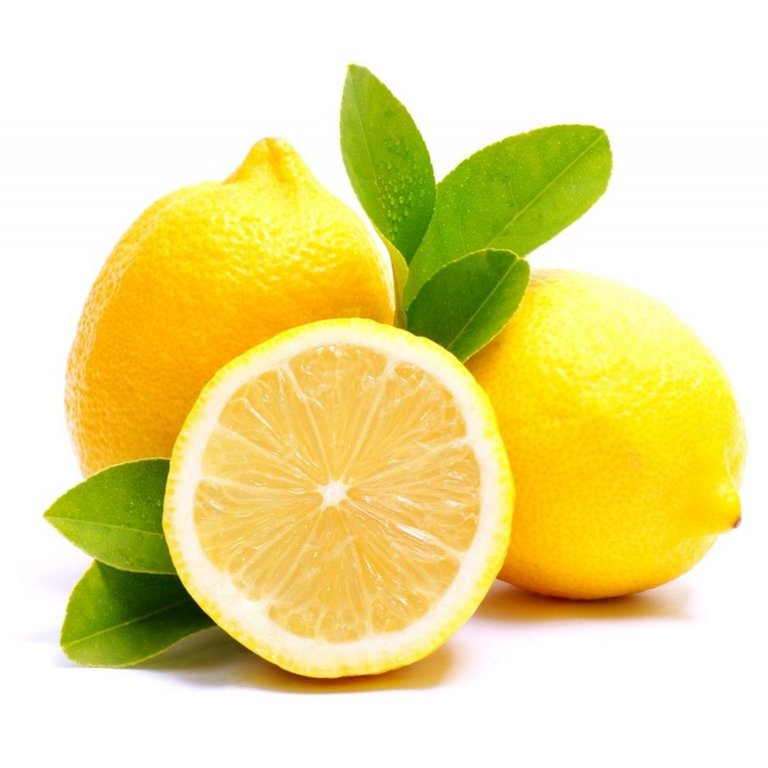
- Lemon on the left: outline the protruding ends of the lemon. Below is a picture to remind you how they look in detail.
- Bottom lemon: imagine that it was halved and turned towards us. You are required to draw a smaller circle inside the circle.
- The third lemon shyly hid behind the previous one. We also outline theends.
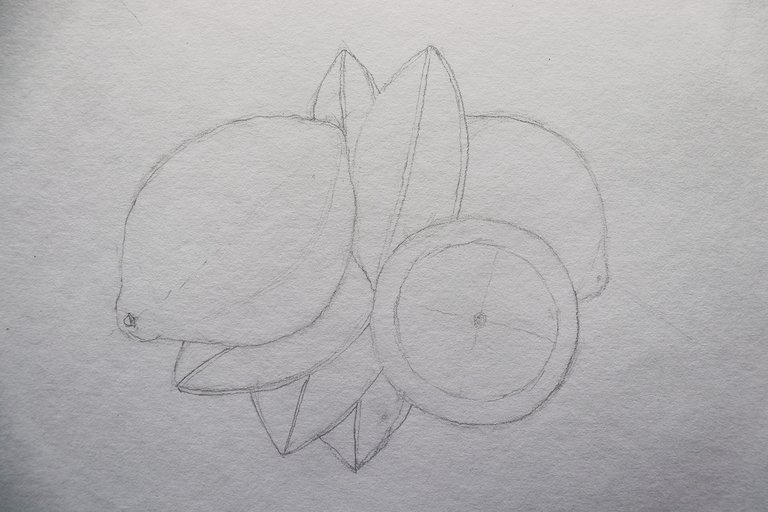
We outline the leaves: three from below, under our lemons, one in between, one in the back.
The picture above will remind you of the shape of the lemon leaves (remember how it smells? Mmm!)
Swipe the leaf cores. Also remember that the leaves of the lemon are dense - you see these lines in my picture that represent the thickness.
I let all the lines down, because this arrangement is final.
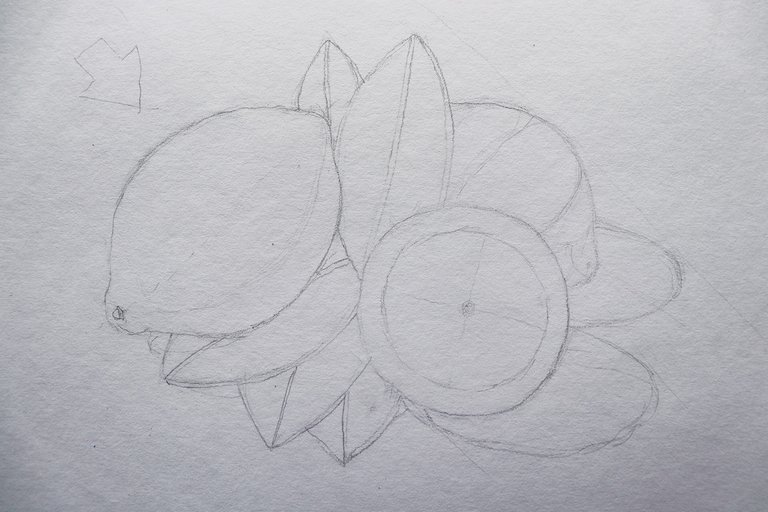
According to my idea, the light will fall from LEFT TO TOP.
So you can identify the shadows. See this light line on the first lemon?
On that fruit that hid behind the shadow will fall from the leaf. Plus On the right on it you can see the outline of your own shadow.
Also added shadows falling on the table from both left lemons.
No need to press hard with a pencil! At me they are so obvious only for indicative purposes. Of course, for you, my dear students 🙂
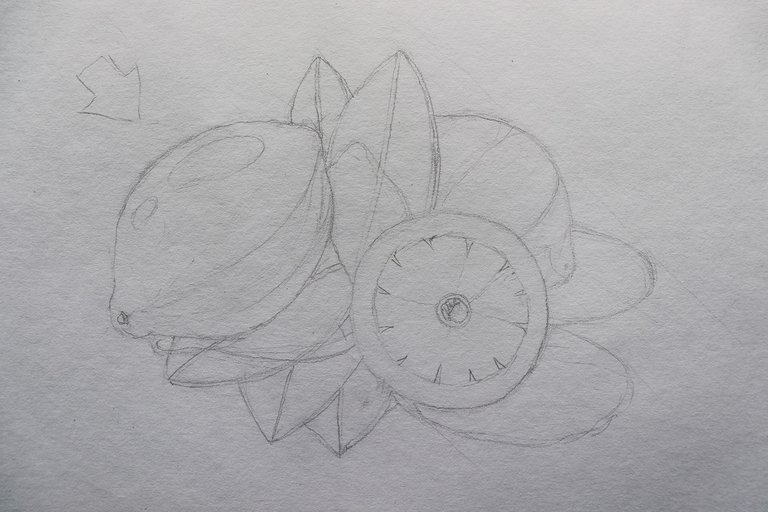
On the first lemon should be a reflection of the light (also Explicitly showing these contours for you. You draw these lines barely touching).
I plan on the cut lemon where the separation sections will begin.
I lightly draw the center, it’s quite large for me (the cavity inside), I wanted this lemon to be rather dry. You can make the cavity smaller.
Inside, I outline a shadow.

I outline the shadows falling from the first lemon on the leaves behind it. Also the shadow falling on the leaves under it.
The riot of colors begins!
With ordinary yellow (if there is lemon yellow, generally super) we draw where we will have yellow colors. These are illuminated, not darkened areas.
On the first lemon, erase the intended reflection, and then color without going into it. I will leave it for clarity.
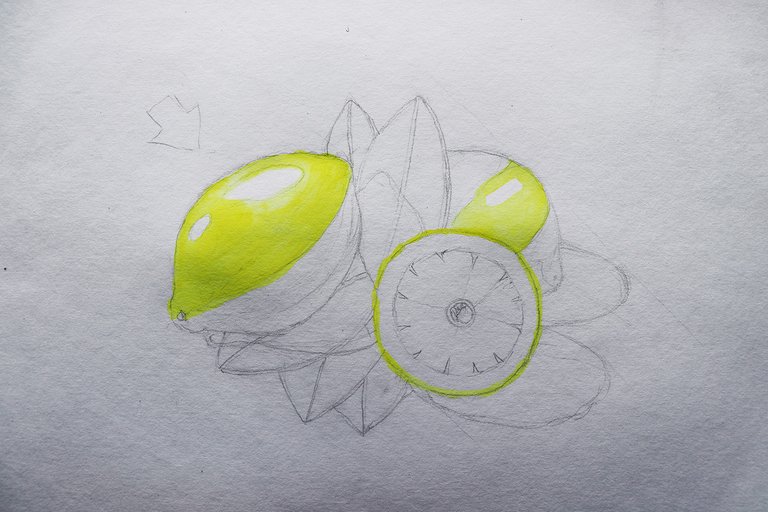
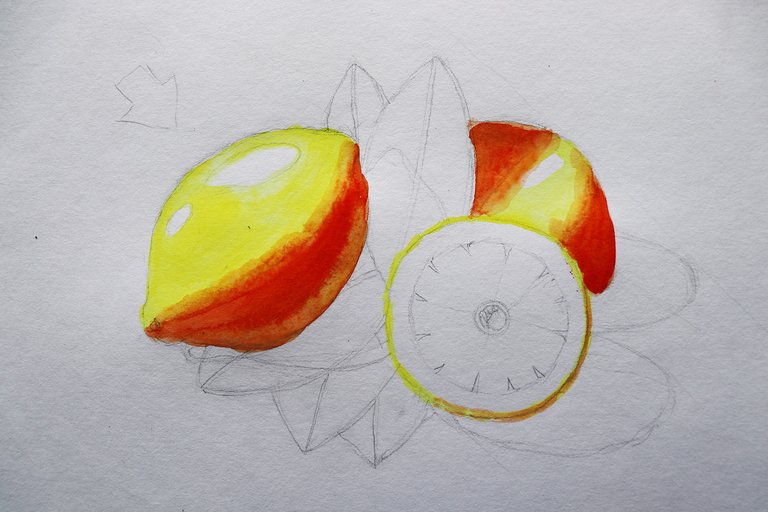
By red color (or you can use orange) draw shadow places. Apply a light coat of paint. Do not rub it!
I paint with green paint the darkened parts of leaflets. If you do not have such a color (as it was not in my paints) - mix dark green and yellow 1: 1.

Mix yellow with orange and draw the inside of the cut lemon, leaving white streaks of separation. It will be better if your color is lighter than in my picture.
The photo left above for you will help you choose the color that will satisfy you.
All the same, we are not engaged in copying, and I approve of any of your manifestations (in moderation)
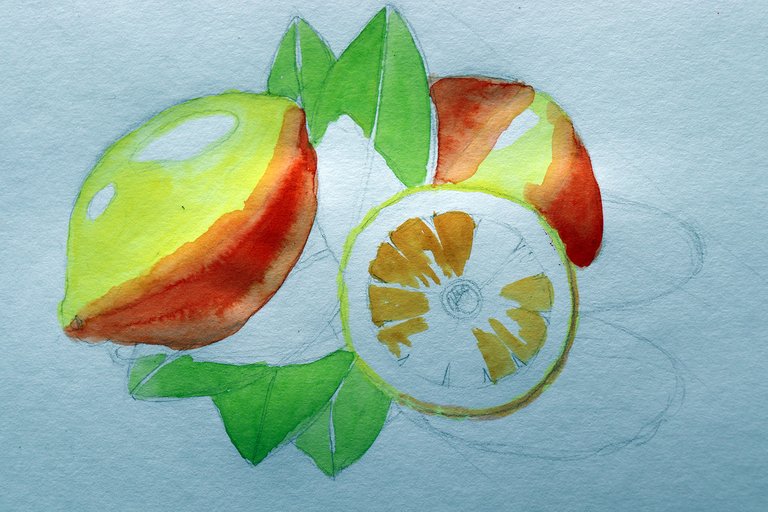
Add water to the first lemon and make the transition between the shadow and its color more smooth.
I add a light color inside the cut lemon for the rest, where its own shadow does not fall.
We draw a dark green shadow from the first lemon. Do not add too much dark color: you can always add it, but it will be difficult to remove.
Add yellow to the first lemon. See below this yellow reflex, but gives volume.

With dark brown (burnt umber) I draw shadows. Start brushing from a lemons, smearing the paint. This will produce the effect of weakening the shadow away from the fruit.

Fill the leaves with yellowness
Add another dark green to the shadow of the first lemon, now it’s like real, isn't it?

Depending on how much you added the yellowness to the lemons, their saturation will depend.
I decided that I didn’t have enough of it, so I added yellow everywhere where it was before.
Also made the brown shadows darker.

Add the same color to the shadow of the first lemon, and in the shadow of the other two. Dark green in the first, brown in others, respectively.
I outline the former place of attachment to the branch of the first lemon (see a dark dot?)
I add darkness to the sliced lemon, otherwise it began to lag behind in gamma. Also in the lemon behind it (dark brown).

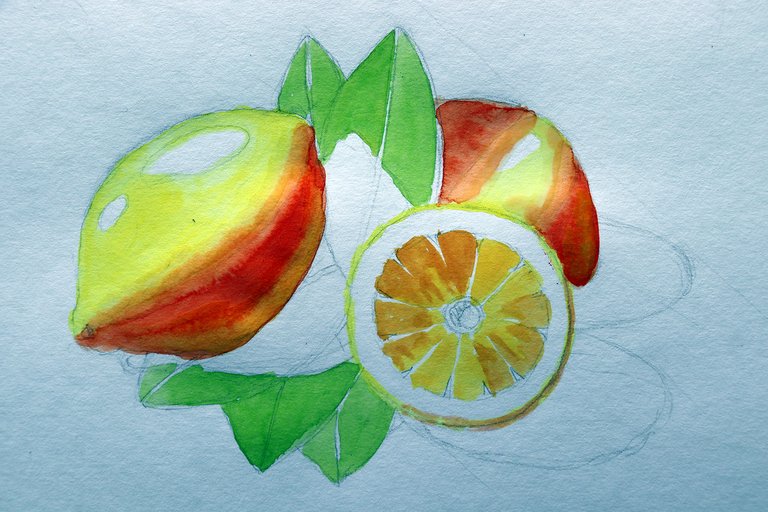
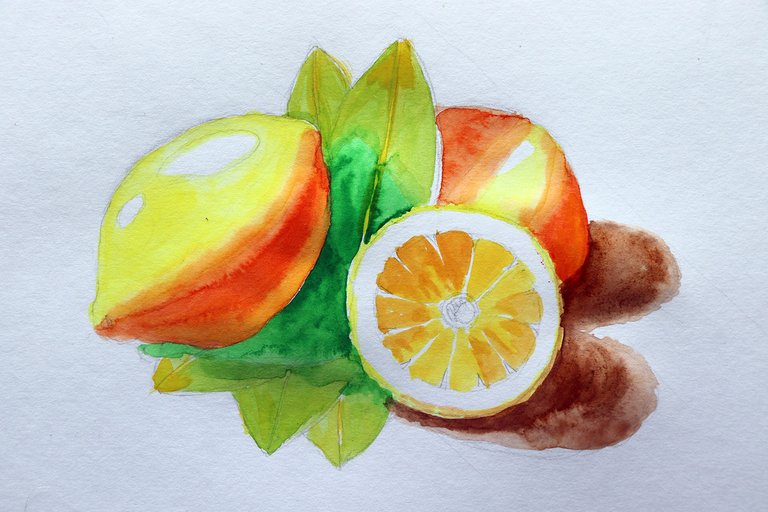
Final stage:
Darken the contours of the leaves with dark green.
I also draw little more detailed contours inside the cut lemon.
YOUR PAINTING IS READY!
It's time to take odes from the household, share the theft in social networks, and look for a suitable frame! 🙂
Thanks for read and use my lesson!
Stay connected, there will be a lot of interesting things ahead!

Instagram:
https://www.instagram.com/ruslankoros.art/
Excllucively for you ;)
A very useful tutorial, great job.
Thanks!