ACRYLIC POURING ABSTRACT ART // TRYING THE TECHNIQUE OF THE OPEN CUP 🎨🖌
Hello everyone, I hope you are all doing great!
So I finally found some time to do a second attempt at acrylic pouring art and tried a different technique. I also bought some new brighter colors this time and tried to create a more cheerful painting. I still watching more and more videos and keep learning tricks and information about acrylic pouring and trying to experiment more.
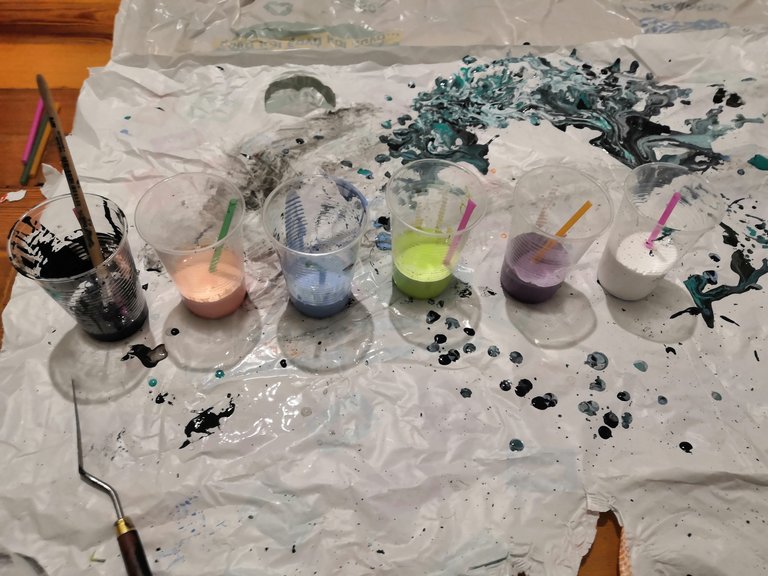
So the colors I used for this painting is:
- Black
- Salmon
- Blueberry
- Yellow Green
- Purple
- White
I followed the same process as the previous time, mixing each color with pouring medium, water and pouring oil.
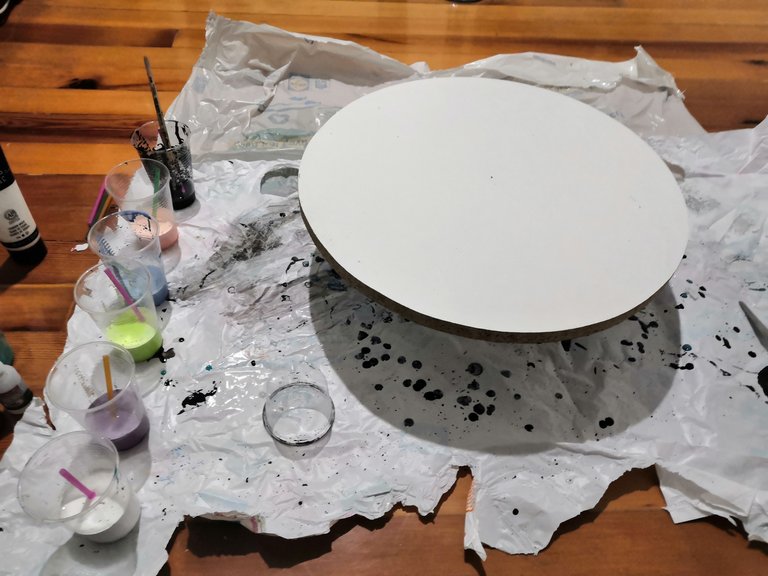
The first attempt at acrylic pouring was on a canvas, so this time I tried the technique on a wooden surface and see the how the result would look like.
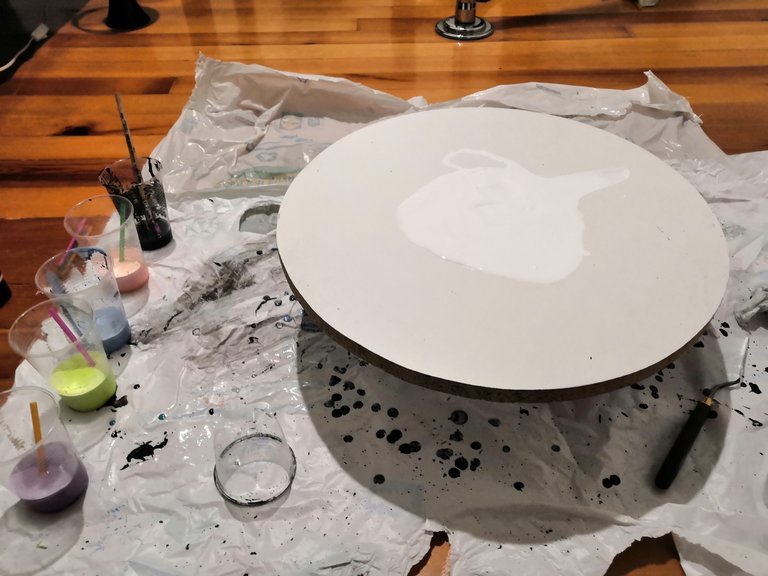
First of all I applied some of the white color on wood as a base.
--
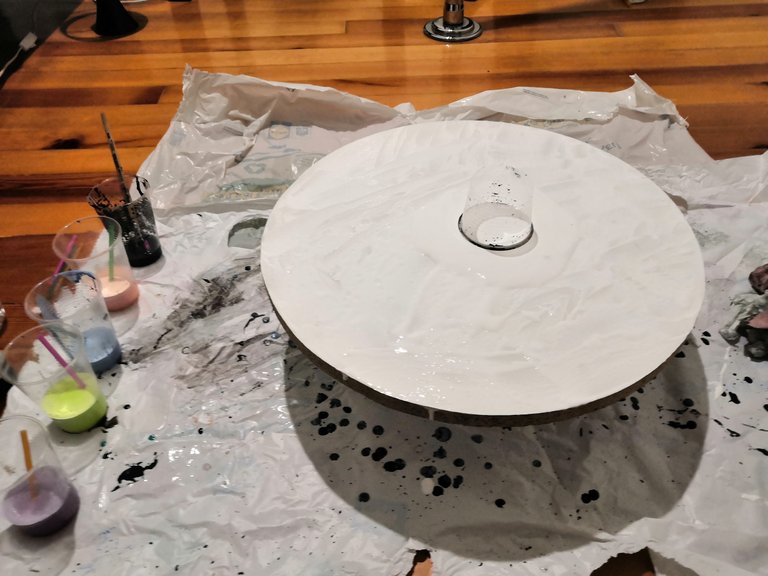
So the technique that I tried this time was to cut a plastic cup and pour the colors into it, the one after another.
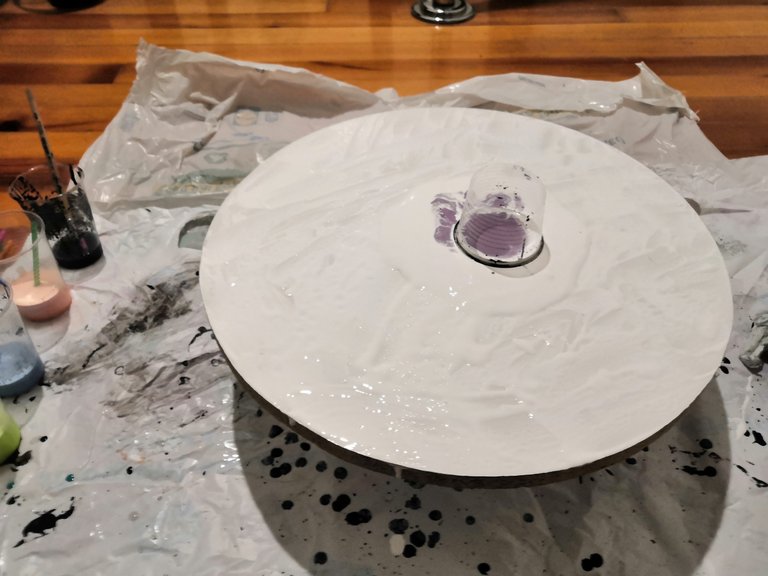
So while I was pouring the purple color into the plastic cup, around it I was pouring some more white color so as to be more easy for the colors to flow.
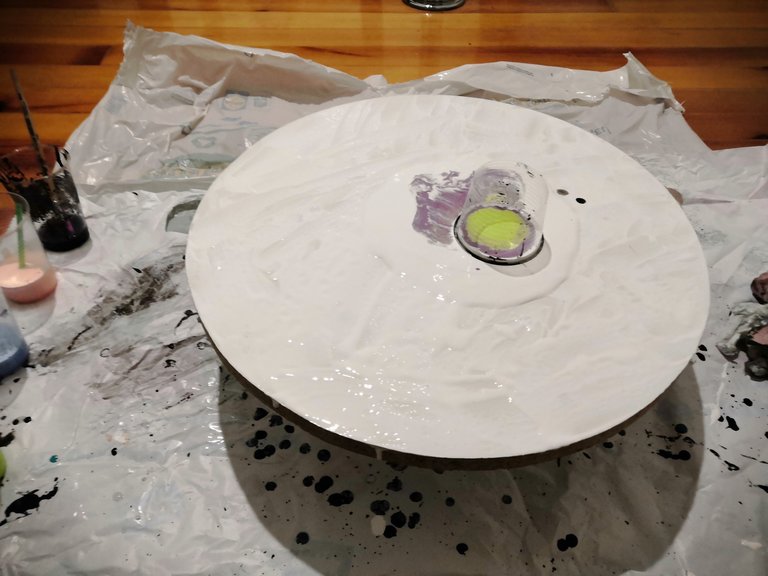
On the top of purple color I poured the yellow green color. As you can see the purple color had already started to flow with the white when I poured the yellow green.
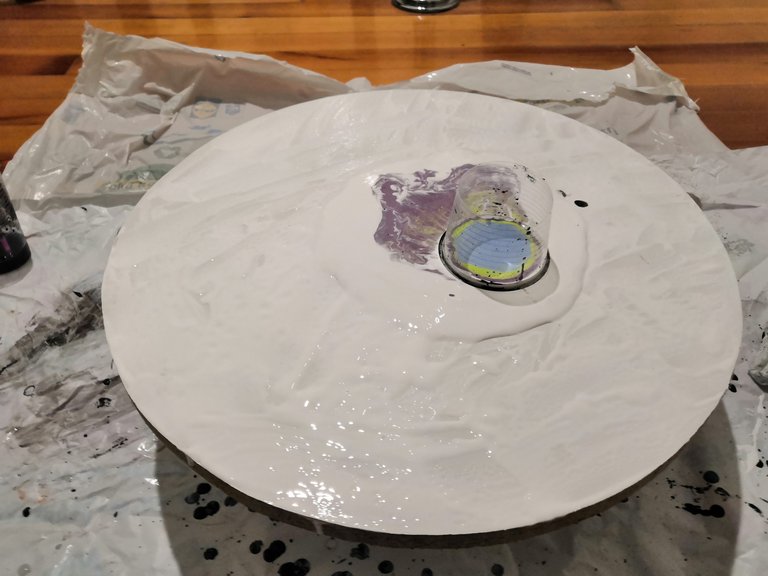
After that I poured the blueberry color on the top of the yellow green with the same technique. It might seems like an exaggeration to show you every step I followed but I think it is worth to see how colors flow and interact with each other when you add a new color, like for example the purple color with the yellow green in the picture.
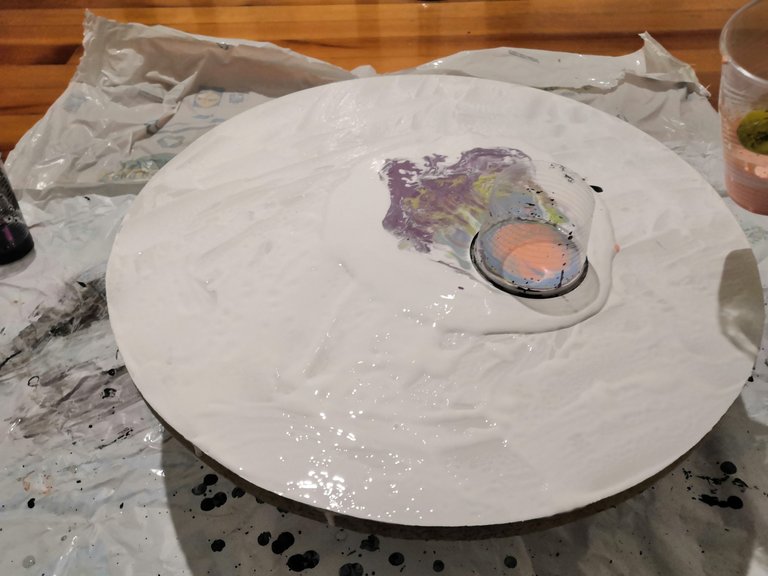
The salmon was the last color I poured into the plastic cup. After that I started tiling the wooden surface with the plastic cup on it and experiment with the color flow until I covered the whole surface.
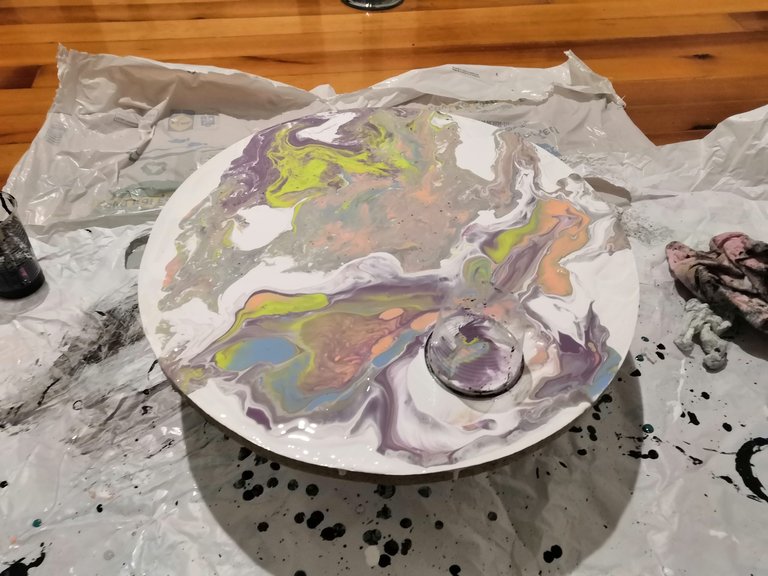
When I finished with the first and basic layer of the surface, I followed the same process as before, poured the same colors again into the plastic cup and tilting the surface until I reached to a pleasant result.
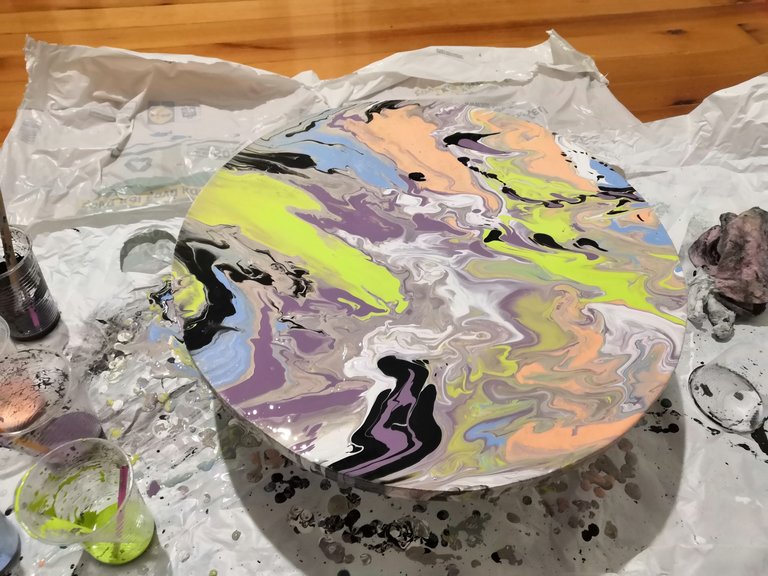
After that I removed the plastic cup carefully and started adding straight to the surface some colors that I wanted to give emphasize at them. I also added a dark color like black so as to balance the view of all those bright colors and start tilting again the surface.
So I experiment a lot until I reached the wanted result for me and I actually enjoyed the positive vibe that the brighter colors give to the painting.
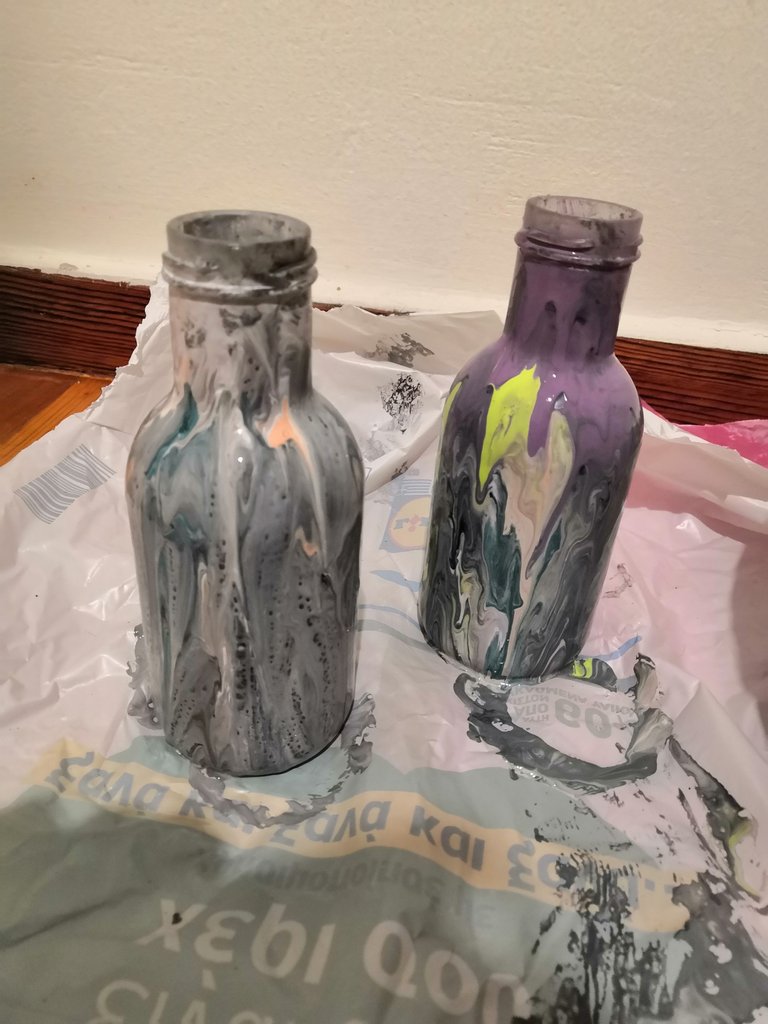
As I said at my previous post the technique of acrylic pouring demands a quite big waste of color and I think it is really important to make a good use of the superfluous colors. So what I did was to roll over the plastic bags (that are put on the floor) two glass bottles that I had and easily change their appearance.
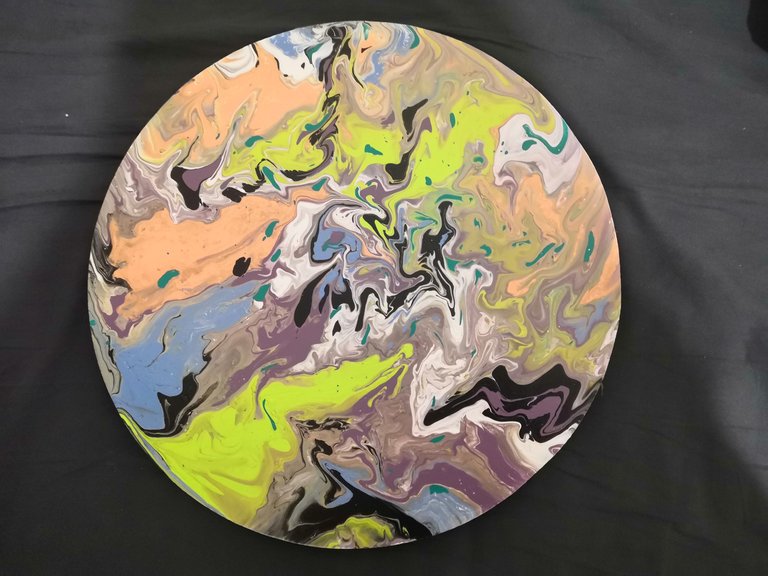
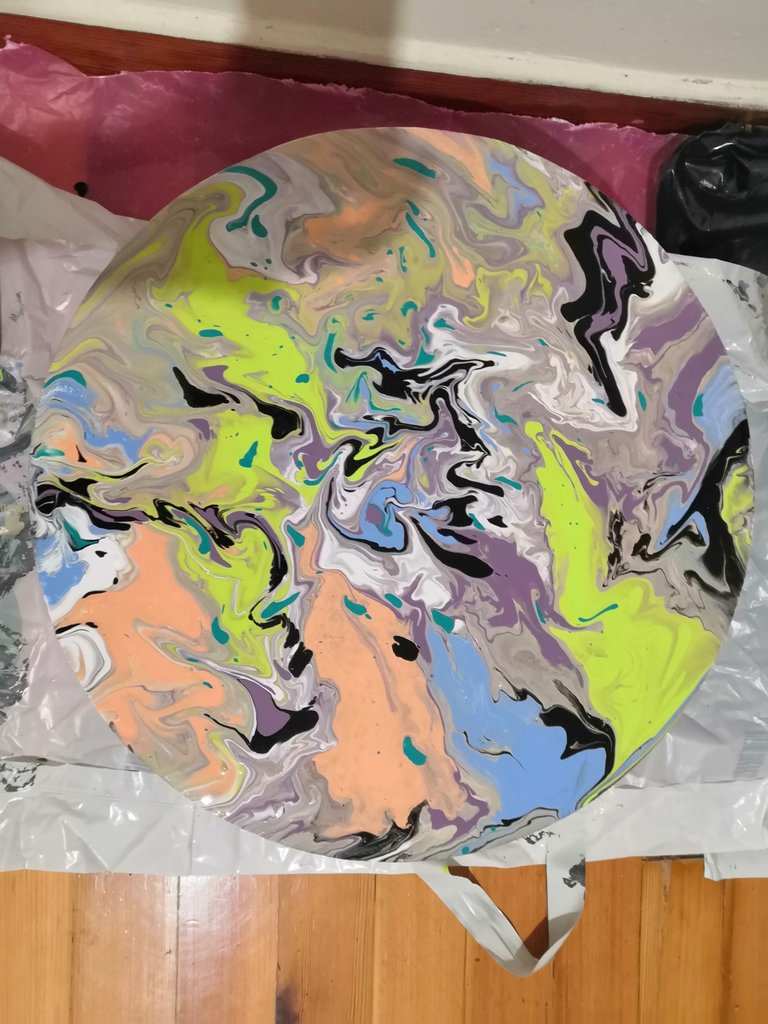
I let both wooden surface and the glass bottles for 3 whole days to dry up and then wiped them down with some baby wipes. So this is the final result of my second acrylic pouring painting on a wooden surface this time.
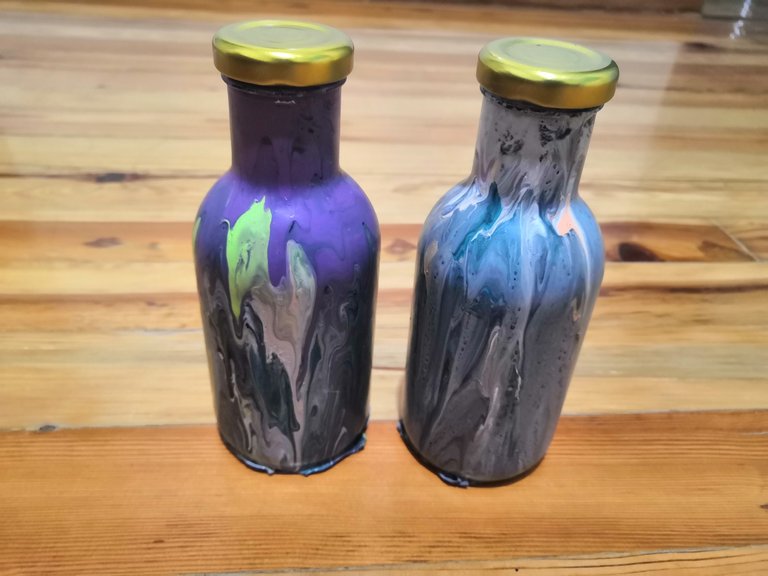
And this is the result of the two glass bottles I painted making a good use of the superfluous colors.
That's all from me guys, I hope you enjoyed my post and maybe inspired you trying to experiment with the technique of acrylic pouring.
Thank you for stopping by,
Illusivelf
This post was shared in the Curation Collective Discord community for curators, and upvoted and reblogged by the @c-squared community account.
If you are a community leader and/or contest organizer, please join the Discord and let us know you if you would like to promote the posting of your community or contest.
@c-squared runs a community witness. Please consider using one of your witness votes on us here
👋 Hi @illusivelf, I was flipping through the blockchain and stumbled on your work! You've been upvoted by Sketchbook / a community for design and creativity. Looking forward to crossing paths again soon.
✅ Join the Sketchbook Community