[ESP-ENG] Organizador para lápices y colores | Organizer for pencils and colors
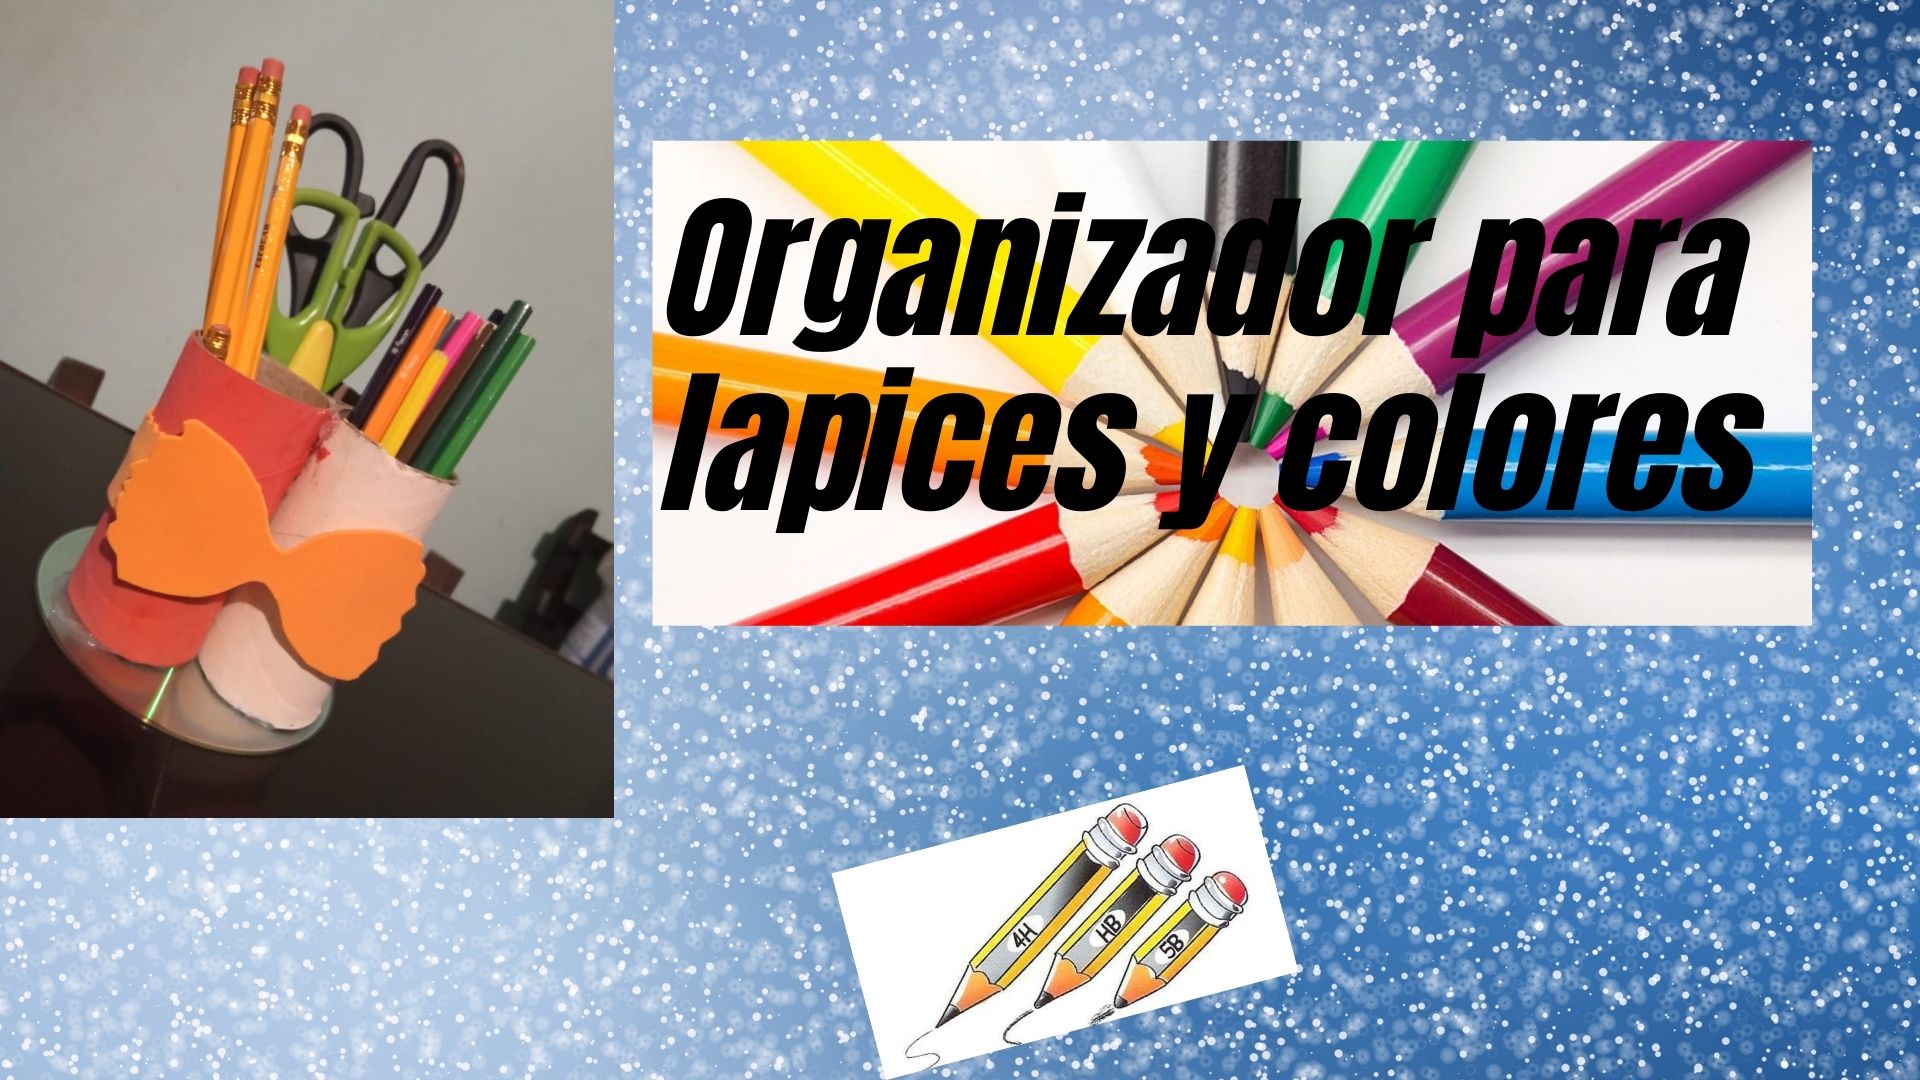
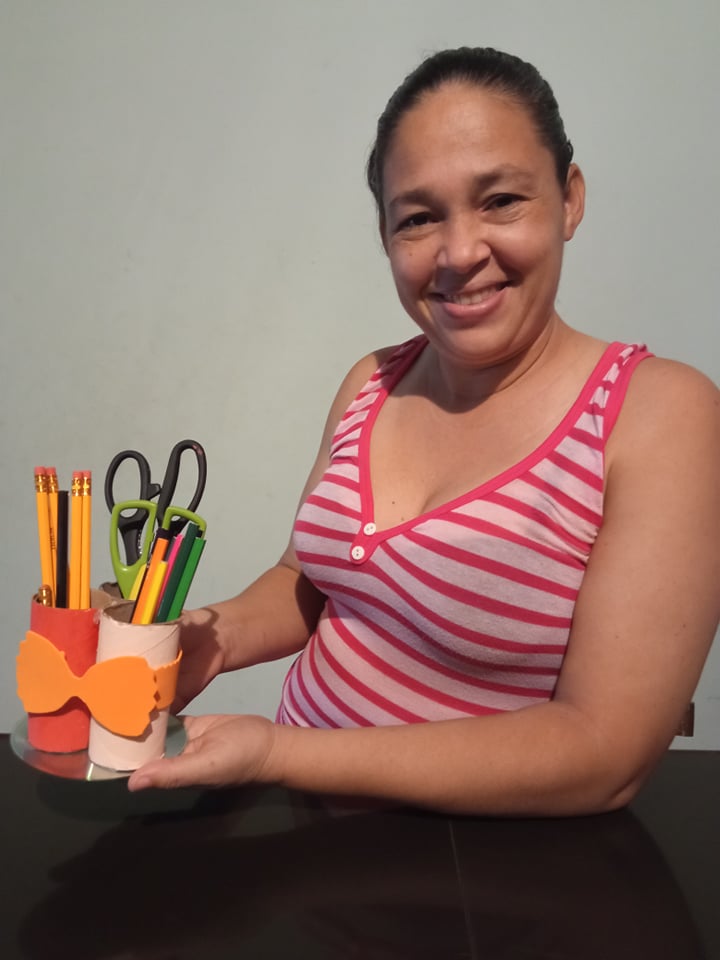
A big greeting to everyone, I hope you are very well, always the colors and pencils are lost or often are scattered in any corner of our house, today I want to show the development of an organizer for those pencils and colors are kept tidy and in a place where you want to place them, and also takes the opportunity to organize the scissors that often do not know where we put them, then the step by step.
.jpg)
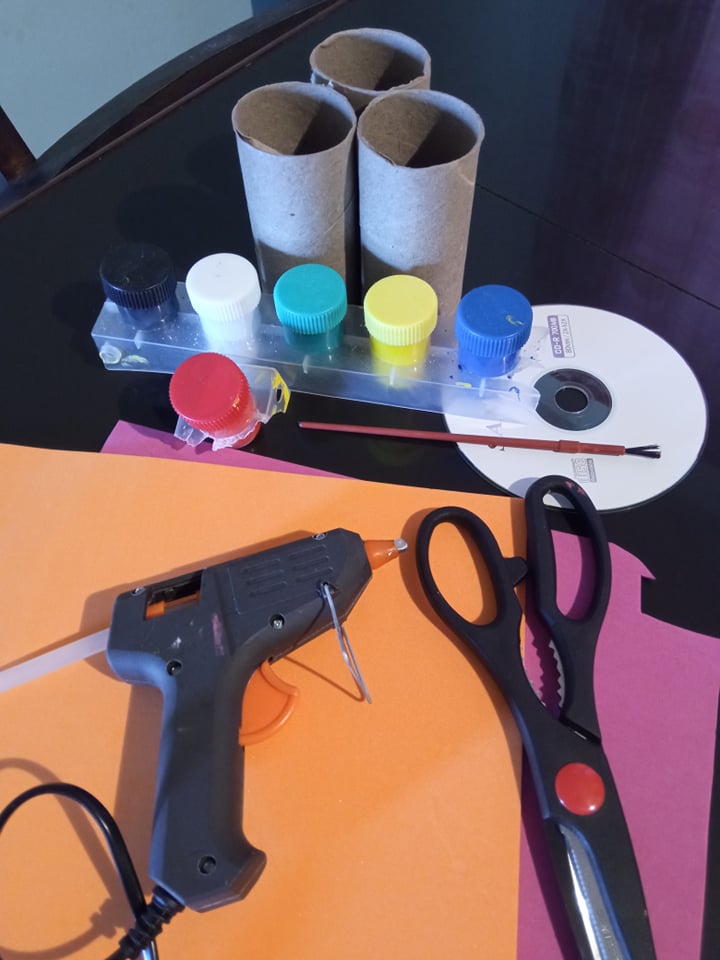
- Los materiales a utilizar son:
- 3 Tubitos de papel higiénico.
- Tempera.
- Foami.
- Pincel.
- Tijera.
- 1CD.
- Silicón en barra.
- The materials to be used are:
- 3 Tubes of toilet paper.
- Tempera.
- Foami.
- Brush.
- Scissors.
- 1CD.
- Silicone stick.
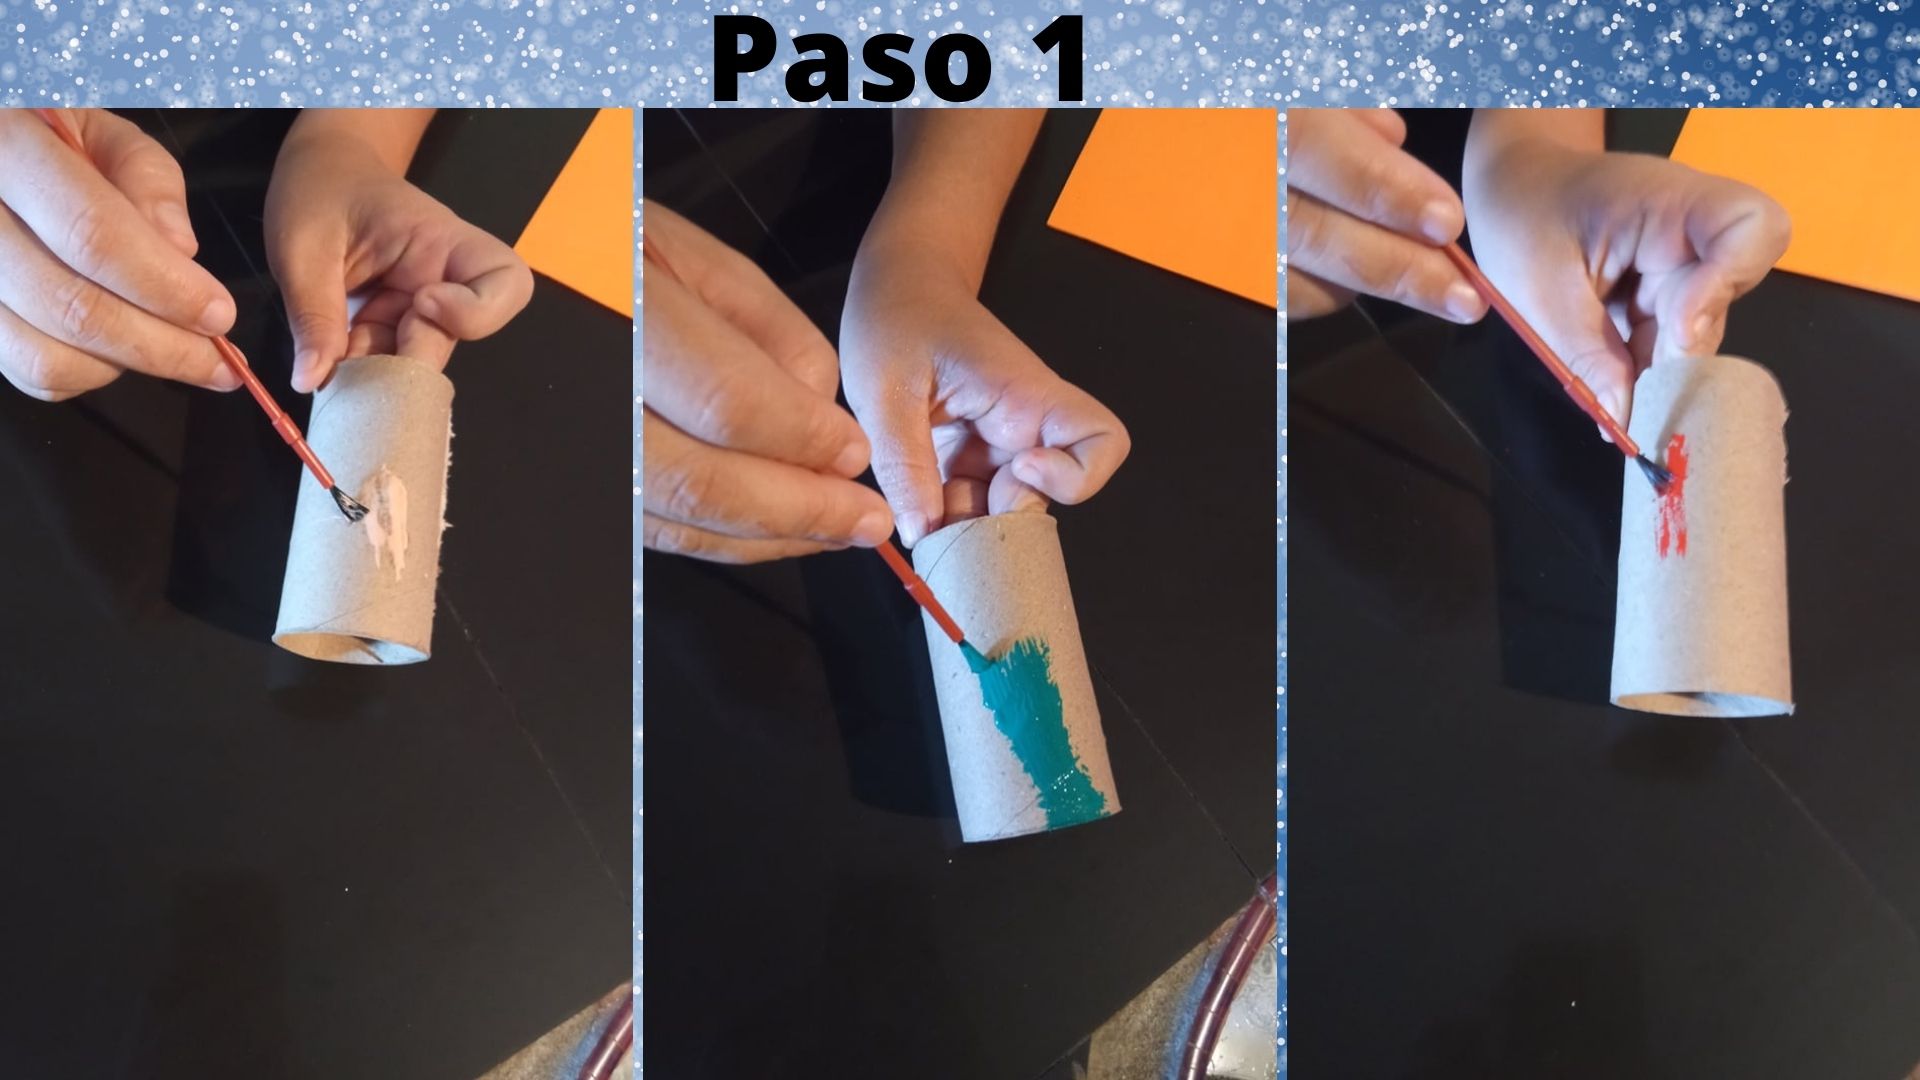
- Paso 1: Primeramente debemos pintar cada uno de los tubitos de papel higiénico con el color de nuestra preferencia.
- Step 1: First we must paint each of the toilet paper tubes with the color of our preference.
.jpg)
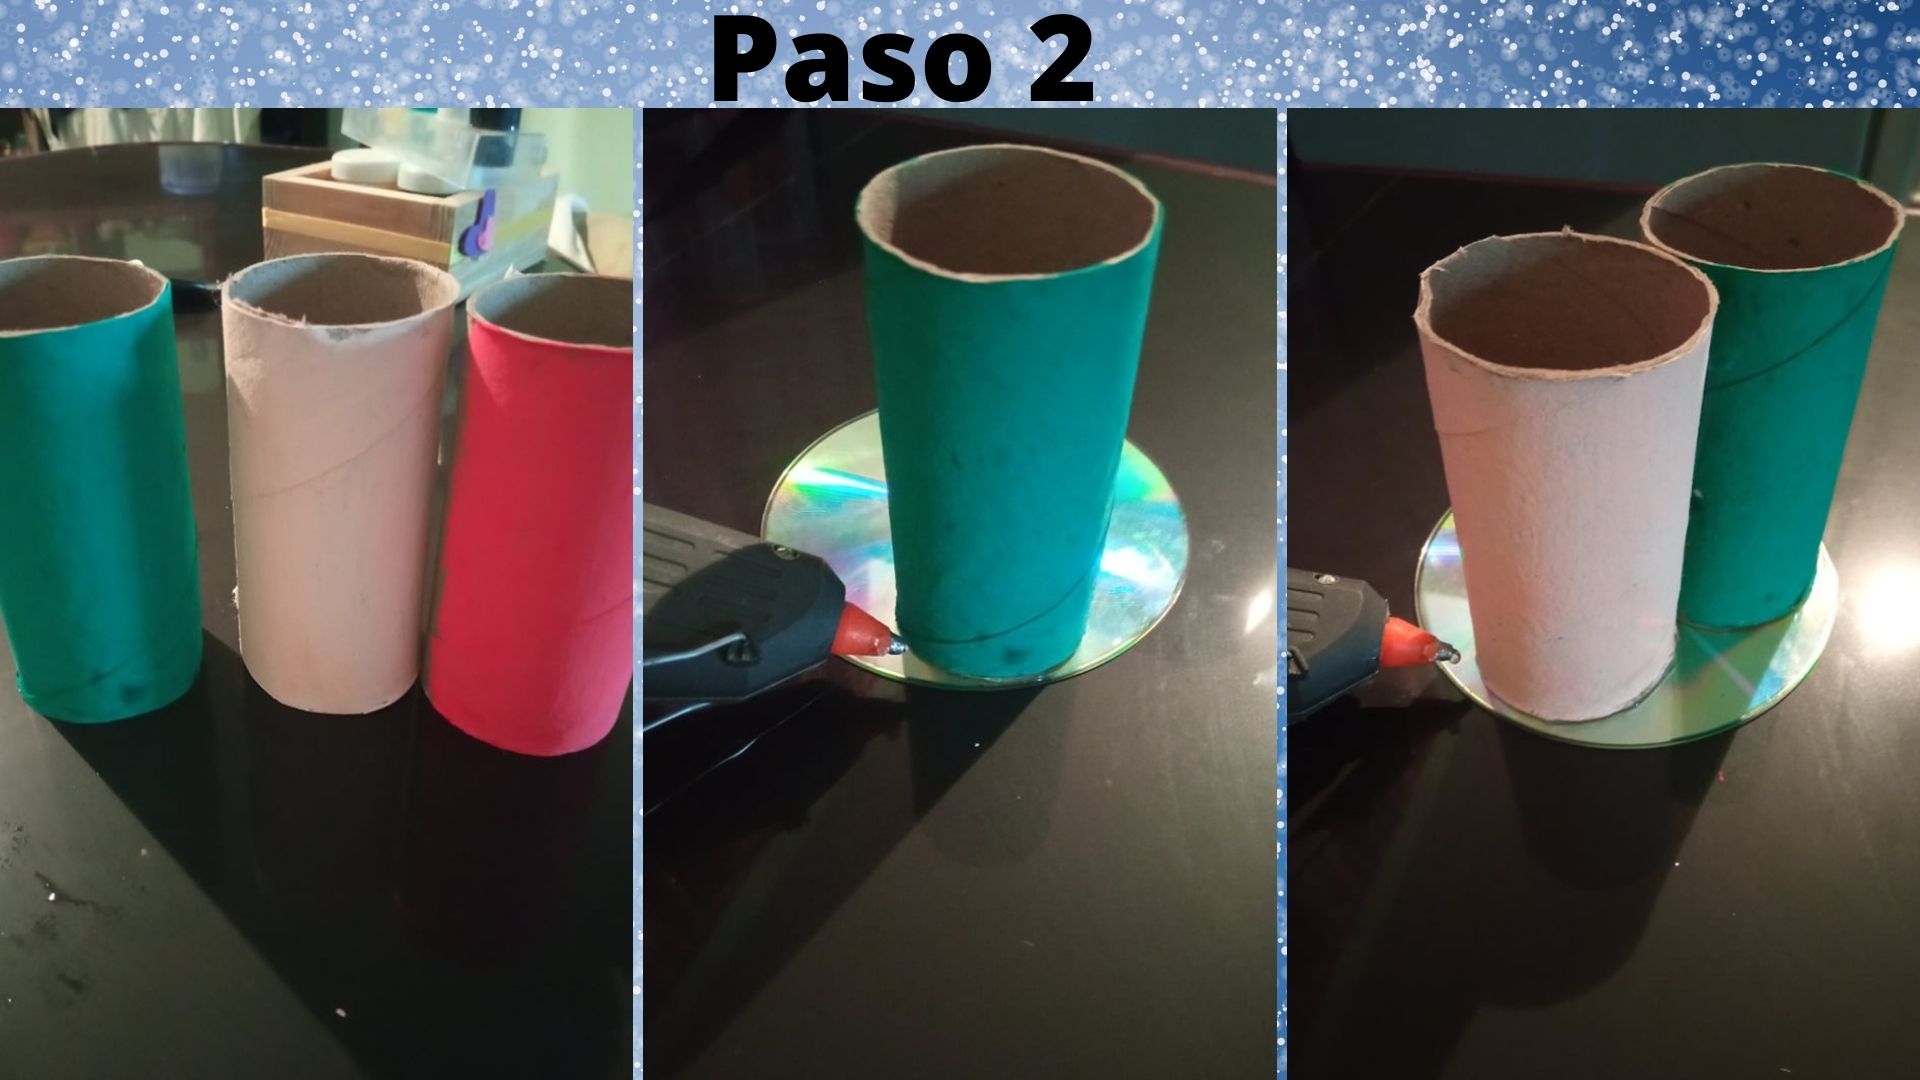
- Paso 2: Una vez que los tubitos estén pintados, y secos, los vamos colocando de uno en uno sobre el CD pegándolos con el silicón de barra.
- Step 2: Once the tubes are painted and dry, we place them one by one on the CD, gluing them with the silicone stick.
.jpg)
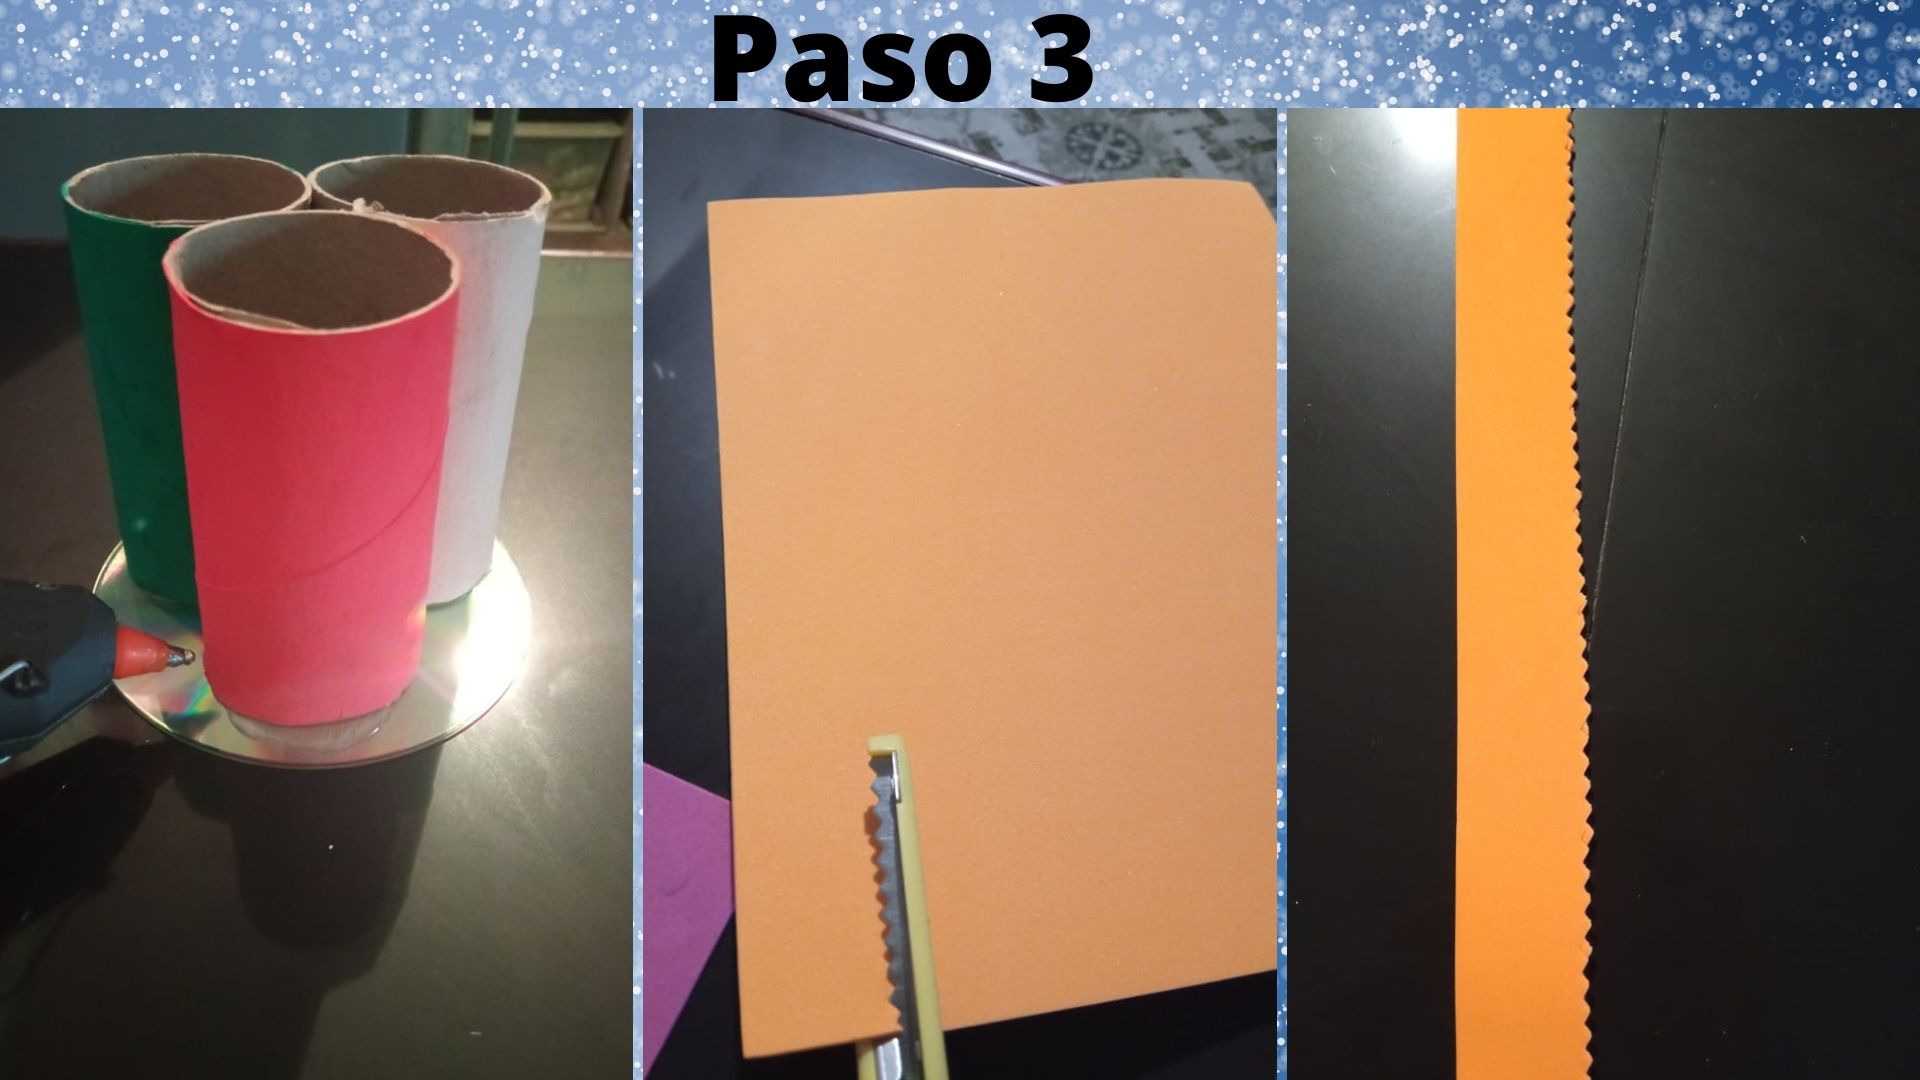
- Paso 3: Una vez que ya hemos pegado los tubitos al CD, procedemos a cortar una tira de foami, esto lo debemos hacer a lo largo del mismo con una tijera con diseño.
- Step 3: Once we have glued the tubes to the CD, we proceed to cut a strip of foami, this should be done along the length of it with a design scissors.
.jpg)
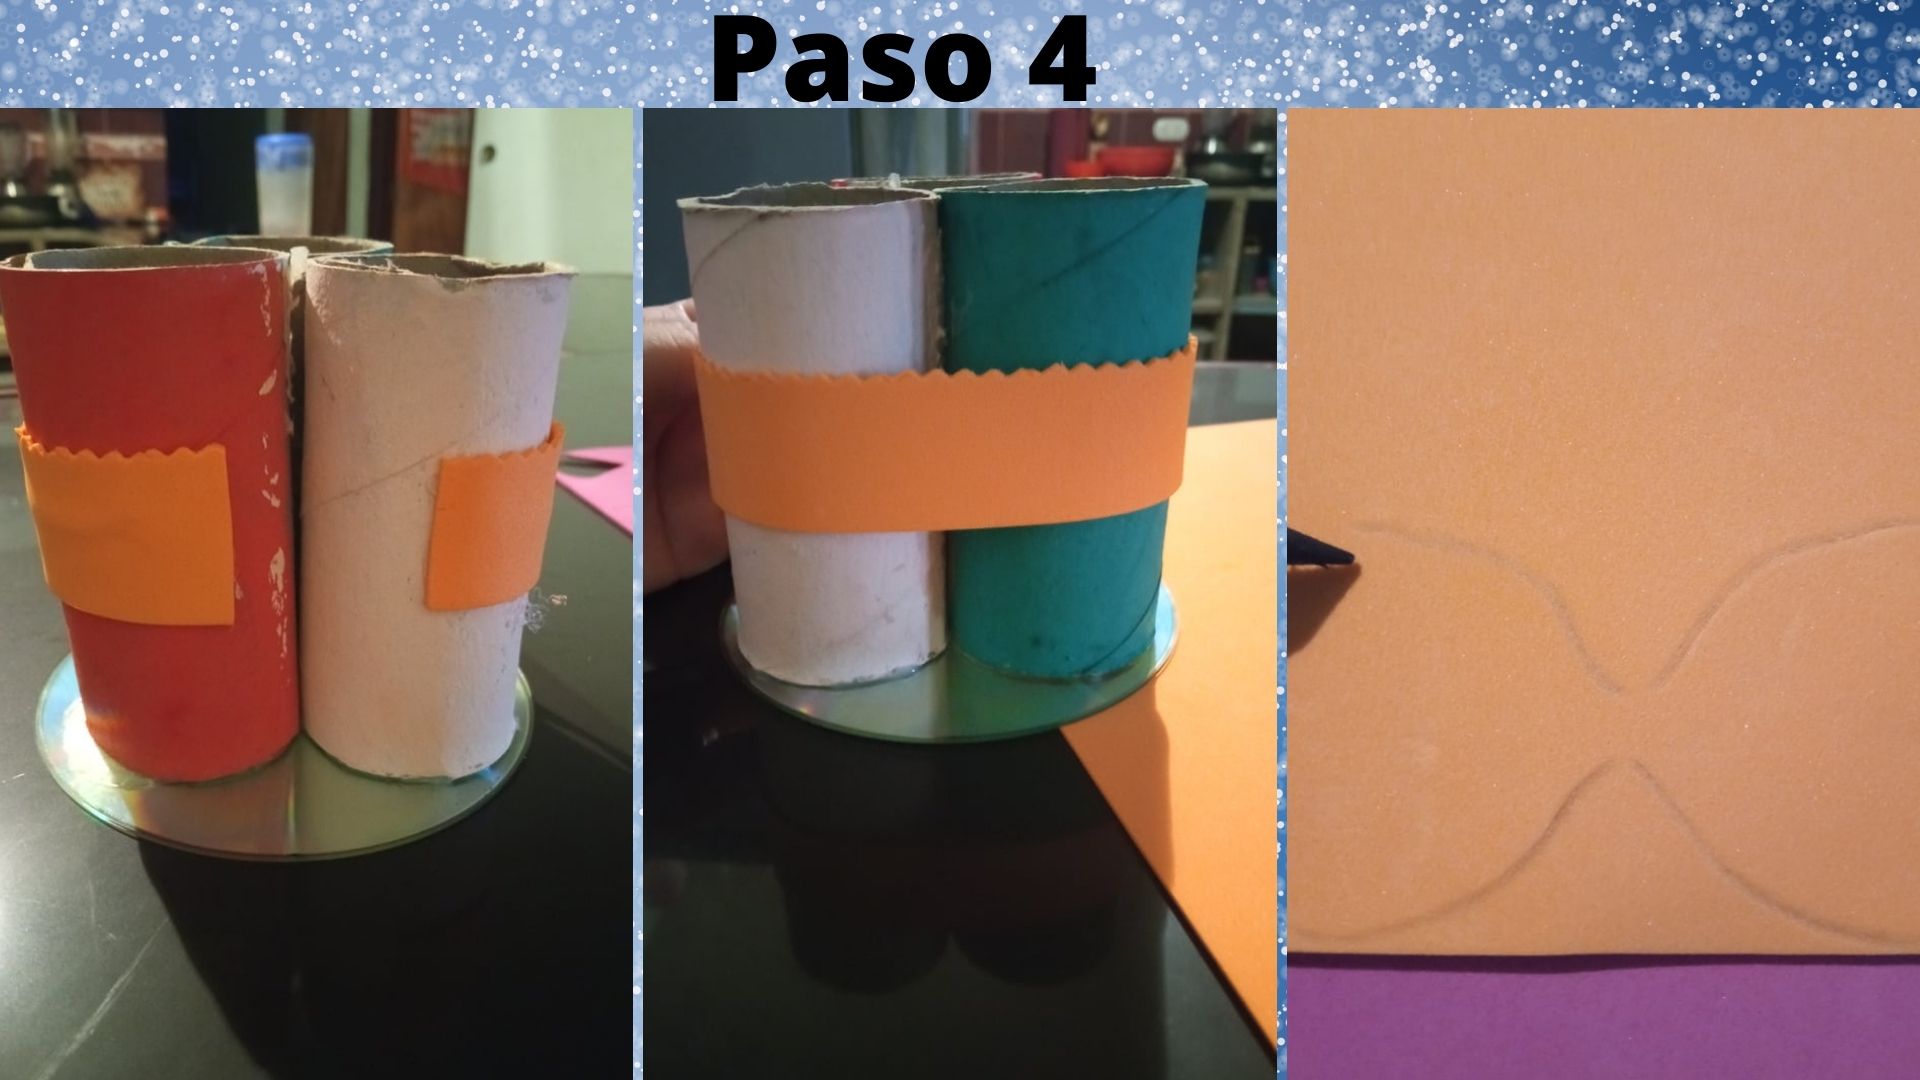
- Paso 4: Luego que ya tenemos la tira de foami, la pegamos por todo el alrededor de los tubitos de papel, pintamos en el foami un diseño cualquiera para decorar nuestro organizador, en mí caso hice un hermoso lazo.
- Step 4: After we have the foami strip, we glue it all around the paper tubes, we paint on the foami any design to decorate our organizer, in my case I made a beautiful bow.
.jpg)
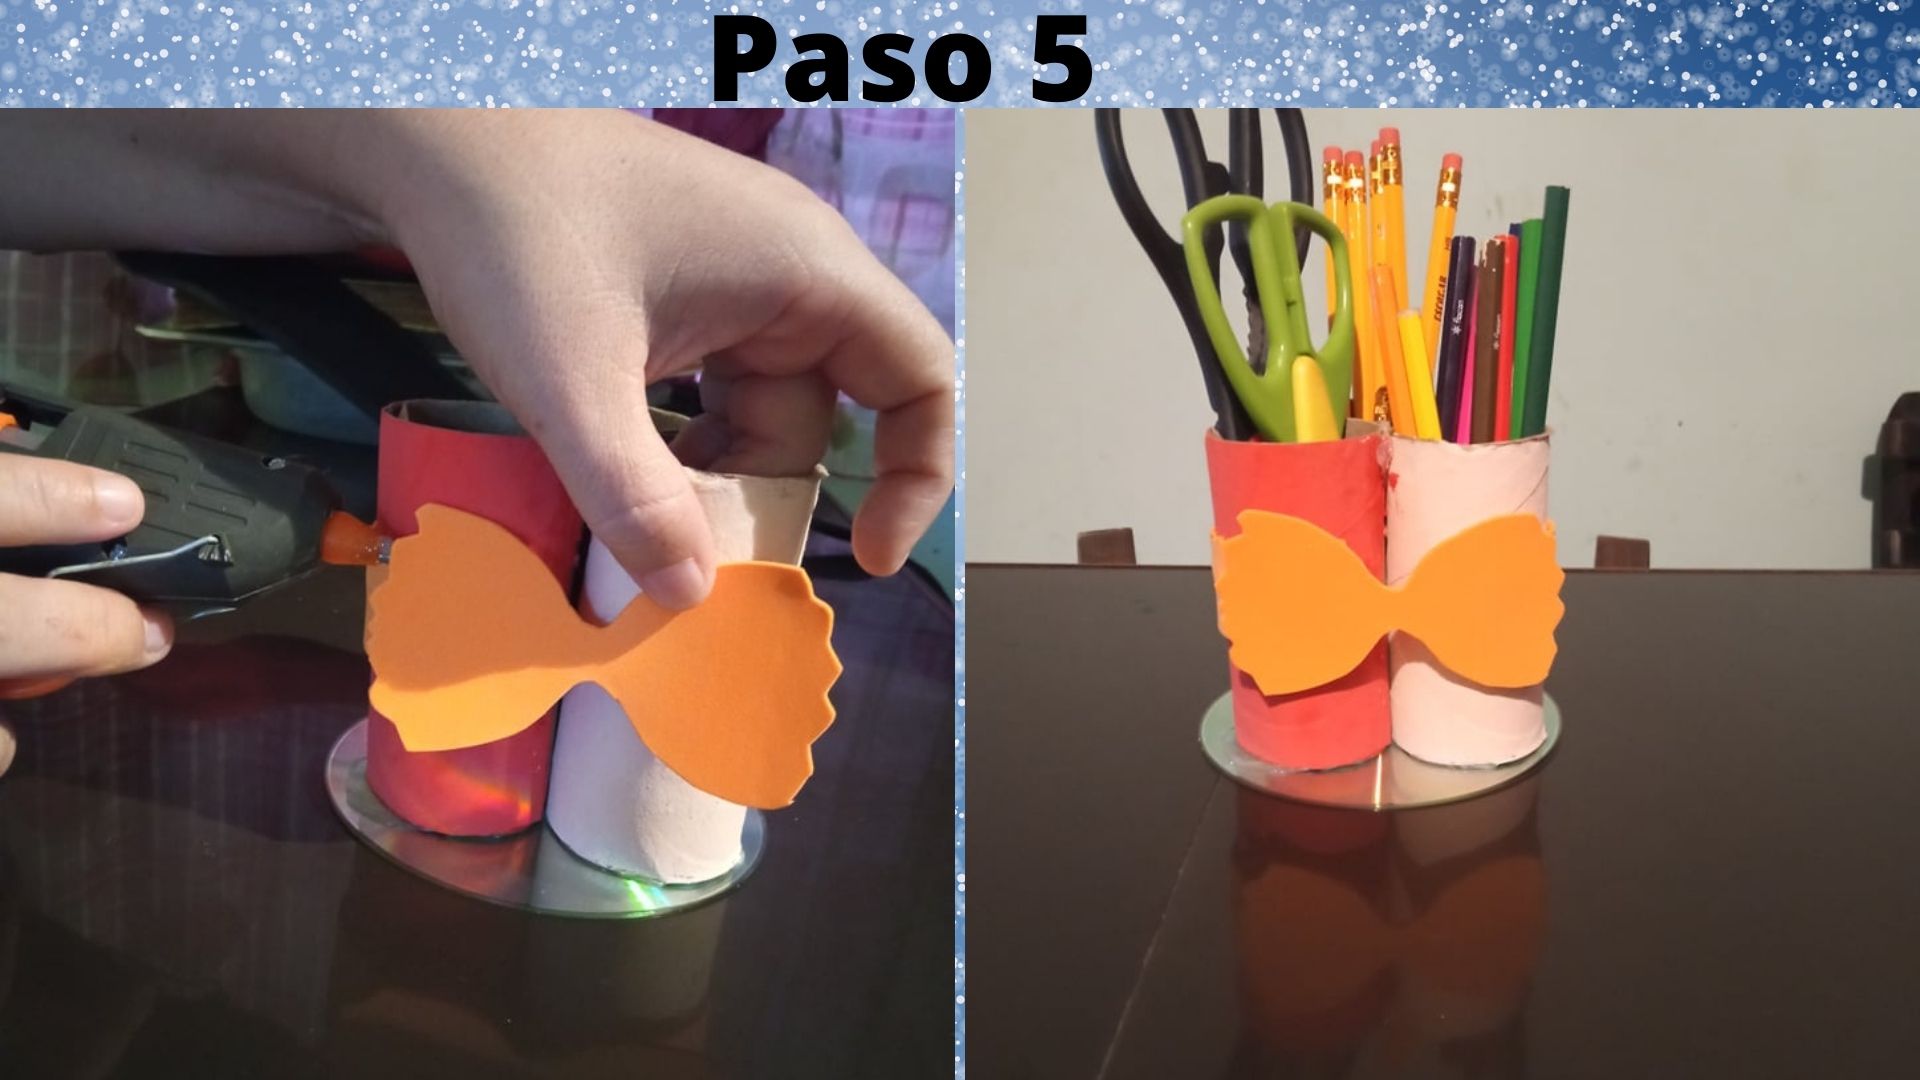
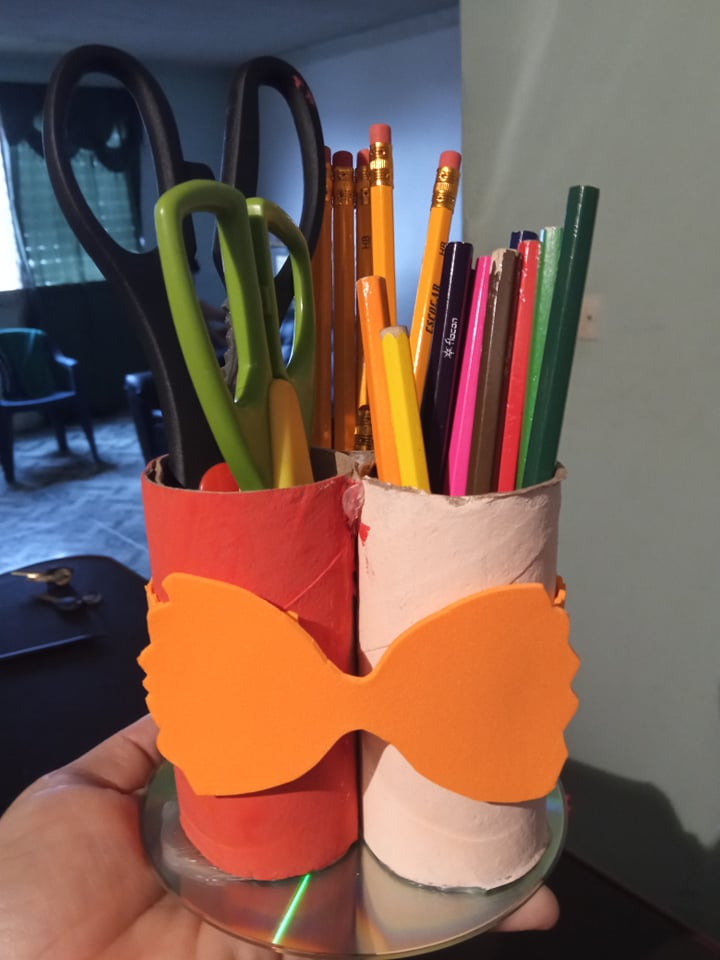
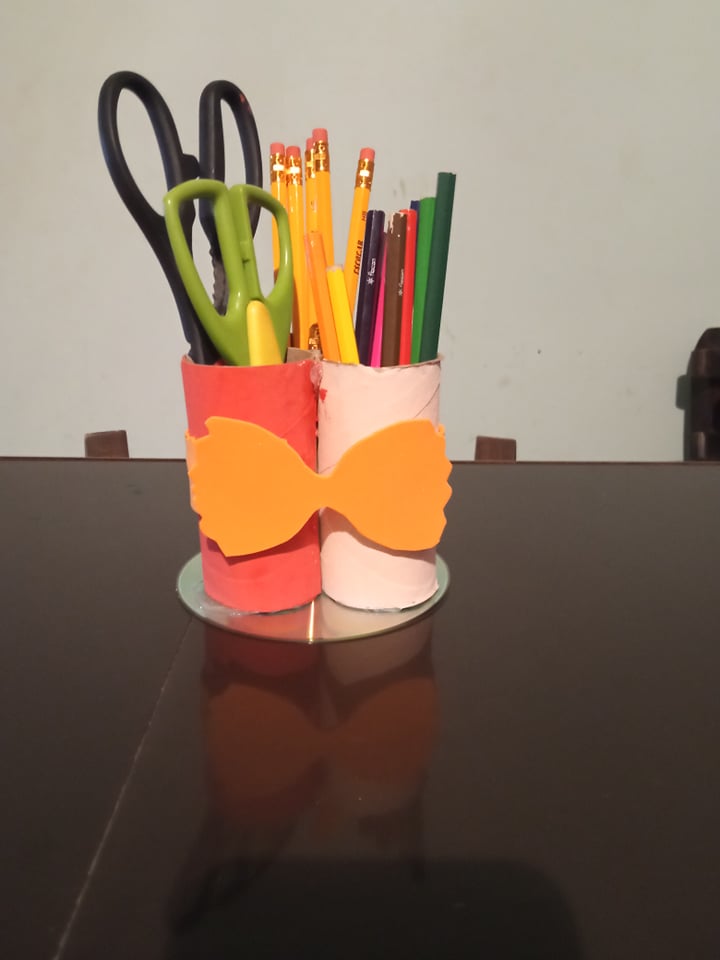
- Paso 5: En el espacio donde no alcanzó la tira de foami, colocamos el diseño que recortamos y luego colocamos los lápices, colores y por supuestos las tijeras.
- Step 5: In the space where the foami strip did not reach, we place the design we cut out and then we place the pencils, colors and of course the scissors.

0
0
0.000
Your post has been curated by us! Received 20.00% upvote from @opb. Do consider delegate to us to help support our project.
Do join our discord channel to give us feedback, https://discord.gg/bwb2ENt
* This bot is upvoting based on the criteria : 1. Not plagiarised, 2. Persistent previous quality posts, 3. Active engagement with other usersDo upvote this commment if you 💚 our service :)
Thank you very much for your vote.