DIY || Cute and decorative cardboard cactus - [Esp-Eng]
❣️¡Hola amigos de hive!❣️
❣️Hello friends of hive!❣️
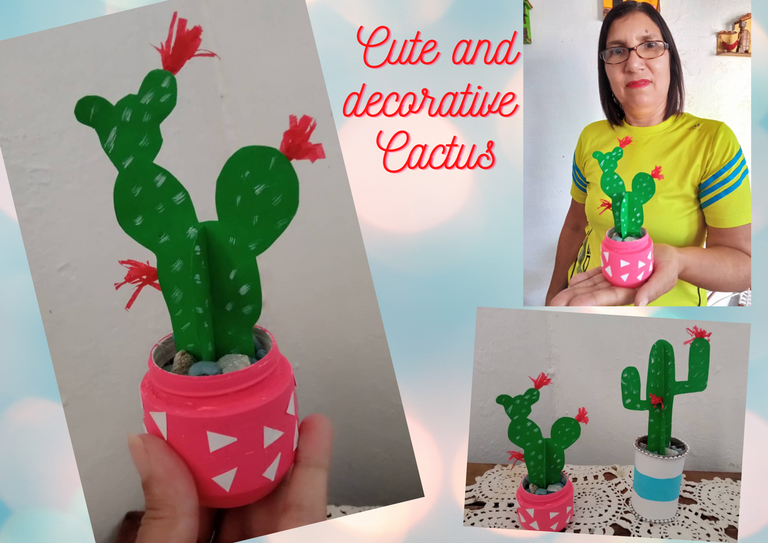
Today I share with you these decorative cactus, this is a very nice and decorative craft made with cardboard, it is simple and easy to do, and you can follow the instructions through this tutorial, so it will not cost you anything to do it because it will be so nice and you can decorate a corner of your home.
Materiales - Materials
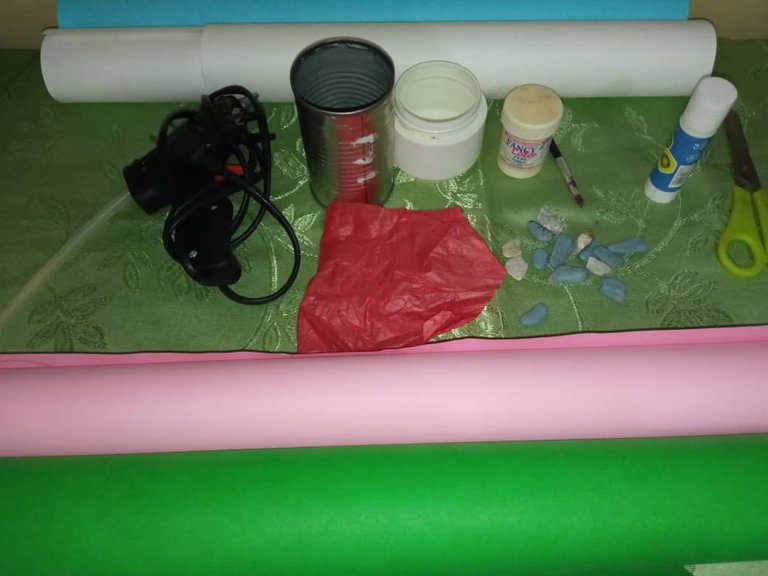
- Cartulina verde, blanca y azul
- Pintura al frío blanca y rosada
- Pega
- Tijera
- Papel de seda roja
- Recipientes reciclables
- Piedras decorativas
- Pincel
- Green, white and blue cardboard
- White and pink cold paint
- Glue
- Scissors
- Red tissue paper
- Recyclable containers
- Decorative stones
- Paintbrush
Paso a paso - Step by step
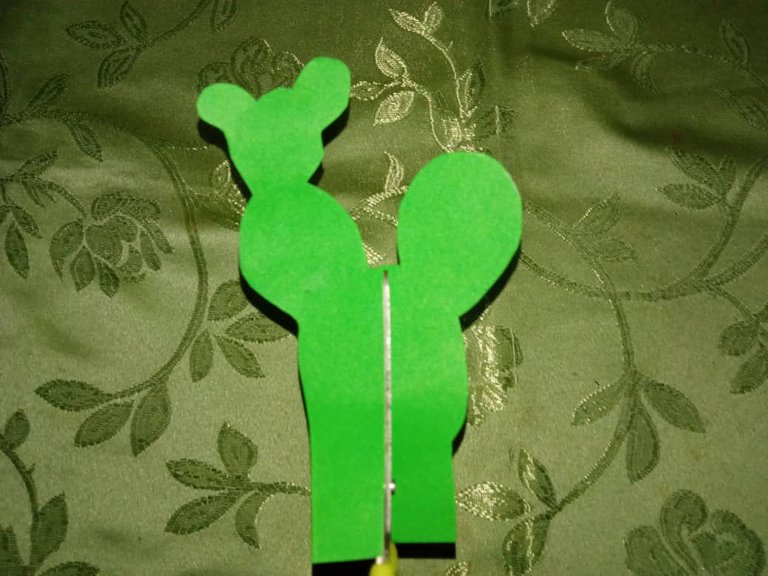
Paso # 1:
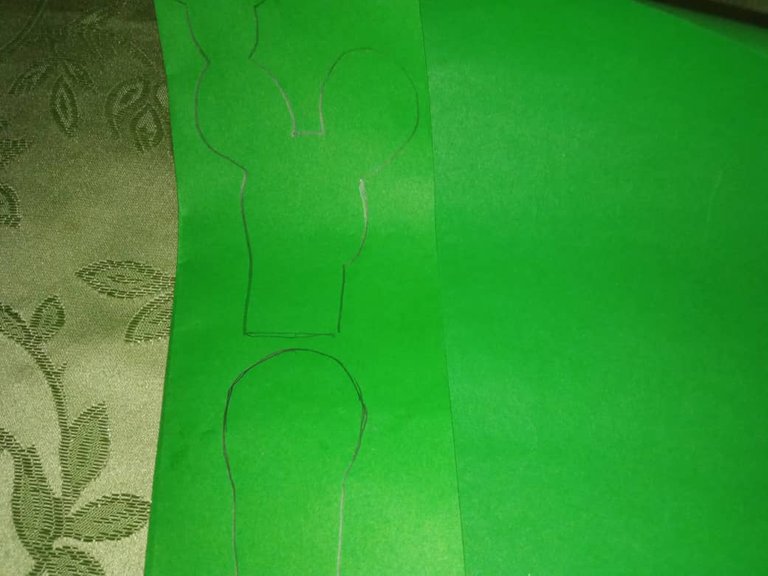
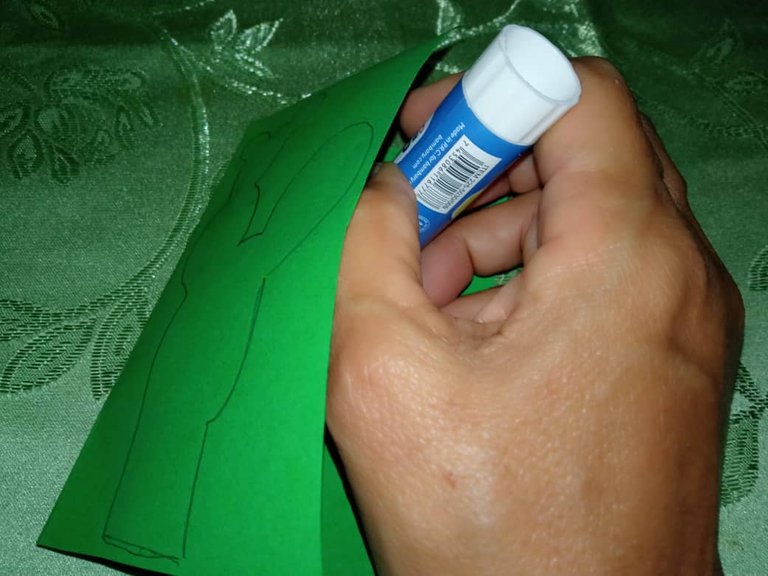
Primero doblamos la cartulina verde dibujamos el cactus, pegamos y recortamos.
Step # 1:
First we fold the green cardboard, draw the cactus, glue and cut it out.

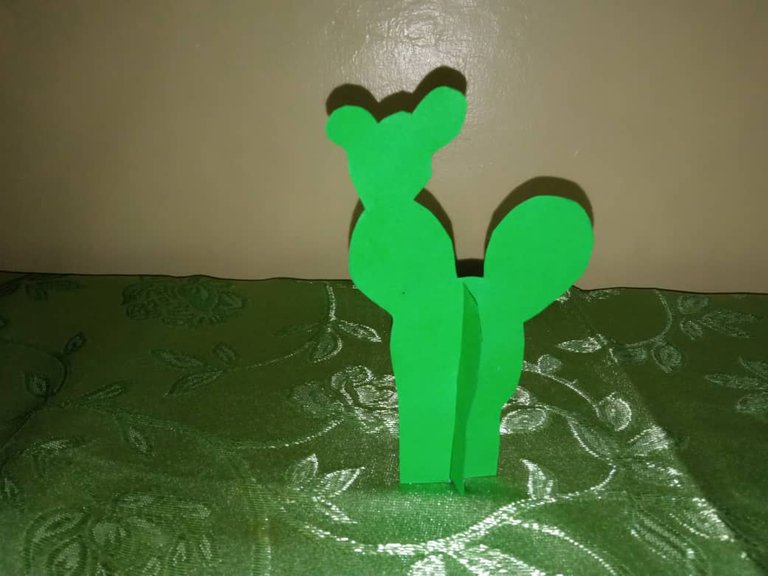
Paso # 2:
Una vez recortado le hacemos unas aberturas a las dos piezas, a la pequeña en la parte superior y la mas grande en la parte inferior para unir nuestro cactus y pegamos.
Step #2:
Once cut out we make some openings in the two pieces, the small one at the top and the larger one at the bottom to join our cactus and glue.
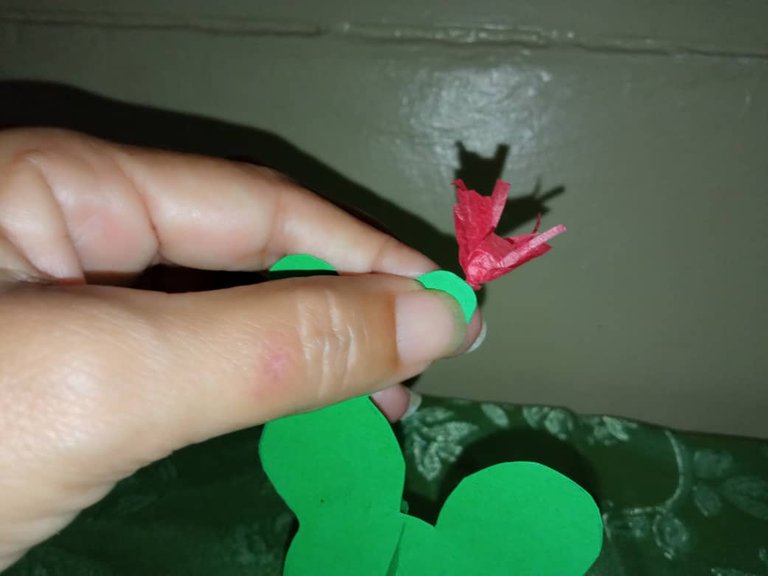
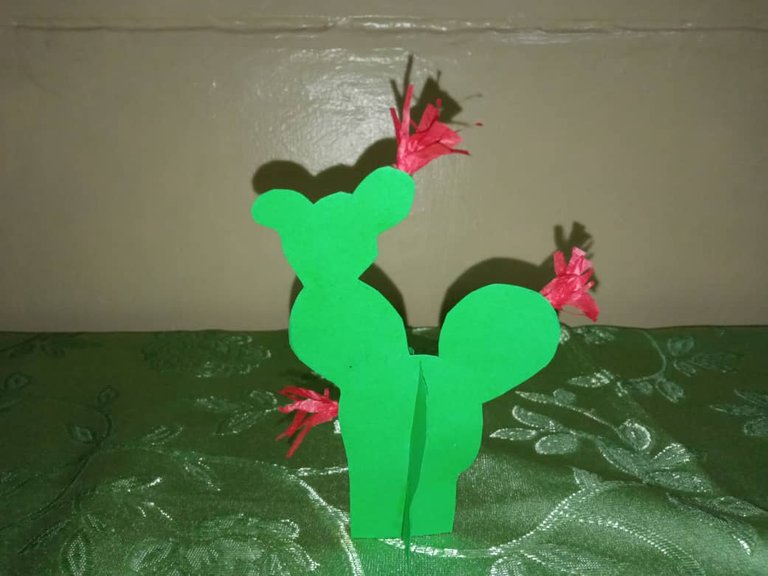
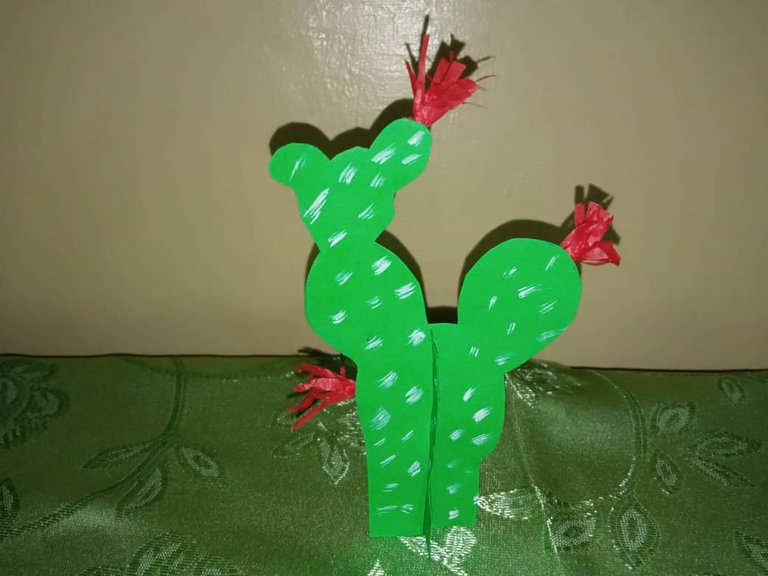
Paso # 3:
Ahora recortamos un rectángulo con el papel de seda, y hacemos cortes en la parte superior. Enrollamos el rectángulo, separamos los cortes de papel eso van a hacer las flores y lo pegamos en varias partes de nuestro cactus.
Step #3:
Now we cut out a rectangle with the tissue paper, and make cuts in the upper part. We roll the rectangle, separate the paper cuts that will make the flowers and glue it in various parts of our cactus.


Paso # 4:
Seguido con el pincel y la pintura blanca, hacemos la simulación de las espinas de nuestro cactus haciendo pinceladas.
Step #4:
Then with the brush and the white paint, we make the simulation of the thorns of our cactus by making brushstrokes.
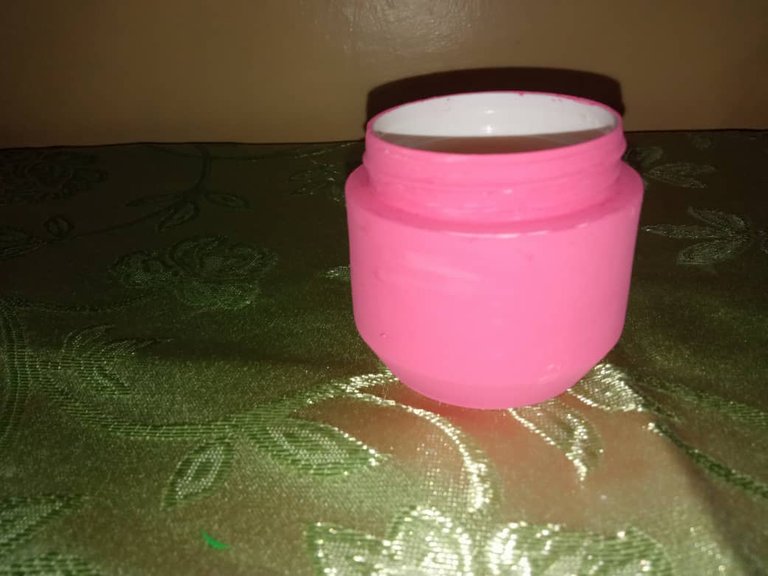
Paso # 5:
Luego pintamos de color rosado el recipiente blanco cuando este seco, recortamos triángulos de la cartulina blanca y pegamos al recipiente para decorarlo.
Step # 5:
Then paint the white container pink when it is dry, cut out triangles from the white cardboard and glue them to the container to decorate it.
Paso # 6:
Para finalizar colocamos las piedras en el recipiente, fijamos nuestro cactus con pega y rellenamos con más piedras.
Step # 6:
Finally we place the stones in the container, fix our cactus with glue and fill with more stones.

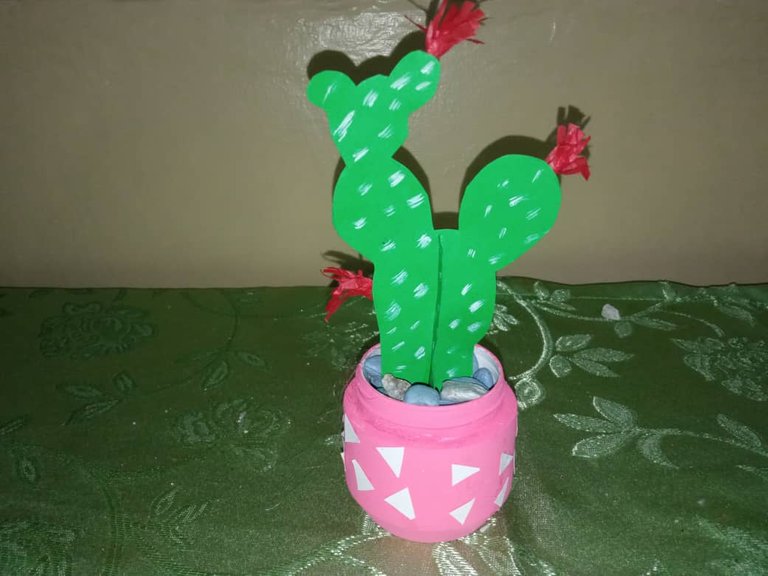
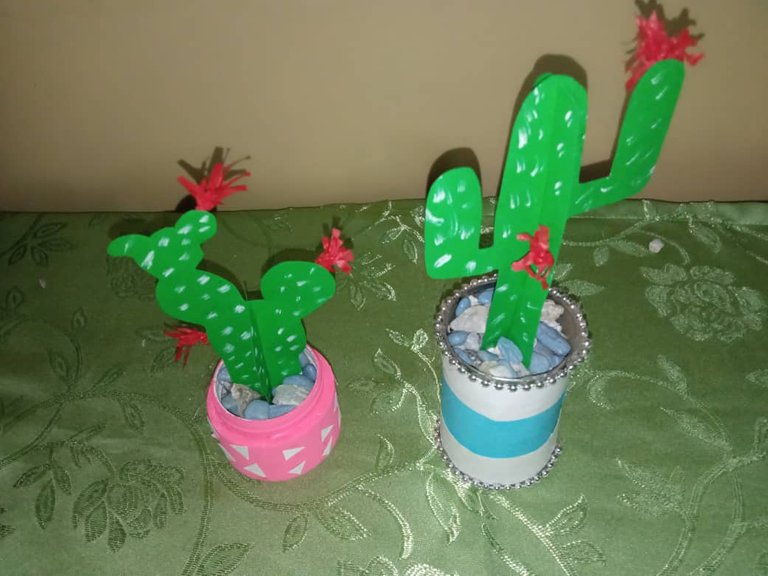
Este es el resultado final, con esto hemos creado un lindo y decorativo Cactus.
This is the final result, with this we have created a nice and decorative cactus.


Bellas manualidades, muy creativa y decorativa
bien hecho @theresa16
Gracias
Amiga te quedo hermoso me encanto
Gracias