Cómo Cambiar El Fondo De Una Foto 📷| How to Change the Background of a Photo
ESPAÑOL
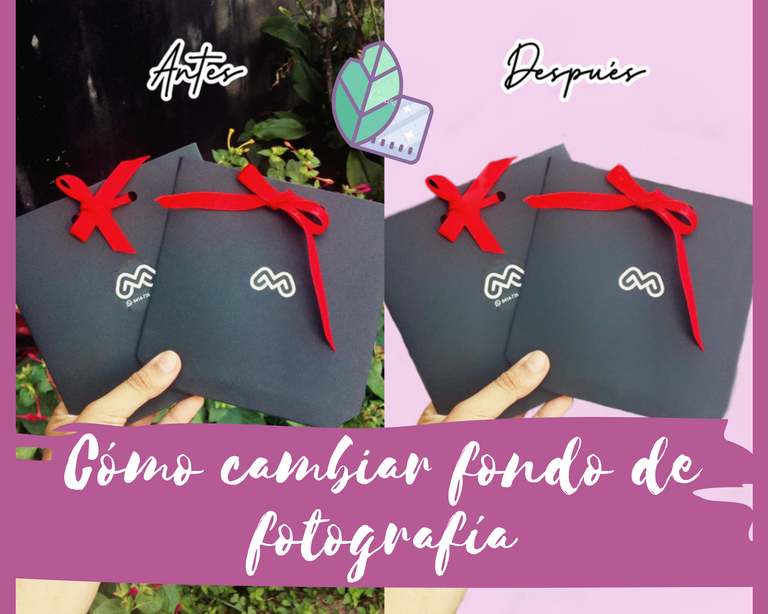
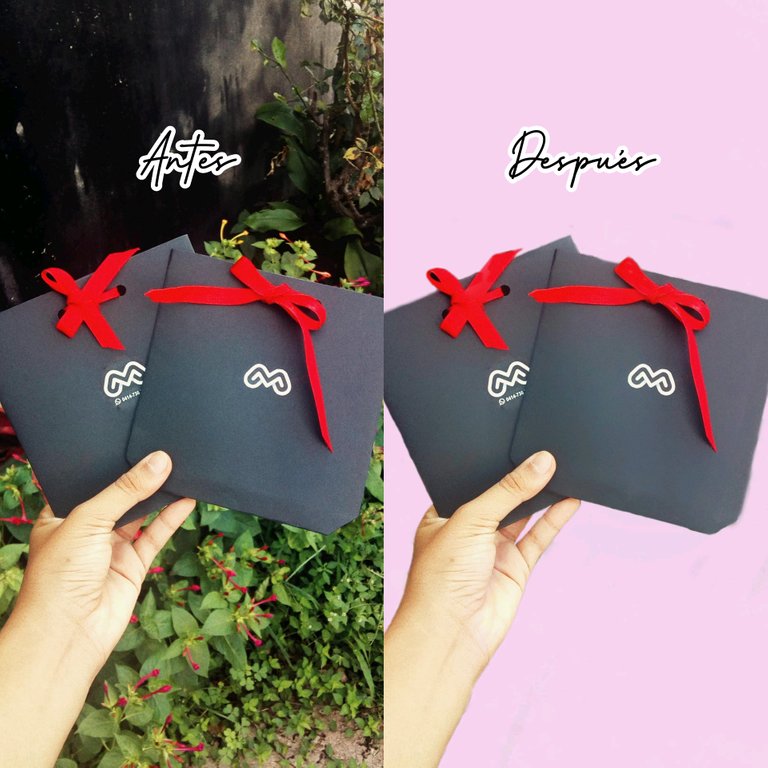
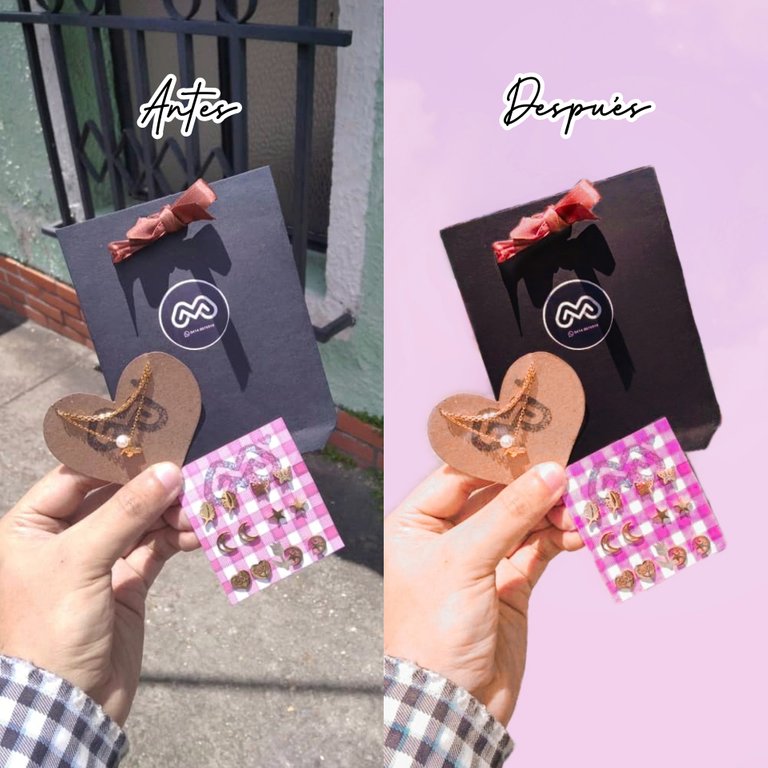
En esta oportunidad quiero compartirles una herramienta muy utilizada actualmente para perfeccionar aquellas fotografías que tanto nos gustan, con esto me refiero a poder cambiar el fondo a cualquier tipo de fotografia.
En mi caso, tengo una tienda virtual en instagram de bisuteria por tanto para mi es super inportante que las fotos queden con un fondo de color solido para que la prenda sea la unica protagonista. Me ha pasado que a veces tomo buenas fotos pero descuido por completo todos los elementos de atras, por tanto esta herramienta me ha servido muchisimo para solucionar ese problema y que mis fotografias se vean súper profesionales.
Para hacerlo solo necesitaremos una sola aplicacion llamada "Snapseed", el cual es una herramienta super sencilla y potente para los amantes de la fotografia o creadores de contenido. A continuación les explicaré el paso a paso:
Debes tener instalado en tu teléfono la App Snapseed, el cual esta disponible en App Store y Play Store:
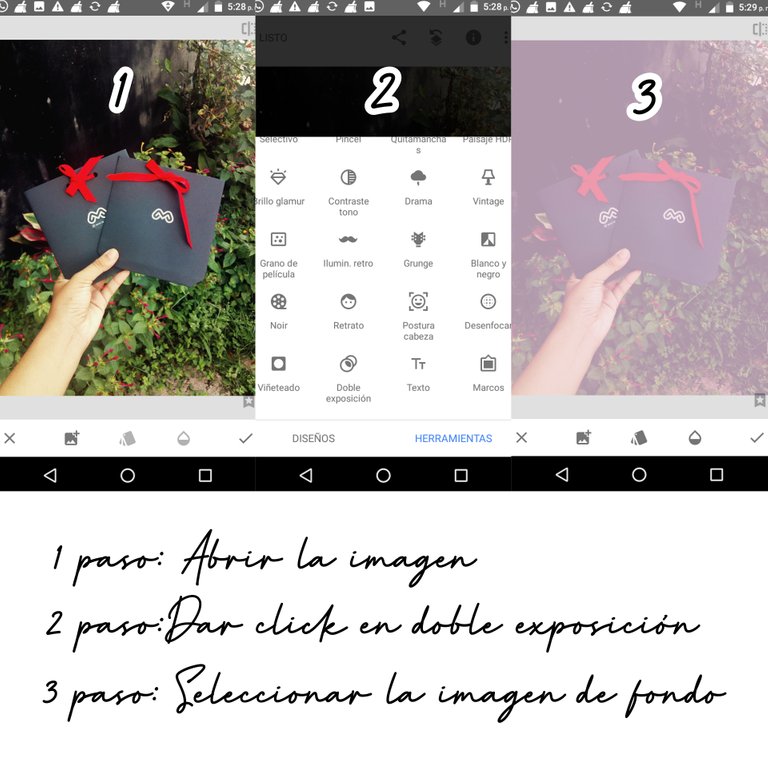
- Debes abrir la imagen que quieres cambiarle el fondo
- Debes dar Click en la opción "Doble Exposición"
- Debes seleccionar la imagen que quieres colocar de fondo, (en mi caso, un fondo de color solido)
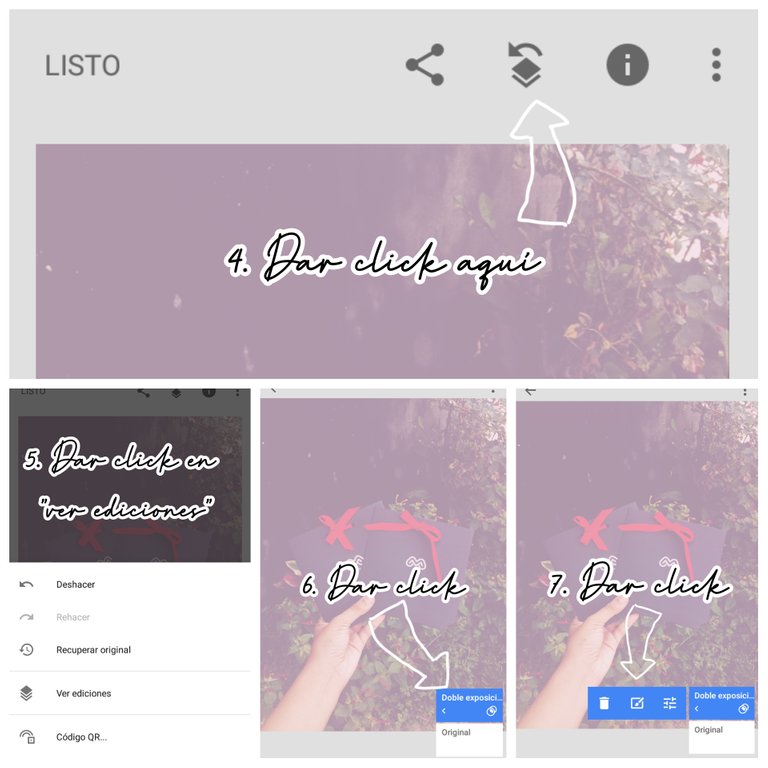
4 . Dar click en el icono que tiene dos cuadros y una flecha
5 . Dar click en "ver ediciones"
6 . Dar click en la opción que dice doble exposición: Allí se desplegará tres opciones, la primera es una papelera, la segunda un pincel y la tercera intensidad.
7 . En primer lugar tendremos que darle al "pincel" para empezar a rellenar todo el fondo.
Las demás opciones de este punto nos servirá mucho después, el borrador para eliminar por completo la doble exposición y la intensidad para graduar intensidad del fondo.
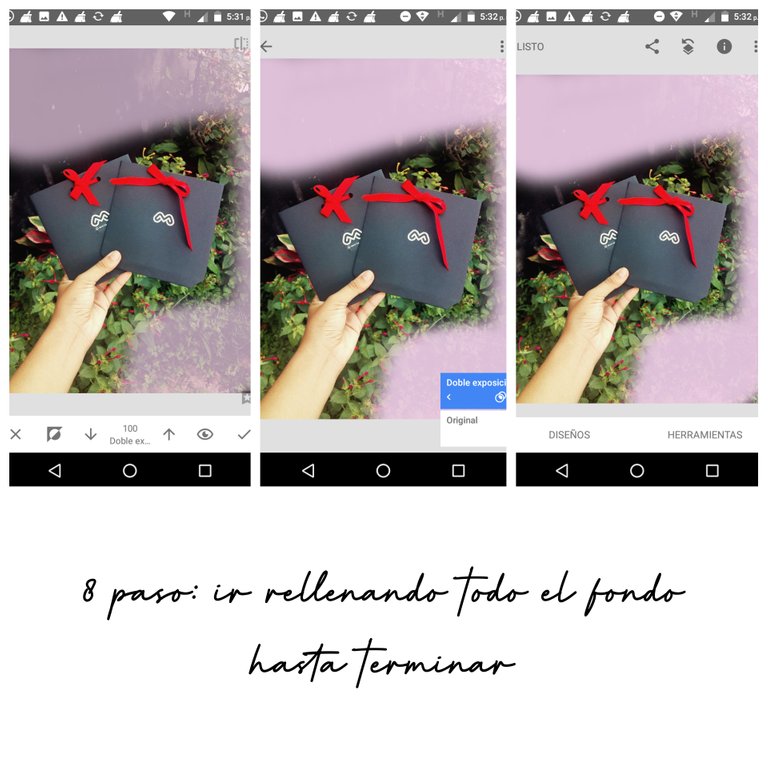
8 . Rellenar todo el fondo poco a poco. En esta parte podemos hacer zoom para llegar a esos lugares de la fotografía que son un poco difíciles de rellenar. De esta manera podemos trabajar más a detalle y tener una fotografía mucho más profesional.
Espero que les haya gustado esta información y se pongan bastante creativos! Cuando le agarren el toque se les hará mucho más fácil
Resultado final:
Sí te gustó déjame tu opinión en los comentarios
If you liked it, leave me your opinion in the comments
ENGLISH
Hello to the entire Hive community! I hope you are super wellThis time I want to share with you a tool that is currently widely used to perfect those photographs that we like so much, by this I mean to be able to change it to any type of photography. In my case, I have a virtual jewelry store on instagram, therefore for me it is super important that the photos are with a solid color background so that the garment is the only protagonist.
It has happened to me that sometimes I take good photos but I completely neglect all the elements in the back, therefore this tool has helped me a lot to solve that problem and make my photos look super professional. To do this we will only need a single application called "Snapseed", which is a super simple and powerful tool for photography lovers or content creators.
Next I will explain the step by step: You must have the Snapseed App installed on your phone, which is available in the App Store and Play Store:
You must open the image you want to change the background
You must click on the "Double Exposure" option
You must select the image you want to place in the background, (in my case, a solid color background)
Click on the icon with two boxes and an arrow.
Click on "see editions"
Click on the option that says double exposure: There will be displayed three options, the first is a trash can, the second a brush and the third intensity.
First we will have to hit the "brush" to start filling the entire background. The other options at this point will serve us much later, the eraser to completely eliminate the double exposure and the intensity to adjust the intensity of the background.
Fill the entire bottom little by little. In this part we can zoom to get to those places in the photograph that are a bit difficult to fill. In this way we can work more in detail and have a much more professional photograph.
I hope you liked this information and get quite creative! When they catch the touch it will be much easier
Posted using Dapplr