My animated GIF: HIVE logo with liquid particles | After Effects Tutorial #171 [ENG]
(Edited)
Good night to the entire HIVE Lovers community. Today I will share a new GIF with all you guys; A GIF made with a very curious edition, with a liquid particle style. - A very practical tutorial for lovers of art and graphic design. ¡I hope you like it!

¿What do you need?
At the end I will leave the download link
Creation process:
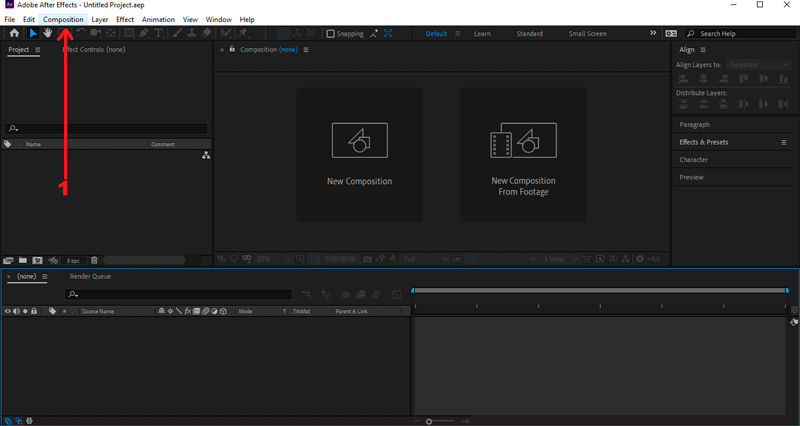
PART 1: Composition
In my case, the size is 1280 px x 720 px, black color.
PART 2: Create a solid
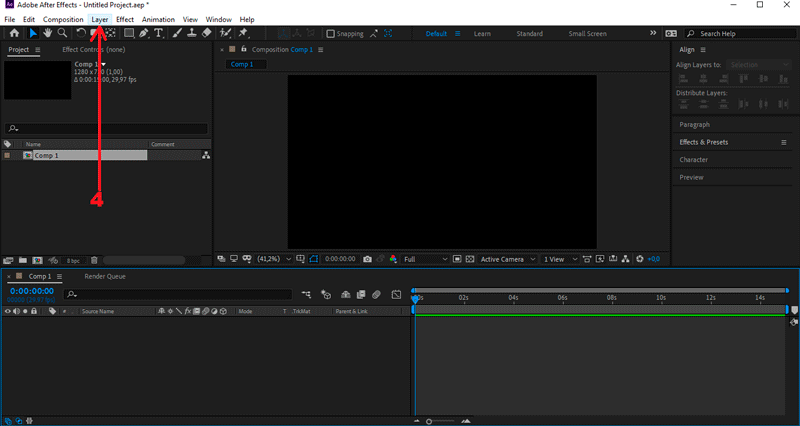
We select Layer/New/Solid.
I'll name it «BG».
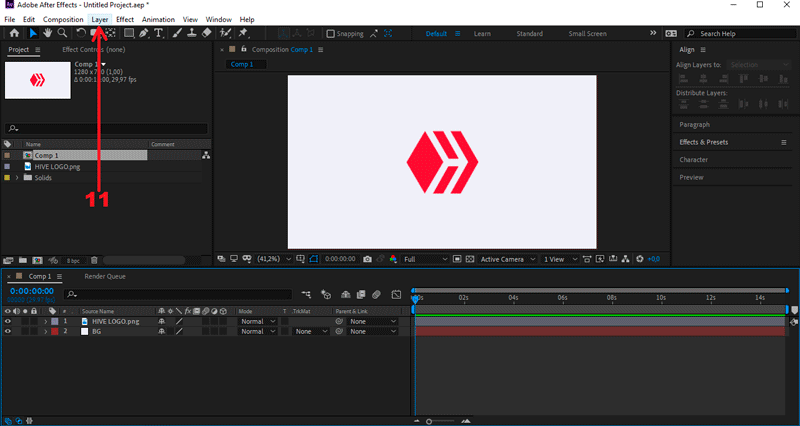
PART 3: Import files
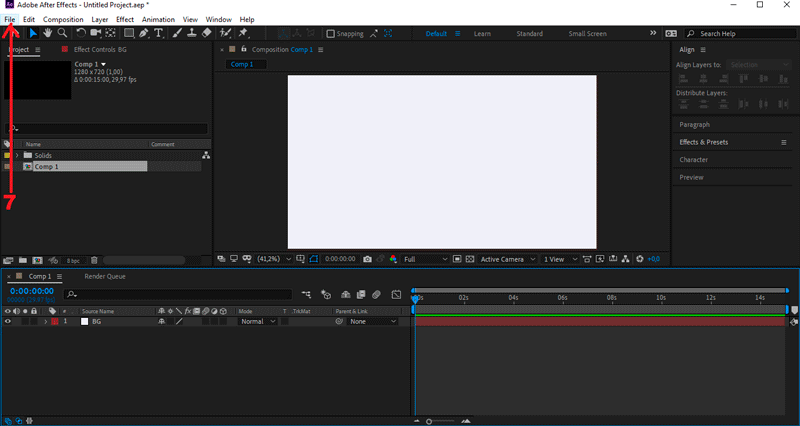
Press File/Import/Files...
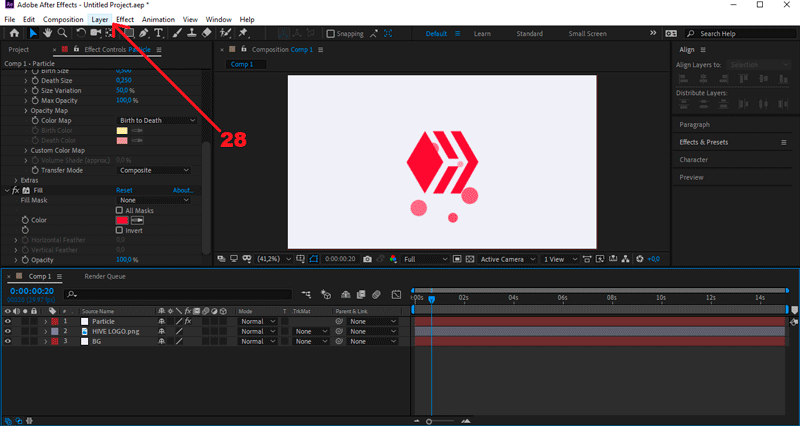
PART 4: Create particles
Select Layer/New/Solid.
I'll name it «Particle».
Go to Effect/Simulation/CC Particle World.
Go to Effect/Generate/Fill.
PART 5: Add fast blur effect
Go to Layer/New/Adjustment Layer.
I'll name it «Fast Blur».
Go to Effect/Blur & Sharpen/Fast Box Blur.
Go to Effect/Colocr correction/Levels.
PART 6: Pre-compose and edit position

Go to the pre-compose option and press accept.
I will name it «HIVE».
Position frames will open.
PART 7: Add text
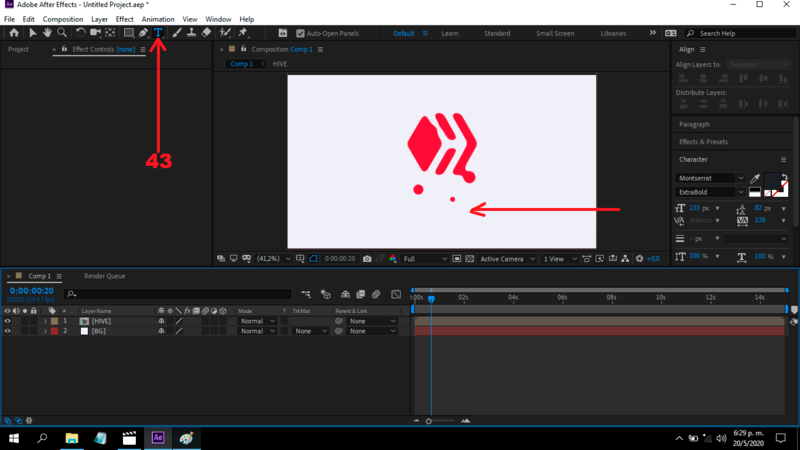
Make sure that the selected font is Montserrat ExtraBold.
I will write «HIVE».
PART 8: Export GIF
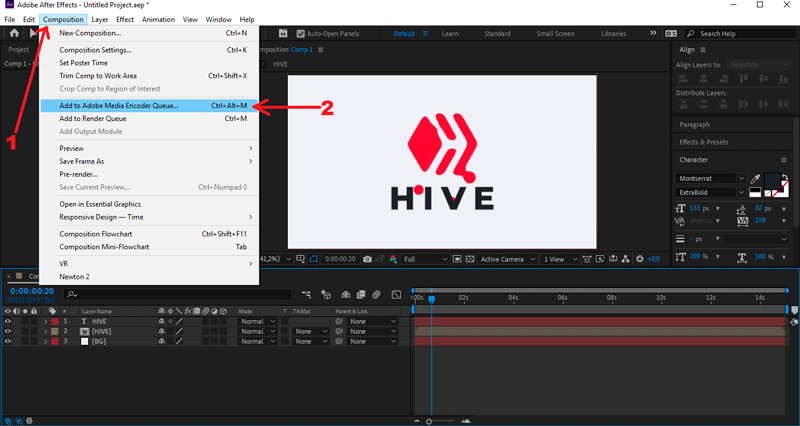
Press Composition/Add to Adobe Media Encoder Queue...
And this is the final result:

Download the used material:

0
0
0.000
0 comments