3 Useful Tips to Improve your Photography
In most cases, taking photos is more than just clicking the shutter button of your camera. There's a lot of thought that goes to it that comes naturally. While there are photographers that live & breathe photography and it's in their second nature to capture images effortlessly.
So, the tips that I will share could be something that they already know. These tips will be helpful to the ones who are just starting on their learning and so I don't want to make an exhaustive list about it.
Let me share the things that I feel are important to realize early in on this journey of learning photography.
Look for the Right Angle
It may sound confusing at first but I guarantee you that by the time you realize the importance of finding the right angle for your subject then you will definitely see an improvement to your shooting. The angle is not exactly a rule in photography but it will be a good guide in taking photos of your subject. In my opinion, it makes the frame more exciting.
The idea is to shoot the subject from an angle that is different from how you look at it.
Let me show you an example:
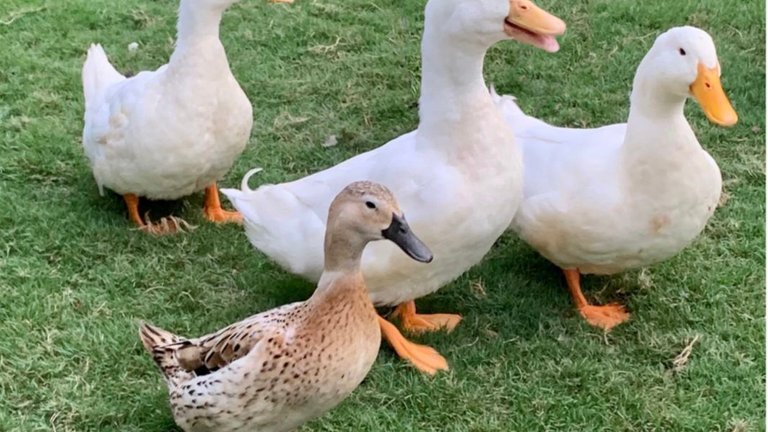
Here's how we normally look at ducks or any subjects lower than our eye level.
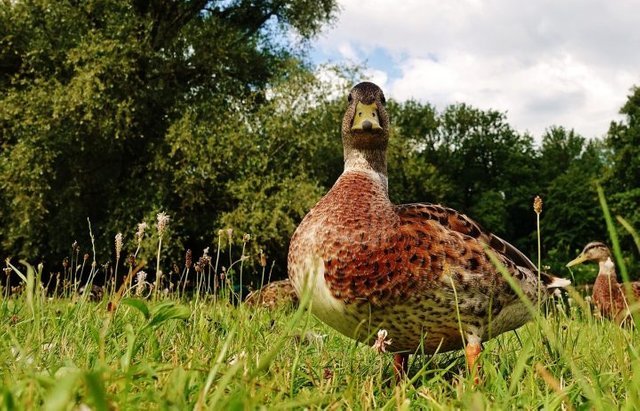
While this could be another angle that will definitely make this scene even more interesting. This angle is called "Worm's Eye View" which basically speaks for itself.
Harness Leading Lines
Well, there are elements in a photo that could be used to define the subject of the image. These elements could accentuate the image and allow the viewer to realize the part of the image which has the most interest.
Let me show it to you using this image.

Notice something interesting about this image? I think we can all agree that the Nave or the Altar is the part of the image that struck you the most. What exactly moved your focus to it? Leading lines... where are they?

Position your Subject by the Rule of Thirds
Again, the Rule of Thirds is not necessarily a rule. It's a guide that's being used by photographers to assist them in knowing where to position the subject within the frame.
Here's a diagram that I made to visualize the Rule of Thirds.

The idea is to divide the whole frame into smaller frames, with 9 equal frames. By doing so, it results in 4 lines that define the borders of each of the frames.
It's said that within the intersections of these lines is a good spot to position the subject of the photo,
In this case, I picked the top-left intersection to position the lily.
Sounds easy right? Although it works fine with this image, it has to be noted that it will not always work in every image that you have. There are other important factors to consider.
As I mentioned earlier, the Rule of Thirds only serves as a guide to help me position the subject in a rather interesting way.
Last Note
If you're doing photography as a hobby, then feel free to enjoy the process and don't take it as a burden to make stunning photos. It has to come naturally and you take it every time you do something good. It may not be perfect but it could be a good start to a perfect shot.
The tips that I mentioned are just a few of the many ways to make your photos great. Some of them could be learned through experience and so if you have extra time & resources then go for a photo walk.
There's so much learn during that process which you might enjoy as well.
Good tips. While the rule of thirds and leading lines are common tips given, shooting at a unique angle/viewpoint is what can really make a photo stand out.