Elegante flor para decorar // Elegant flower for decoration
<center
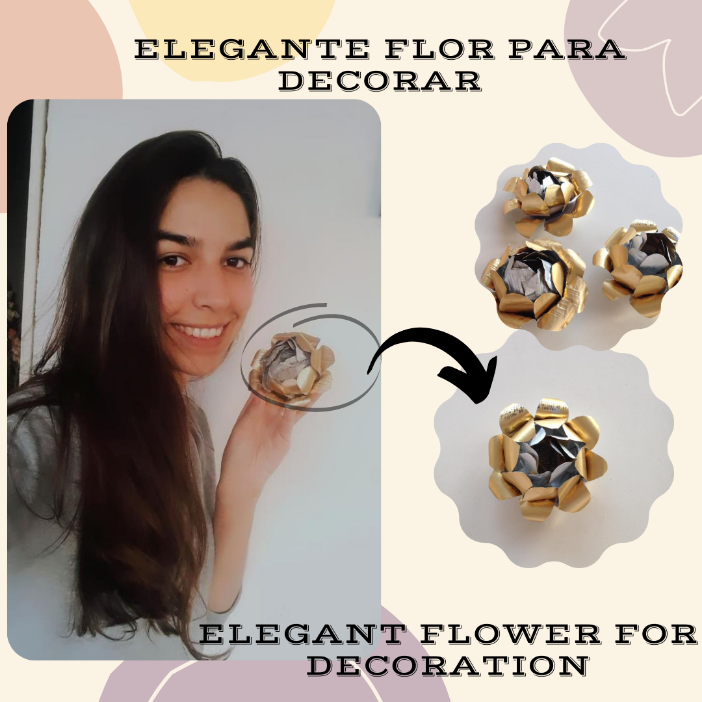
Imagen diseñada en Canva
Holaa amigos! Hoy les quiero enseñar como hacer unas flores muy elegantes con materiales reciclables. Nos sirven para regalarlas o incluso usarlas como decoración. Lo mejor, es que es muy sencillo de realizar!! y necesitamos muy pocos materiales...
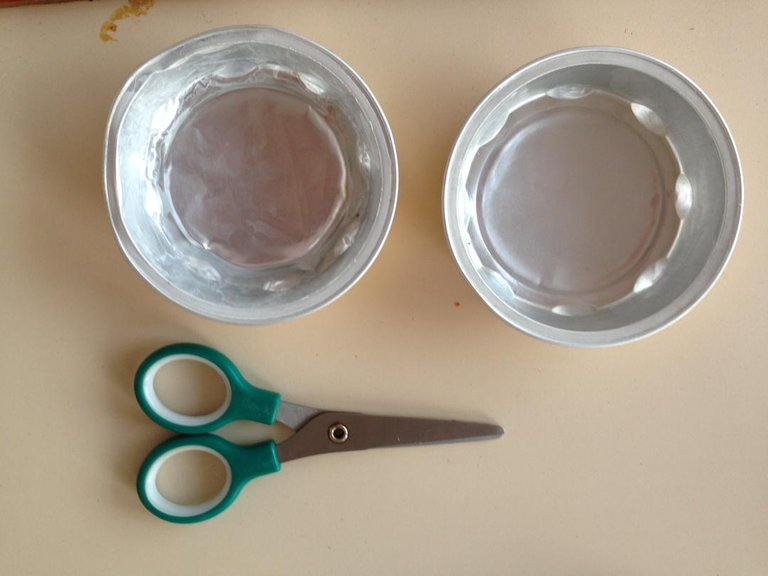
Solo necesitaremos los envases pequeños donde vienen algunos alimentos para untar (en este caso usé los del diablito) y una tijera. Solo necesitaremos 3 de estos para cada flor.
Hello friends! Today I want to show you how to make some very elegant flowers with recyclable materials. We can use them as gifts or even use them as decoration. The best thing is that it is very easy to do!! and we need very few materials ....
We will only need the small containers where some spreadable foods come (in this case I used the ones from the little devil) and a scissors. We will only need 3 of these for each flower.
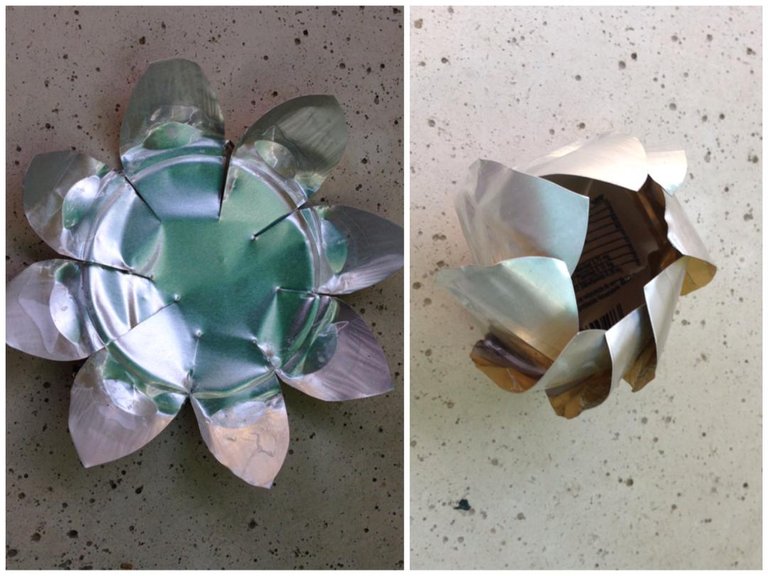
Como primer paso, tomamos uno de los envases y los recortamos en 8 partes que serán nuestros 8 pétalos, procedemos a quitarle el borde y le damos la forma característica del pétalo. Seguidamente, con ayuda de la tijera, hacemos que estos pedazos tomen una ligera curvatura. Esta será nuestra parte intermedia.
As a first step, we take one of the containers and cut it into 8 parts that will be our 8 petals, we proceed to remove the edge and give it the characteristic shape of the petal. Then, with the help of the scissors, we make these pieces take a slight curvature. This will be our middle part.
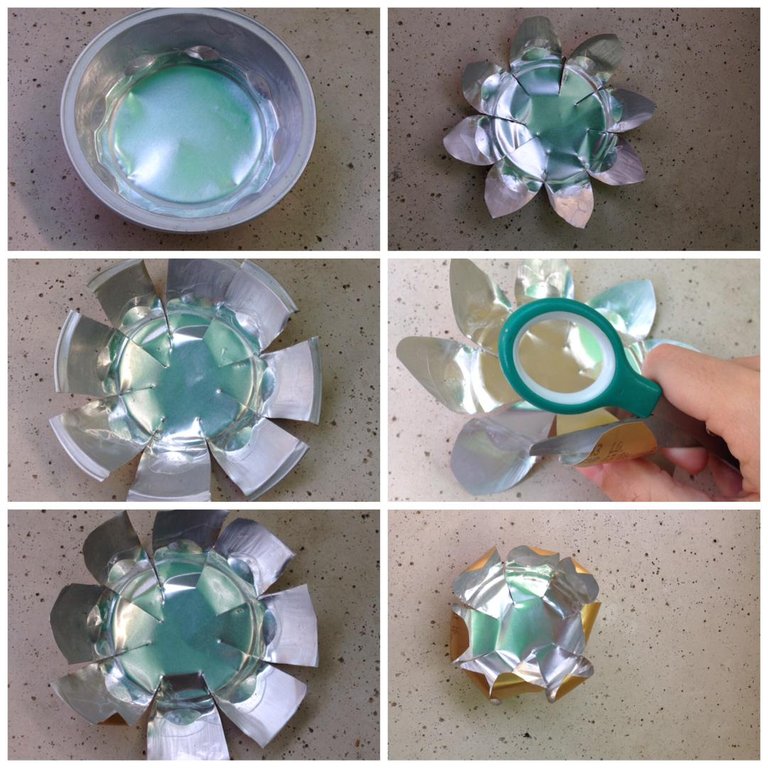
Para la base de nuestra flor. Realizaremos los mismos pasos que con la zona intermedia, sin embargo, esta vez lo haremos a la inversa. De tal forma que, al momento de dar la onda al pétalo quede el color dorado a la vista...
For the base of our flower. We will perform the same steps as with the intermediate area, however, this time we will do it in reverse. In such a way that, at the moment of giving the wave to the petal, the golden color will be visible...
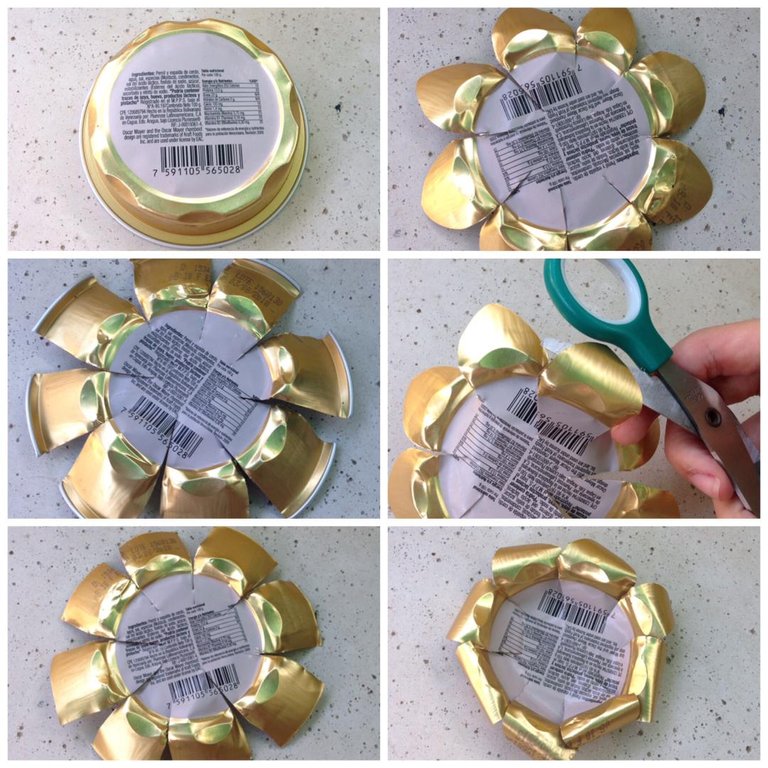
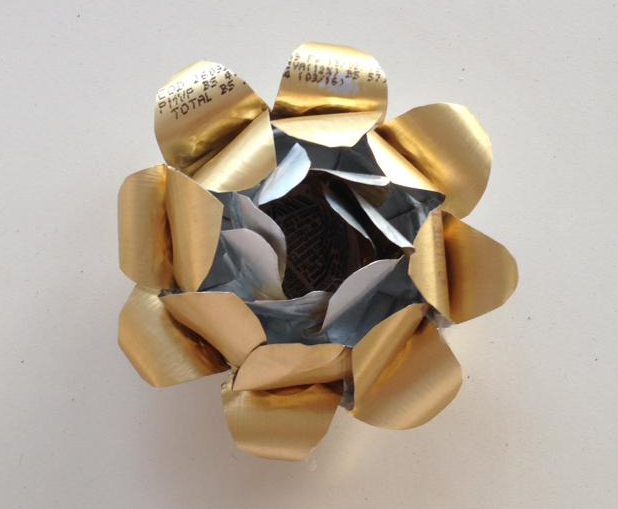
Como último paso, haremos el centro de la flor, que sería nuestro top. Repetimos el mismo proceso, solo que, en esta ocasión, tratamos de que los cortes sean un poco más hacia el centro, para que estos pétalos puedan levantarse y cerrar un poco más.
As a last step, we will make the center of the flower, which would be our top. We repeat the same process, only, this time, we try to make the cuts a little more towards the center, so that these petals can rise and close a little more.
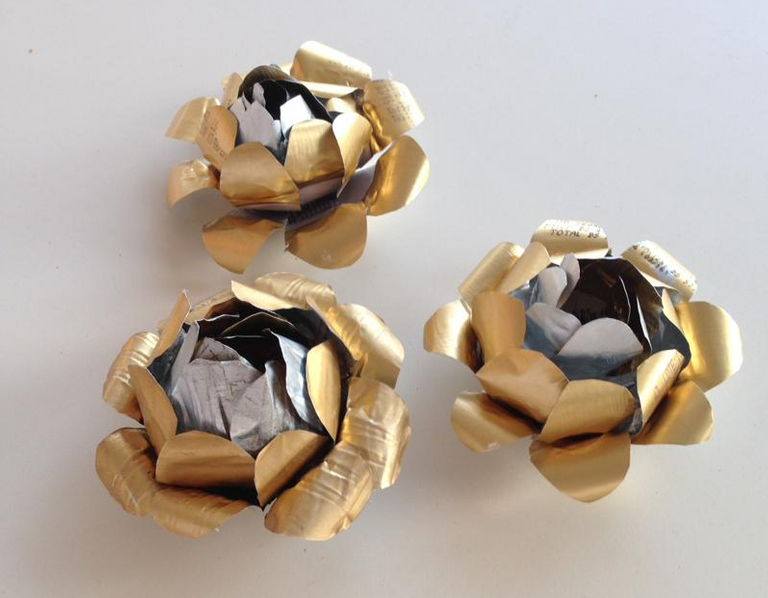
Una vez tengamos estas 3 capas listas, llego la hora de unir! Una encima de otra y listo!! Nos queda una preciosa flor, ademas de elegante me encanta porque queda un resultado fabuloso con un acabado firme. Ideal para decorar
Once we have these 3 layers ready, it's time to put them together! One on top of the other and that's it! We are left with a beautiful flower, besides elegant I love it because it is a fabulous result with a firm finish. Ideal for decorating
Que les parece???
Nos seguiremos leyendo!
What do you think?
We will keep reading!
Congratulations @paolamendoza19! You have completed the following achievement on the Hive blockchain and have been rewarded with new badge(s) :
Your next target is to reach 1500 upvotes.
You can view your badges on your board and compare yourself to others in the Ranking
If you no longer want to receive notifications, reply to this comment with the word
STOPCheck out the last post from @hivebuzz:
Support the HiveBuzz project. Vote for our proposal!