[ENG-ESP] How to start working with GIMP, free and free multiplatform photo manipulation program (2nd part) / Cómo comenzar a trabajar con GIMP, programa de manipulación fotográfica multiplataforma, libre y gratuito (2a parte)
I had talked about GIMP in this post.
I am not an expert in graphics, much less. Yes, instead, I am an ardent defender of free software and, consequently, LINUX and other open source distributions.
In this case I will refer to one of the applications born for Linux and later extended to the other operating systems par excellence: GIMP.

No soy un experto en gráficos, mucho menos. Sí, en cambio, soy un ferviente defensor del software libre y, en consecuencia, LINUX y otras distribuciones de código abierto.
En este caso, me referiré a una de las aplicaciones nacidas para Linux y luego extendida a los otros sistemas operativos por excelencia: GIMP.
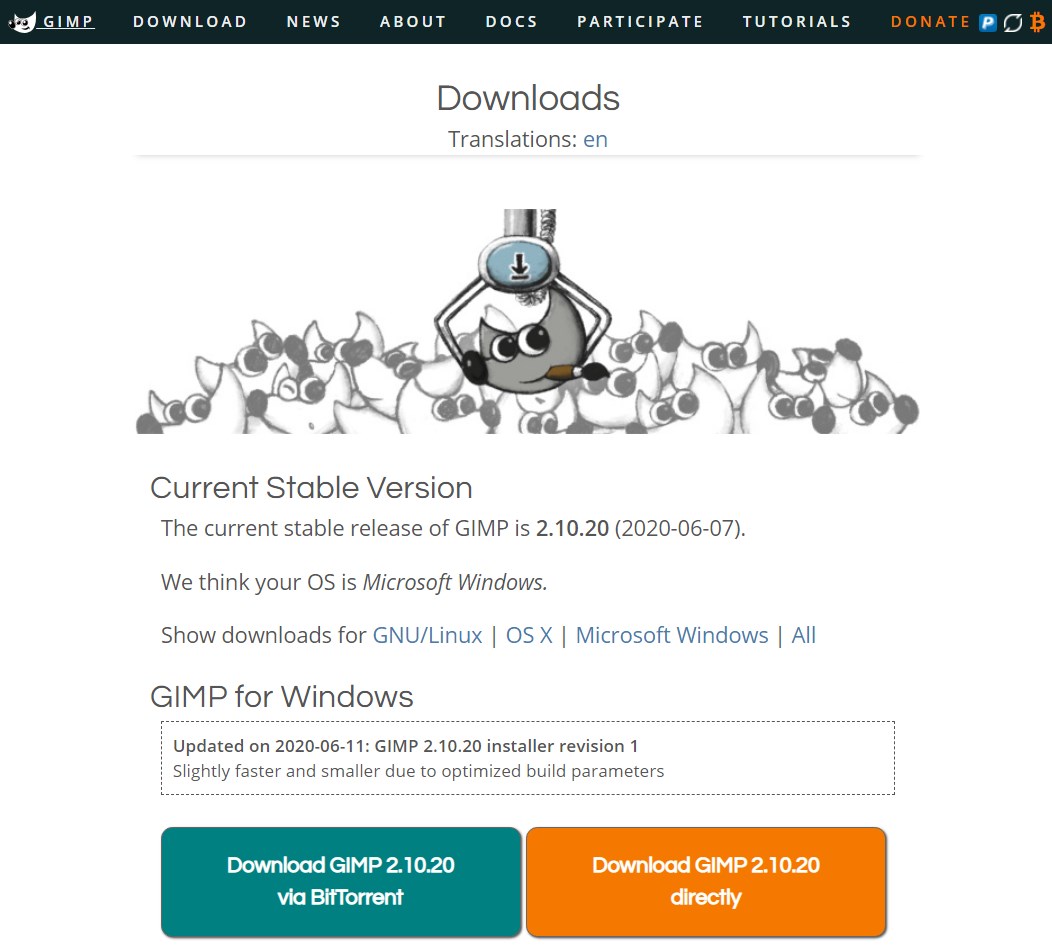
Download and Install GIMP. / Descargar e Instalar GIMP.
Once downloaded and installed (the latest stable version is 2.10.20 and can be downloaded from this page through Flatpak utility for software deployment, administration of packages, and application virtualization for GNU / Linux desktop environments.)
Una vez descargado e instalado (la última versión estable es 2.10.20 y puede descargarse desde esta página a través de la utilidad Flatpak para la implementación de software, administración de paquetes y virtualización de aplicaciones para entornos de escritorio GNU / Linux).
How to start working with GIMP [#1]. / Cómo comenzar a trabajar con GIMP [#1].
The first step in getting familiar with all the icons is to create an image from scratch. We define the dimensions of the figure with which we will begin to work on a white background and save with name in a folder of our choice.
The ideal, not only in Linux, is that all the jobs, documents and other elaborated files should be saved in a partition other than C, for example creating a new partition with the letter D or with a certain name.
Why? Very simple. In the event of a system break or any problem accessing the operating system, we will always have our files saved in another virtual partition of the disk and therefore in a position to be recovered - unless of a physical rupture of the disk, obviously)
Made this caveat, I continue.
El primer paso para familiarizarse con todos los iconos es crear una imagen desde cero. Definimos las dimensiones de la figura con la que comenzaremos a trabajar sobre un fondo blanco y guardaremos con el nombre en una carpeta de nuestra elección.
Lo ideal, no solo en Linux, es que todos los trabajos, documentos y otros archivos elaborados se guarden en una partición que no sea C, por ejemplo, creando una nueva partición con la letra D o con un nombre determinado.
¿Por qué? Muy simple. En el caso de una falla del sistema o cualquier problema para acceder al sistema operativo, siempre tendremos nuestros archivos guardados en otra partición virtual del disco y, por lo tanto, en una posición para ser recuperados, a menos que haya una ruptura física del disco, obviamente)
Hecha esta advertencia, continúo.
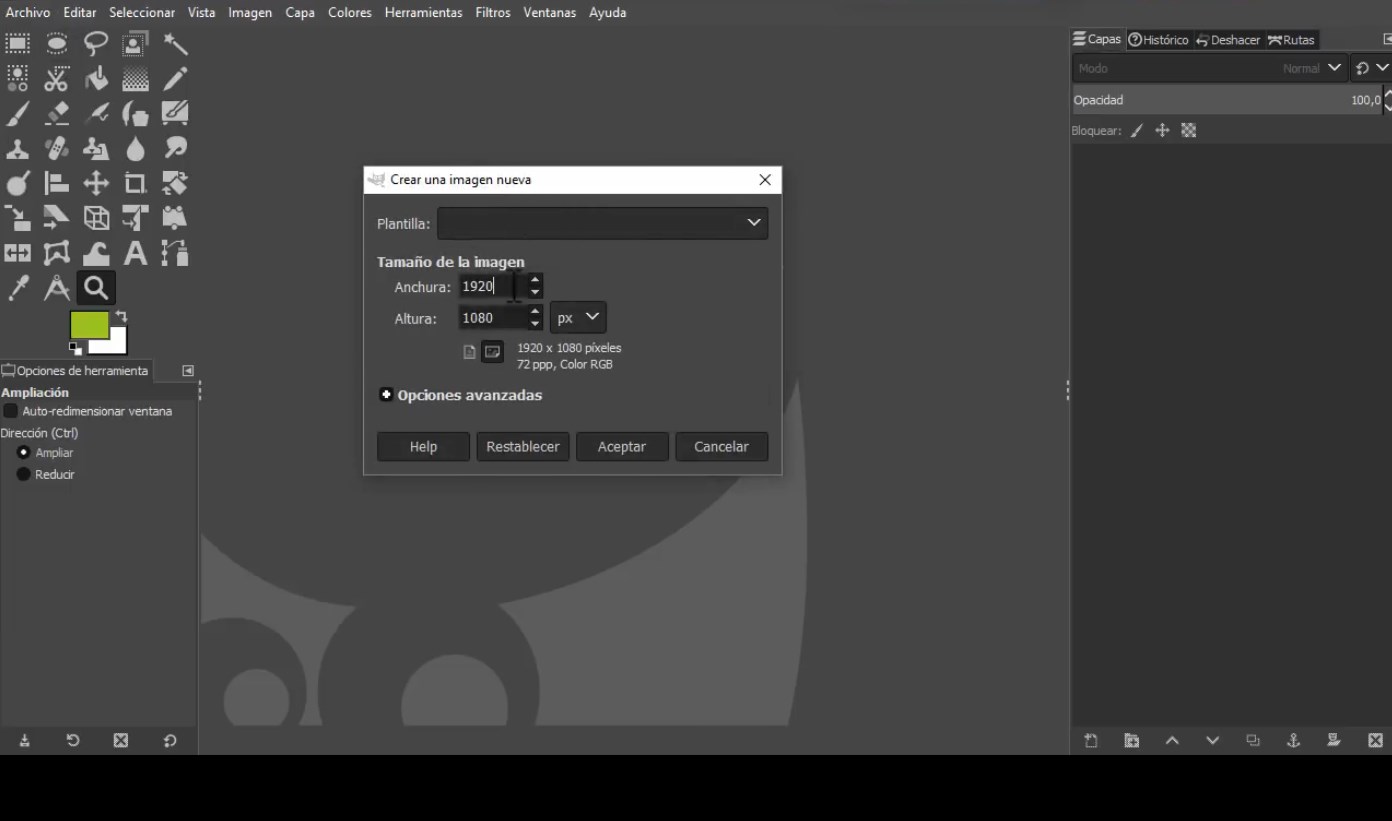
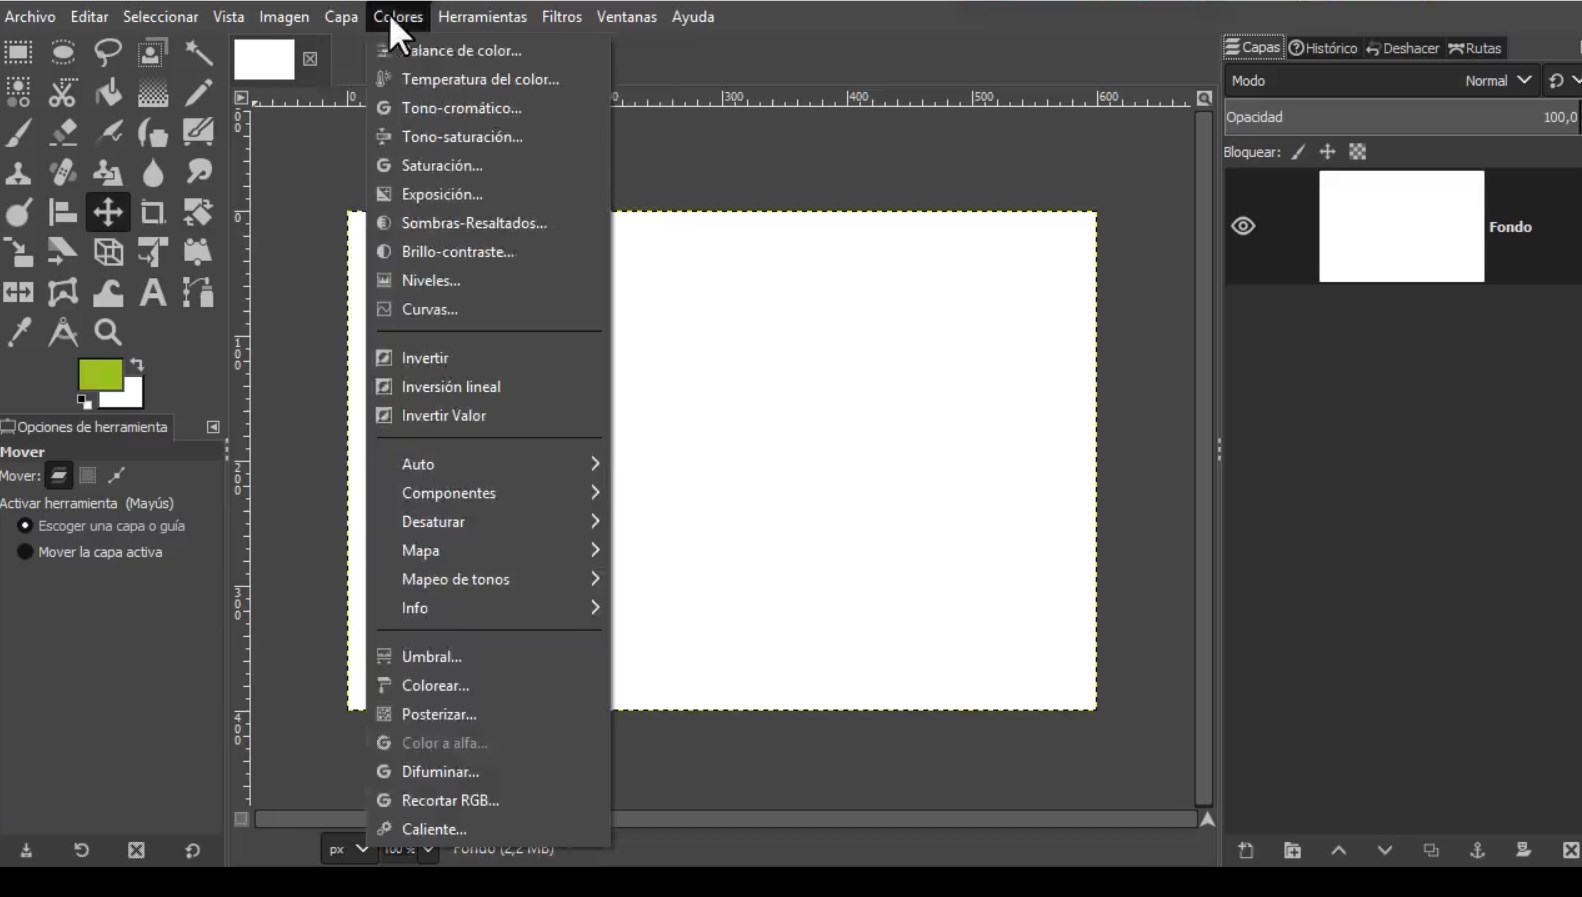
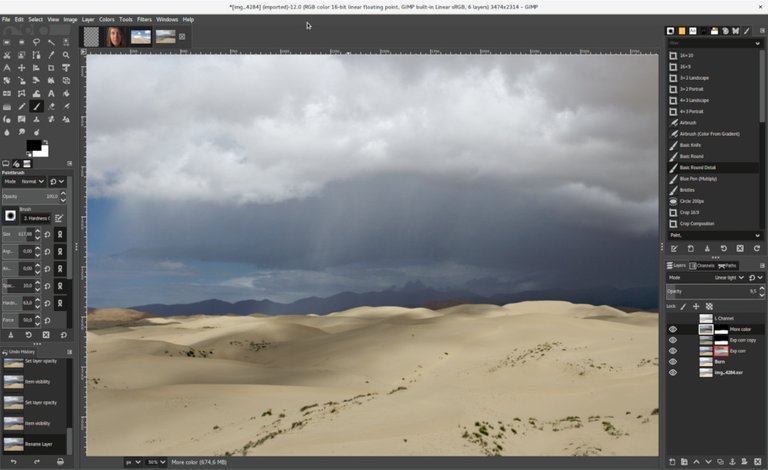
The result will look something like this:
El resultado será algo parecido a esto:
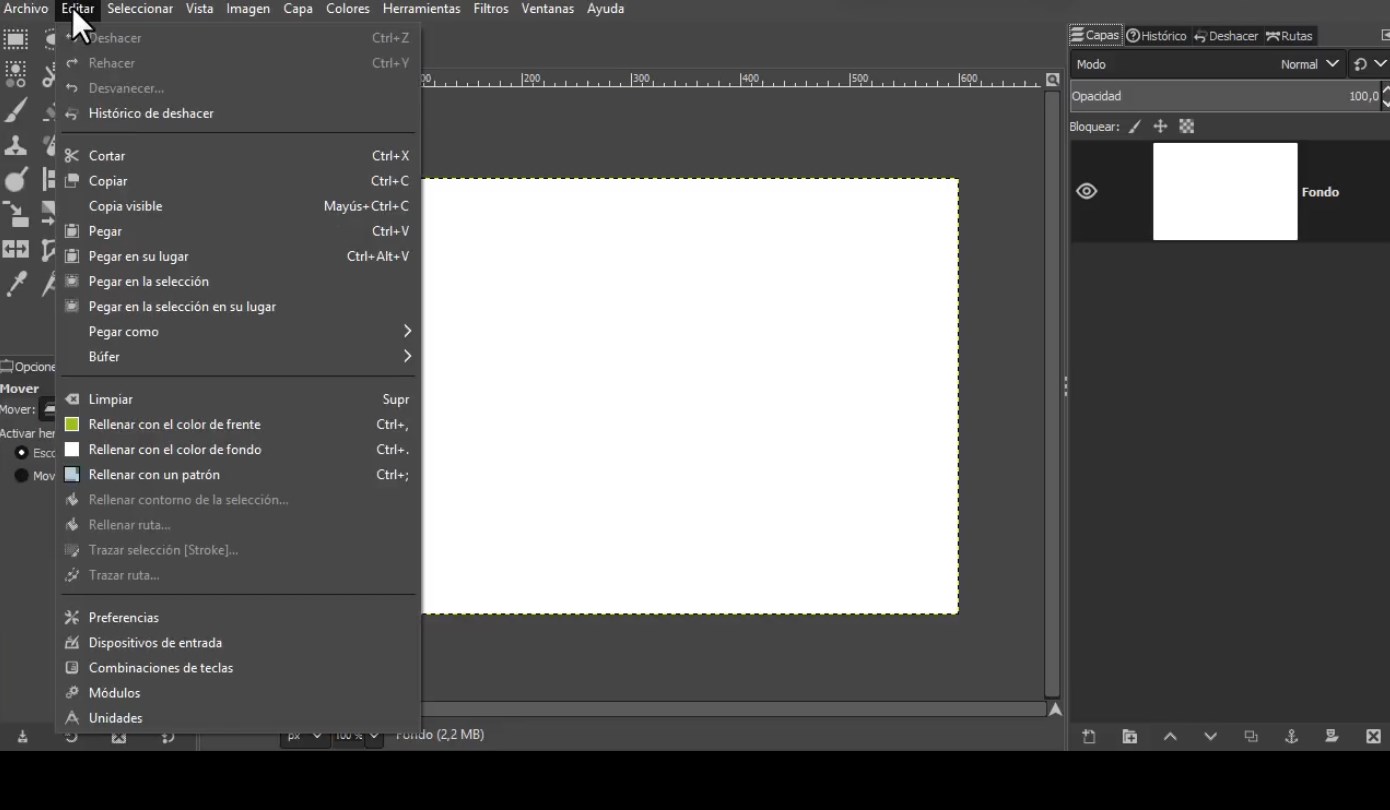
where at the top we have all the menus that we already know in other programs such as File, Edit, Select, View, Image, Colors, Tools, Filters and Help.
A very, very complete menu.
Which we can later enrich by adding an infinity of plugins that we can download and install for free from the Gimp Community.
On the left side we have all the quick access buttons.
We also have a ruler that will indicate to us as we pass the pointer the dimensions of the figure and the distance in which we are positioned in relation to the edges.
donde en la parte superior tenemos todos los menús que ya conocemos en otros programas como Archivo, Editar, Seleccionar, Ver, Imagen, Colores, Herramientas, Filtros y Ayuda.
Un menú muy, muy completo.
Lo que luego podemos enriquecer agregando una infinidad de complementos que podemos descargar e instalar de forma gratuita desde la Comunidad Gimp.
En el lado izquierdo tenemos todos los botones de acceso rápido.
También tenemos una regla que nos indicará cuando pasemos el puntero las dimensiones de la figura y la distancia en la que estamos posicionados en relación con los bordes.
How to start working with GIMP [#2]. / Cómo comenzar a trabajar con GIMP [#2].
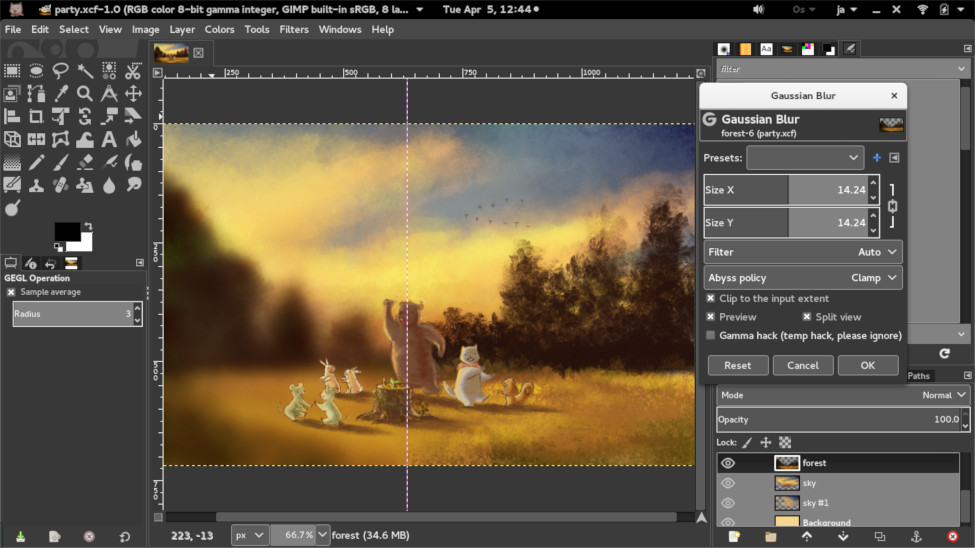
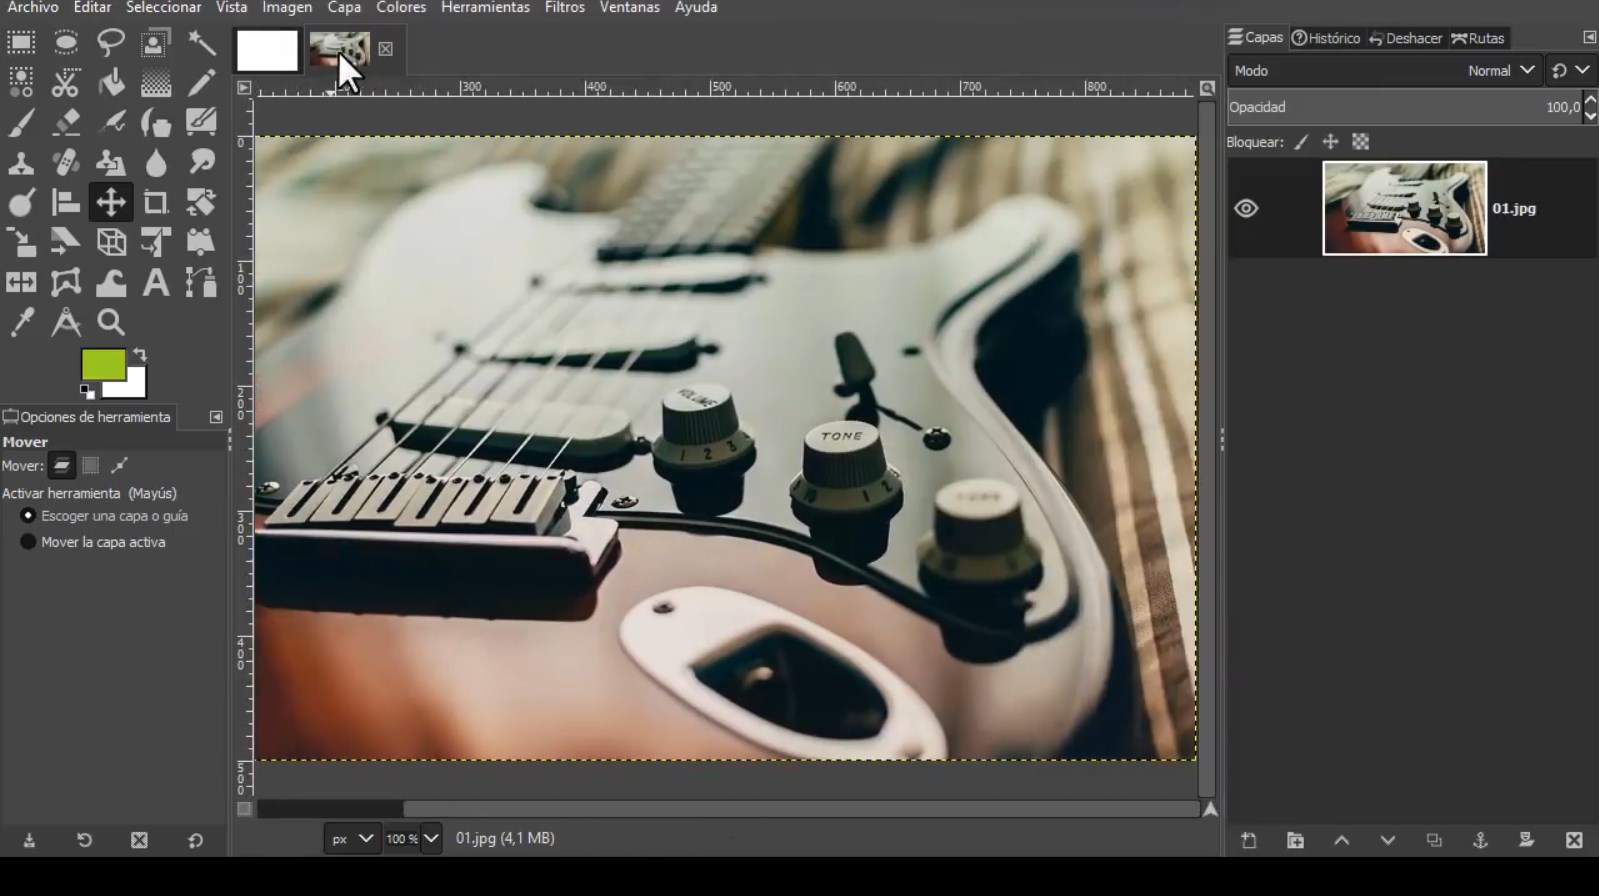
Another way to start working with GIMP is from an already prepared image to modify it, incorporate new effects, etc.
We upload the image from a file and we can leave the previous tab open since GIMP allows us to work simultaneously with several windows at the same time.
Otra manera de iniciar a trabajar con GIMP es desde una imagen ya elaborada para modificarla, incorporarle nuevos efectos, etc.
Subimos la imagen desde un archivo y podemos dejar la pestaña anterior abierta ya que GIMP nos permite trabajar simultáneamente con varias ventanas a la vez.

Y de esta manera tenemos dos pestañas o ventanas abiertas: una en blanco y otra con una imagen descargada desde nuestros archivos.
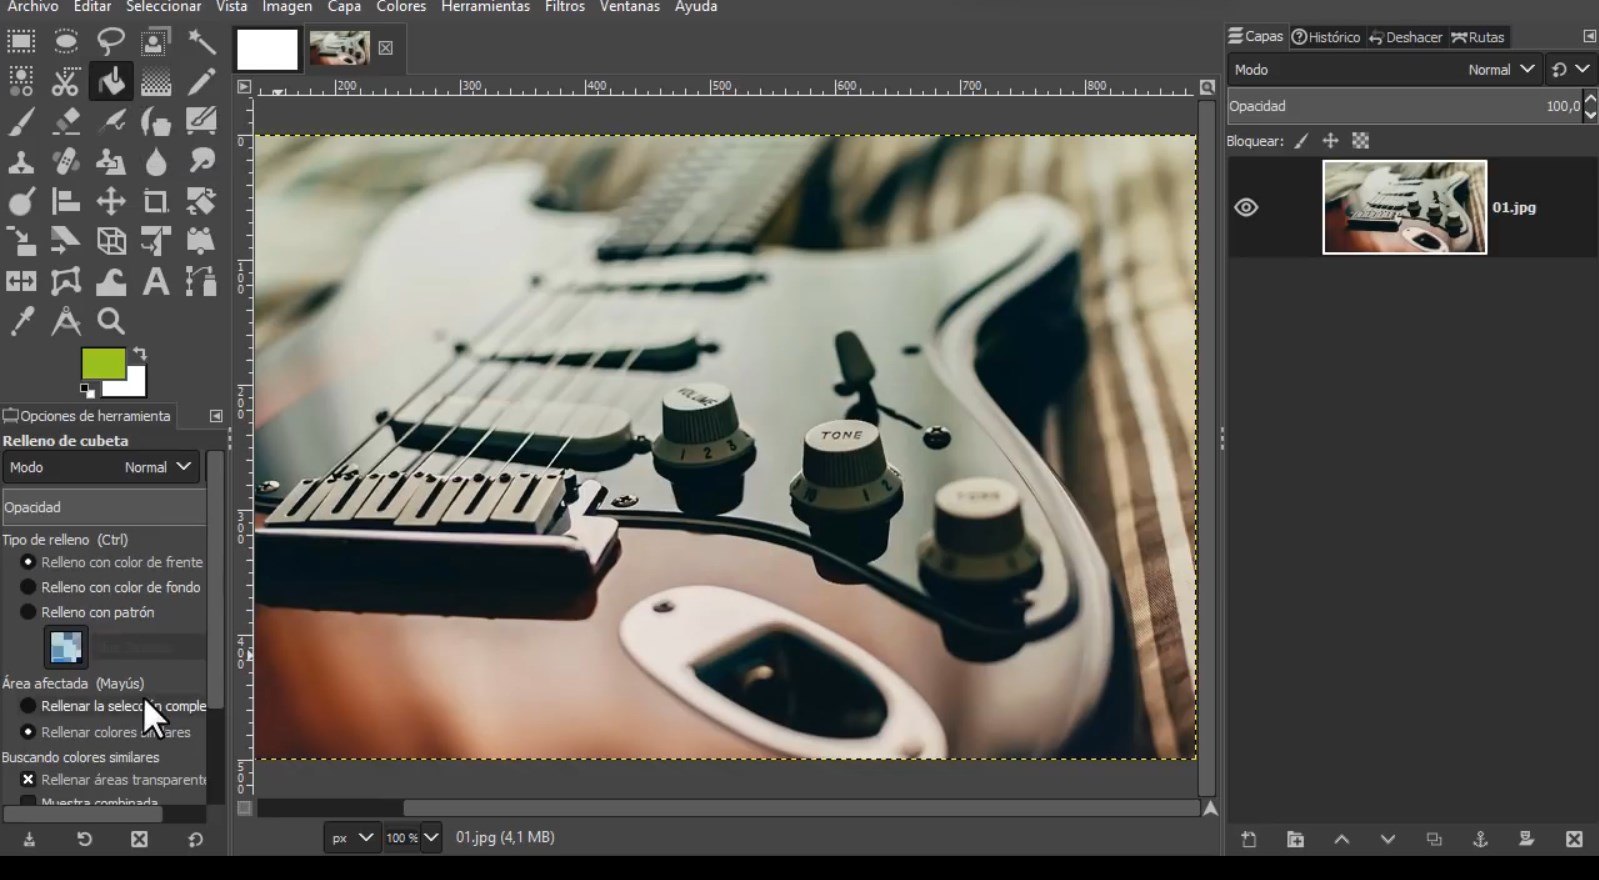
With the toolbox that we have on our left we can modify the image as we wish.
For each of these tools, all the options for smoothness appear at the bottom.
Unlike other programs in which the options for each tool appear in other parts of the interface.
In this way GIMP presents all the tools available and their respective options in a much more orderly and neat way, especially for the beginner.
In subsequent articles I will show you each of the available tools in detail.
Con la caja de herramientas que tenemos a nuestra izquierda podemos modificar la imagen a nuestro antojo.
Por cada una de estas herramientas en la parte inferior aparecen todas las opciones para lisma.
A diferencia de otros programas en los que las opciones para cada herramientas aparecen en otras partes de la interfaz.
De esta manera GIMP presenta todas las herramientas a disposición y sus respectivas opciones de manera mucho más ordenada y prolija sobre todo para el principiante.
En sucesivos artículos les iré mostrando cada una de las herramientas disponibles en detalle.
For example, if we choose the container icon for paint immediately below, the options available for the same will appear. It is very practical.
Por ejemplo si elegimos el icono del contenedor de pintura inmediantamente abajo nos aparecen las opciones dipsonibles para el msimo. Es muy práctico.
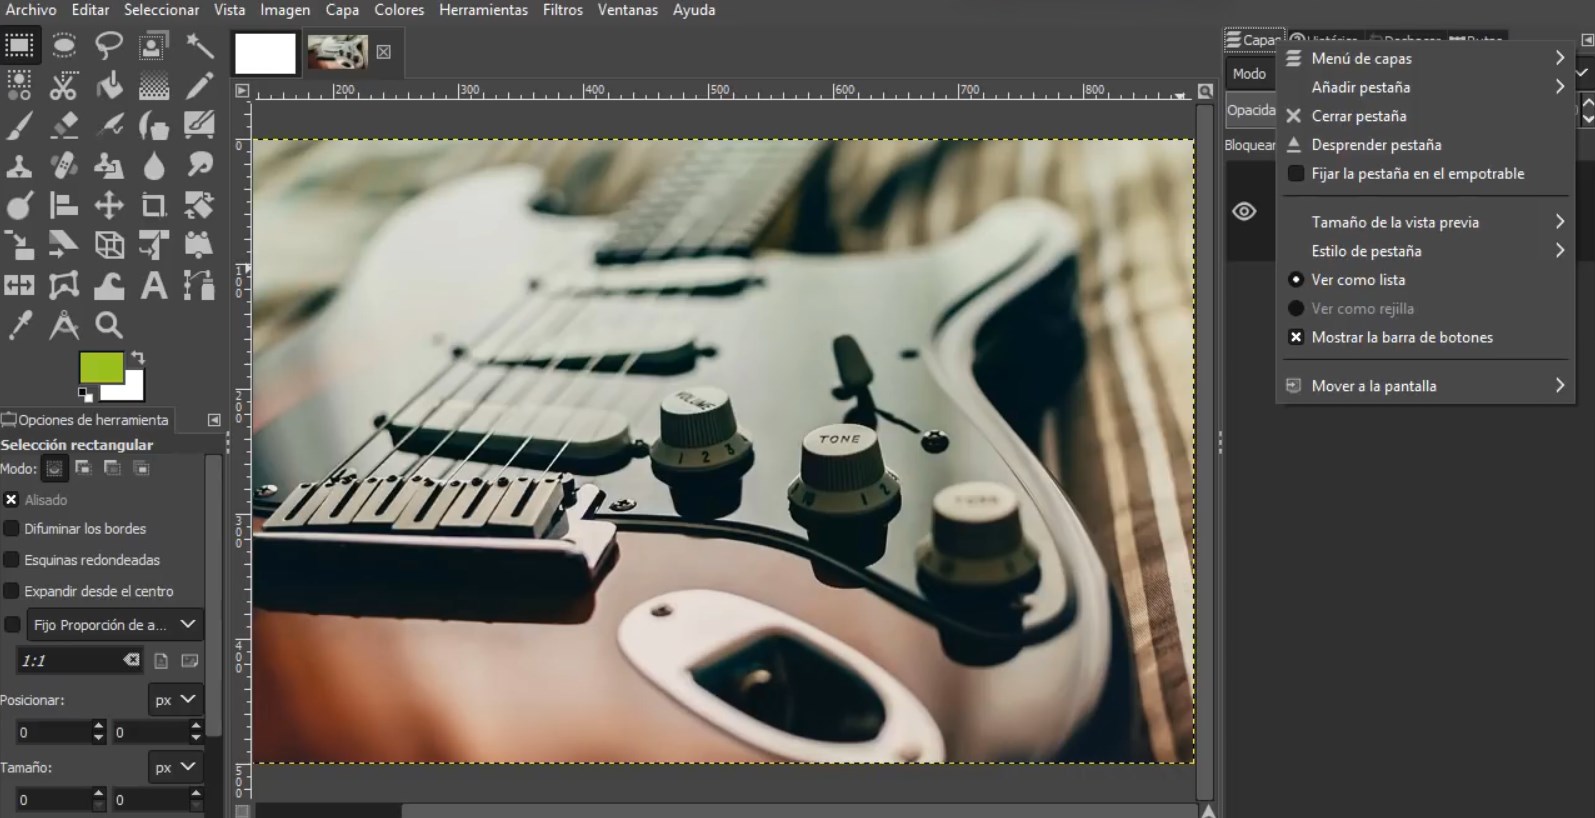
To end this part we are going to make a mention with the dockable windows that we see in the menu on the right with a series of panels that we can customize to our liking, in this case they are Layers (the main one), Historical, Undo and Routes.
Para finalizar esta parte vamos a hacer una mencion con las ventanas empotrables que vemos en el menú de la derecha con una serie de paneles que podemos personalizar a nuestro gusto, en este caso son Capas (el principal), Histórico, Deshacer y Rutas.
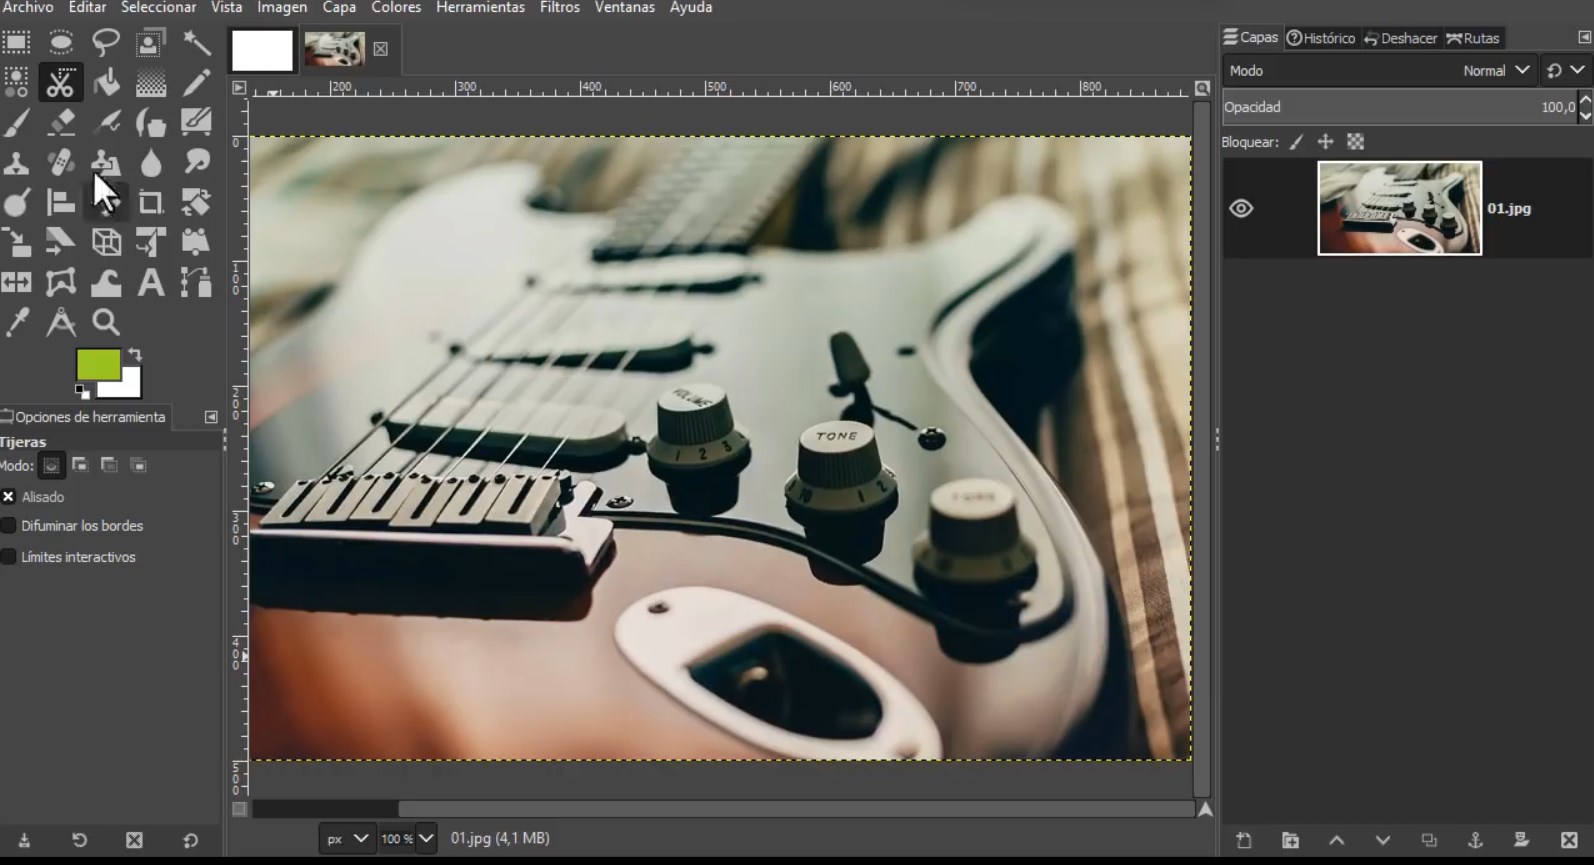
We can add or remove the ones we want. And even add or delete the buttons on the bar.
Podemos agregar o eliminar los que deseemos. E incluso agregar o borrar los botones de la barra.
@losapuntesdetux, thank you for supporting the HiveBuzz project by voting for @steemitboard as a witness.
Click on the badge to view your Board of Honor.
Once again, thanks for your support!
Do not miss the last post from @hivebuzz:
Thank you @hivebuzz, they are all very beautiful gadgets. Excellent work developed by @arcange and collaborators.
Thank you for your unfailing support @losapuntesdetux, really appreciated!🙏❤️
On the contrary @hivebuzz, I am grateful for allowing myself to use these tools
Regards.