Creativo Pavo con materiales de reciclaje.. Creative turkey with recycled materials...
Hola mis panitas de #hive por aquí ando con un trabajo fácil y creativo con la elaboracion del apoyo de mi sobrino Eduardo Sebastián que estuvo mas entusiasmado después de su primera participación en la página, fue muy sencillo para èl construir un divertido pavo con cartón de papel higiénico, espero que les guste.
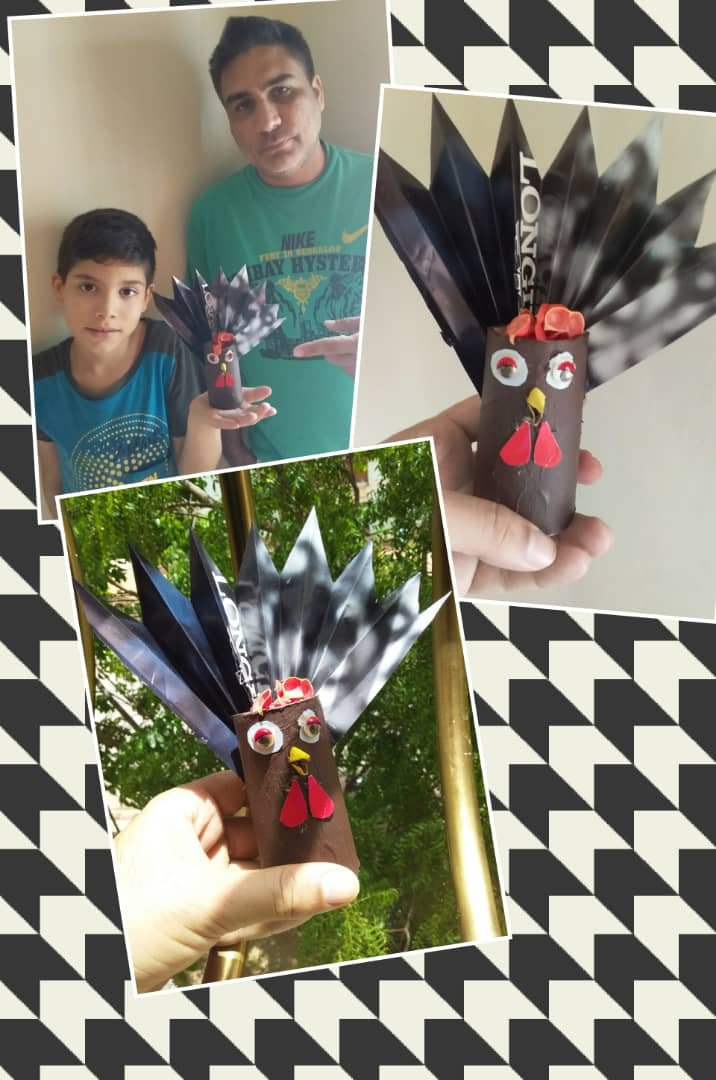
Hello my little #hive friends, here I am with an easy and creative work with the support of my nephew Eduardo Sebastian who was more enthusiastic after his first participation in the page, it was very easy for him to build a fun turkey with toilet paper cardboard, I hope you like it.
Materiales:
- Tubo de papel higiénico, pincel, tijera, pinturas marrón, amarilla, blanca y roja, silicón, semilla de planta, hoja de revista y ojos platicos.
Materials:
- Toilet paper tube, paintbrush, scissors, brown, yellow, white and red paints, silicone, plant seed, magazine sheet and crazy eyes.
Procedimientos:
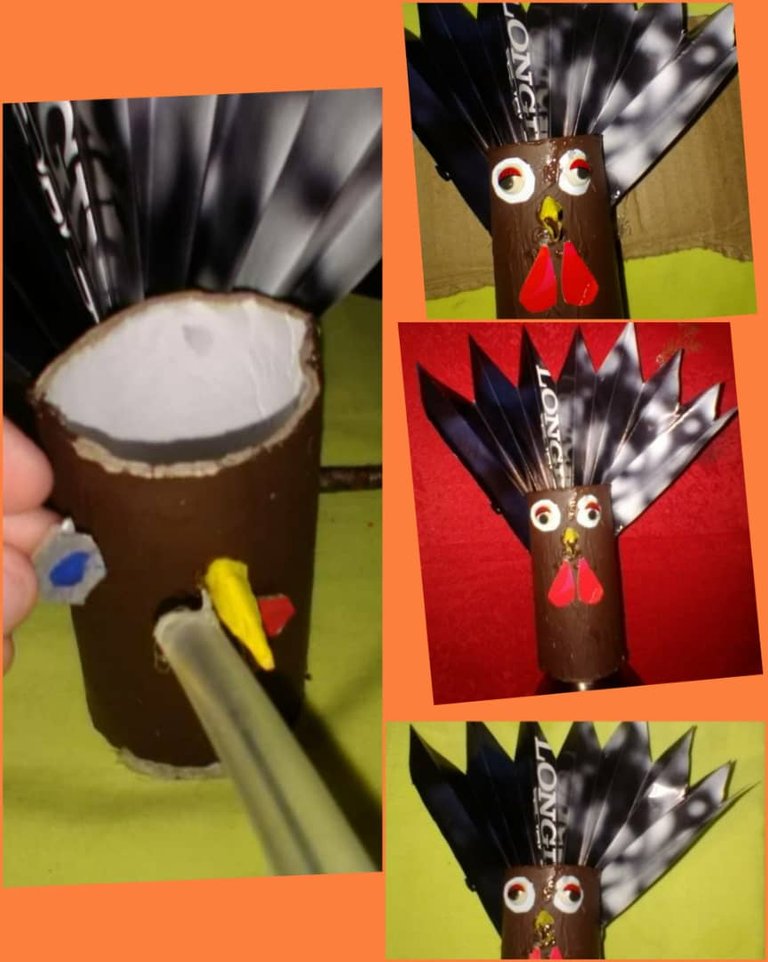
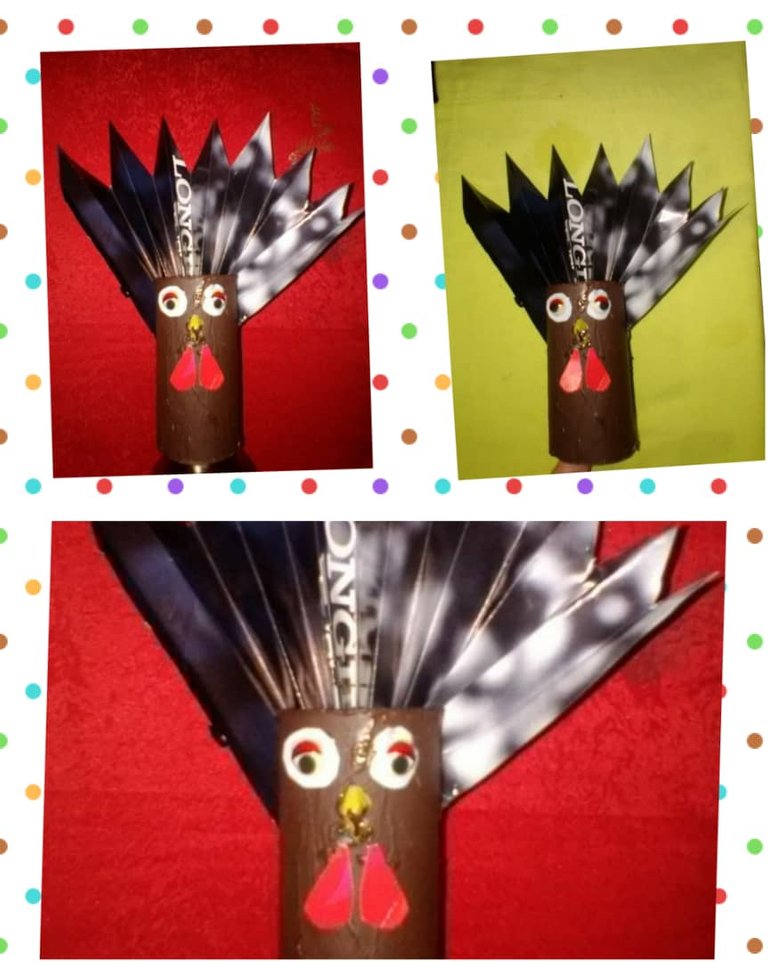
Iniciamos pintando el tubo higiénico de color marrón, comenzamos doblando en zig zag la hoja de revista luego recortar en uno de los extremos quedando como puntas, pegar en la parte trasera del tubo higiénico con parte de un cartón recortar el pico pintamos de amarilla y la barba pintando de rojo pegar proceder a pegar armando la cara del animal igualmente hacer 2 circulos y pagar los ojos locos encima y para finalizar colocar en la parte de arriba las semillas de la planta creando la cresta quedando así como muestran las fotos.

Procedures:
We begin by painting the toilet tube brown, we start by folding in zig zag the magazine sheet then cut at one end remaining as tips, glue on the back of the toilet tube with part of a cardboard cut the beak we paint yellow and the beard painting red paint glue proceed to glue assembling the face of the animal likewise make 2 circles and pay the crazy eyes on top and to finish place on top the seeds of the plant creating the crest remaining as shown in the photos.
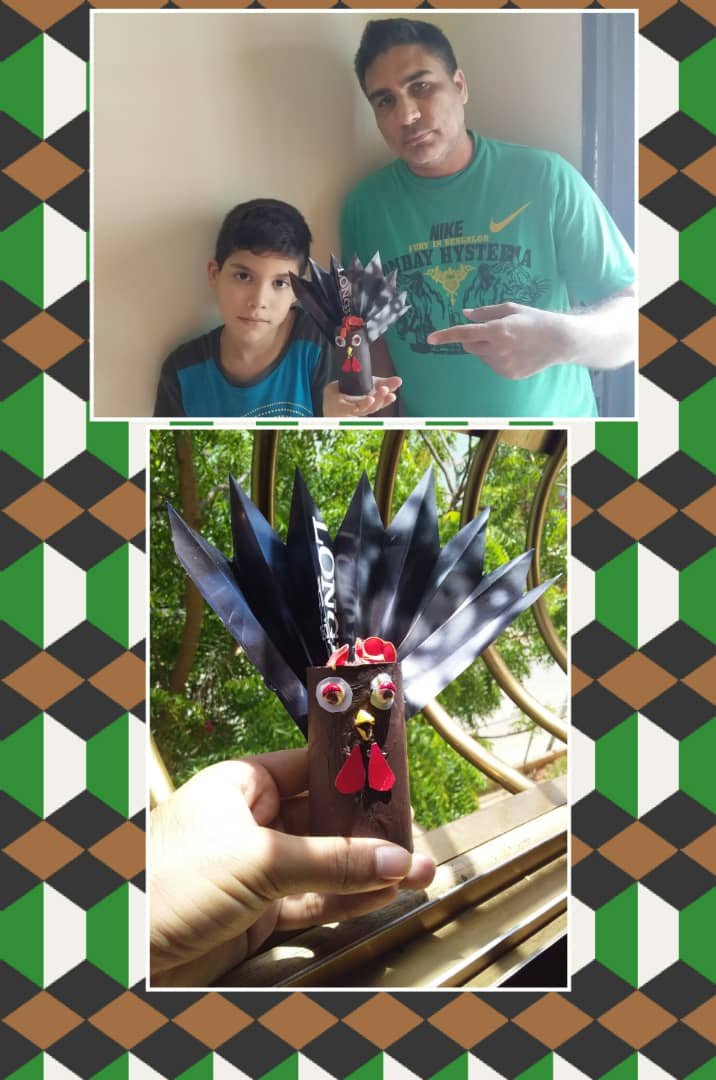
Gracias por leerme y su valioso apoyo, será hasta otra oportunidad.
Thank you for reading me and your valuable support, I'll see you another time.
Fotos de mi autoría @elgatoshawua.
Photos by me @elgatoshawua.
Translated with www.DeepL.com/Translator (free versión)
Thank you for sharing this amazing post on HIVE!
Your content got selected by our fellow curator @ashikstd & you just received a little thank you via an upvote from our non-profit curation initiative!
You will be featured in one of our recurring curation compilations and on our pinterest boards! Both are aiming to offer you a stage to widen your audience within and outside of the DIY scene of hive.
Join the official DIYHub community on HIVE and show us more of your amazing work and feel free to connect with us and other DIYers via our discord server: https://discord.gg/mY5uCfQ !
If you want to support our goal to motivate other DIY/art/music/homesteading/... creators just delegate to us and earn 100% of your curation rewards!
Stay creative & hive on!
Agradecido de ustedes por su valioso apoyo @diyhub.
Buen trabajo hermano. No he podido subir material porque he estado full ocupado. Esta semana traeré nuevas cosas. Saludos compa.