Sencilla y pequeña cajita de regalo - Simple and small gift box🎁
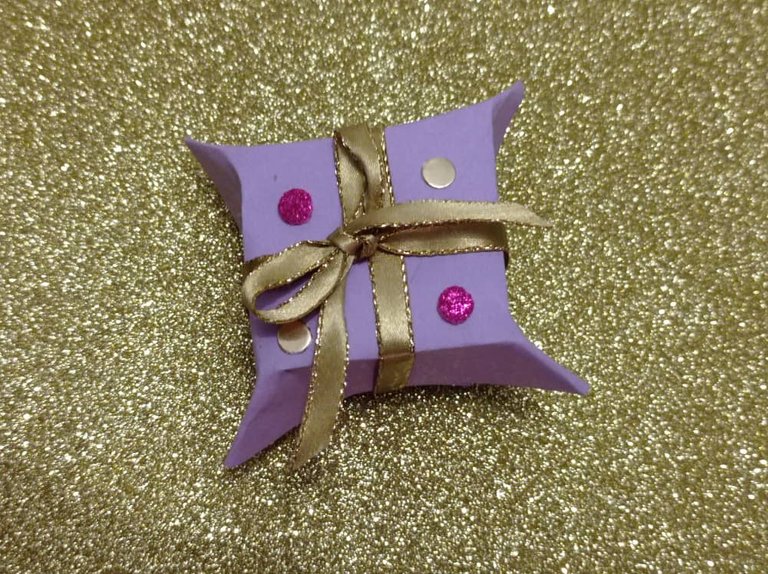
Hola amigos de hive, hoy quiero mostrarles como hice esta pequeña cajita de regalo que sirve para regalar cualquier cosa pequeña como unos zarcillos, anillo, pulsera, cadena o cualquier otro detalle que quieran obsequiar que sea que sea de un tamaño reducido, además que es muy sencillo de hacer y son pocos los materiales que se necesitan, en realidad es algo diferente a lo que se tiene acostumbrado y por eso deberían intentar este modelo a ver si les gusta.
Hello friends of hive, today I want to show you how I made this small gift box that can be used to give any small thing like a pair of earrings, ring, bracelet, chain or any other detail that you want to give that is of a reduced size, besides that it is very simple to make and there are few materials that are needed, actually it is something different from what you are used to and that is why you should try this model to see if you like it.
Hello friends of hive, today I want to show you how I made this small gift box that can be used to give any small thing like a pair of earrings, ring, bracelet, chain or any other detail that you want to give that is of a reduced size, besides that it is very simple to make and there are few materials that are needed, actually it is something different from what you are used to and that is why you should try this model to see if you like it.
Materiales – Materials
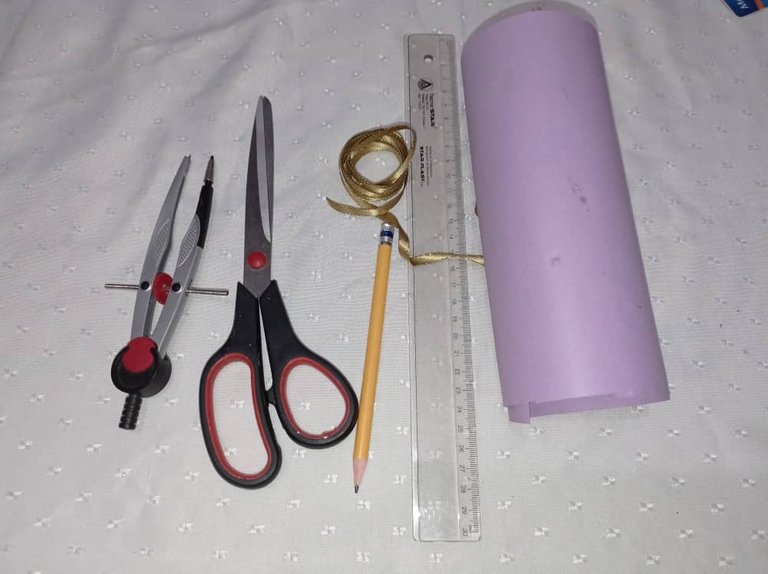
- Cartulina
- Cinta
- Tijera
- Regla
- Lápiz
- Compás
- Cardboard
- Tape
- Scissors
- Rule
- Pencil
- Compass
Paso a Paso - Step by step
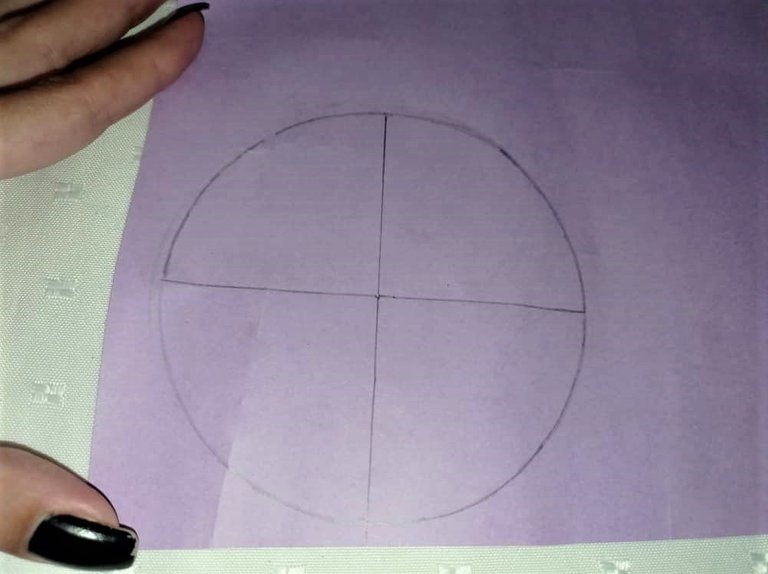
Primero empezamos con el compás haciendo un circulo de 10cm de diámetro y trazamos una linea horizontal y vertical por el medio.
First we start with the compass making a 10cm diameter circle and draw a horizontal and vertical line in the middle.
First we start with the compass making a 10cm diameter circle and draw a horizontal and vertical line in the middle.
Luego se hace otro circulo exactamente del mismo tamaño en la parte superior derecha que coincida con la circunferencia ya realizada.
Then another circle of exactly the same size is made in the upper right part to coincide with the circumference already made.
Then another circle of exactly the same size is made in the upper right part to coincide with the circumference already made.

Ahora recortamos las dos circunferencias y cuando estén recortadas con el compás le hacemos en cada cuarto del circulo de vértice a vértice una línea curva.
Now we cut the two circles and when they are cut with the compass we make in each quarter of the circle from vertex to vertex a curved line.
Now we cut the two circles and when they are cut with the compass we make in each quarter of the circle from vertex to vertex a curved line.

Luego hacemos un doblez en las marcas de las líneas curvas para poder doblar la cajita con facilidad.
Then we make a bend in the marks of the curved lines to be able to bend the box easily.
Then we make a bend in the marks of the curved lines to be able to bend the box easily.
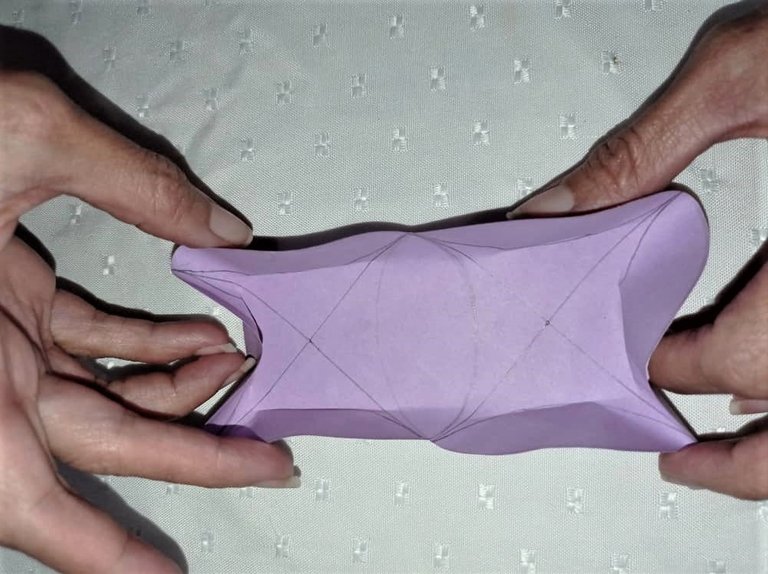
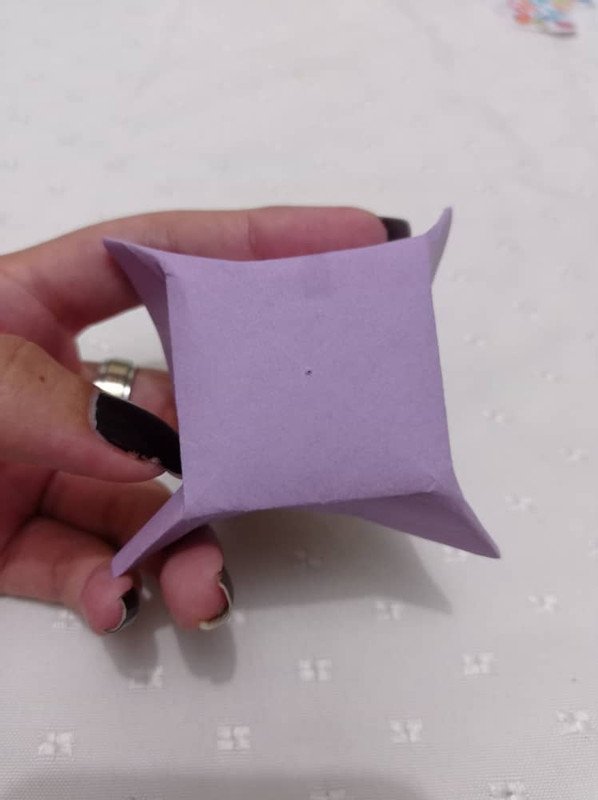
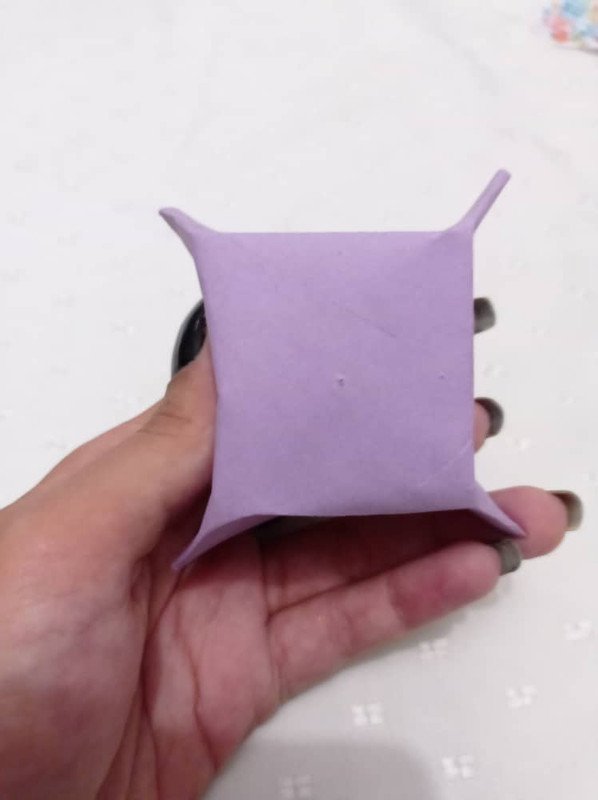
Empezamos armar la caja con la ayuda de los dobleces que hicimos anteriormente, ya que nada más tenemos que juntar cada uno y coinciden de inmediato con la forma que queremos hacer.
We started to assemble the box with the help of the folds we made earlier, since we just have to put each one together and they immediately match the shape we want to make.
We started to assemble the box with the help of the folds we made earlier, since we just have to put each one together and they immediately match the shape we want to make.
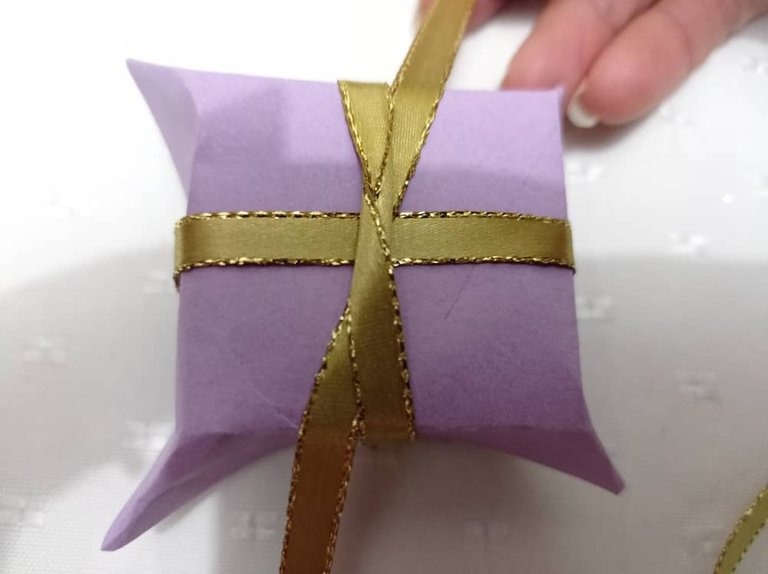
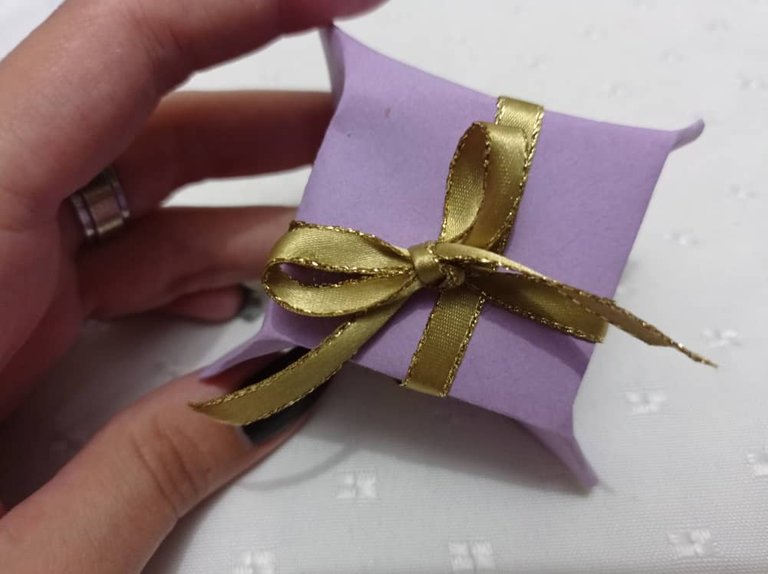
Por ultimo con una cinta la colocamos por alrededor para que la cajita quede cerrada y al final le hacemos un lazo para decorar así ya tendremos lista nuestra cajita de regalo.
Finally with a ribbon we place it around so that the box is closed and at the end we make a ribbon to decorate so we will have our gift box ready.
Finally with a ribbon we place it around so that the box is closed and at the end we make a ribbon to decorate so we will have our gift box ready.
Espero les guste.
I hope you like it
Gracias por Leer.
Thanks for reading
Fotos de mi propiedad.
Camara: Teléfono Xiaomi Redmi Note 9

0
0
0.000
Congratulations @anyelit! You have completed the following achievement on the Hive blockchain and have been rewarded with new badge(s) :
You can view your badges on your board and compare yourself to others in the Ranking
If you no longer want to receive notifications, reply to this comment with the word
STOPDo not miss the last post from @hivebuzz:
Es idea muy linda para decorar nuestros regalos, lo que más me gusta es que es sumamente simple de realizar. Excelente post!
Si es muy linda y lo mejor que es fácil de hacer para cualquier momento.